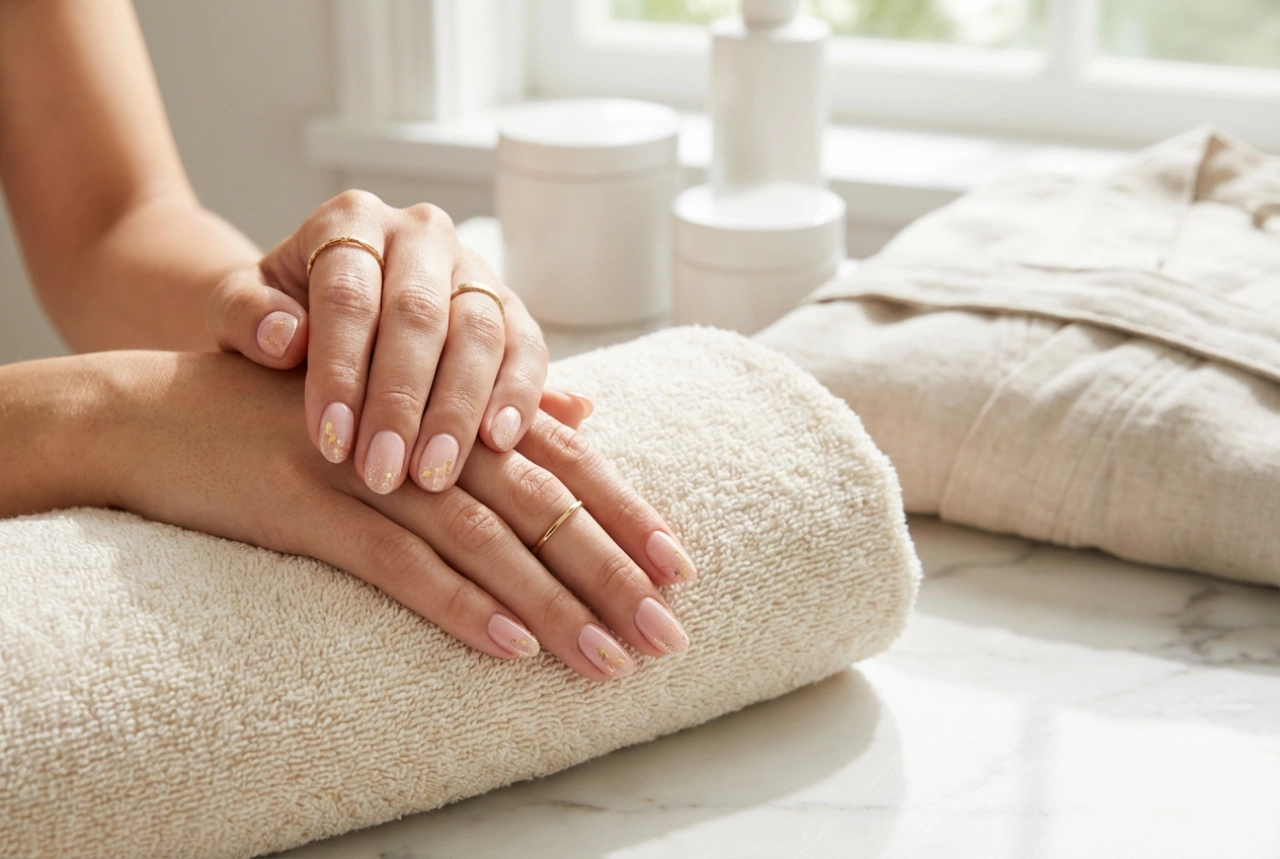


Achieving beautifully shiny and healthy nails doesn't always require layers of polish. The Japanese manicure is a centuries-old technique that focuses on nourishing the nail plate from within, resulting in a remarkable, natural sheen and improved nail strength. This gentle treatment involves buffing nutrient-rich pastes and powders into the nail, promoting its health and creating a delicate pinkish lustre that can last for weeks. It's a perfect ritual for those who want to enhance the natural beauty of their nails and give them a break from traditional lacquers.
What is a Japanese Manicure?
A Japanese manicure is fundamentally a nail conditioning treatment. Unlike conventional manicures that focus on applying colour, this method is designed to restore and strengthen the natural nail. The core of the treatment lies in the use of special products, typically a vitamin-rich paste and a sealing powder, which are worked into the nail plate with specific buffers. The ingredients often include natural components like vitamin A, vitamin E, keratin, beeswax, and silica from the Sea of Japan. This process not only imparts a high-gloss finish but also helps to mend brittle, fragile, or splitting nails by feeding them essential nutrients and creating a protective layer against environmental damage.
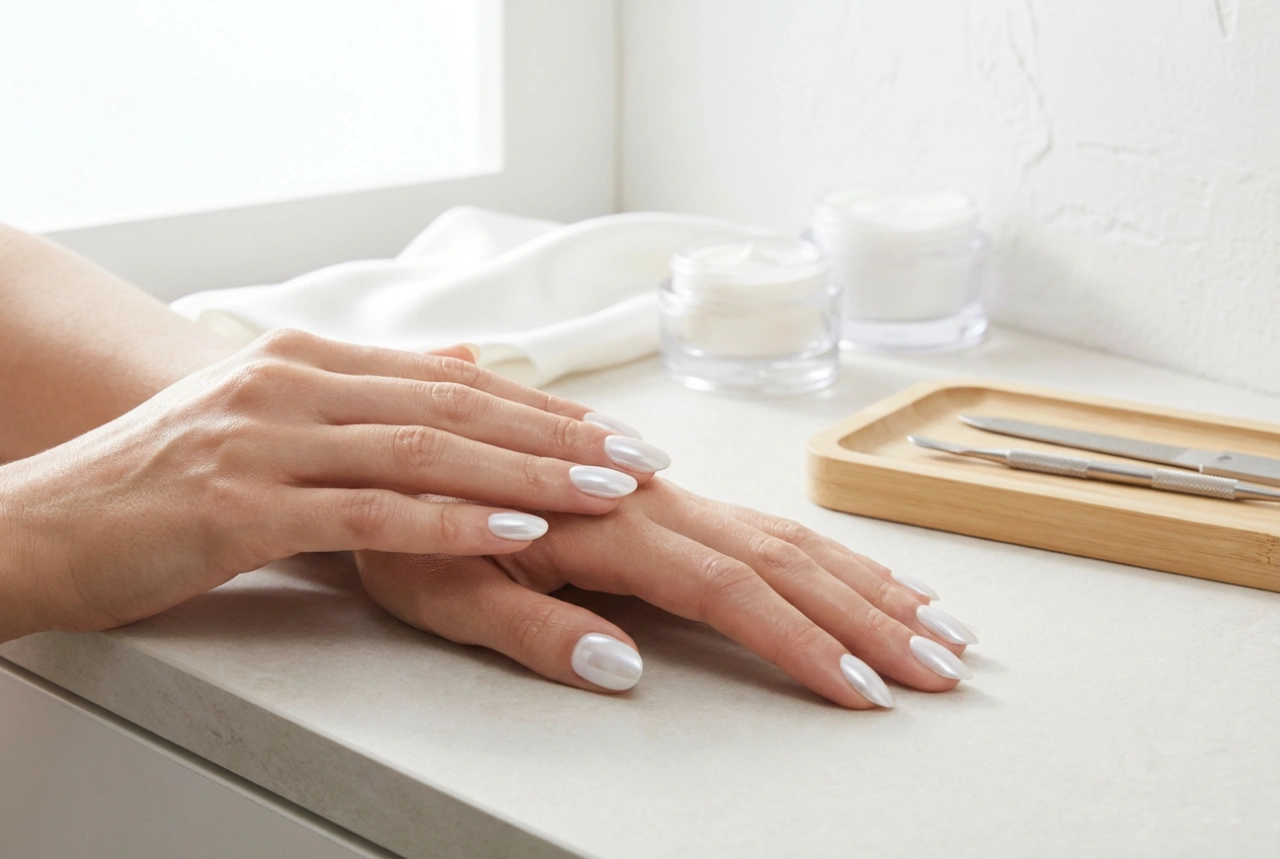
The Essential Kit for a Home Japanese Manicure
To perform a Japanese manicure at home, you'll need a specialised kit. While brands vary, the core components are universal and easily recognisable. A typical set contains everything needed for the complete process, allowing you to replicate the treatment effectively in your own space.
Key Components Explained
- Nail File: A gentle, double-sided file for shaping the nails before the treatment. It's best to use a fine-grit file to avoid damaging the nail edges.
- Cuticle Pusher: A plastic or wooden stick for gently pushing back cuticles. It’s important not to cut the cuticles, but rather to carefully tidy the nail plate.
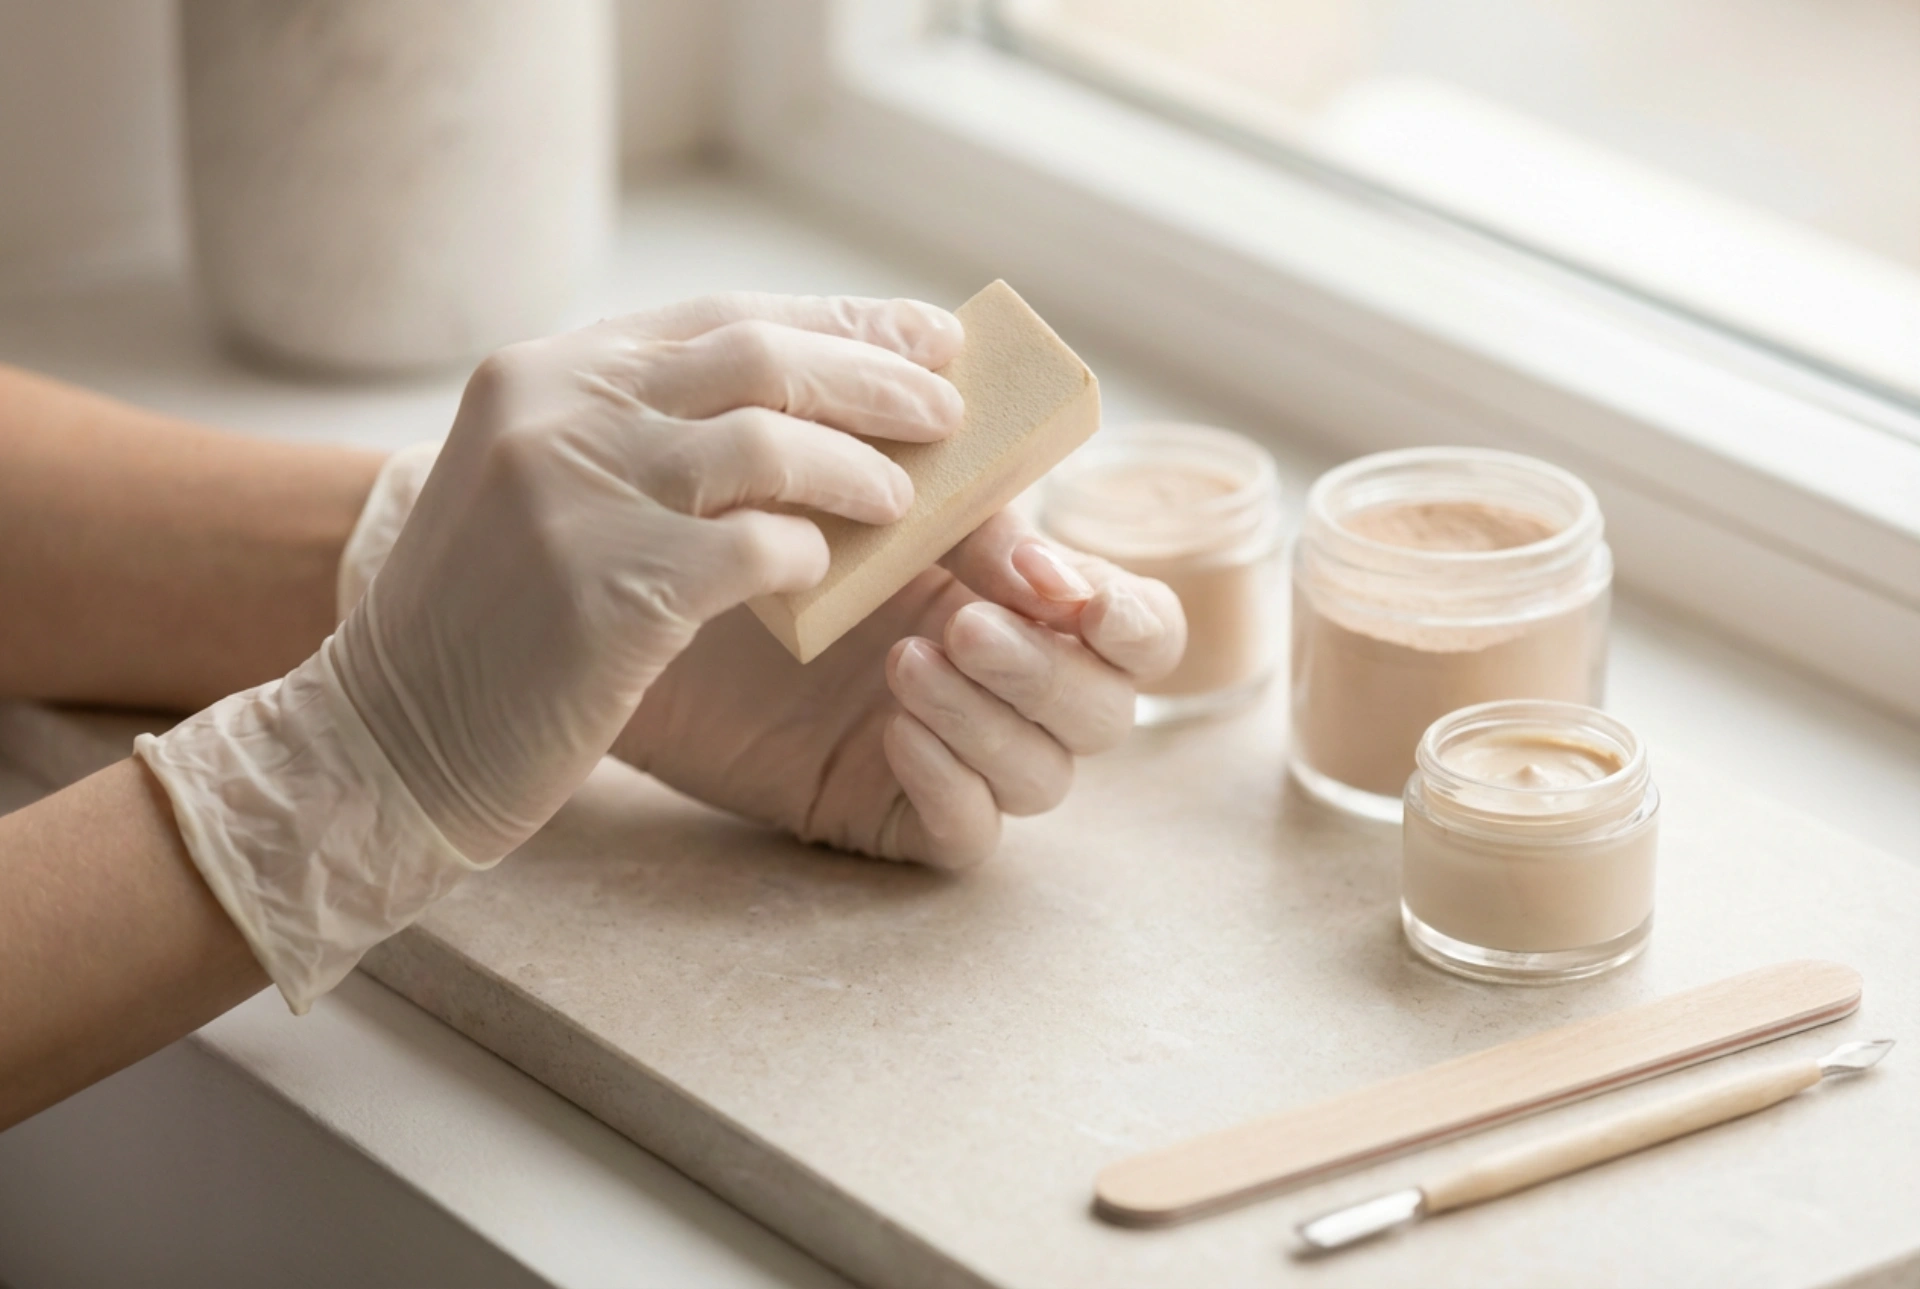
- Nourishing Paste: Usually found in a green-lidded pot, this is the first active product you'll apply. It's a thick paste packed with vitamins and minerals that deeply conditions the nail plate.
- Polishing Powder: This fine powder, often in a pink-lidded pot, is applied after the paste. Its role is to seal the nutrients into the nail and create the signature long-lasting, high-gloss shine.
- Green Buffer: This buffer, typically made of natural leather like deerskin, is specifically designed to work the nourishing paste into the nail plate. Its texture allows for effective but gentle application.
- Pink Buffer: This second buffer is used to apply the polishing powder. It helps to create the final glossy finish and seal the nail surface.
A Step-by-Step Guide to Performing a Japanese Manicure
Patience and precision are key to a successful Japanese manicure. Follow these steps carefully to achieve the best results and ensure you are treating your nails gently and effectively.
Step 1: Prepare Your Nails
Begin with clean, dry hands. Remove any old nail polish completely. Use a gentle nail file to shape your nails to your desired length and form. It is recommended to file in one direction to prevent splitting. Next, carefully push back your cuticles using a cuticle pusher. Avoid cutting them, as they serve as a protective barrier. You can soften them first with a cuticle remover or by soaking your fingertips in warm water for a few minutes. Ensure the nail plate is completely clean and dry before proceeding.
Step 2: Apply the Nourishing Paste
Open the pot containing the green paste (paste no. 1). Using the provided spatula or the corner of the green buffer, take a very small amount of the paste and apply it to the centre of one nail. With the green buffer, use firm, one-directional strokes to rub the paste into the entire nail plate. Continue buffing until the nail starts to develop a subtle shine. This action warms the paste slightly, helping it to penetrate the nail plate. Repeat this process for all ten nails.
Step 3: Seal with the Polishing Powder
Next, take the pink powder (powder no. 2). Apply a tiny amount onto the nail plate, just as you did with the paste. Using the pink buffer, buff the powder into the nail using the same one-directional strokes. You will immediately notice the nail's shine intensify into a brilliant, glass-like gloss. This powder locks in the nutrients from the paste and creates a water-repellent protective layer. Repeat on all nails.
Step 4: Final Touches and Aftercare
Once you have finished buffing all your nails with the powder, you can wipe them with a clean, dry cloth to remove any excess residue. There is no need to apply a top coat or any other polish. To complete the manicure, you can apply a nourishing cuticle oil around the nail bed to hydrate the skin. Your nails are now treated, strengthened, and beautifully shiny.
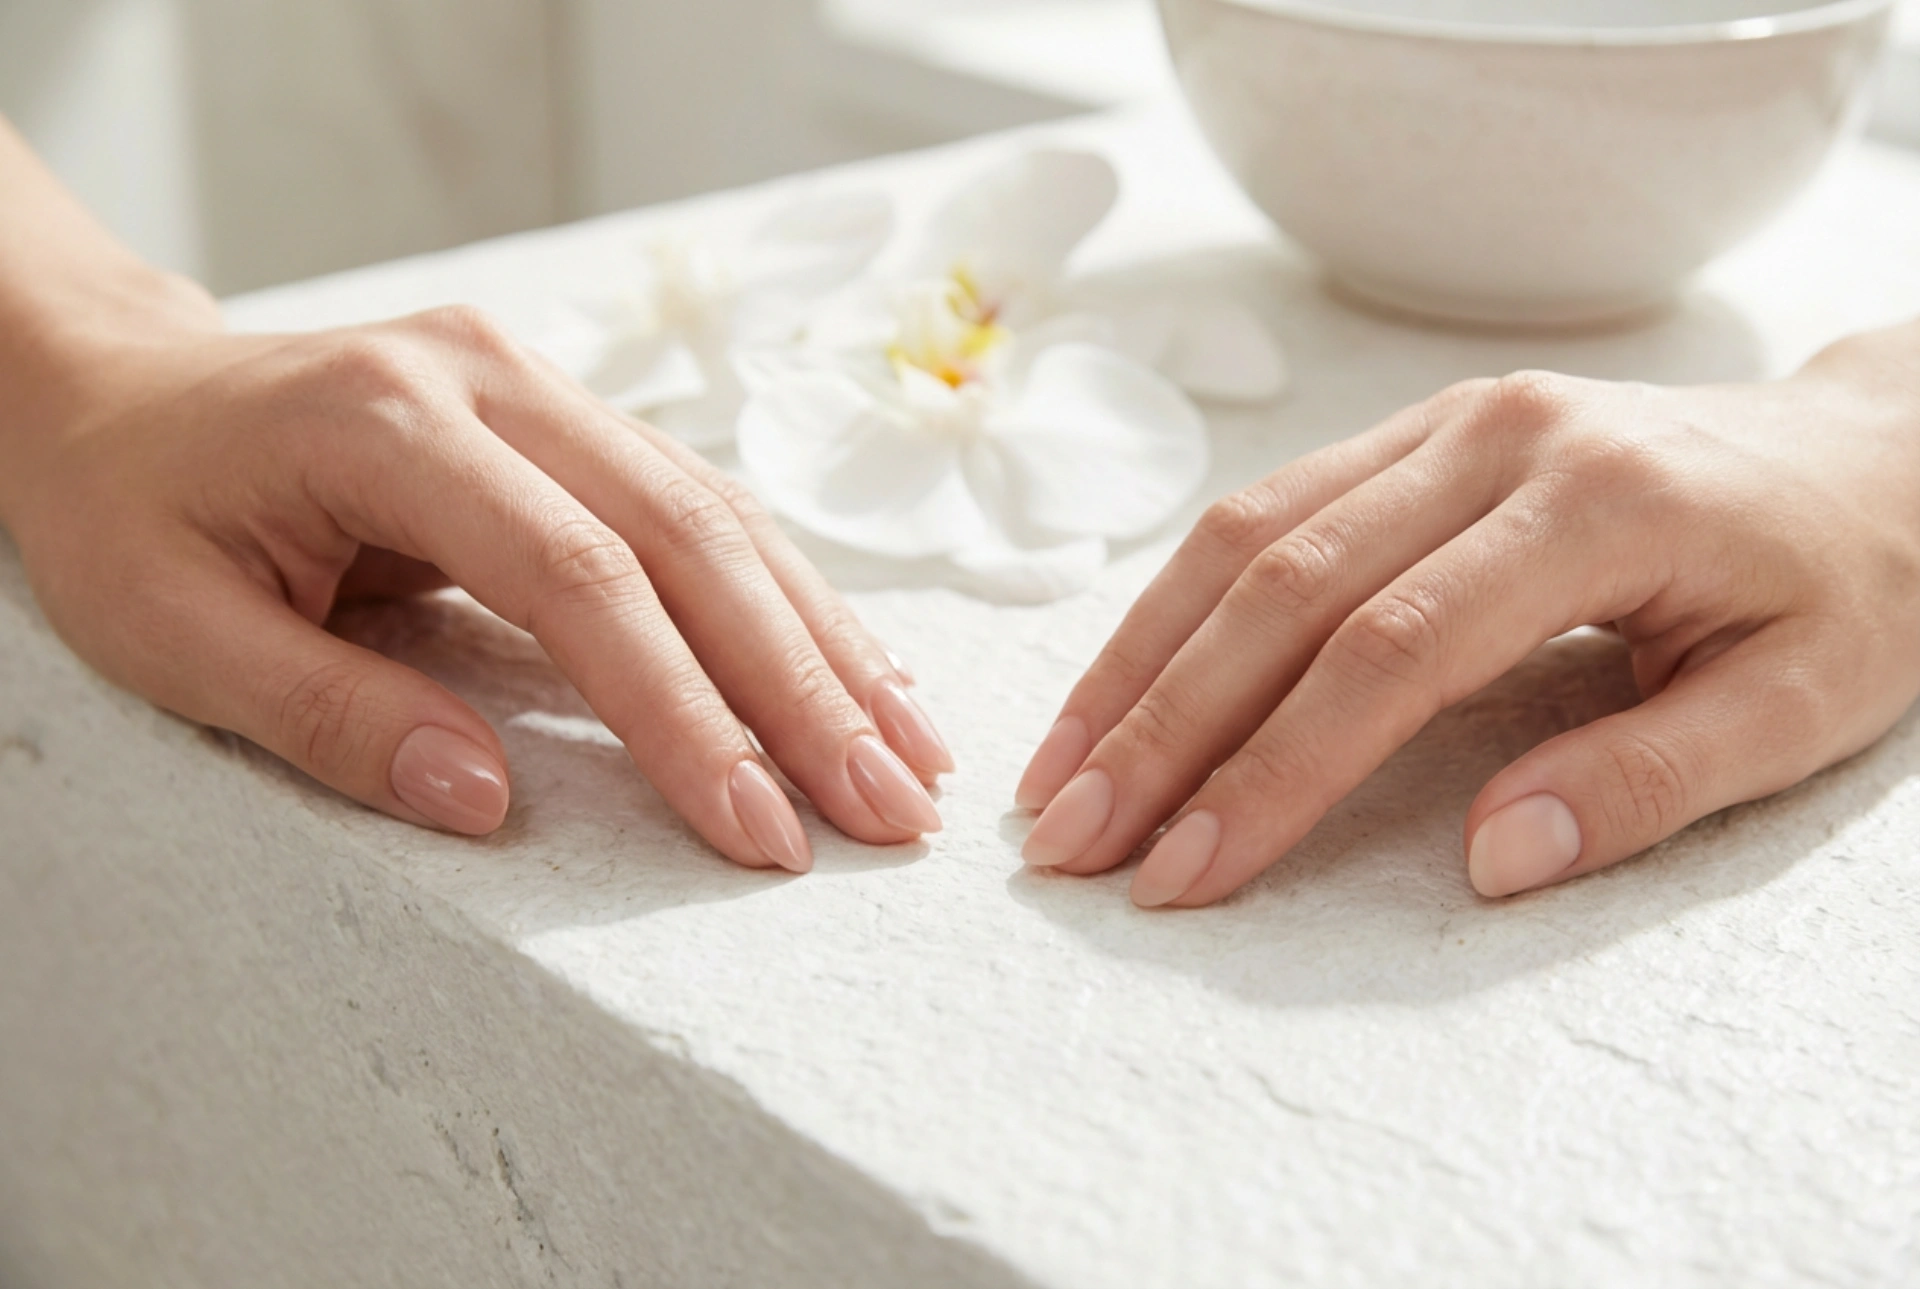
Benefits and Recommended Frequency
The primary benefit of a Japanese manicure is the significant improvement in nail health. Nails become stronger, more flexible, and less prone to splitting and breaking. The treatment promotes healthy nail growth and restores a natural pink hue. The incredible shine is a bonus, lasting for up to two weeks without chipping or fading. For best results, it is recommended to perform a Japanese manicure every 2 to 3 weeks. It's advisable to avoid applying regular nail polish for at least a few days after the treatment to allow the nails to fully benefit from the nutrients. This method is an excellent choice for anyone looking to rehabilitate their nails after acrylics or gels, or for those who simply prefer a polished, natural look.