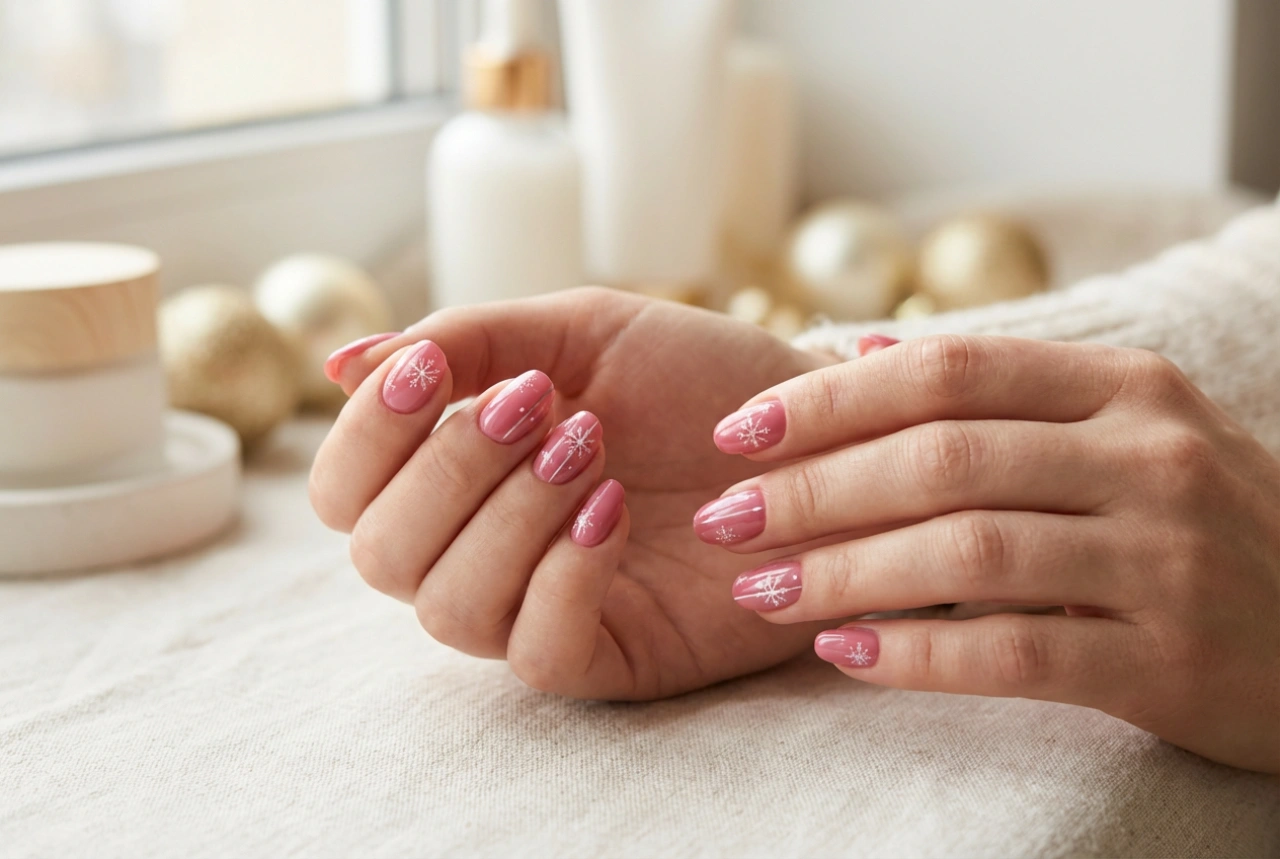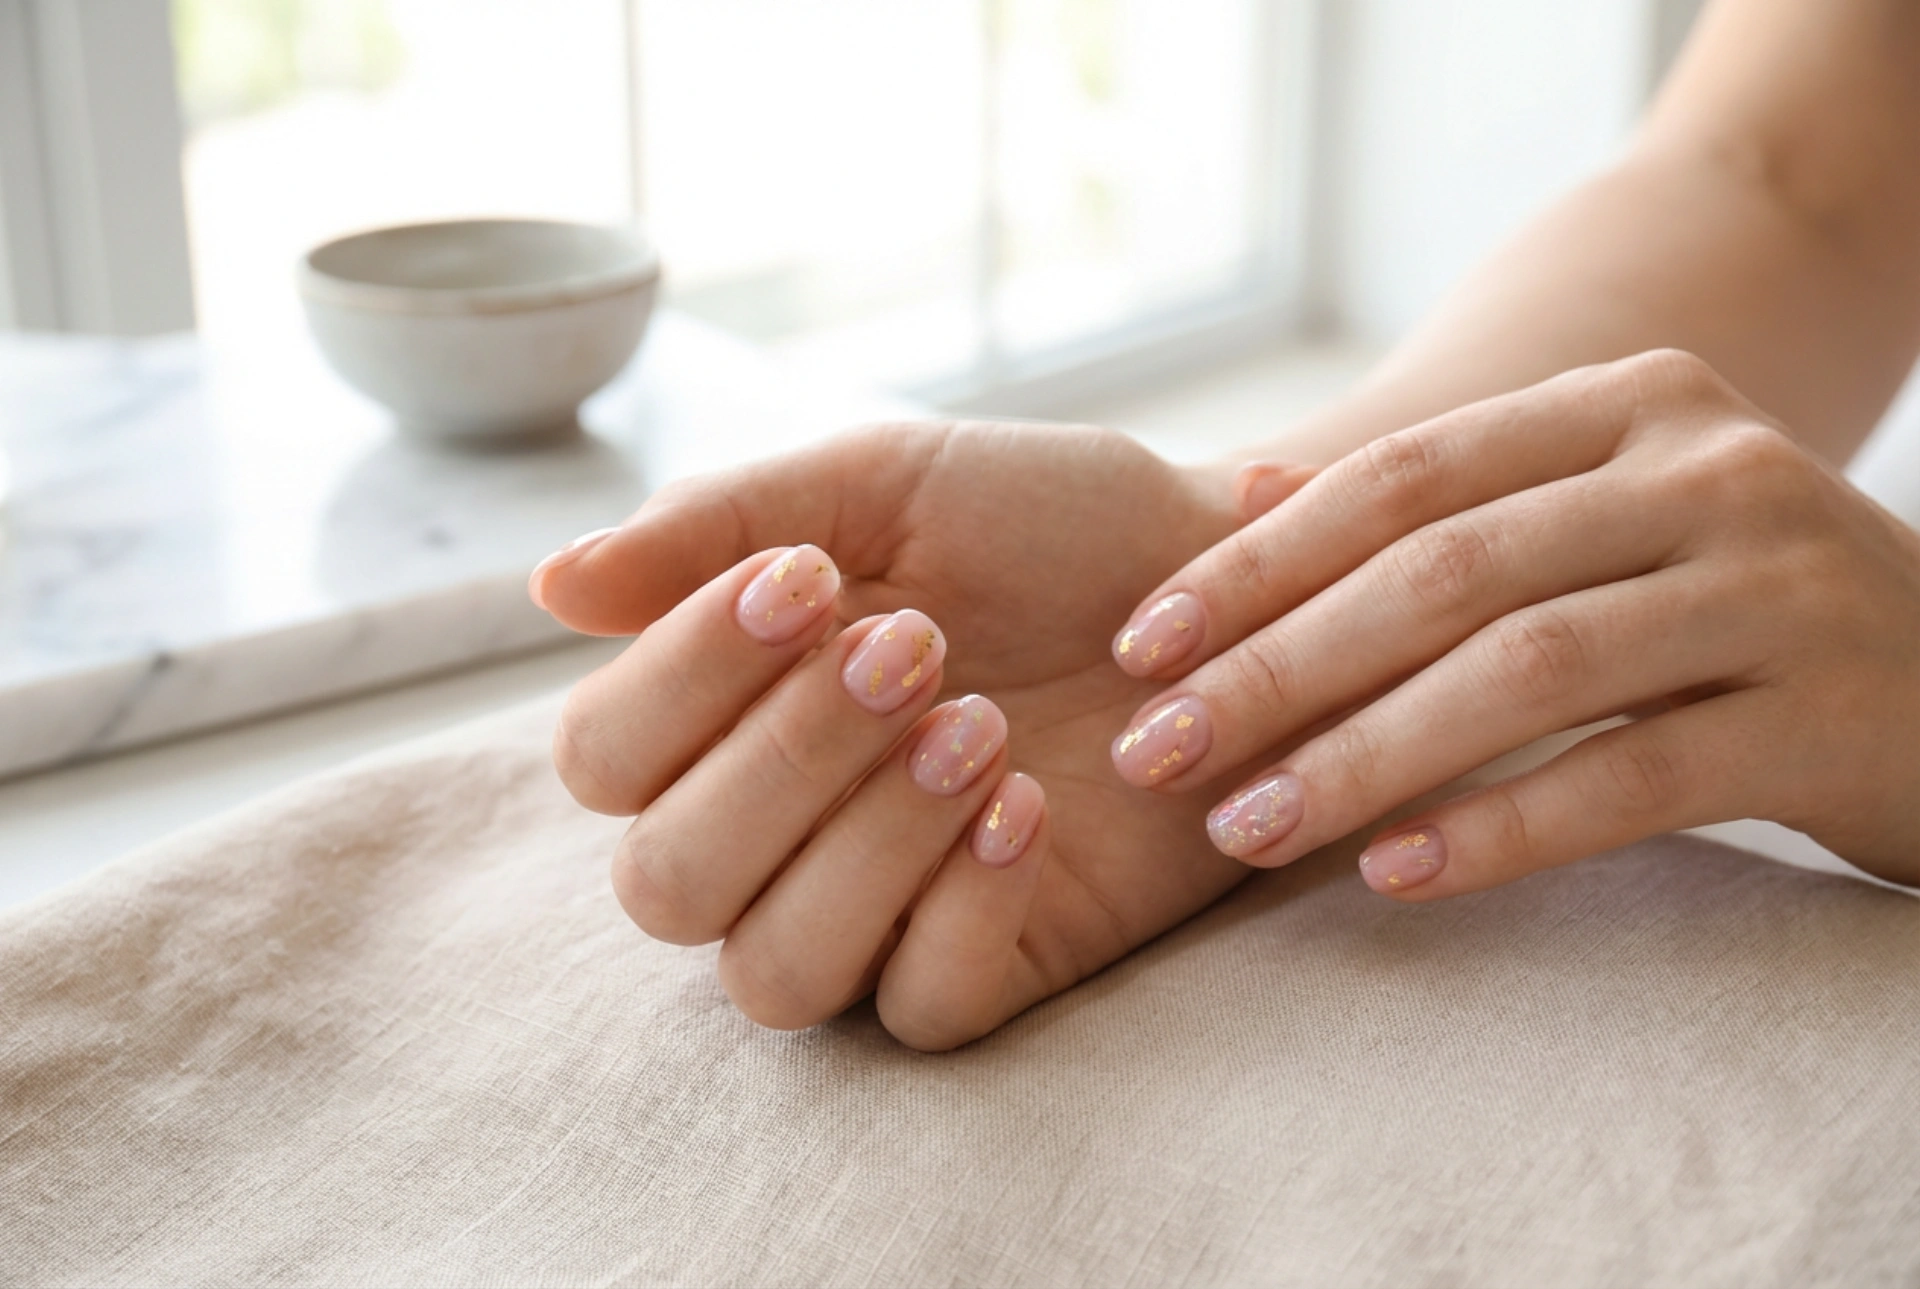


The combination of soft pink and shimmering gold is a true classic in the world of nail styling. This pairing offers a look of understated elegance and sophistication, making it suitable for both everyday wear and special occasions. It’s a versatile design that can be adapted from minimalist accents to more elaborate decorations. Achieving this beautiful look at home is straightforward with the right techniques. This guide will explore how to use delicate gold foils and flakes over a pink base, sealed with a clear top coat for a durable and glossy finish.
Essential Preparation for a Flawless Manicure
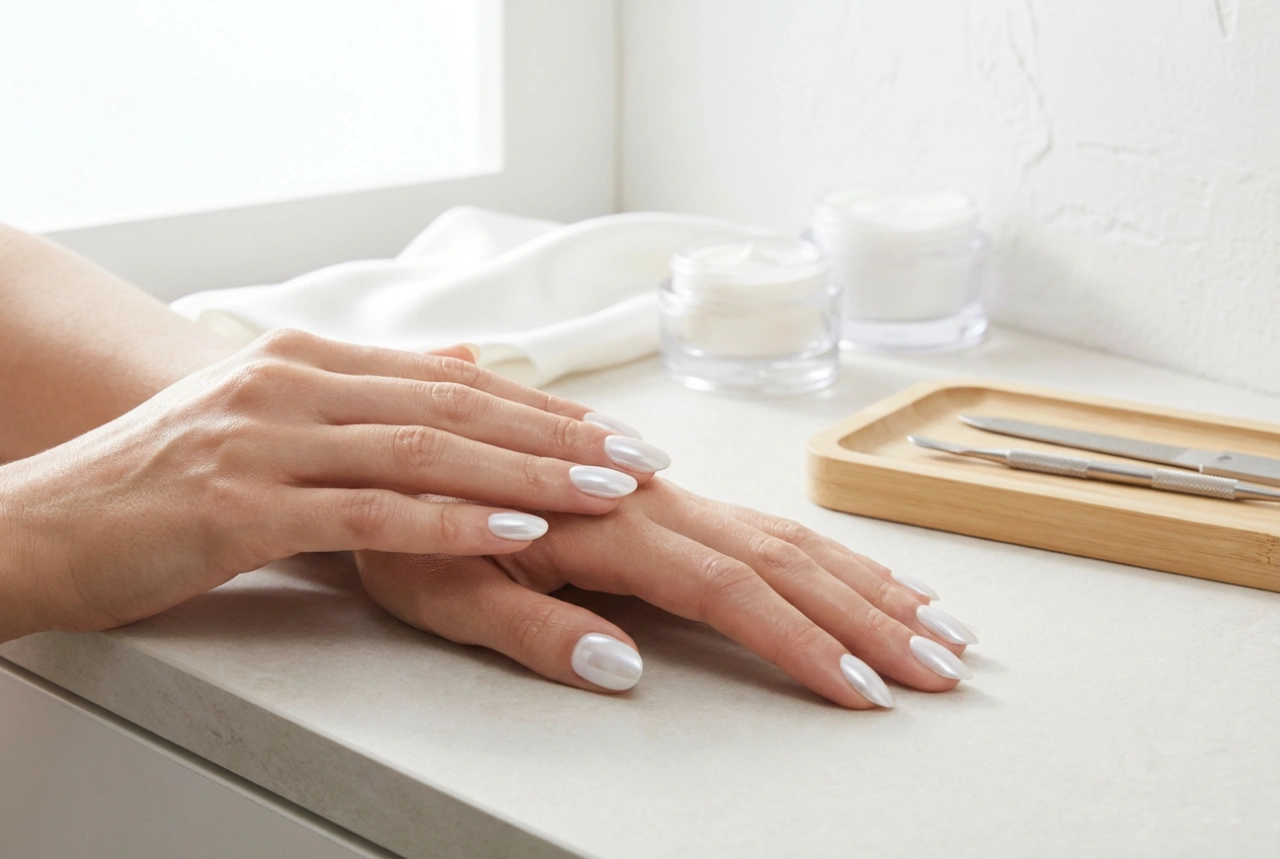
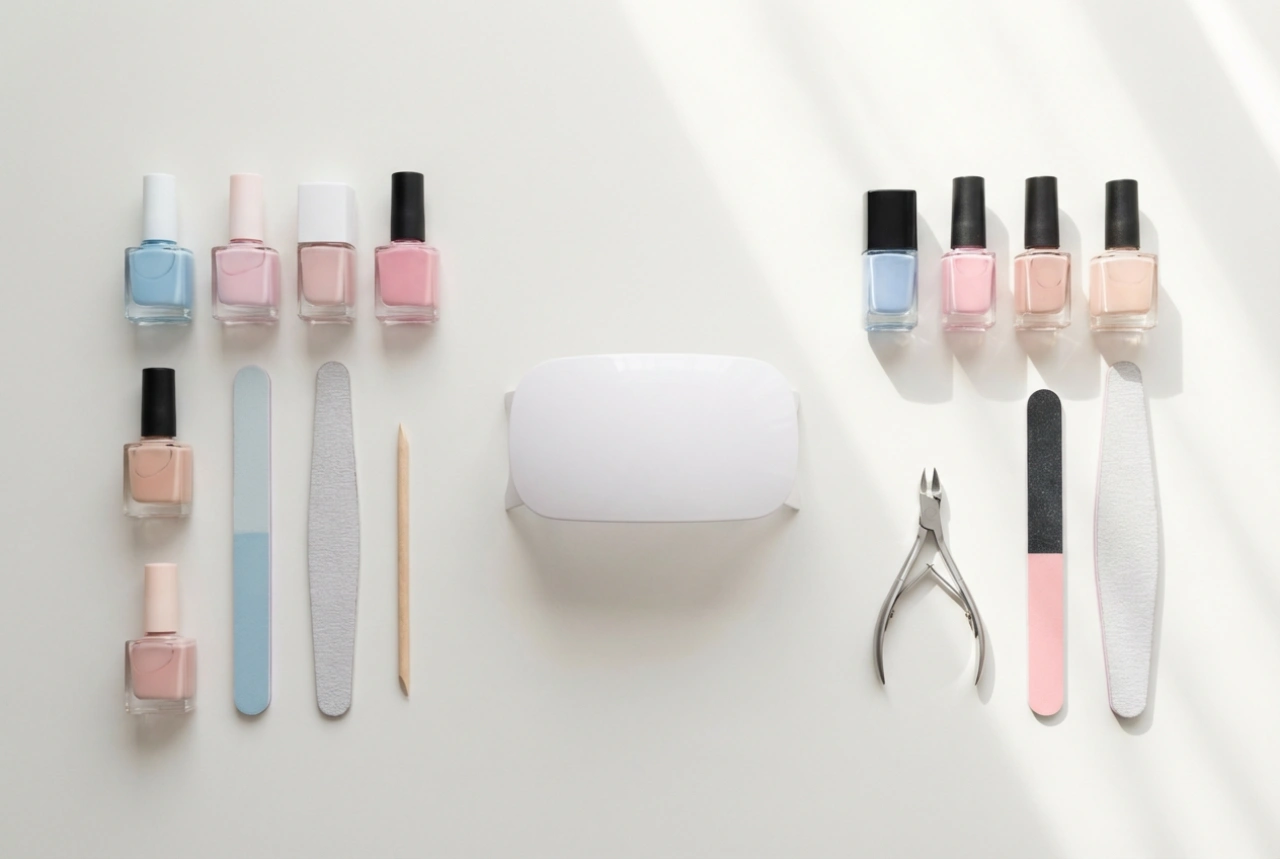
Before you even think about the colours, proper preparation is key to a long-lasting and professional-looking manicure. A clean and smooth canvas allows for better polish adhesion and a neater final result. Start by removing any old polish completely. Gently file your nails to your desired shape, whether it's square, oval, or almond, ensuring all edges are smooth. Next, address your cuticles. Instead of cutting them, it's safer to soften them with a cuticle remover and gently push them back with an orange wood stick or a dedicated pusher. Finally, wipe each nail with a nail polish remover or alcohol to dehydrate the nail plate and remove any oils. Apply a thin layer of a quality base coat. This step is crucial as it protects your natural nails from staining and creates a smooth surface for the colour to adhere to.
Achieving the Perfect Pink Canvas
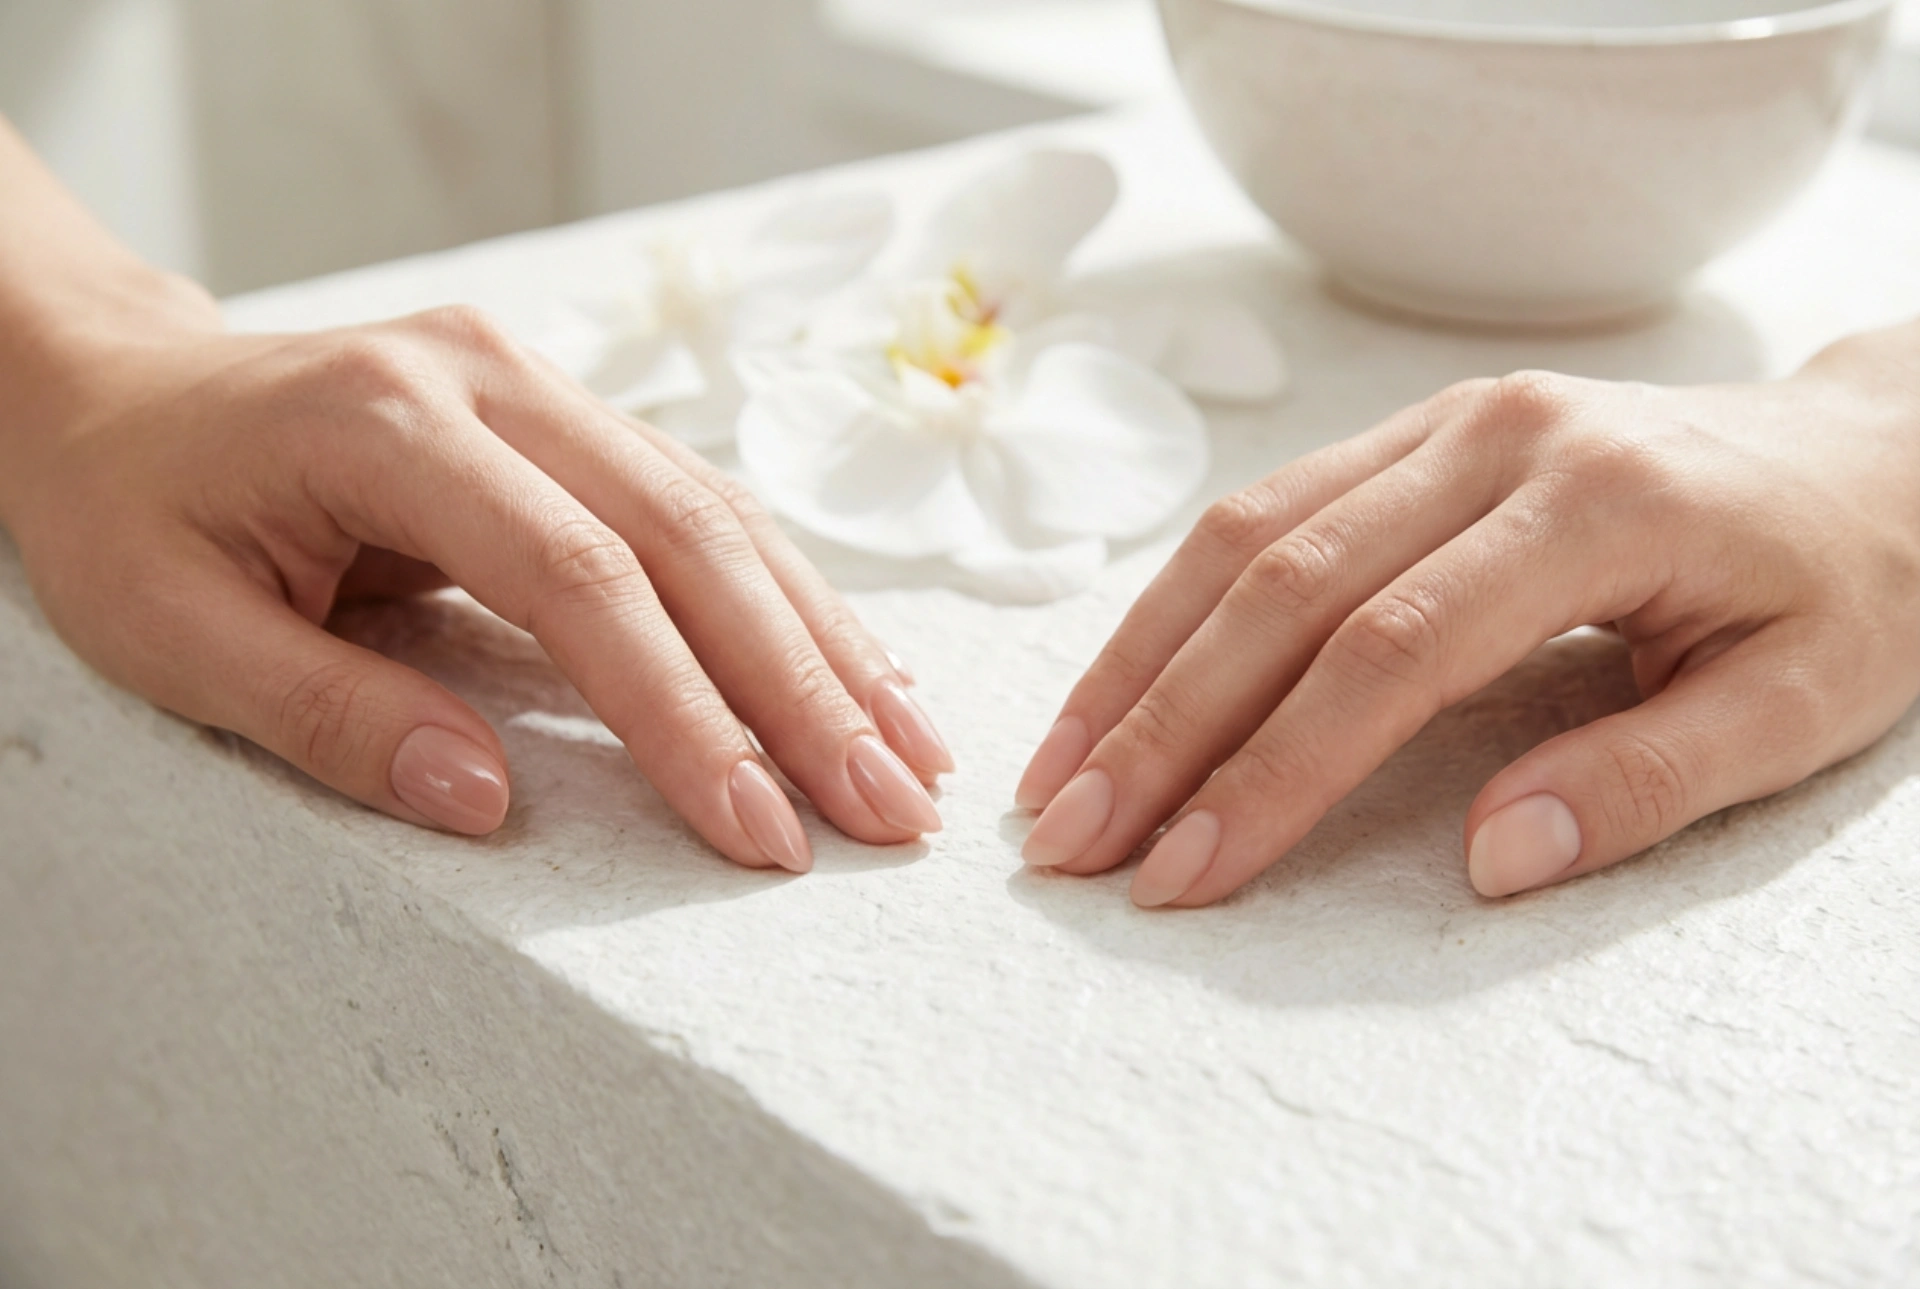
The shade of pink you choose will set the tone for your entire manicure. The options are endless, from a barely-there pastel or a milky sheer pink to a more saturated dusty rose or mauve. For a classic and elegant look, a soft, neutral pink is an excellent choice as it allows the gold accents to truly stand out. When applying your chosen colour, aim for thin, even coats. Start with one layer, covering the entire nail from cuticle to tip. Let it dry for a few minutes before applying a second coat. Two coats are usually sufficient to achieve full opacity and a rich, uniform colour. Patience during the drying phase is essential to prevent smudging when you move on to adding the gold details.
The Art of Applying Gold Accents
This is the creative part where you bring the design to life. Gold foil and gold flakes are two popular methods for adding that touch of luxury. They create different effects, so you can choose one or even combine them for a unique texture.
Using Gold Transfer Foil
Transfer foil is a thin sheet that transfers a metallic layer onto a tacky surface. It’s perfect for creating abstract, fractured gold patterns. For this technique to work, your nail polish needs to be almost dry but still slightly sticky to the touch. If your polish dries too quickly, you can apply a special foil glue. Tear off small, irregular pieces of the gold foil. Using tweezers, place a piece onto the nail with the matt side facing down. Gently press and rub it with your fingertip or a silicone tool. Then, quickly lift the foil away. A delicate, random pattern of gold will be left behind on your nail. You can repeat this process to add more gold or create a more concentrated effect in a specific area, such as the tip or near the cuticle.
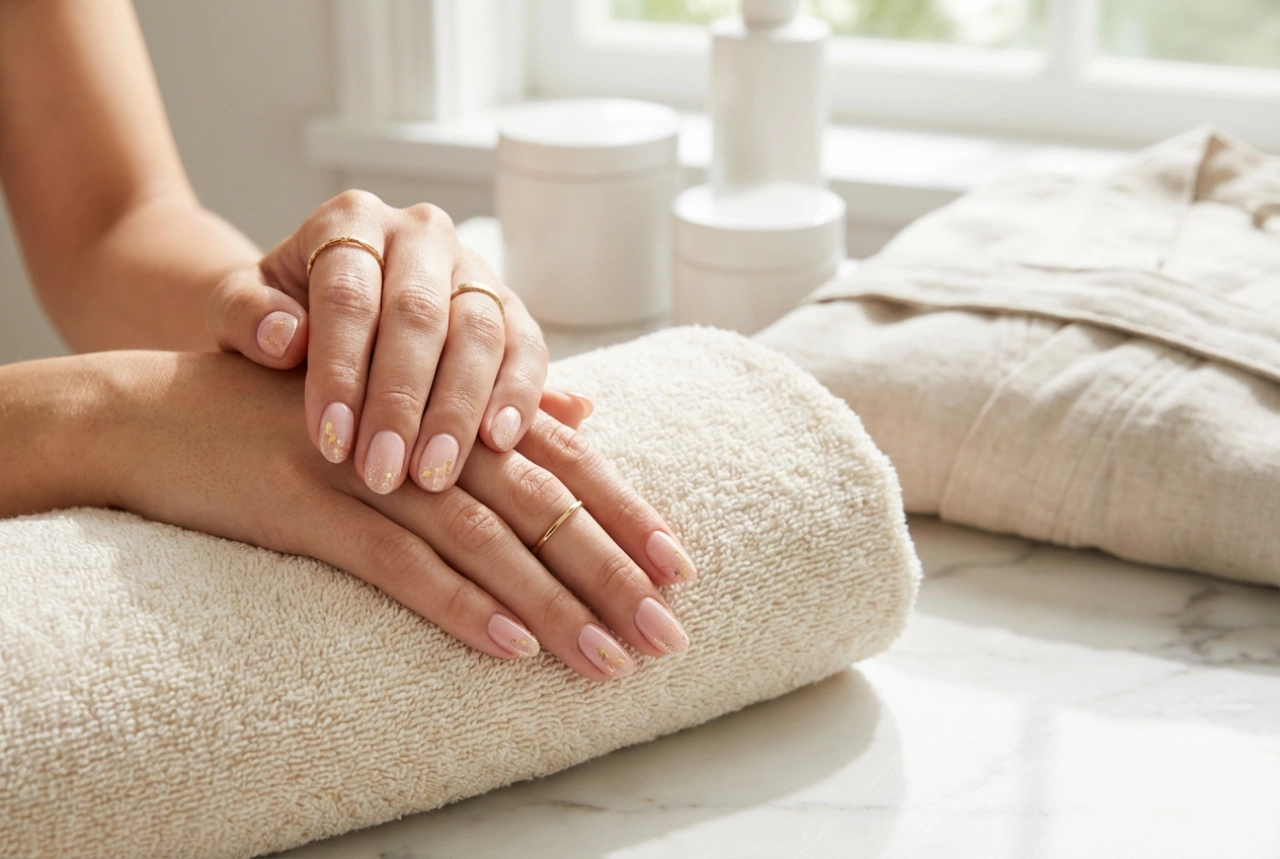
Incorporating Gold Flakes
Gold flakes, also known as gold leaf flakes, offer a more three-dimensional, scattered look. They come in a small pot and can be applied individually for precise placement. As with the foil, your polish should be slightly tacky. You can use a damp orange wood stick, a wax-tipped pen, or tweezers to pick up individual flakes. Carefully place them onto the nail. You can create a gentle cascade of flakes from the cuticle downwards, concentrate them on one side of the nail, or scatter them randomly for a subtle shimmer. Gently tap the flakes down to ensure they lie as flat as possible against the nail surface.
Sealing Your Design with a Clear Top Coat
The final and most important step is to seal your beautiful creation. A high-quality, glossy top coat will not only protect your design from chipping and wear but also smooth over the texture of the foil or flakes, encapsulating them for a sleek finish and adding incredible shine. Wait a couple of minutes after applying your gold accents to allow them to set slightly. When you apply the top coat, try to 'float' it over the nail. This means loading your brush with a good amount of top coat and applying it in a light, smooth stroke without pressing down too hard. This technique prevents the brush from dragging and smudging the delicate gold accents. Be sure to cap the free edge of your nail by running the brush along the tip to further prevent chipping and extend the life of your manicure.