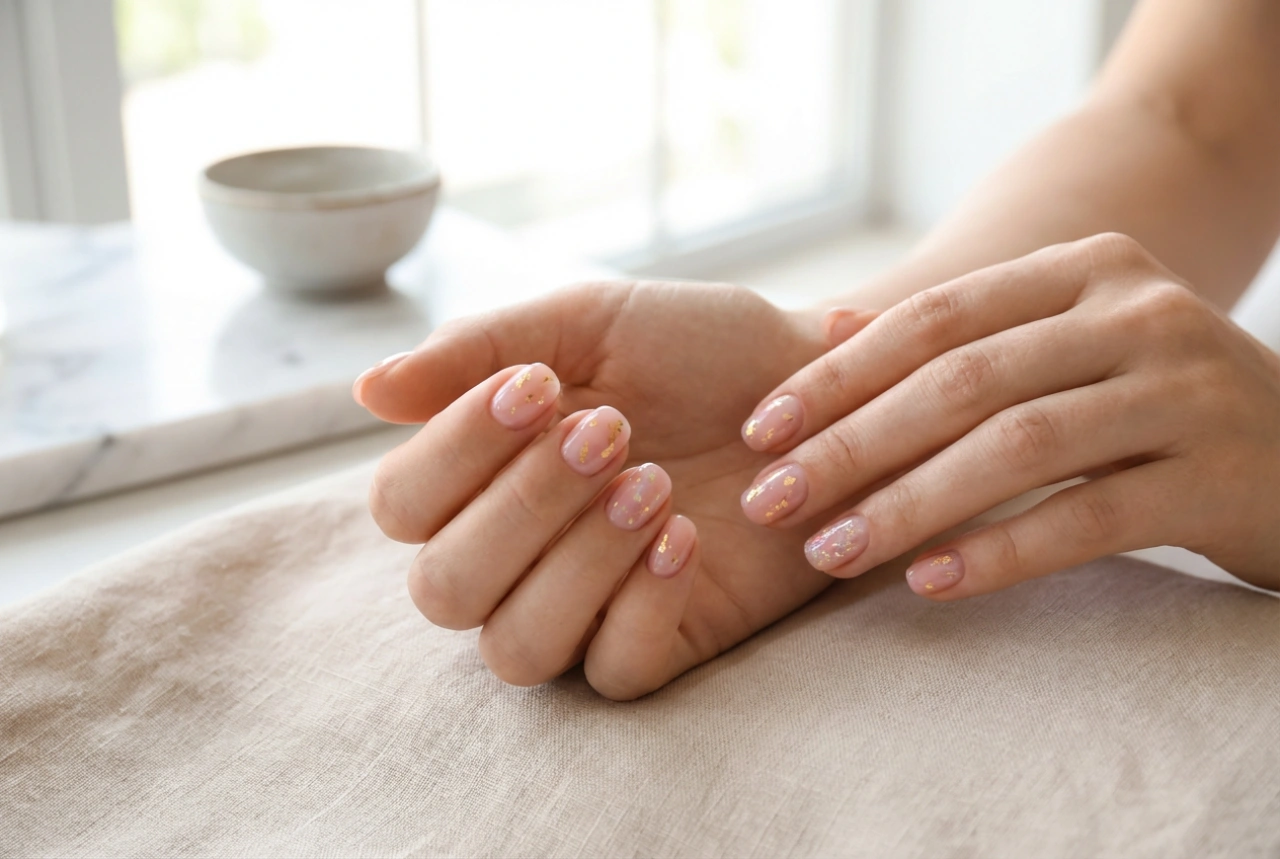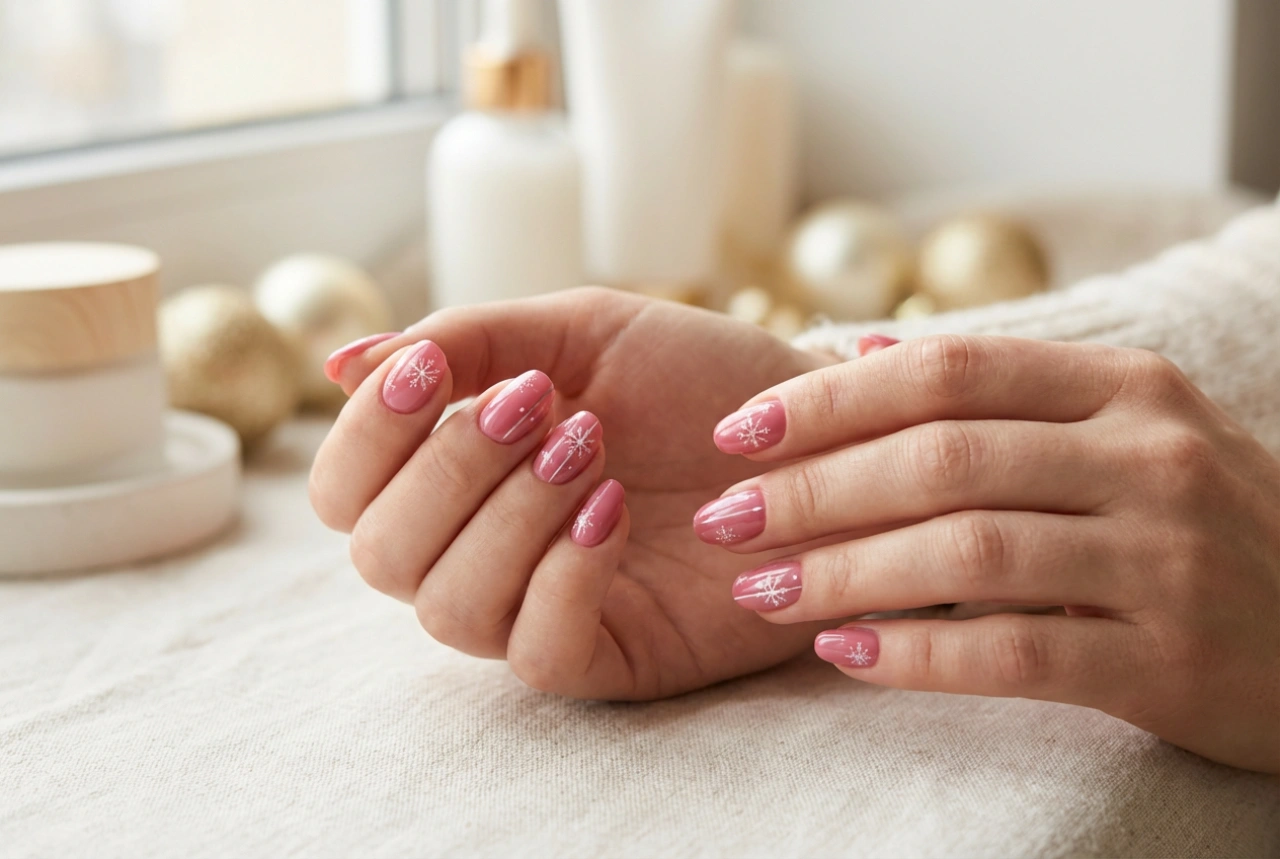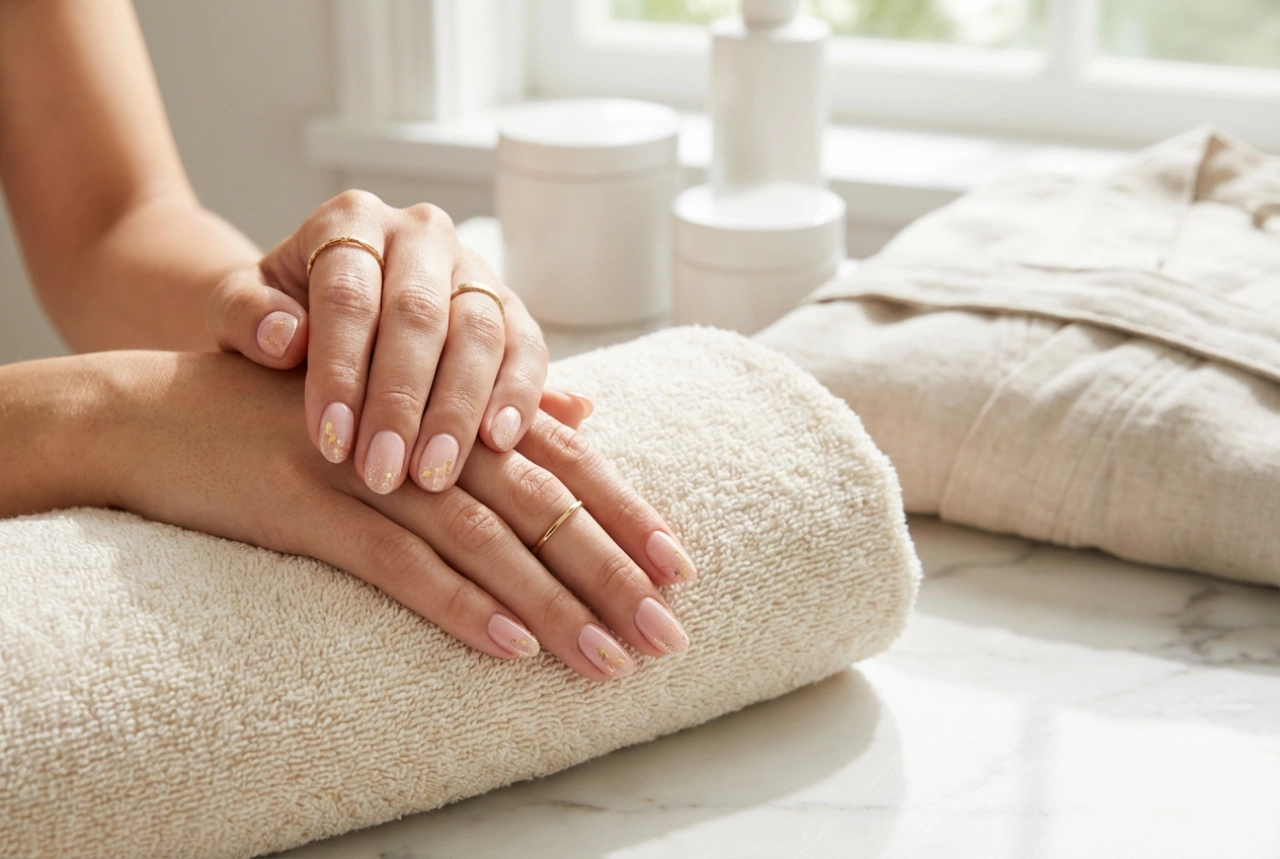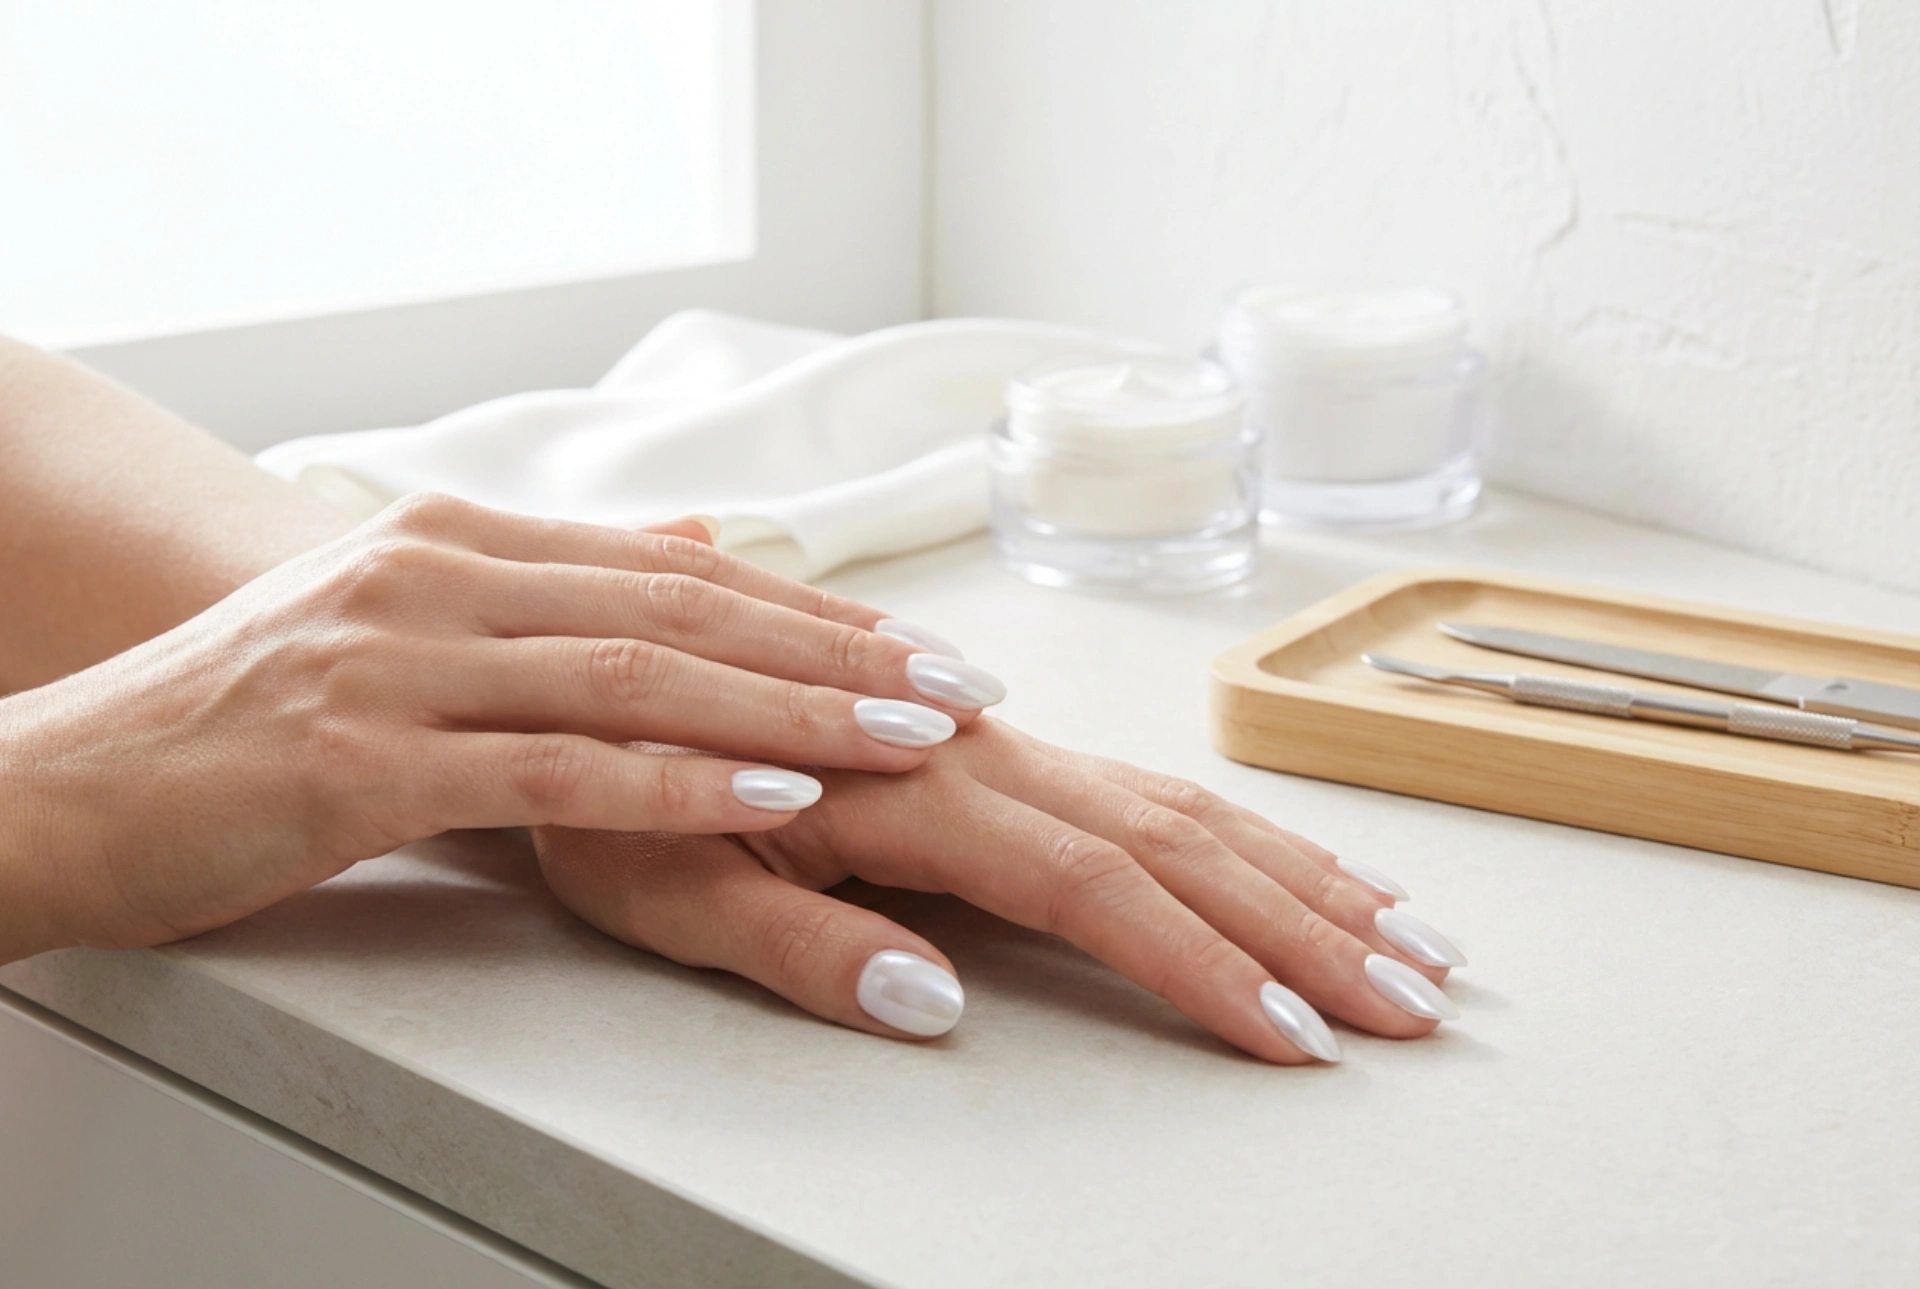


A manicure with light-coloured nails offers a timeless and elegant look, suitable for any occasion. It conveys cleanliness, sophistication, and care. To elevate this classic style, you can introduce a subtle shimmer that catches the light beautifully without being overwhelming. One of the most effective ways to achieve this is by using a special nail powder to create a delicate mirror effect. This technique adds a luminous, pearlescent glow to shades like white, nude, or pastels, transforming a simple manicure into a refined statement. This guide will walk you through the process step by step, helping you achieve a flawless and durable finish at home.
Preparing Your Nails for the Mirror Effect
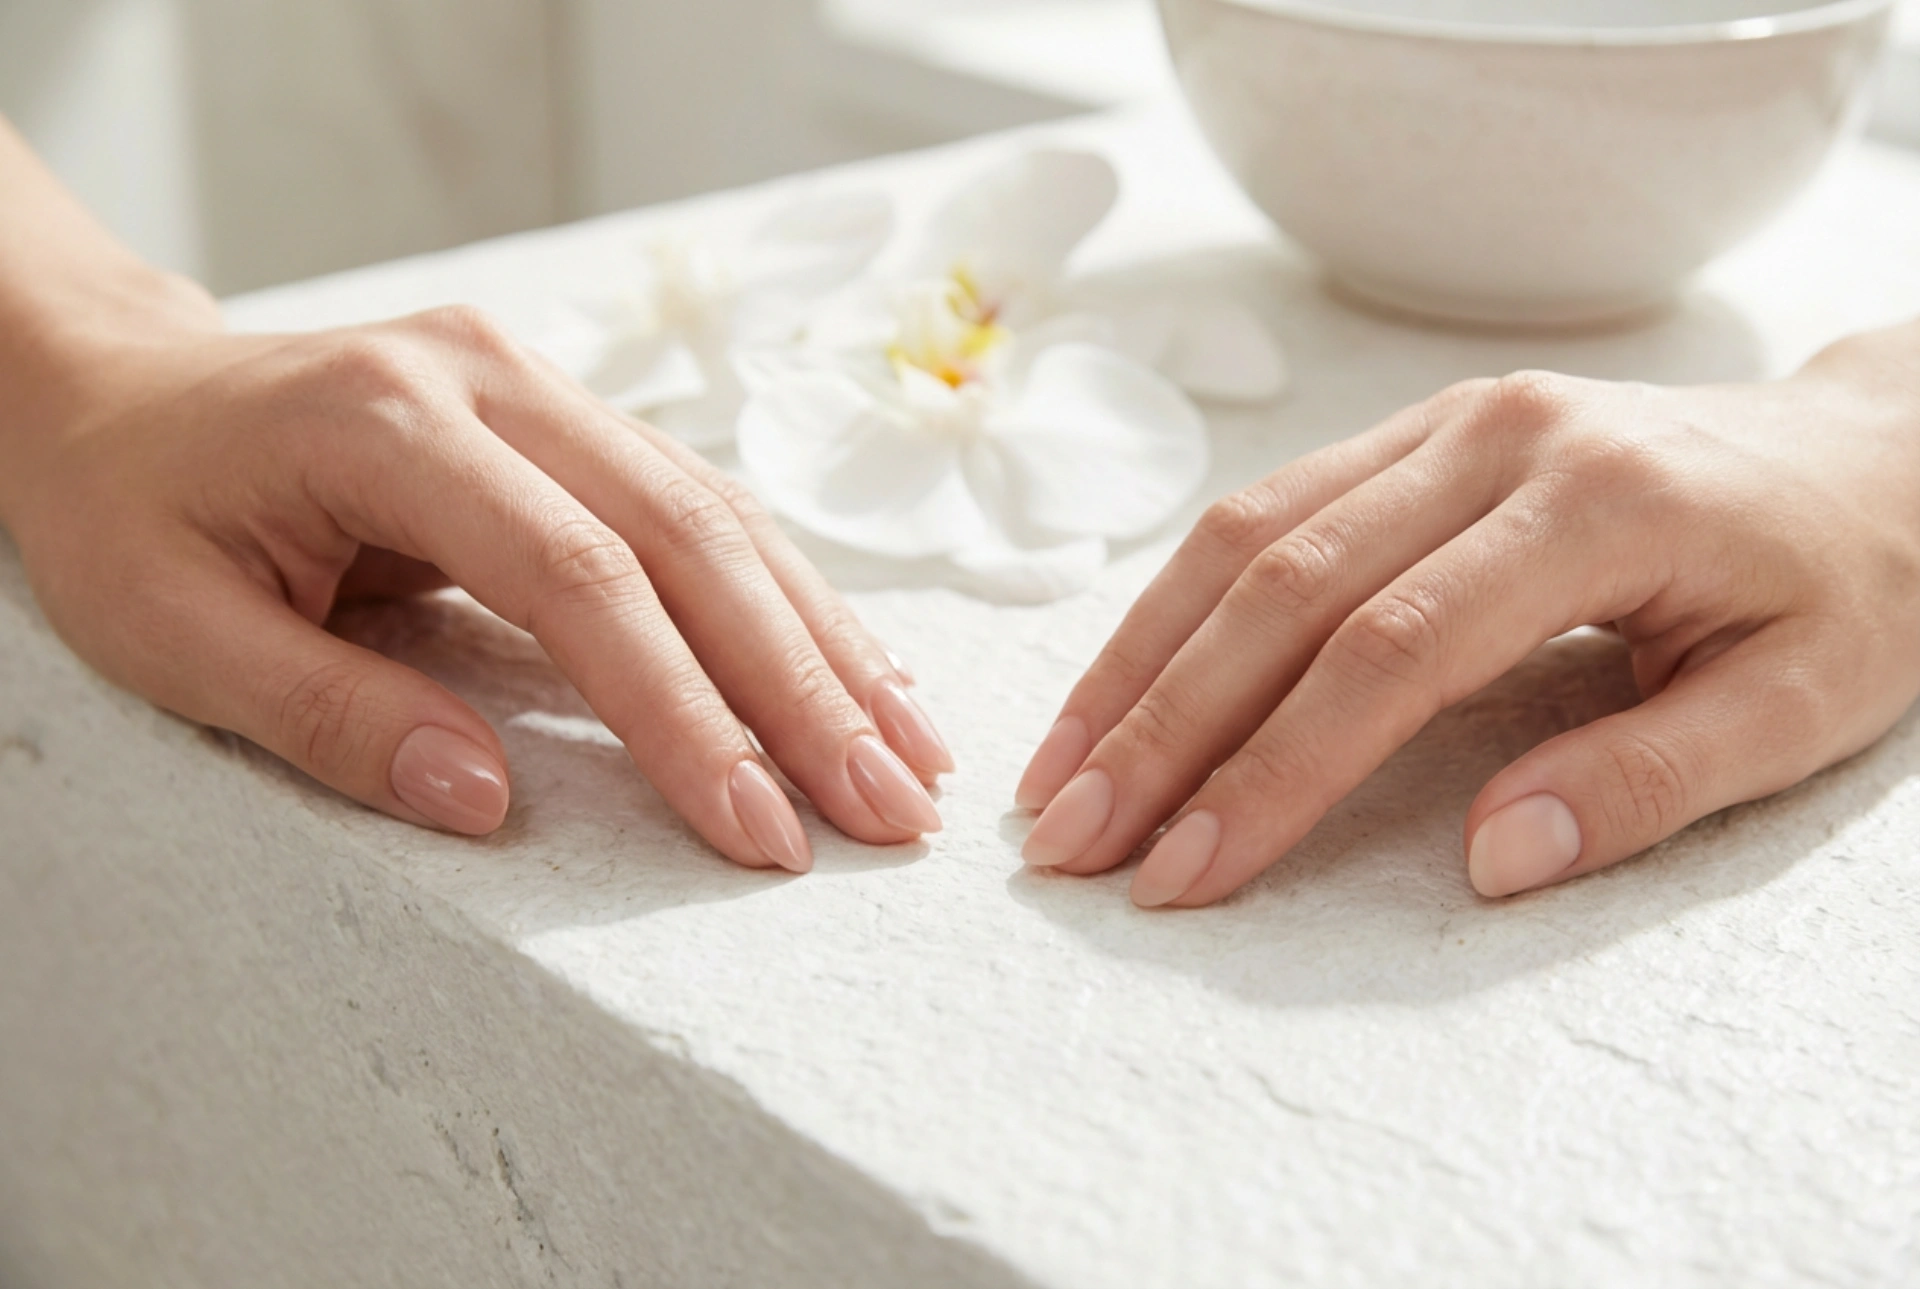
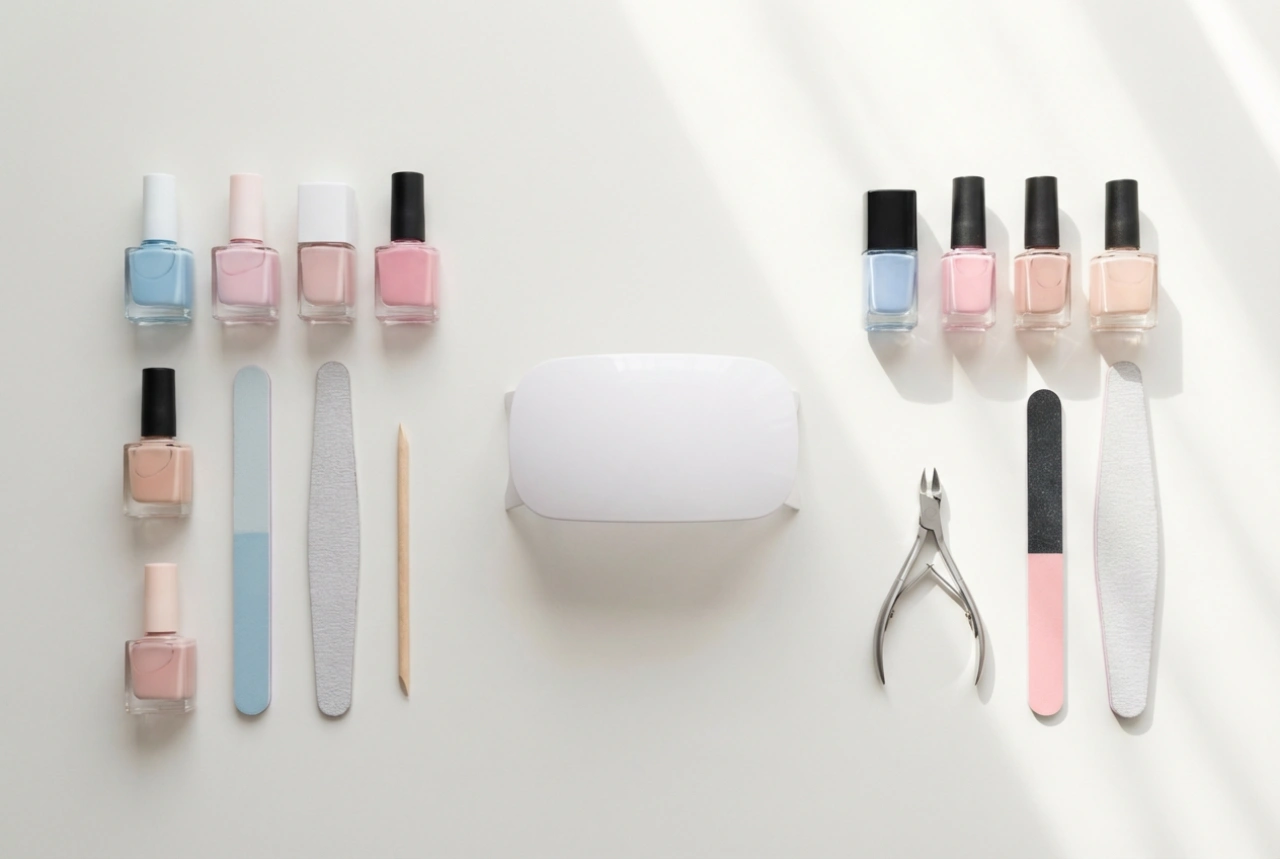
The foundation of any beautiful manicure is proper nail preparation. A smooth and clean canvas is essential for the mirror powder to adhere evenly and create a seamless, reflective surface. Any imperfections on the nail plate, such as ridges or bumps, can become more noticeable under the fine, shimmering powder. Taking the time to prepare your nails correctly will ensure your final look is professional and long-lasting.
- Clean and Shape: Begin by removing any old polish. Wash your hands and nails to ensure they are free of oils and debris. File your nails into your desired shape, whether it's square, oval, or almond. Ensure all nails are of a uniform length and shape.
- Cuticle Care: Gently push back your cuticles using a cuticle pusher. Avoid cutting them if possible, as this can lead to irritation. A tidy cuticle area creates a clean frame for your manicure.
- Buff the Surface: Lightly buff the surface of your nails with a fine-grit buffer. The goal is not to thin the nail, but to remove any natural shine and create a slightly textured surface for the base coat to grip onto. Wipe away any dust with a lint-free wipe.
- Apply a Base Coat: Always start with a quality base coat. This step protects your natural nails from staining and provides an ideal foundation for the colour polish, helping it to last longer without chipping.
Choosing and Applying Your Light Base Colour
The choice of base colour is crucial for achieving a delicate mirror effect. While chrome powders can be used over any colour, light shades like soft white, creamy beige, pale pink, or light lavender work best for a subtle, ethereal glow. These colours act as a bright canvas, allowing the pearlescent qualities of the powder to shine through without being overpowered by a dark background. The result is a sophisticated shimmer rather than a bold, metallic finish.
For the application, apply two thin, even coats of your chosen light-coloured polish. Whether you are using traditional polish or a gel system, thin coats are key to a smooth, professional finish and quicker drying or curing times. Ensure the first coat is completely dry or cured before applying the second. A smooth, opaque base is essential for the mirror powder to look its best.
How to Apply Chrome Powder for a Subtle Mirror Shine
This is the magical step where the mirror effect comes to life. The technique involves rubbing a very fine, pigmented powder onto a specific type of surface—typically a no-wipe gel top coat that has been partially cured. This creates the chrome-like, reflective finish. While it is most commonly done with gel polish, a similar effect can be attempted with regular polish, though it requires precise timing.
The Application Technique
The key is to work on a surface that is not fully dry or cured, as it needs to be just tacky enough for the powder to adhere and be burnished into a shine. For gel manicures, this is achieved with a no-wipe top coat.
- Apply a Top Coat (for Gel): After your two coats of colour are fully cured, apply a thin layer of a no-wipe gel top coat. Do not cure it for the full recommended time. A partial cure of 15-30 seconds under an LED lamp is usually sufficient. The surface should be dry to the touch but still have a microscopic grippiness.
- Pick Up the Powder: Use a small, disposable eyeshadow applicator, a silicone nail tool, or even your fingertip (covered with a glove). Dip it into the powder and pick up a very small amount. A little goes a long way.
- Rub it In: Gently but firmly rub the powder onto the surface of the nail. Use circular or back-and-forth motions, applying even pressure. You will quickly see the surface transform from a standard polish finish to a smooth, pearlescent mirror. Continue burnishing until the entire nail is covered and looks seamless.
- Brush Off Excess: Once you are happy with the effect, use a soft, fluffy brush (like a fan brush or a clean makeup brush) to gently sweep away any loose powder particles from the nail and surrounding skin.
Sealing Your Manicure for a Lasting Glow
After achieving the perfect mirror shine, the final and most important step is to seal your design. Without a protective top coat, the delicate powder layer will quickly rub off. This step ensures your manicure remains beautiful and chip-free for as long as possible.
Apply one or two thin layers of a high-quality top coat over the entire nail. If you used a gel system for the powder application, you will need to use a gel top coat and cure it fully according to the manufacturer's instructions. For regular polish, a good long-wearing top coat will work. Be sure to 'cap' the free edge of each nail by running the brush along the tip. This creates a seal that helps prevent chipping and protects the most vulnerable part of the manicure, ensuring your delicate mirror effect lasts.