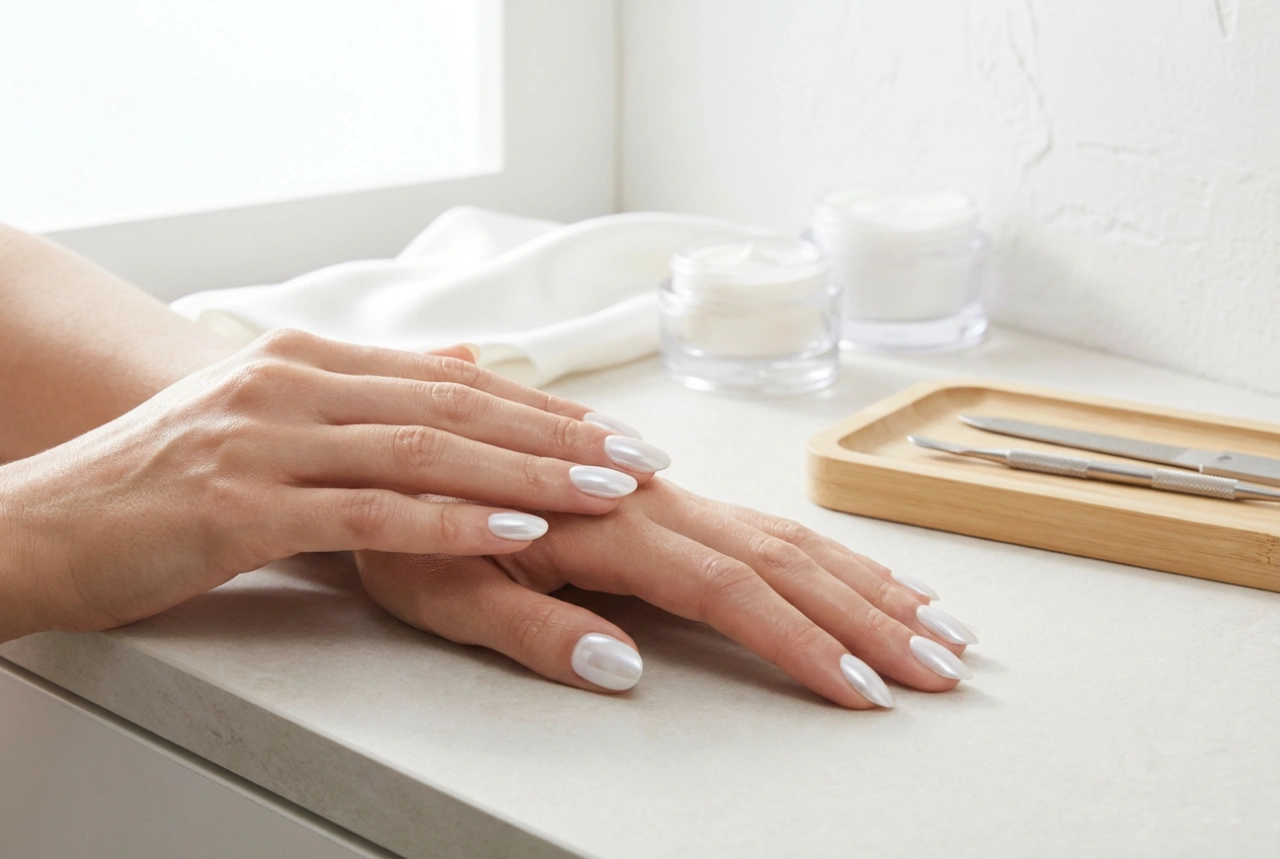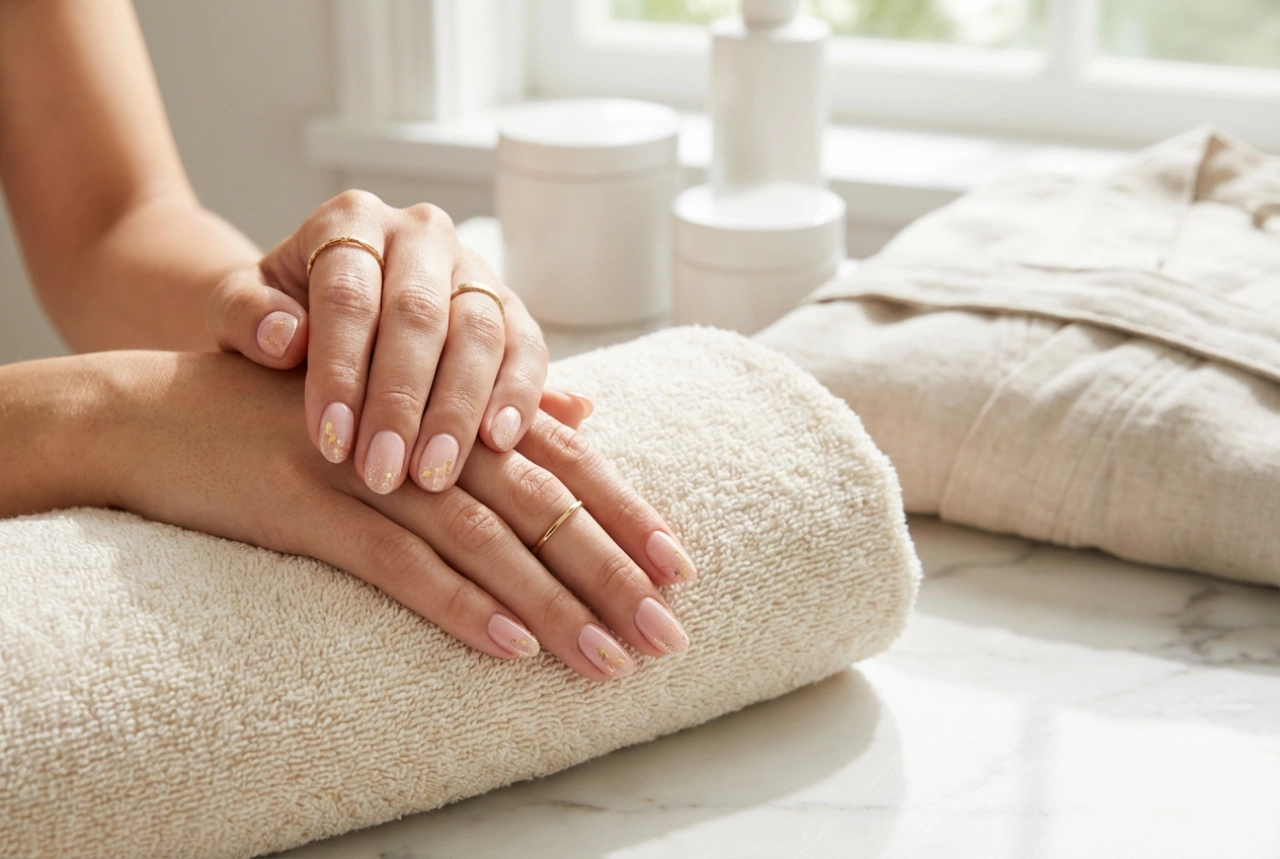


The trend for elegant, pearly white nails continues to capture attention with its subtle yet captivating iridescence. This sophisticated look, often associated with refined beauty, provides a smooth, luminous finish that complements any style. Fortunately, you don't need a salon visit to achieve this effect. With the right tools, a fine iridescent powder, and a clear technique, you can create a flawless pearl manicure at home. This guide will walk you through the process, ensuring a polished and long-lasting result.
Preparing Your Nails for a Perfect Base
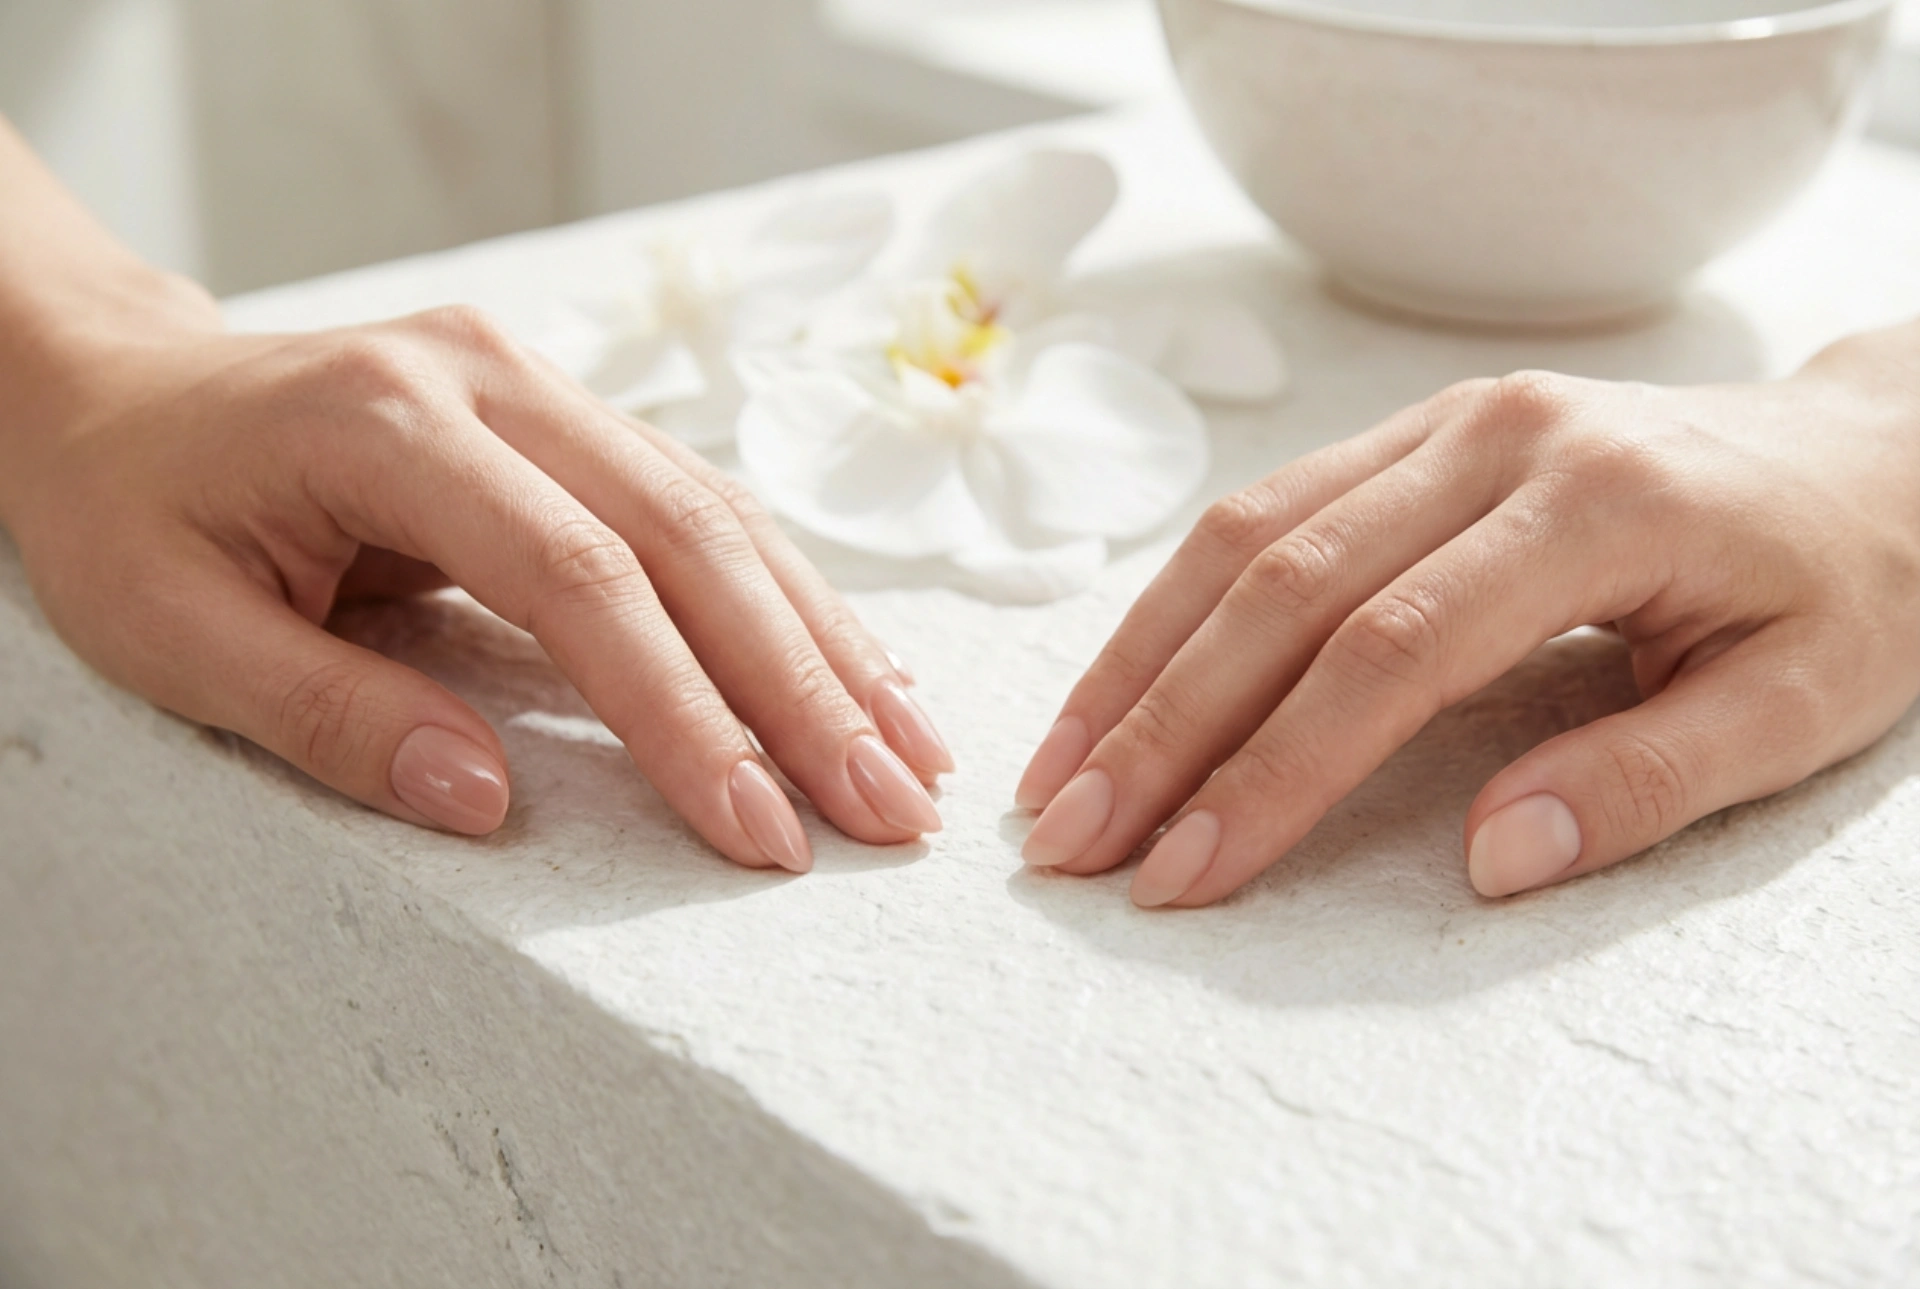
The foundation of any beautiful manicure is meticulous preparation. A smooth, clean canvas is essential for the powder to adhere evenly and create that signature seamless shine. Skipping these initial steps can lead to a bumpy or patchy finish, so it's worth investing time here.
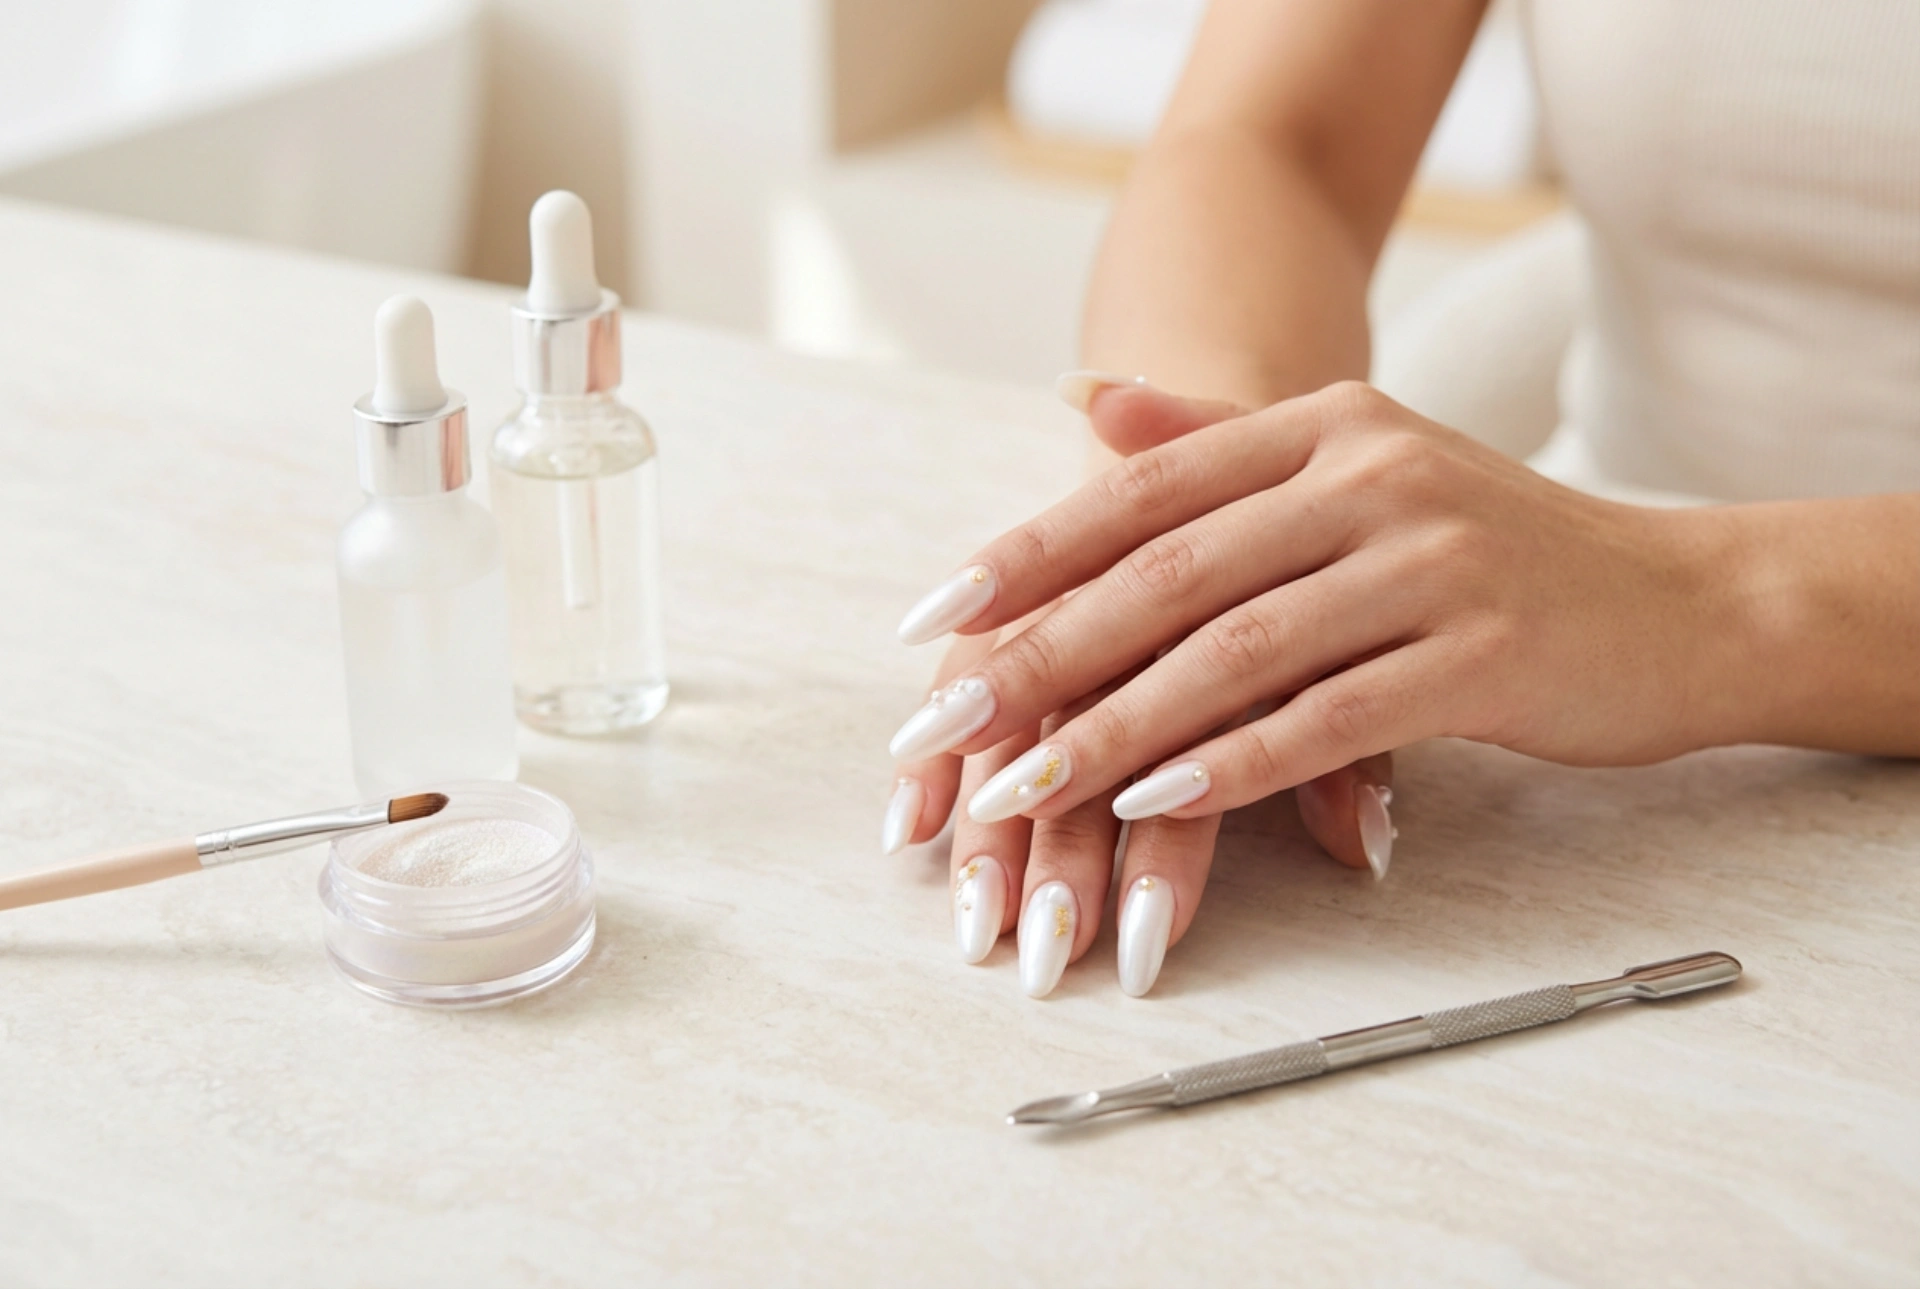
Essential Tools and Materials
Before you begin, gather your supplies. A well-organised workspace makes the process smoother and more enjoyable. You will need:
- A nail file and buffer
- A cuticle pusher or orangewood stick
- Nail cleanser or isopropyl alcohol
- A quality base coat
- A white or light-coloured nail polish (gel or regular)
- A pearlescent or chrome effect powder
- A small, soft applicator (e.g., an eyeshadow sponge applicator or a silicone tool)
- A no-wipe top coat (crucial for powder application)
- A soft, clean brush for dusting off excess powder
Step-by-Step Nail Preparation
Start by shaping your nails to your desired length and form using a nail file. Next, gently push back your cuticles. Avoid cutting them to maintain the health of your nail bed. Lightly buff the entire surface of each nail with a fine-grit buffer. This removes any natural shine and creates a slightly textured surface for the base coat to grip onto. Finally, wipe each nail with a lint-free pad soaked in nail cleanser or alcohol. This step removes all oils, dust, and debris, ensuring maximum adhesion and longevity for your manicure.
Applying the Base Colour Flawlessly
The colour you choose to apply underneath the powder will significantly influence the final look. For a classic pearly white effect, a crisp white or a soft, milky off-white is the perfect choice. This creates a bright background that allows the iridescent qualities of the powder to shine through.
Choosing and Applying Your Colour
After your base coat has dried or been cured, apply your chosen white polish. The key to a professional-looking result is to apply thin, even coats. A thick application can lead to bubbling, smudging, and an uneven surface. Apply one thin coat and allow it to dry completely. Follow with a second thin coat to ensure full, opaque coverage. If you are using a gel polish system, be sure to cure each layer according to the manufacturer's instructions. A smooth, streak-free colour application is vital for the next stage.
Mastering the Art of Powder Application
This is where the magic happens. Applying the effect powder correctly is what transforms a simple white manicure into a luminous, pearly masterpiece. The secret lies in using a no-wipe top coat, which provides the perfect surface for the powder to adhere to.
The No-Wipe Top Coat Method
Apply a thin layer of no-wipe top coat over your dry base colour. If using a gel system, cure it under a lamp, but be mindful of the timing. Curing it for the full recommended time can sometimes make the surface too slick for the powder to stick. Many find that curing for slightly less time (e.g., 30 seconds instead of 60) leaves a subtle tackiness that is ideal for burnishing the powder. You may need to experiment to find the perfect timing for your specific products. For regular polish, you need a special water-based top coat that air-dries to the right finish.
Rubbing in the Powder for a Mirror Shine
Using your sponge or silicone applicator, pick up a very small amount of the pearly powder. A little goes a long way. Gently but firmly start rubbing the powder onto the surface of the nail, beginning near the cuticle and working your way to the tip. Use firm, circular or back-and-forth motions. As you rub, you will see the powdery texture transform into a smooth, reflective, chrome-like surface. Continue burnishing until the entire nail is evenly covered and has a high-shine, pearlescent effect. Once satisfied, use a soft, fluffy brush to gently dust away any excess powder from the nail and surrounding skin.
Sealing Your Design for Lasting Brilliance
The final step is to protect your beautiful work. Sealing the powder correctly not only adds an extra layer of gloss but also ensures your manicure withstands daily wear and tear without chipping or dulling.
Applying the Final Top Coat
To seal in the powder, apply another layer of top coat. It is important to 'float' the brush over the nail. This means applying the top coat with a light touch, without letting the bristles drag heavily on the surface. This technique prevents the bristles from pulling the powder and causing streaks, which would ruin the smooth finish. Be sure to cap the free edge of the nail by running the brush along the tip. This creates a seal that helps prevent chipping and extends the life of your manicure. Cure this final layer completely if using gels, or let it air-dry thoroughly. Once dry, finish with a drop of cuticle oil to nourish the skin around your nails, completing your elegant, homemade pearl manicure.