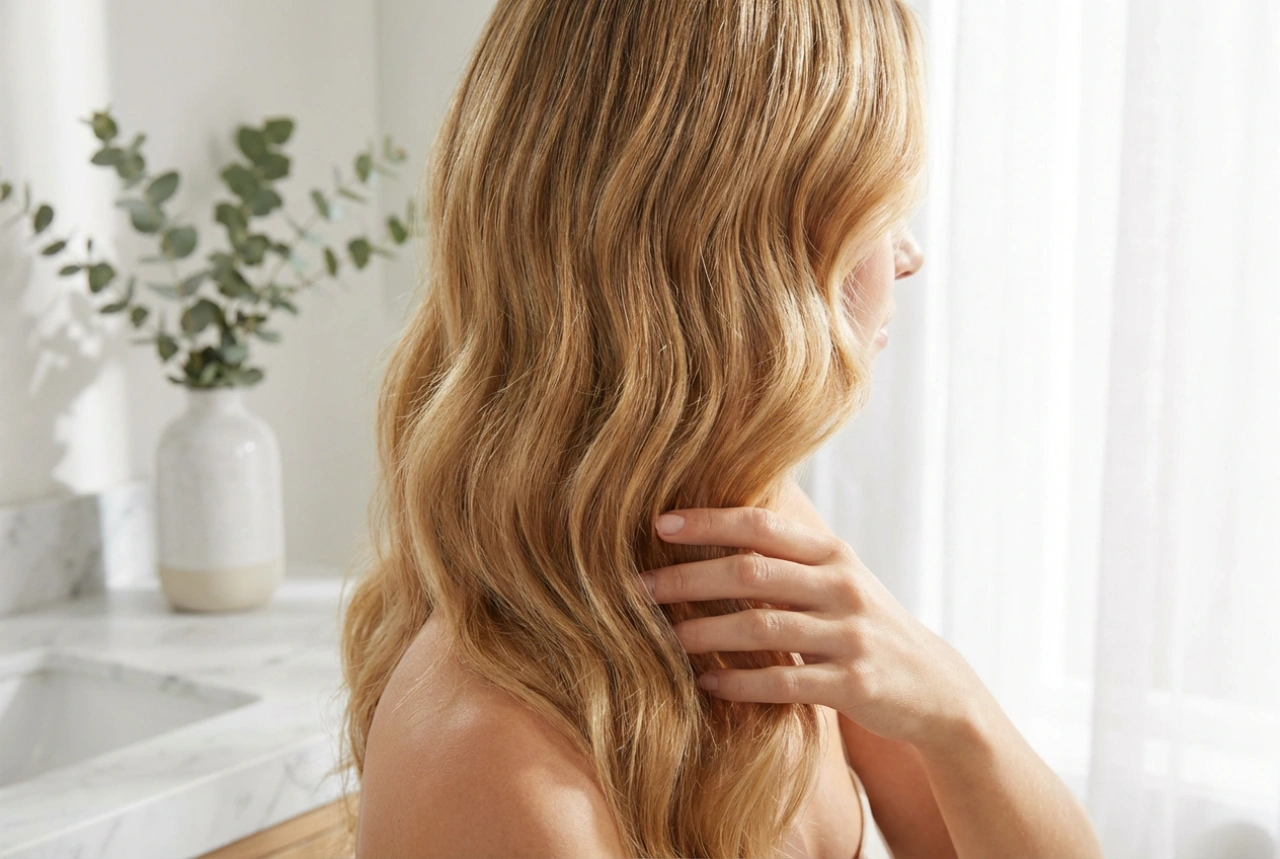


Achieving perfectly uniform, bouncy curls can often feel like a task best left to professionals. Traditional curling tongs and wands require a degree of skill to avoid uneven results or accidental burns. However, modern beauty technology offers a solution that promises effortless, consistent curls at home. The automatic curling iron is designed to take the guesswork out of styling, drawing hair into a heated chamber to create a flawless curl every time. This guide will walk you through how to use this innovative tool safely and effectively for beautiful, tangle-free results.
What is an Automatic Curling Iron?
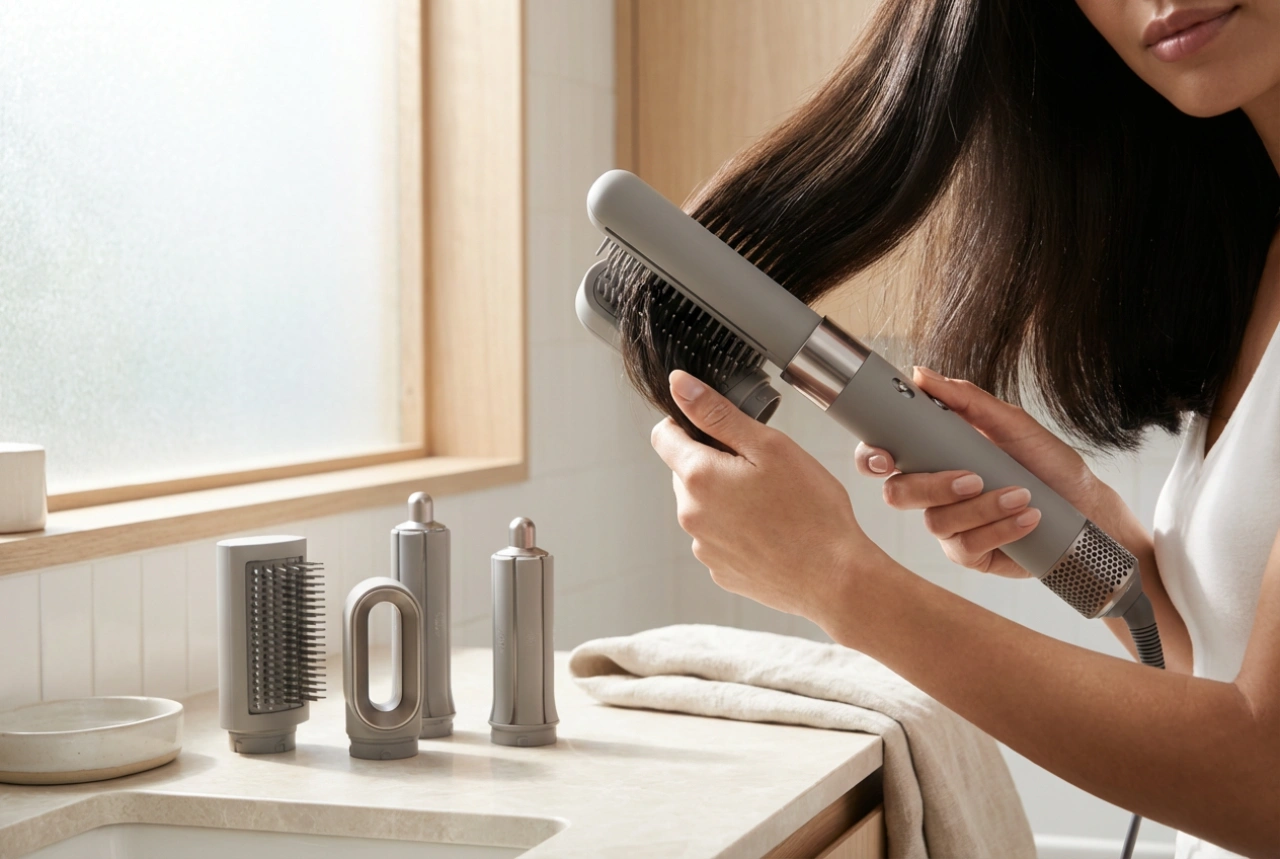
An automatic curling iron is a styler that automatically wraps a section of hair around an internal heated barrel. Unlike traditional tools where you manually wrap the hair, this device does the work for you. You simply place a small section of hair into the designated slot, and the tool gently draws it into the curling chamber. Inside, the hair is heated evenly from all directions for a set amount of time. Most models feature adjustable settings for temperature, time, and even curl direction (left, right, or alternating), allowing for customised styling tailored to your hair type and desired look. This mechanism not only simplifies the process but also minimises the risk of direct contact with hot surfaces.
Preparing Your Hair for Styling
Proper preparation is the foundation of any successful hairstyle and is crucial when using a heat styling tool. Following these steps will protect your hair and ensure the best possible outcome.
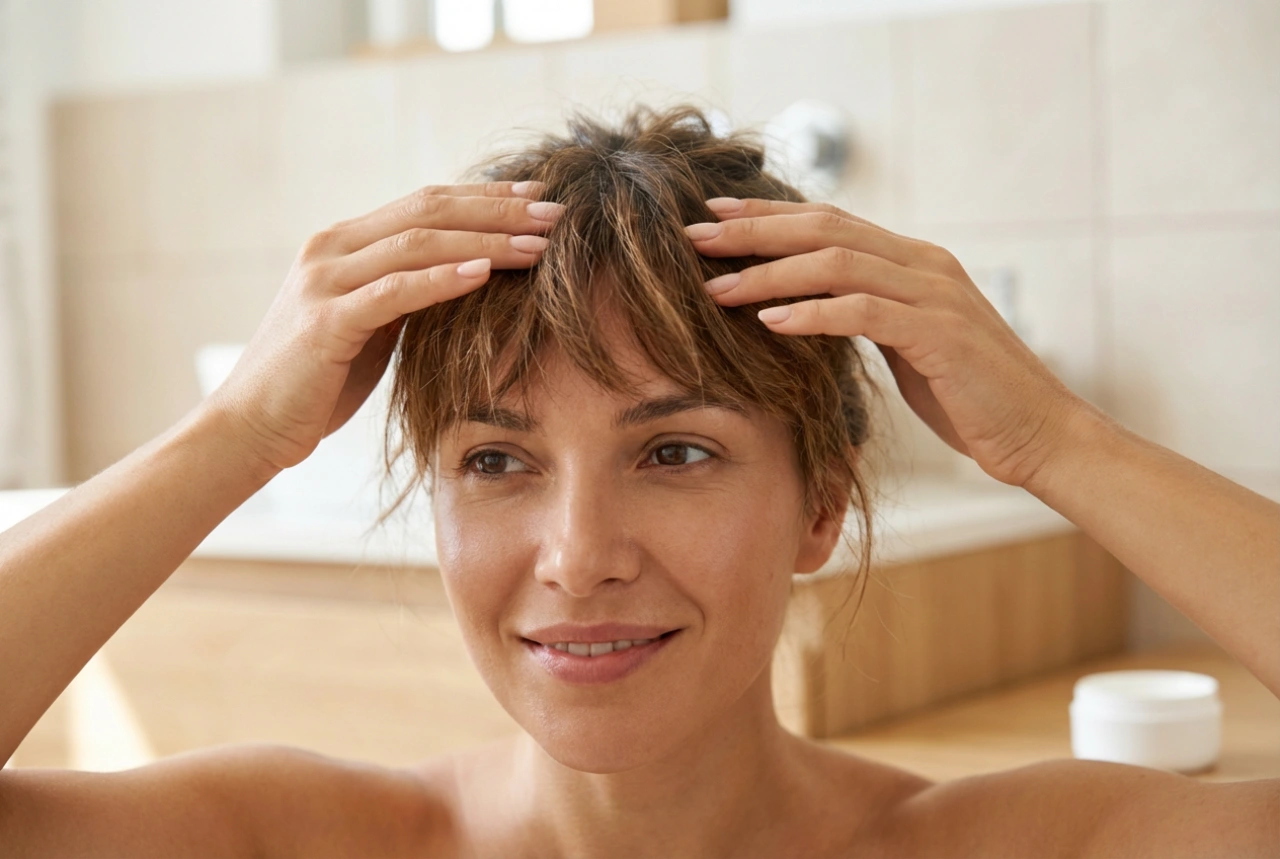
Start with Dry, Detangled Hair
Never use an automatic curler, or any heat styler, on wet or damp hair. This can cause significant damage to the hair cuticle and poses a safety risk. Your hair must be 100% dry before you begin. Brush or comb your hair thoroughly to remove all knots and tangles. Smooth hair will glide into the device easily, which is the most important step in preventing it from getting caught or tangled inside the chamber.
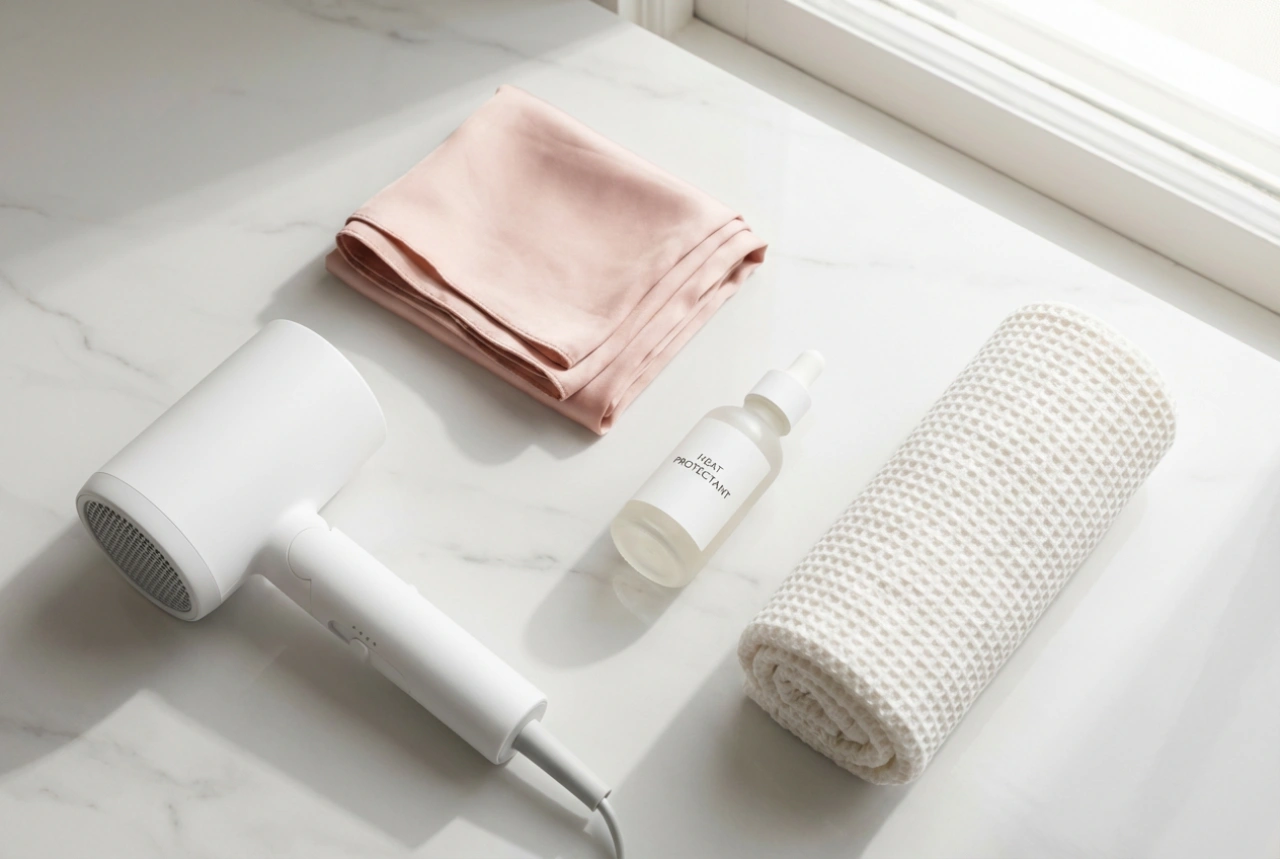
Apply a Heat Protectant
A quality heat protectant is non-negotiable. These products create a protective barrier between your hair and the heat, reducing moisture loss and minimising damage. Spray it evenly throughout your hair, from roots to ends, and comb it through to ensure even distribution. This simple step helps maintain your hair's health, shine, and colour.
Section Your Hair
Styling is much easier and more effective when you work in an organised manner. Use clips to divide your hair into several manageable sections. Working on one small section at a time ensures that you curl every strand evenly and prevents you from accidentally re-curling parts you have already styled. A typical approach is to separate the top and bottom layers of your hair first.
Step-by-Step Guide to Using an Automatic Curler
Once your hair is prepped, you are ready to start curling. Familiarise yourself with your specific device's instructions, as features may vary slightly.
- Step 1: Choose Your Settings. Select the appropriate heat and timer settings for your hair type. Fine or colour-treated hair requires a lower temperature, while thick or coarse hair may need a higher setting. If you are unsure, start with the lowest temperature and gradually increase it if necessary. The timer setting determines how tight the curl will be—a shorter time for a loose wave, a longer time for a tighter curl.
- Step 2: Take a Small Section of Hair. This is a critical step. Take a clean, smooth section of hair that is no more than 2-3 centimetres wide. Attempting to curl too much hair at once is the primary cause of tangling.
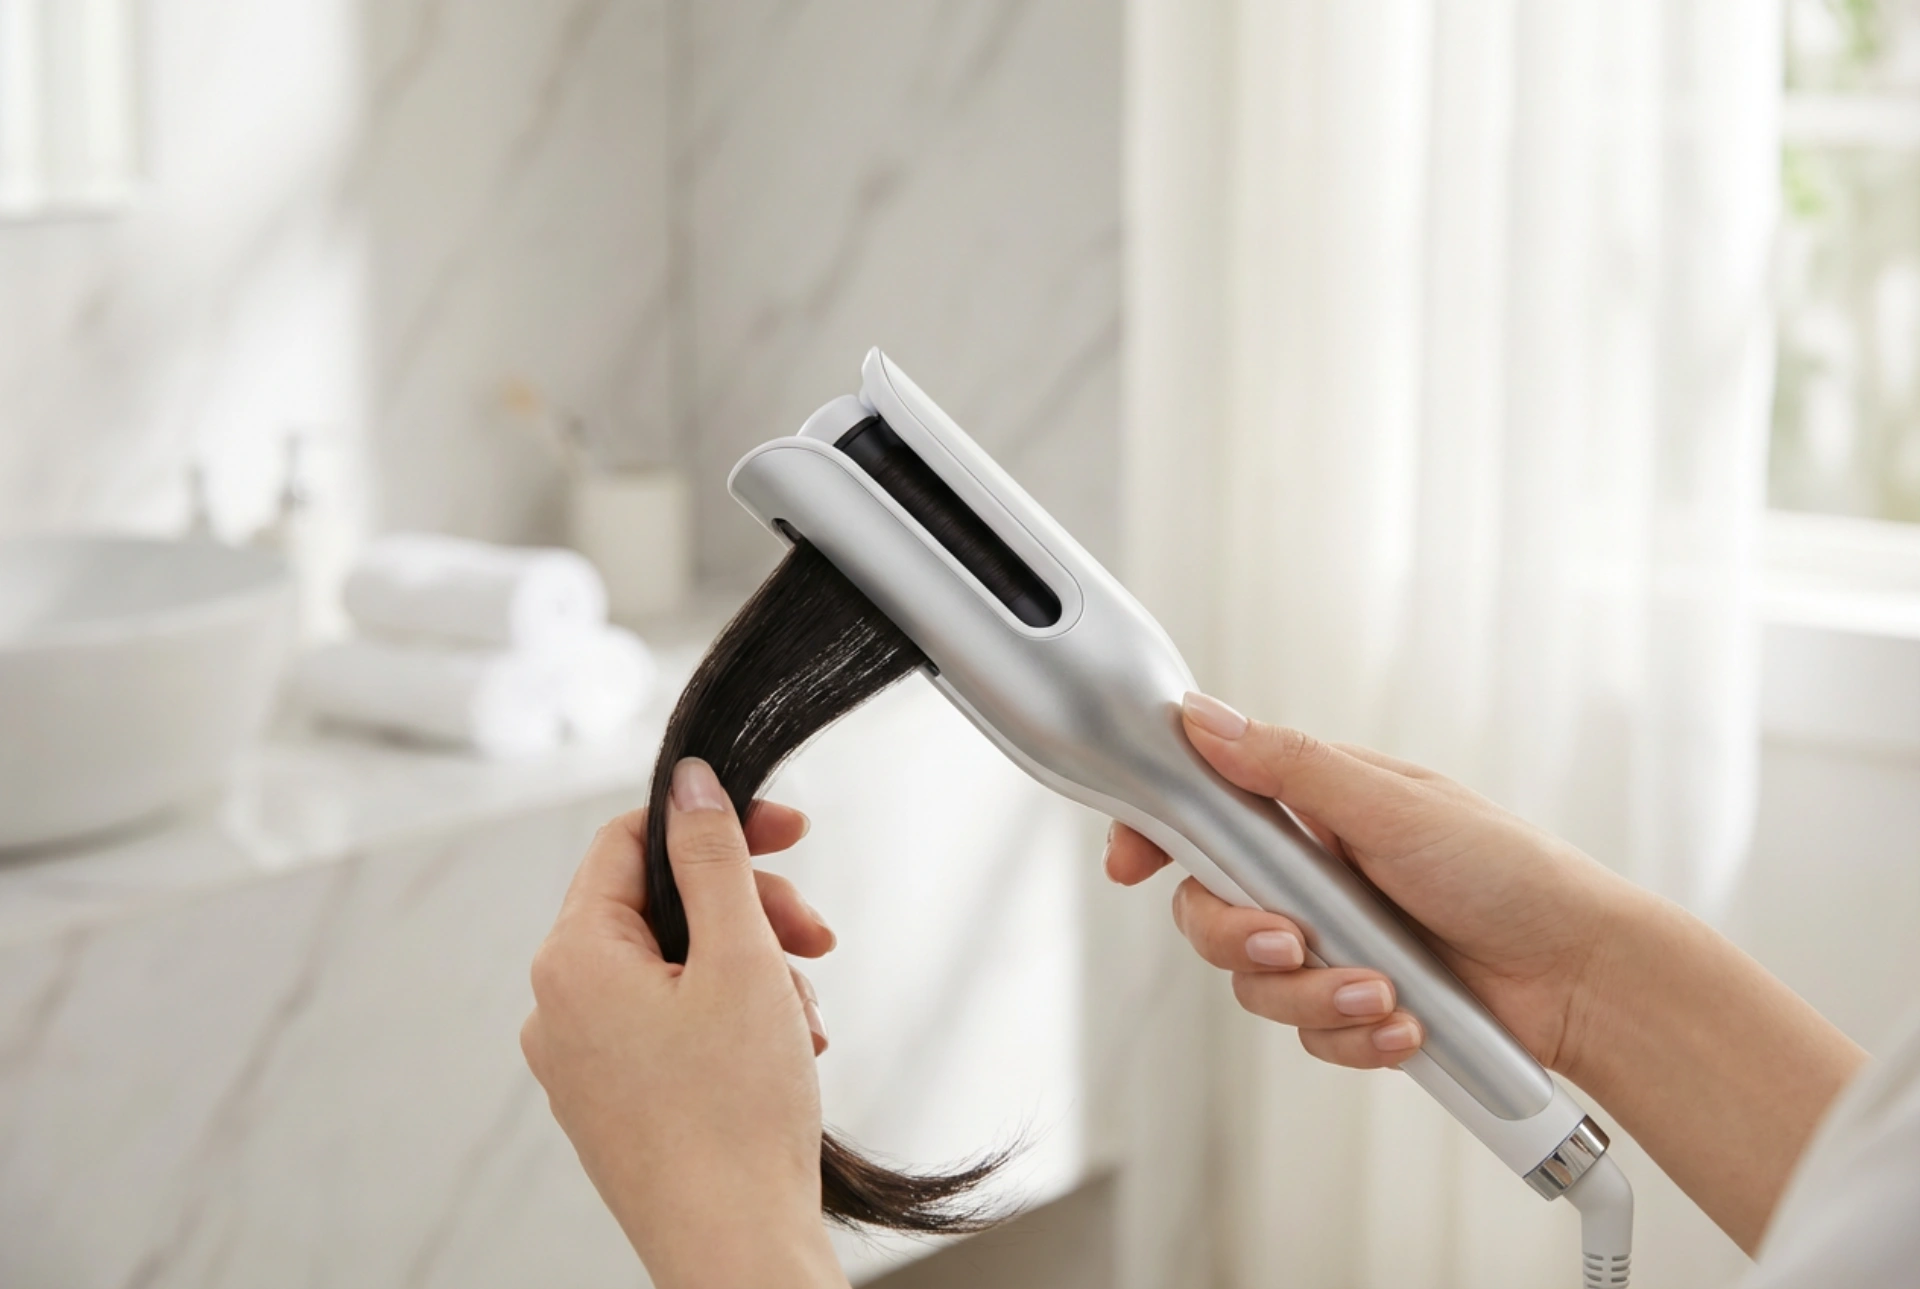
- Step 3: Position the Tool. Hold the styler upright, with the opening of the curl chamber facing your head. Place the section of hair into the slot at the top of the device. Ensure the hair is straight and held taut as you feed it in.
- Step 4: Activate the Curling Action. Press the button to activate the motor. The device will automatically draw the hair section into the chamber. Hold the styler in place and release the hair section, allowing the tool to do all the work. You will typically hear a series of beeps indicating that the hair is being curled.
- Step 5: Release the Curl. Once the beeping signals that the time is up, simply pull the styler straight down and away from your head. Do not yank or pull at an angle. A perfectly formed curl will be released.
- Step 6: Let it Cool. To help the curl set and last longer, avoid touching or brushing it while it is still warm. Allow each curl to cool down completely before you proceed with final styling.
Tips for a Flawless, Long-Lasting Finish
To elevate your look from good to great, keep a few extra tips in mind. For a more natural, multi-dimensional style, use the alternating curl direction setting or manually switch the direction for each section. Once all your hair is curled and completely cool, you can gently separate the curls with your fingers for a softer, more voluminous look. If you prefer a more defined style, leave the curls as they are. A light mist of a flexible-hold hairspray will provide hold without making your hair feel stiff or crunchy. Finally, remember to clean your tool periodically according to the manufacturer's instructions to remove any product build-up, ensuring it continues to function perfectly.