


Multi-functional hair tools have revolutionised at-home styling, offering the power to dry, smooth, volumise, and curl with a single device. A 5-in-1 styler, with its array of interchangeable attachments, can seem complex at first, but understanding its components is the key to unlocking flawless, salon-quality results. Whether you're aiming for a sleek, glossy finish or bouncy, voluminous waves, this guide will help you navigate your tool's features and techniques for a perfect style every time.
Understanding the Core Components
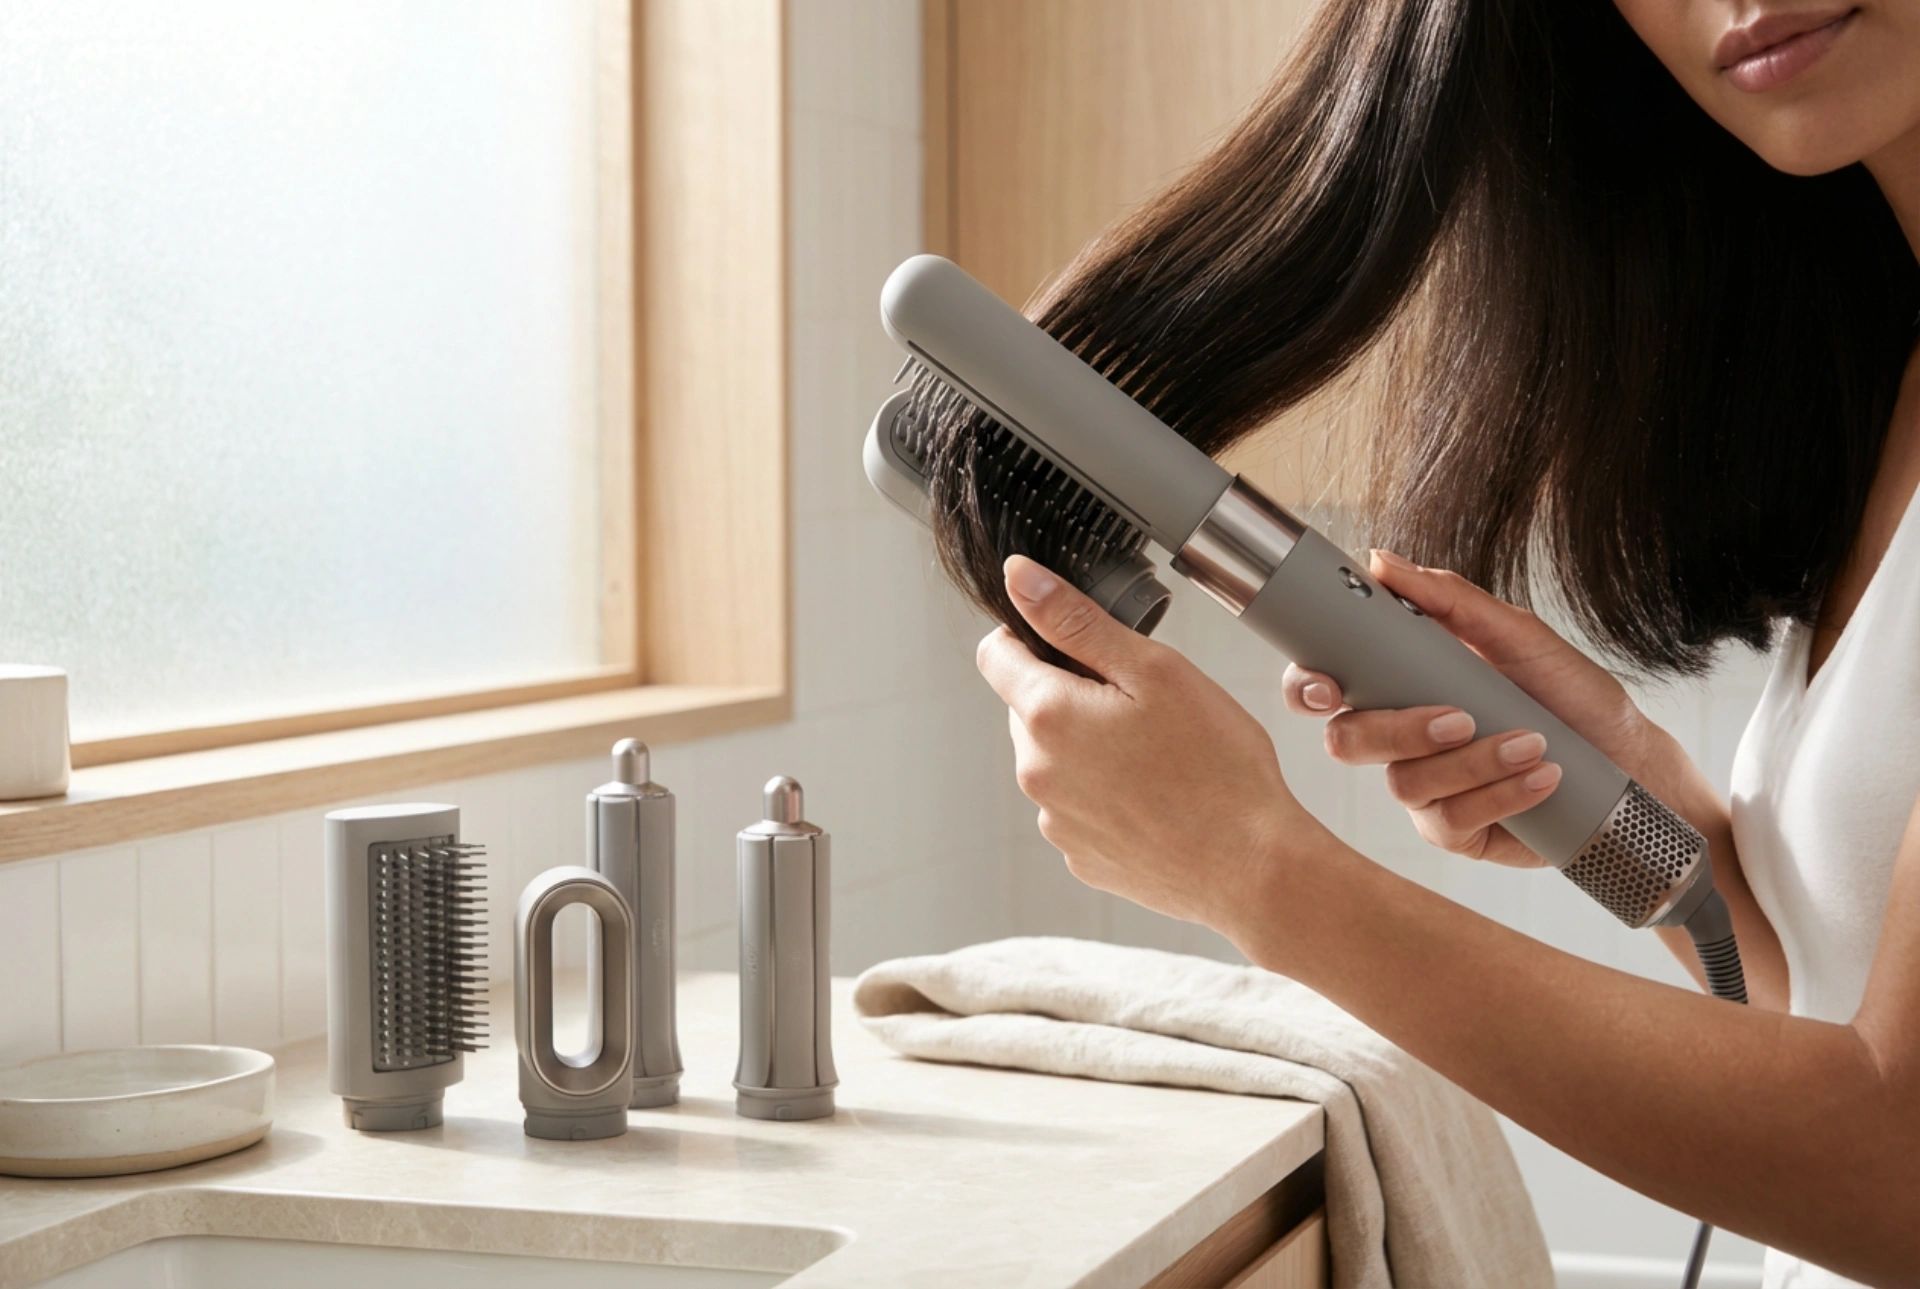
At the heart of any 5-in-1 system is the main body, which houses a powerful motor that generates a controlled, heated airflow. Unlike traditional hair dryers that often use extreme heat, many modern stylers are designed to style with air, minimising potential heat damage. The true versatility, however, lies in the attachments that click onto this base, each engineered for a specific styling purpose.
A Guide to the Attachments and Their Uses
Getting to know each attachment is crucial for achieving your desired look. While designs vary slightly, most 5-in-1 tools include a similar set of heads, each with a distinct function.
Pre-styling Dryer
This small, nozzle-like attachment is your first step. Its purpose is to take your hair from wet to damp (around 80% dry) before you begin precision styling. It directs airflow to quickly remove excess moisture without making hair frizzy. Using this first ensures that the other attachments can style effectively and efficiently. Always start on a medium heat and speed setting, rough-drying your hair and focusing on the roots.
Round Volumising Brush
This is your go-to for creating body, shape, and a classic bouncy blow-dry. The bristles are designed to grip the hair, while the barrel directs airflow to the roots for maximum lift. To use it, take a section of damp hair and place the brush underneath at the root. Roll the brush outwards and upwards as you dry, keeping tension. For a soft curl at the ends, wrap the hair around the barrel and hold for a few seconds before releasing.
Firm Smoothing Brush
Designed for a sleeker, straighter finish, the firm smoothing brush features stiff bristles that create tension to control and smooth the hair. It's excellent for taming frizz-prone hair. To use, simply brush through sections of damp hair from root to tip. The combination of tension and directed airflow straightens the hair cuticle, resulting in a smooth, polished look.
Soft Smoothing Brush
For those with finer hair or sensitive scalps, the soft smoothing brush offers a gentler alternative. It has soft, ball-tip bristles that glide through the hair with less tension. This attachment provides a more natural, straight finish rather than a pin-straight style, making it ideal for creating a smooth base with gentle movement.
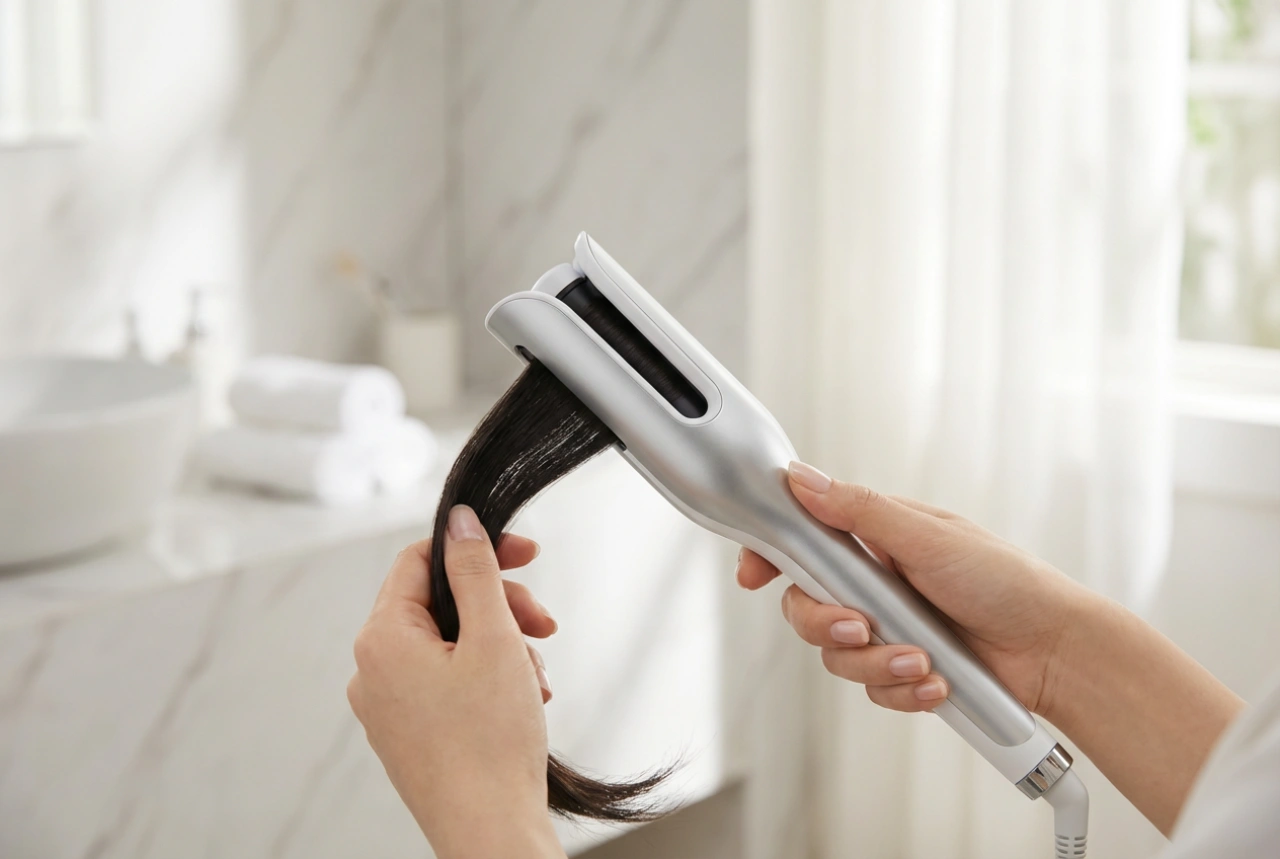
Curling Barrels
Often coming in a pair, these barrels create curls and waves. Many modern stylers use an aerodynamic phenomenon to attract and wrap the hair around the barrel automatically. Typically, you'll have one barrel for clockwise curls and another for anti-clockwise curls, allowing you to create a symmetrical, face-framing style. Take a small section of hair, hold it near the barrel, and let the airflow wrap it. Hold for 5-10 seconds, then use the cool shot function to set the curl before turning the device off and releasing.
Essential Tips for a Flawless Finish
To get the most out of your 5-in-1 styler, follow these professional tips for preparation and execution.
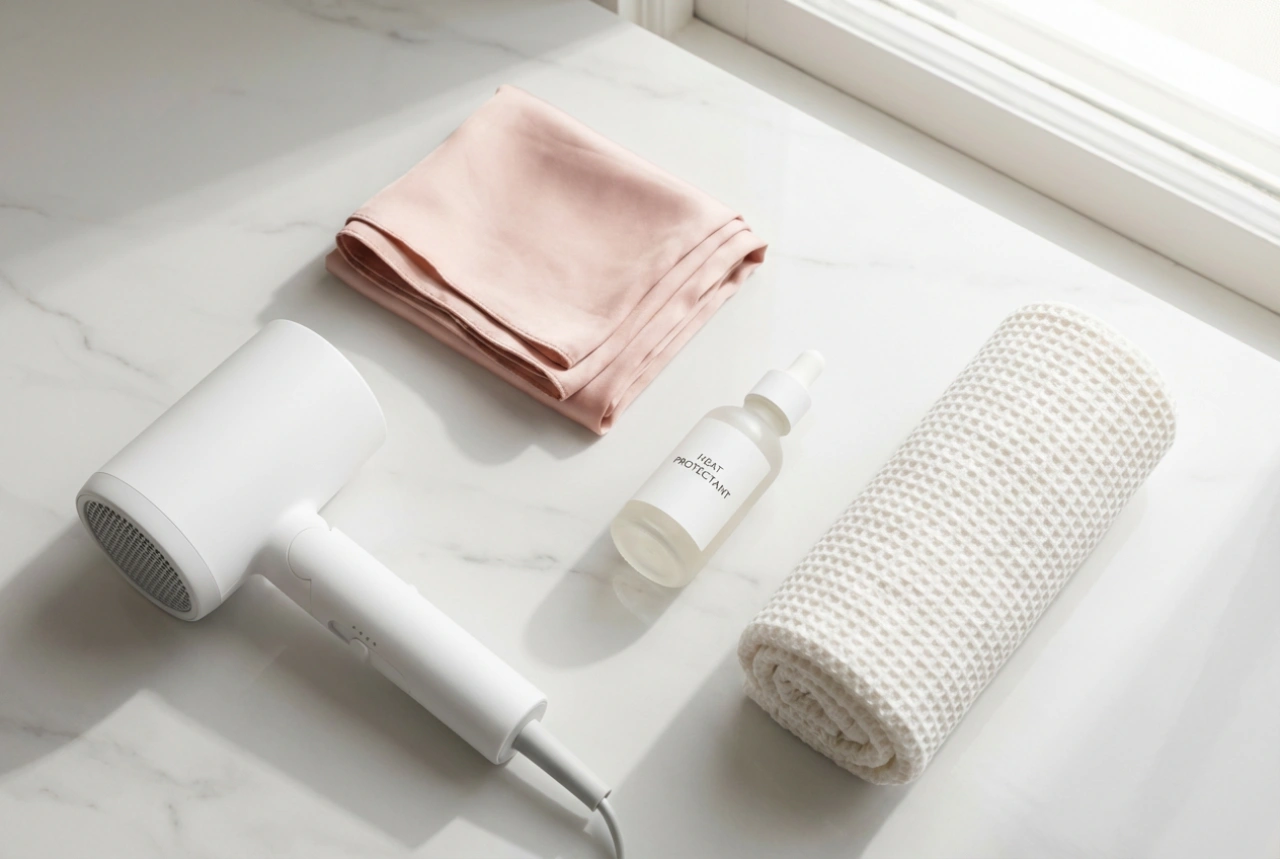
- Start with the Right Canvas: For best results, style on towel-dried, damp hair. Using the pre-styling dryer to remove excess water first is a non-negotiable step.
- Always Use Heat Protection: Before any heat styling, apply a heat protectant spray evenly throughout your hair to shield it from potential damage.
- Work in Sections: Divide your hair into manageable sections using clips. Styling one small section at a time gives you more control and ensures a more uniform, professional-looking result.
- Master the Cool Shot: The 'cool shot' button releases a burst of cool air. Use it at the end of styling each section (especially with curls or the round brush) to rapidly cool the hair and set the style in place for longer-lasting results.
- Keep It Clean: Regularly clean your attachments to remove product build-up. Most importantly, clean the filter at the base of your styler as instructed by the manufacturer. A clogged filter can reduce airflow and cause the device to overheat.
Experimenting with different attachments and techniques is the best way to discover what works for your hair type and desired aesthetic. With a little practice, your 5-in-1 tool will become an indispensable part of your beauty routine, making versatile and beautiful hair achievable every day.