


The nude lip is a hallmark of effortless elegance, a versatile look that complements everything from a natural daytime face to a dramatic evening eye. Achieving that perfect, polished nude lip—one that enhances your natural beauty without looking washed out—is an art. It involves more than just swiping on a single product. It’s a process of careful preparation, thoughtful colour selection, and precise application to create a look that is both subtle and stunning. This guide will walk you through the essential steps to master the nude lip, ensuring a flawless finish every time.
Preparing Your Lips for a Flawless Nude Look
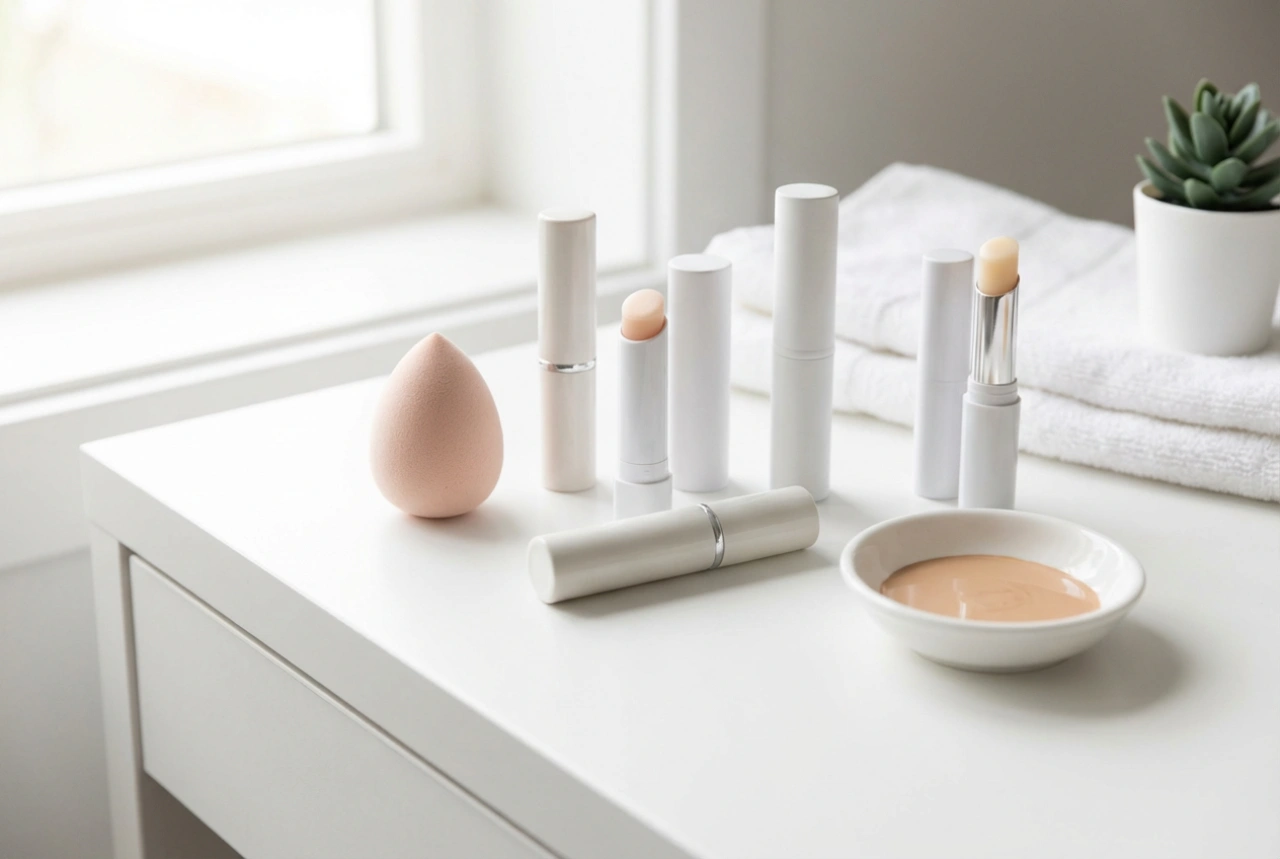
Before any colour touches your lips, preparation is paramount. A smooth, hydrated canvas is the secret to a professional-looking application and ensures your lipstick wears evenly throughout the day. Neglecting this step can result in a patchy, uneven finish where colour clings to dry areas.
Exfoliation: The First Step to Smoothness
Dead skin cells can make lips appear chapped and cause lipstick to look flaky. Gentle exfoliation removes this dry layer, revealing the soft skin underneath. You don't need fancy products for this; a simple homemade scrub can be very effective.
- Mix a small amount of sugar with a drop of coconut or olive oil to create a paste.
- Gently rub the mixture onto your lips in a circular motion for about 30 seconds.
- Rinse off with lukewarm water or wipe away with a damp cloth.
- Alternatively, you can use a soft, clean toothbrush or a damp washcloth to gently buff your lips.
Aim to exfoliate your lips once or twice a week, but be careful not to overdo it, as the skin here is very delicate.
Hydration is Key
After exfoliating, it's crucial to replenish moisture. Apply a nourishing lip balm and let it absorb for a few minutes before you begin your makeup. This not only soothes the skin but also creates a subtle barrier that prevents lipstick from settling into fine lines. For an intensive treatment, apply a thick layer of a rich lip mask or balm before you go to bed.
Finding Your Perfect Nude Shade
The term 'nude' is not one-size-fits-all. The perfect nude for you is a shade that complements your unique skin tone and undertones, often being one or two shades lighter or darker than your natural skin colour.
Understanding Your Undertones
Your skin's undertone is the subtle hue beneath the surface. It can be cool, warm, or neutral, and it plays a significant role in which makeup colours look best on you.
- Cool Undertones: Your skin may have a pink, red, or bluish hue. Veins on your wrist often appear blue. Silver jewellery tends to be more flattering.
- Warm Undertones: Your skin may have a yellow, peachy, or golden hue. Veins on your wrist may look greener. Gold jewellery often looks best.
- Neutral Undertones: You have a mix of cool and warm tones. Your veins might appear blue-green, and both gold and silver jewellery suit you.
Matching Nude to Your Skin Tone
Once you know your undertone, you can select a nude lipstick that harmonises with it. A general guide is to choose a nude with the same undertone as your skin.
- For Fair Skin: Look for nudes with a hint of pink or peach. A very pale, beige nude can sometimes wash you out, so a touch of rosy colour is often more flattering.
- For Medium Skin: Caramel, rosy-beige, and warm taupe shades are excellent choices. These colours provide a beautiful contrast without looking too stark.
- For Olive Skin: Warmer, richer nudes like terracotta, warm peach, and rosy-browns work wonderfully. These shades enhance the natural warmth in your skin.
- For Deep Skin: Look for rich chocolate browns, berry-infused nudes, or deep caramel tones. Avoid shades that are too light or ashy, as they can create a greyish cast.
The Art of Application: Contour and Fill
Proper application technique is what elevates a simple nude lip to a perfectly defined, professional-looking feature. Using a lip liner is a non-negotiable step for achieving a sharp, clean edge and long-lasting wear.
Defining with a Lip Liner
A lip liner serves two main purposes: it prevents your lipstick from bleeding or 'feathering' into the fine lines around your mouth, and it allows you to define and even slightly reshape your lips. Choose a liner that is very close in colour to your chosen lipstick, or one shade deeper to create a subtle contour. Begin at the Cupid's bow, drawing a small 'X' to define the peaks. Then, outline the rest of your upper lip, starting from the outer corners and drawing inwards. Repeat on the bottom lip. For added longevity, you can lightly fill in your entire lip with the liner before applying lipstick.
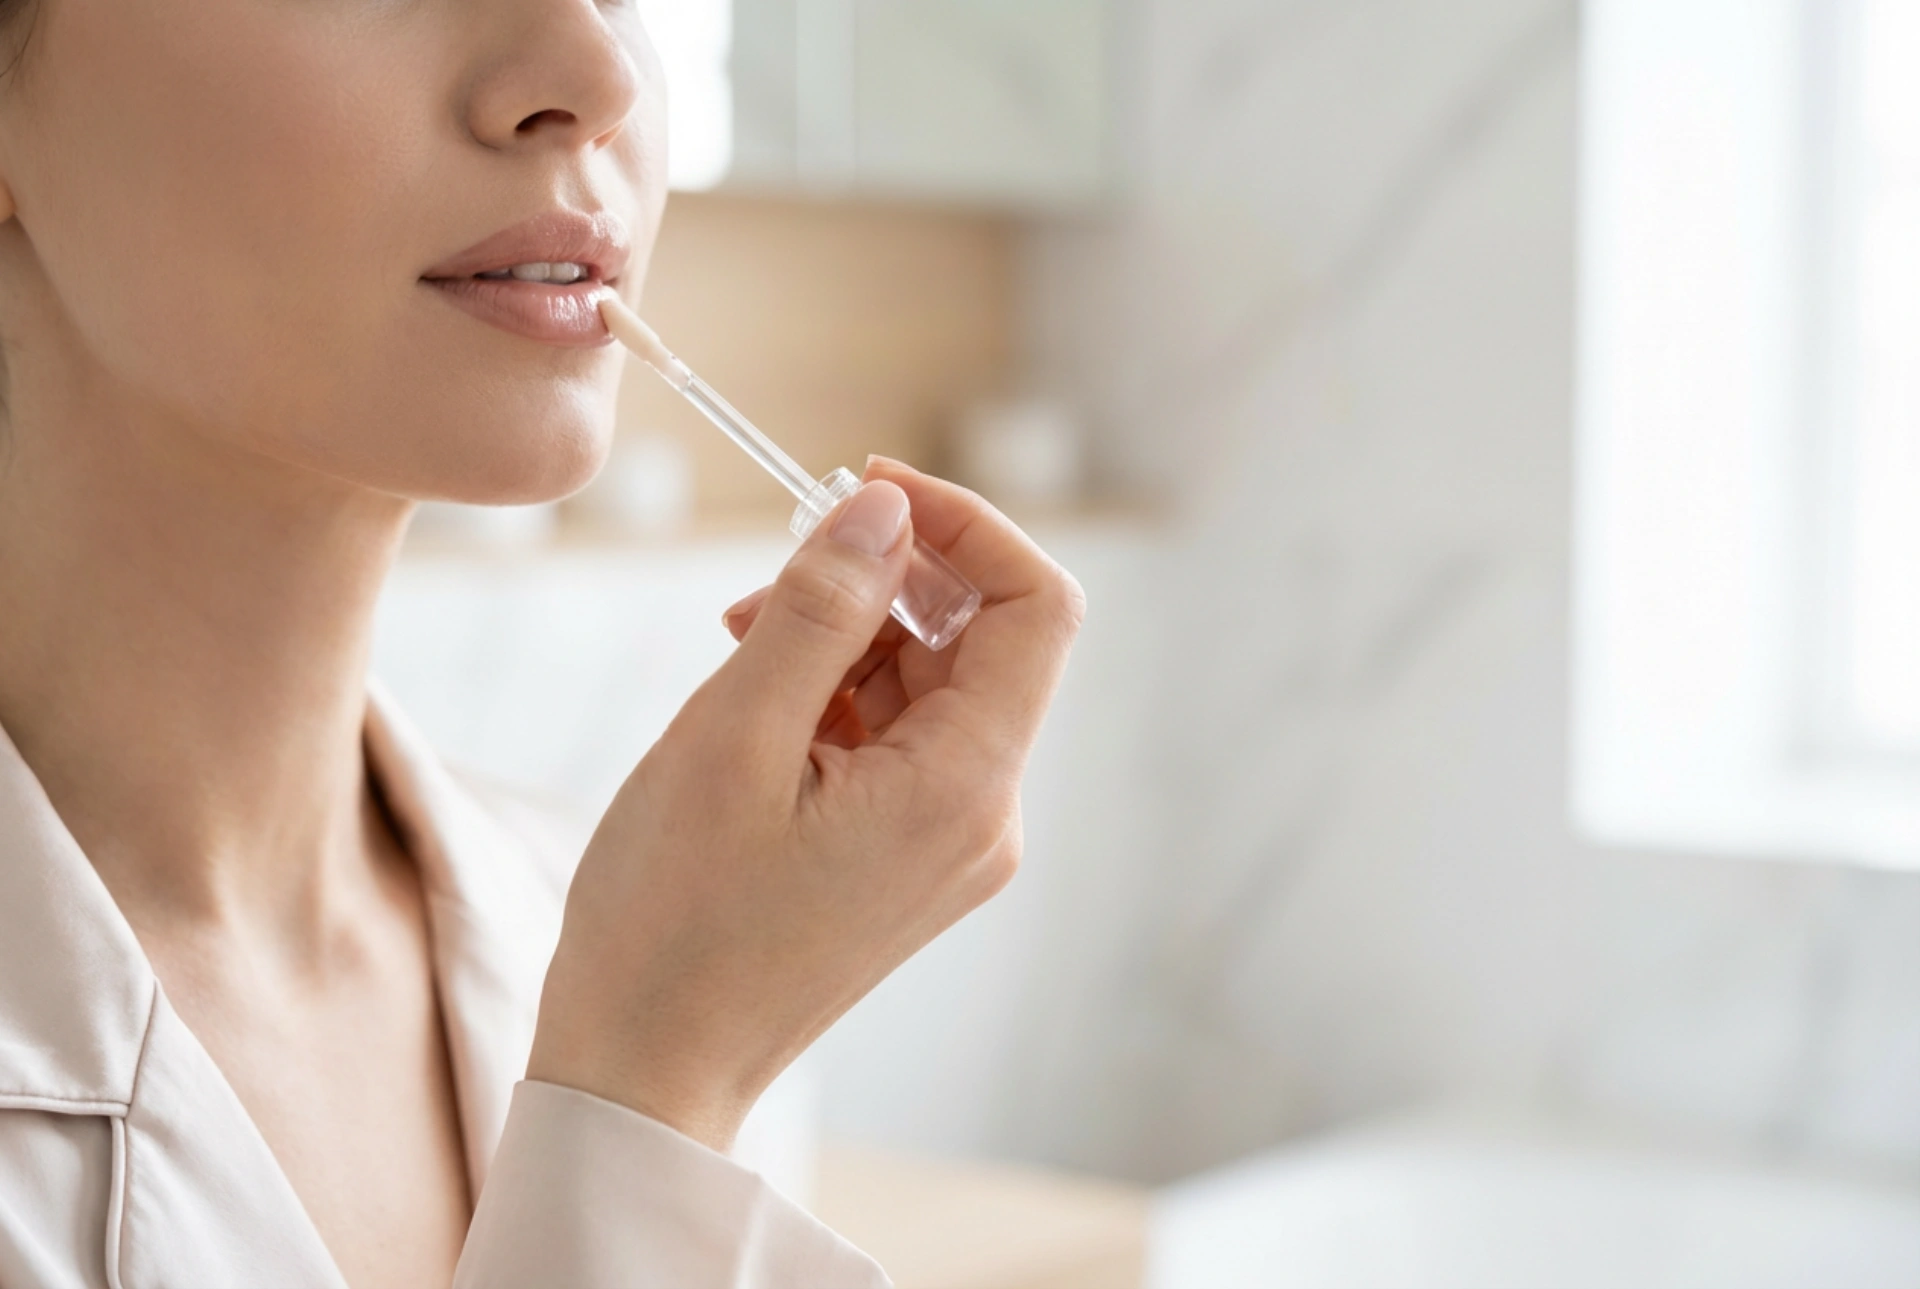
Filling with Colour
With your lips outlined, it's time to apply your lipstick. For the most precise application, use a lip brush. This gives you greater control over the amount of product and allows you to work the colour right up to the line you've drawn. Alternatively, you can apply it directly from the bullet. Start in the centre of your lips and blend the colour outwards. Press your lips together to ensure an even distribution. For a look that lasts, blot your lips with a tissue, then apply a second coat of lipstick.
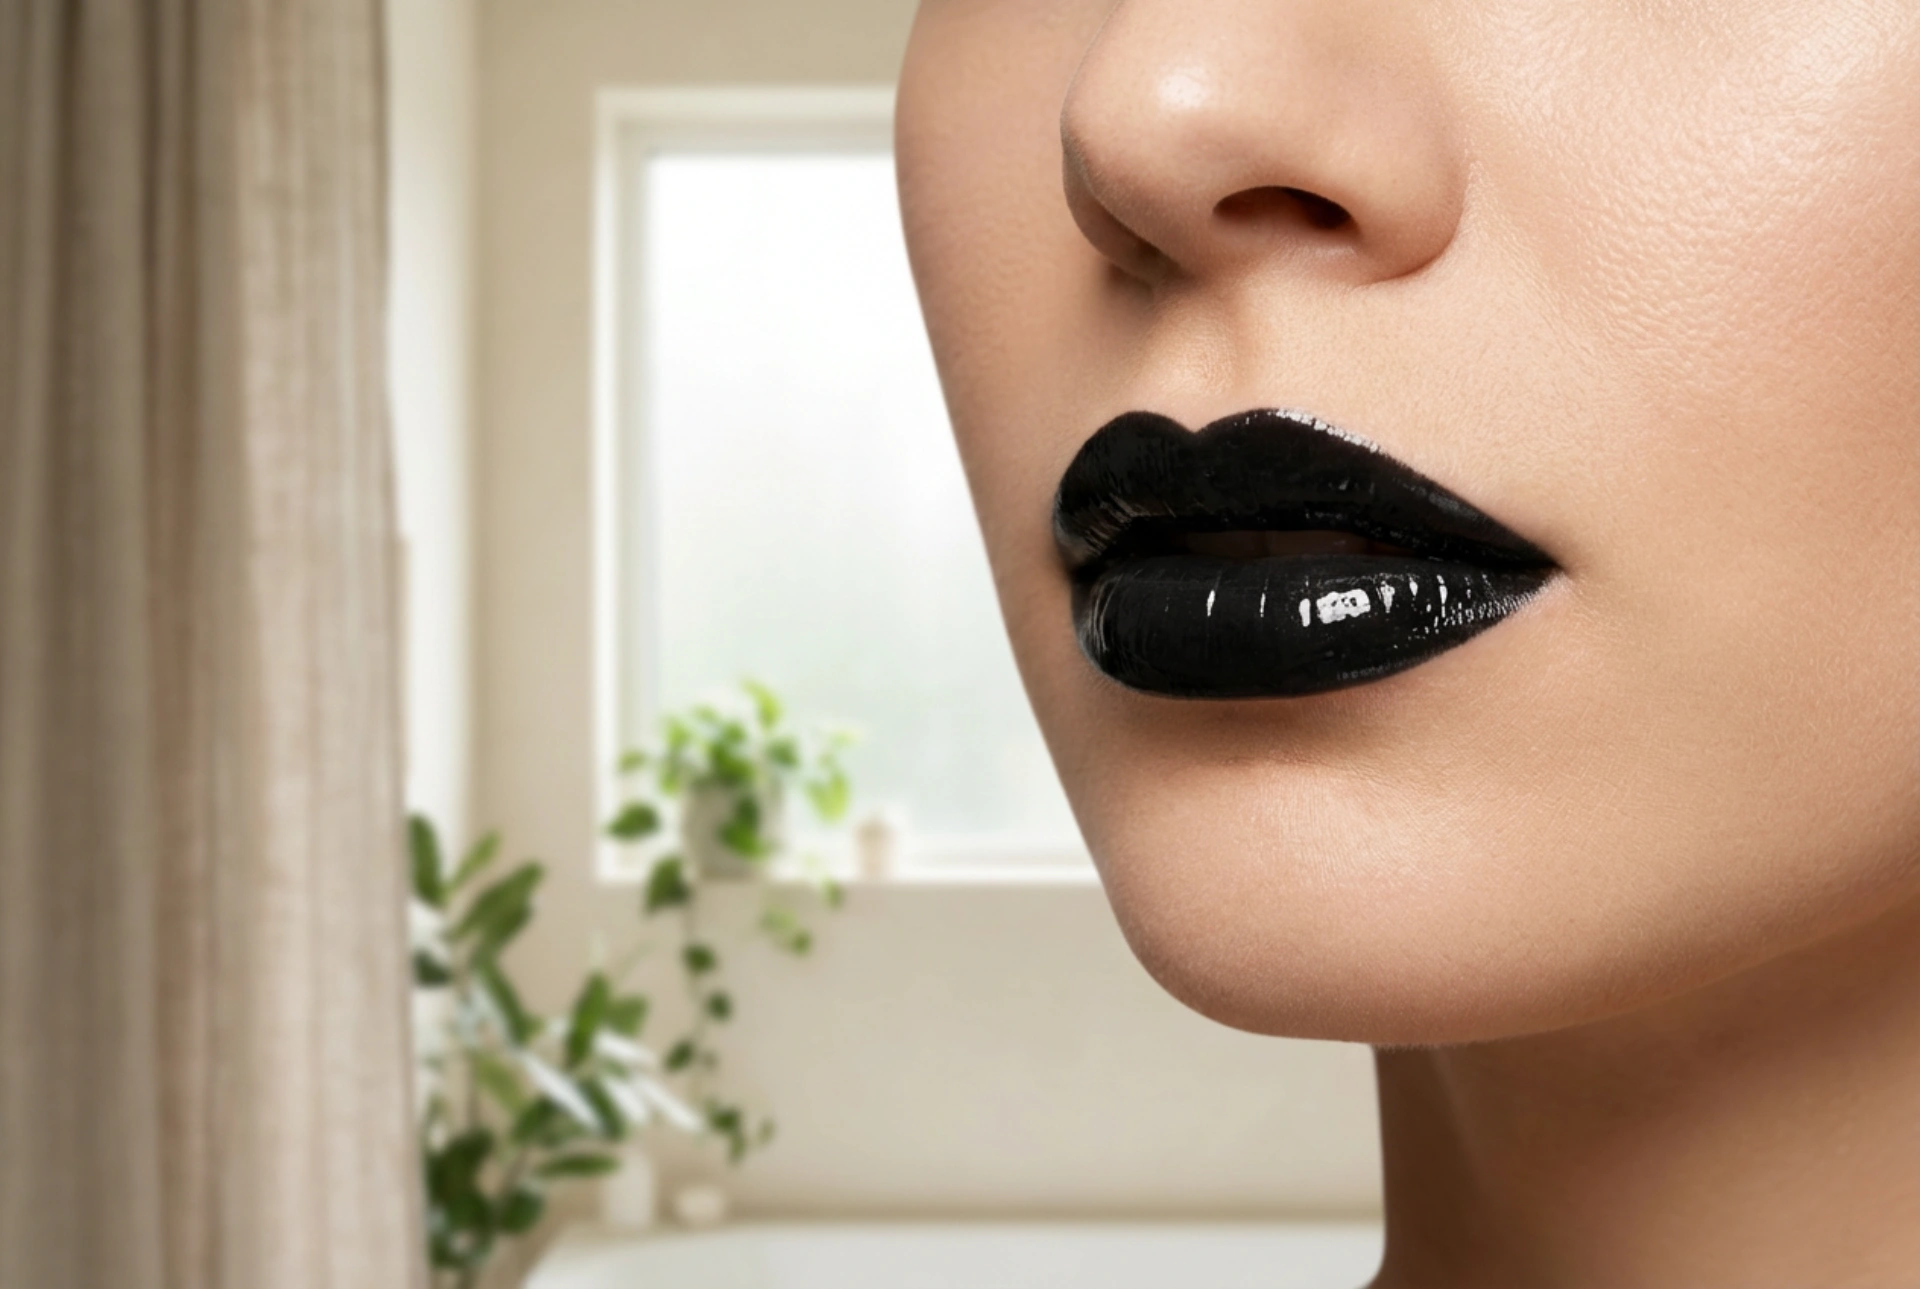
Adding Dimension: The Finishing Touch of Sheen
A completely matte nude lip can sometimes look flat. Adding a touch of sheen or gloss is the final step to creating a modern, dimensional look that makes lips appear fuller and healthier.
Choosing the Right Finish
While matte lipsticks offer great staying power, a satin or creamy finish can be more forgiving and comfortable. A gloss, when used correctly, adds a beautiful, light-reflecting quality. The key is to avoid an all-over, high-shine finish which can detract from the sophisticated feel of a nude lip. Instead, the goal is a strategic, delicate sheen.
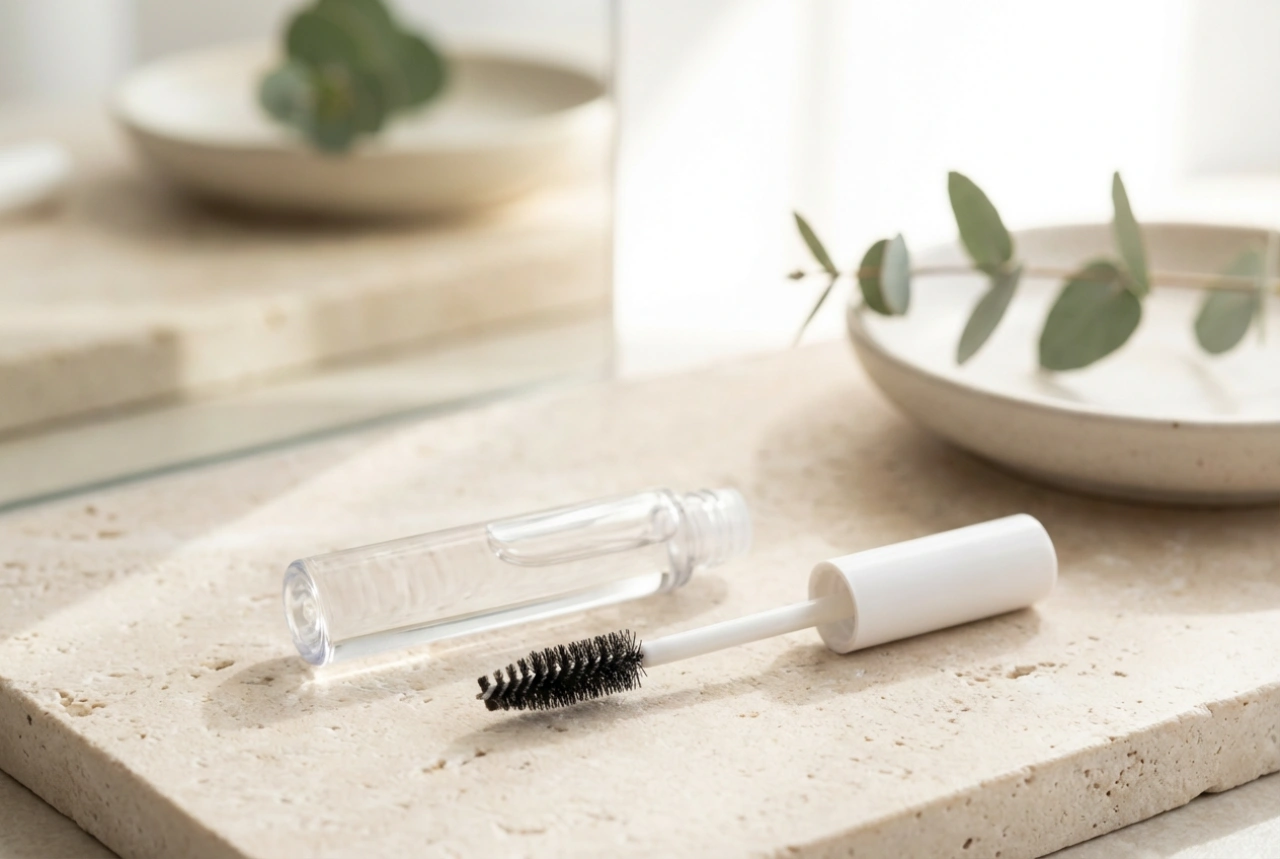
Strategic Gloss Application
To make your lips look plumper, apply a small dab of clear or similarly-toned nude gloss only to the very centre of your bottom lip and just above the Cupid's bow on your top lip. This technique catches the light where your lips naturally protrude, creating the illusion of volume without the stickiness or overpowering shine of a fully glossed lip. Gently blend the edges of the gloss with your fingertip for a seamless transition.
By following these steps—from preparation and colour selection to precise application and finishing touches—you can achieve a sophisticated and polished nude lip. It's a timeless look that enhances your features and works for truly any occasion, proving that sometimes, the most understated makeup makes the biggest impact.