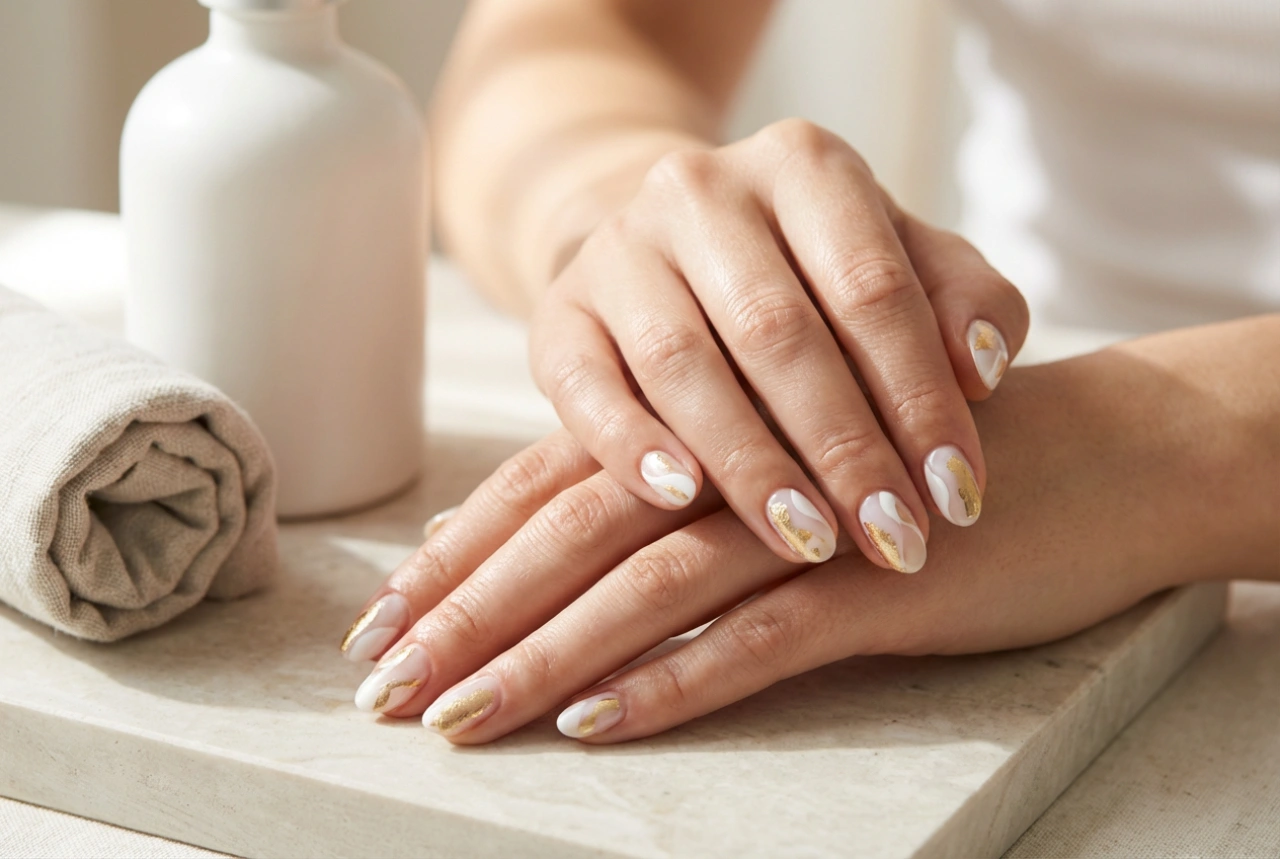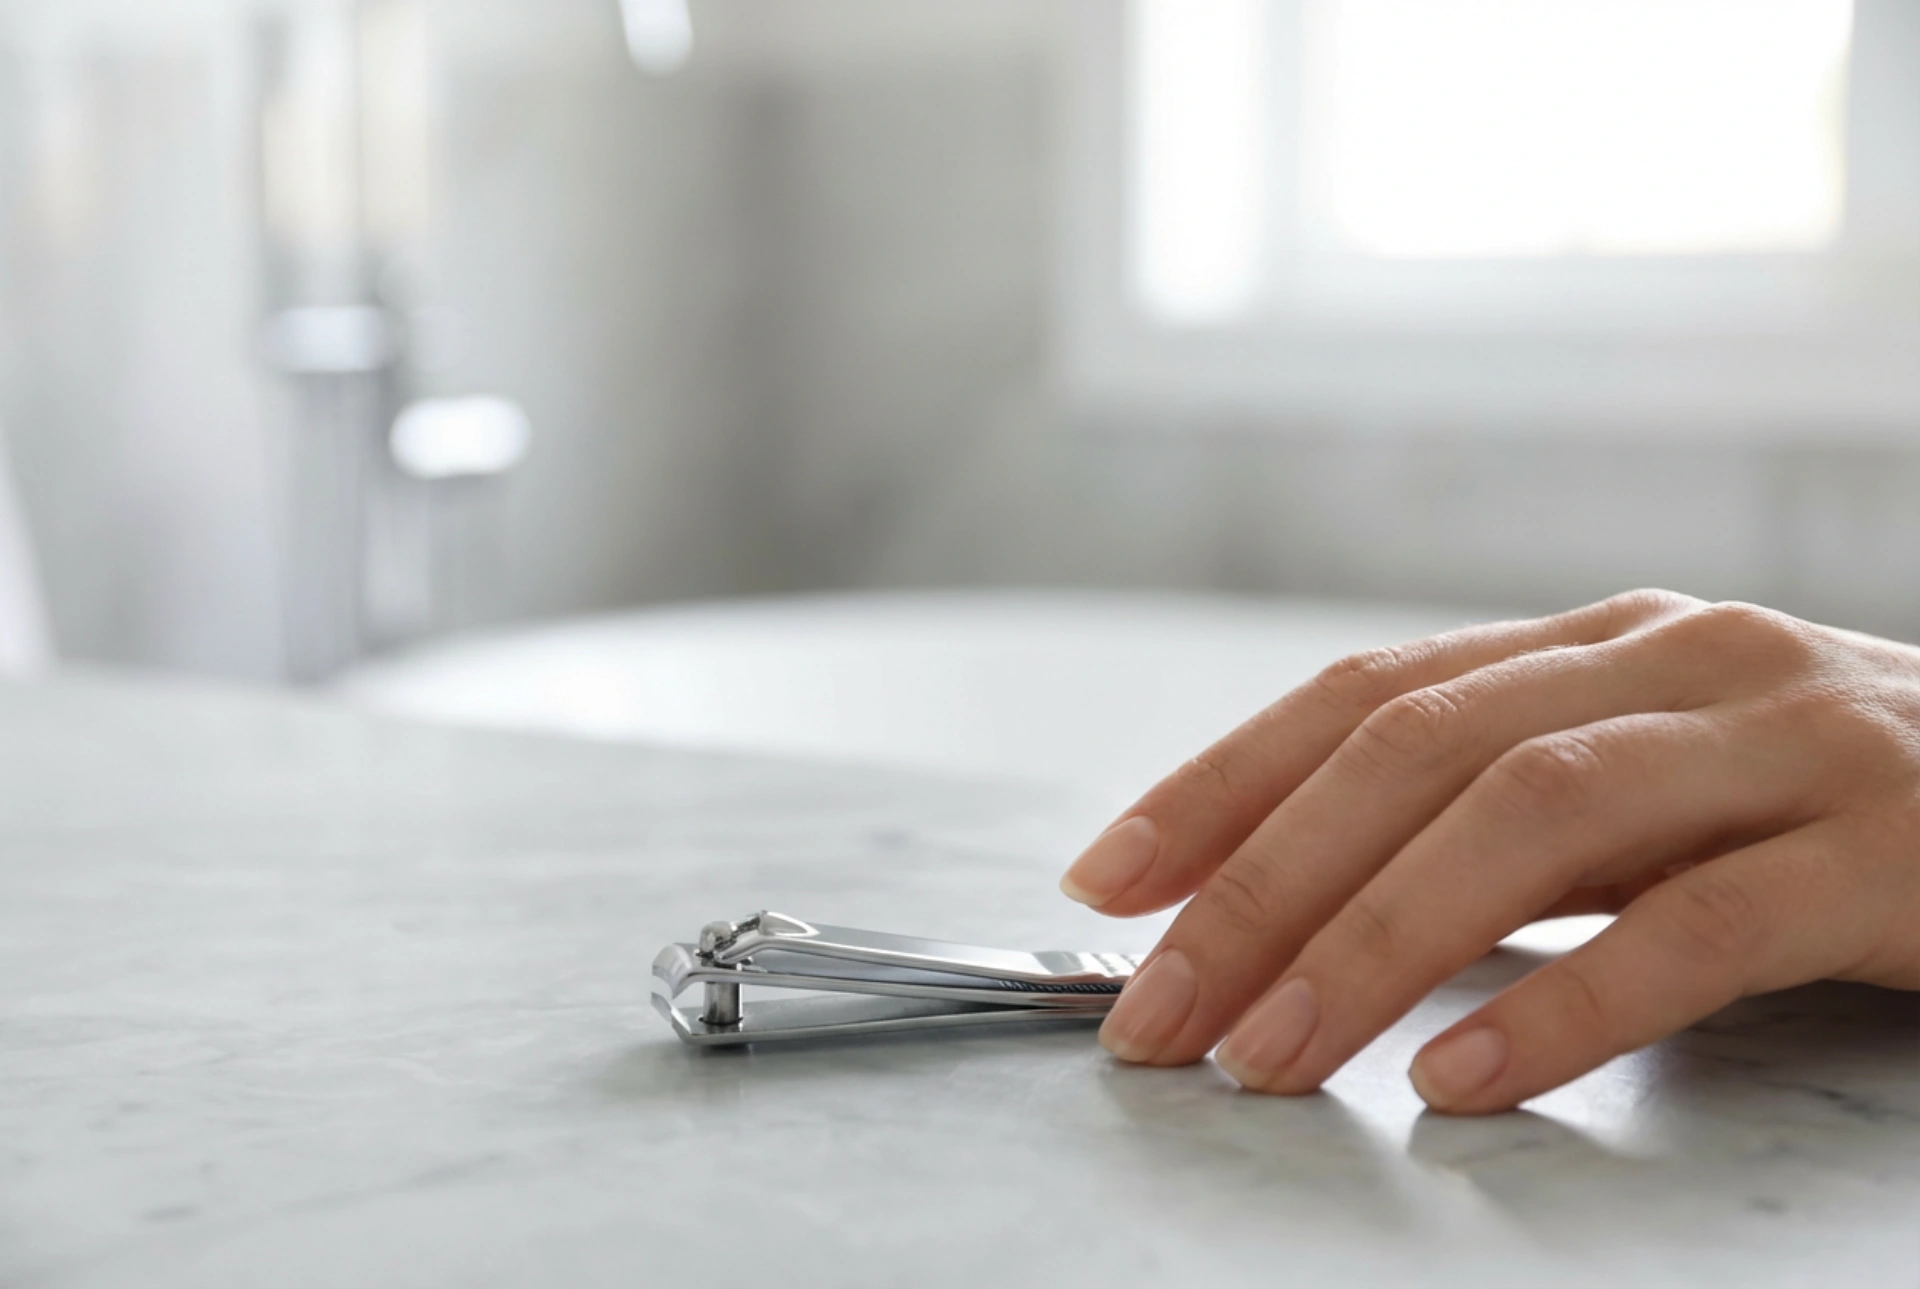


Perfectly shaped, natural nails are a sign of meticulous care and a cornerstone of a polished beauty routine. While it may seem like a simple task, trimming your nails correctly is an art that requires the right tool and technique. Using a high-quality nail clipper improperly can lead to snags, splits, or uneven edges. This guide will walk you through the professional way to use nail clippers, ensuring a precise, clean cut every time for a flawless home manicure.
Choosing the Right Nail Clipper
The first step towards a perfect trim is selecting the appropriate tool. Not all clippers are created equal, and using the right one for the job is essential. Look for clippers made from high-quality stainless steel, as they stay sharp longer and are easy to sanitise. There are two main types of clippers:
- Fingernail Clippers: These are typically smaller and have a slightly curved edge designed to follow the natural shape of your fingernails.
- Toenail Clippers: These are larger and have a straight edge. A straight cut on toenails is recommended to help prevent the nail from growing into the surrounding skin.
Ensure your clippers are sharp. A dull blade can crush or tear the nail rather than cutting it cleanly. Regularly cleaning your clippers with a disinfectant after each use is also a crucial step to maintain hygiene and tool longevity.
Preparing Your Nails for Trimming
For the best results, it's wise to prepare your nails before you start clipping. Trimming nails when they are soft is ideal as it minimises the risk of them splitting or cracking. The perfect time to trim your nails is right after a warm bath or shower. Alternatively, you can soak your fingertips in a bowl of warm water for a few minutes. After soaking, pat your hands and nails completely dry. Cutting wet nails can result in an uneven finish as they may bend or tear more easily. Make sure your nails are free from any dirt or old polish before you begin.
The Correct Clipping Technique Step-by-Step
Patience and precision are key to achieving a professional-looking result. Rushing the process or trying to trim the entire nail in one go is a common mistake. Follow these steps for a perfect cut:
For Fingernails:
- Start with small snips: Instead of one large cut, make several small ones. Place the clipper at one edge of your nail.
- Work your way across: Make a small cut, then move the clipper slightly and make another. Continue this process until you have trimmed the entire free edge. This gives you more control over the final shape.
- Follow the natural curve: Aim to follow the natural gentle curve of your fingertip, but avoid cutting too deeply into the corners, which can weaken the nail.
- Don't cut too short: Leave a small white tip. Cutting nails too short, down to the nail bed, can be uncomfortable and leave the sensitive skin underneath exposed.
For Toenails:
- Cut straight across: Use a larger, straight-edged toenail clipper. Unlike with fingernails, you should trim your toenails straight across.
- Avoid rounding the corners: Cutting toenails in a curve can encourage them to grow into the skin. A straight cut is the safest method for foot health and comfort.
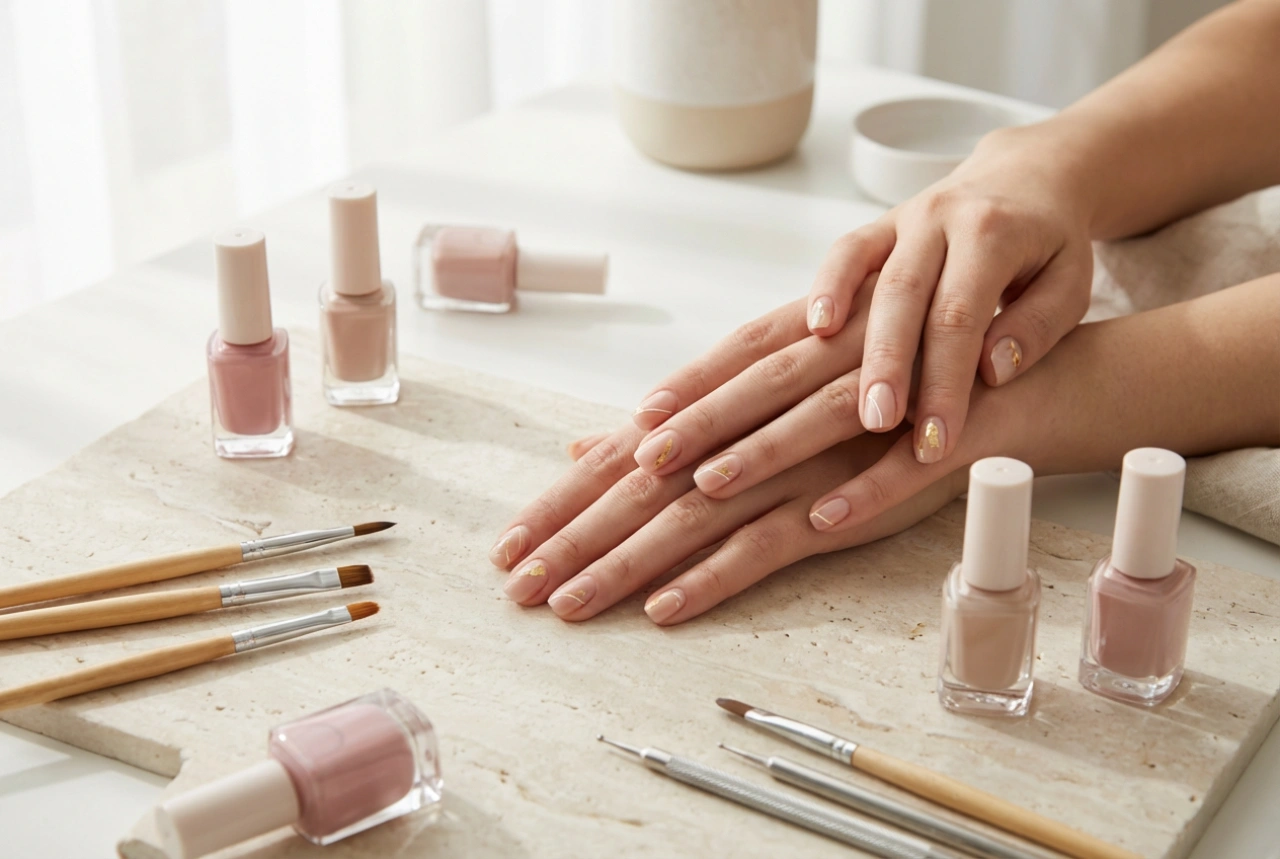
Finishing Touches for a Flawless Result
Clipping is just the first step. To get that truly polished, salon-quality look, a few finishing touches are necessary.
Smoothing the Edges
After clipping, your nail edges may be slightly sharp or jagged. Use a fine-grit nail file to gently smooth them out. File in one direction only, from the side of the nail towards the centre. A back-and-forth sawing motion can weaken the nail and cause it to peel. Gently buffing the surface of the nail can also create a healthy, natural shine.
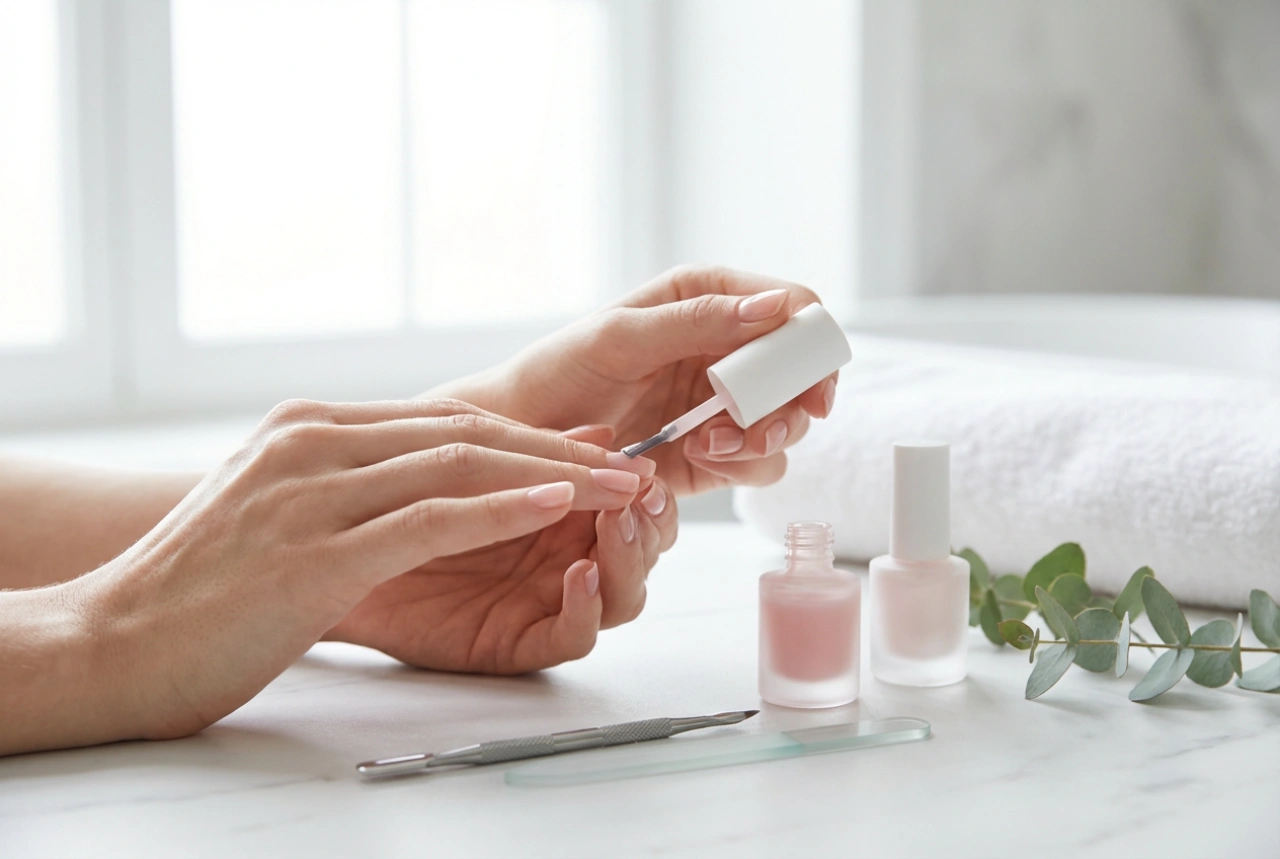
Hydration is Key
Finally, complete your manicure by nourishing your nails and hands. Apply a small amount of cuticle oil to the base of each nail and massage it in. This helps to hydrate the cuticles and the surrounding skin. Finish by applying a rich hand cream to lock in moisture, leaving your hands feeling soft and your nails looking impeccable.