In today's fast-paced world, finding time for a full manicure can be a challenge. Yet, beautifully kept nails are a key element of a polished look, reflecting personal care and attention to detail. Fortunately, the cosmetic market offers innovative solutions like multi-functional hybrid products, which allow for a quick and durable manicure at home. A 5-in-1 product combines several steps into one, saving you precious time without compromising on the quality and longevity of your nail styling. This is the essence of a modern beauty routine: efficiency paired with elegance.
What Exactly is a 5-in-1 Hybrid Product?
A 5-in-1 hybrid nail product is a true multitasker in a bottle. It is designed to simplify the hybrid manicure process by combining the properties of several different products into a single formula. This makes it an ideal choice for both beginners and anyone looking to speed up their nail care routine. Typically, its functions include:
- Base Coat: It creates an adhesive layer that helps the product bond securely to the natural nail plate, ensuring durability.
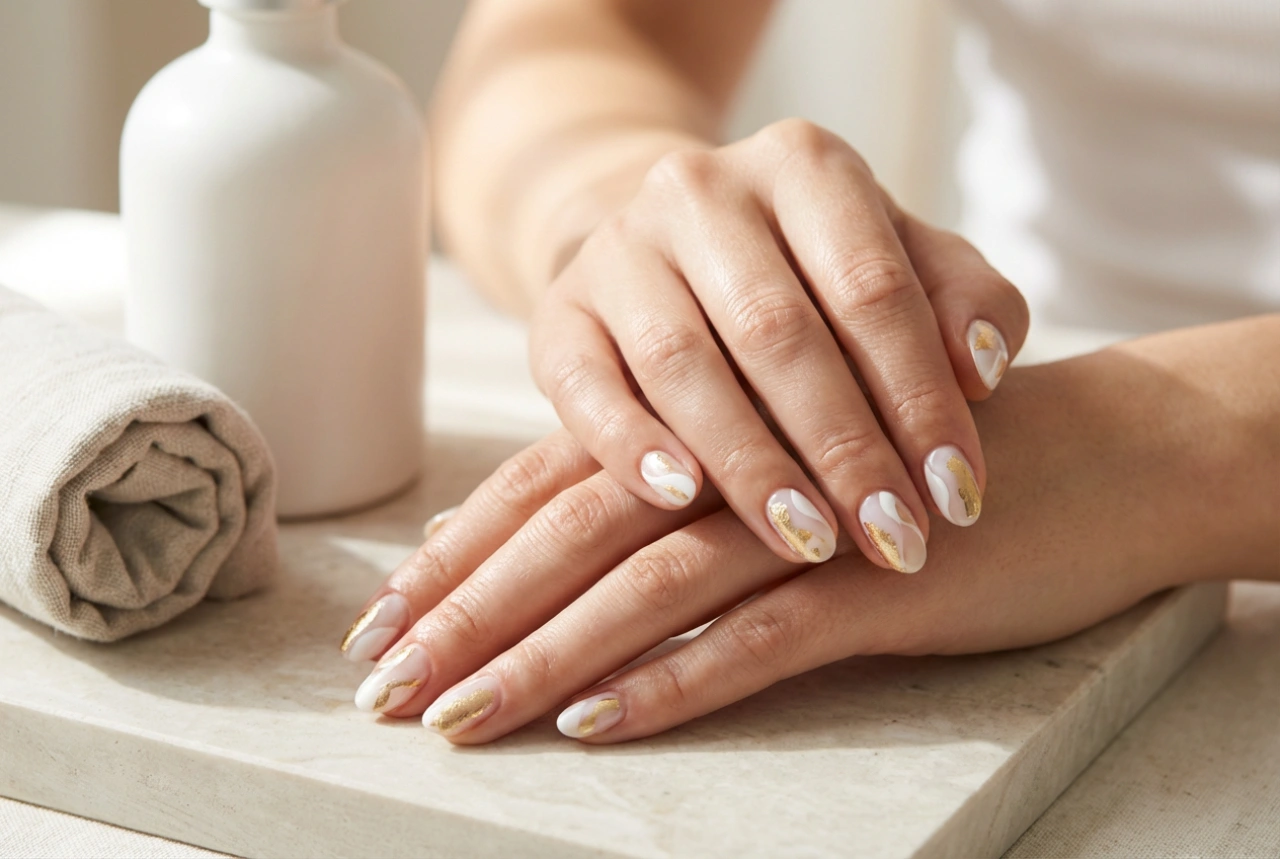
- Colour: It provides the desired shade, often in delicate, classic tones perfect for a subtle and elegant look.
- Top Coat: It seals the manicure, provides a high-gloss finish, and protects the colour from chipping and fading.
- Strengthening: The formula is often enriched with ingredients that help to harden and fortify the natural nail plate, making it more resistant to breaking.
- Minor Extension/Repair: Its thicker consistency allows for gently building up the nail, correcting imperfections, or even extending the nail by a few millimetres.
Preparation is Key: Getting Your Nails Ready
Even the best product won't perform well on poorly prepared nails. Proper preparation is the foundation of a long-lasting manicure and should not be skipped, even when you're short on time. Taking a few extra minutes here will pay off with weeks of flawless wear.
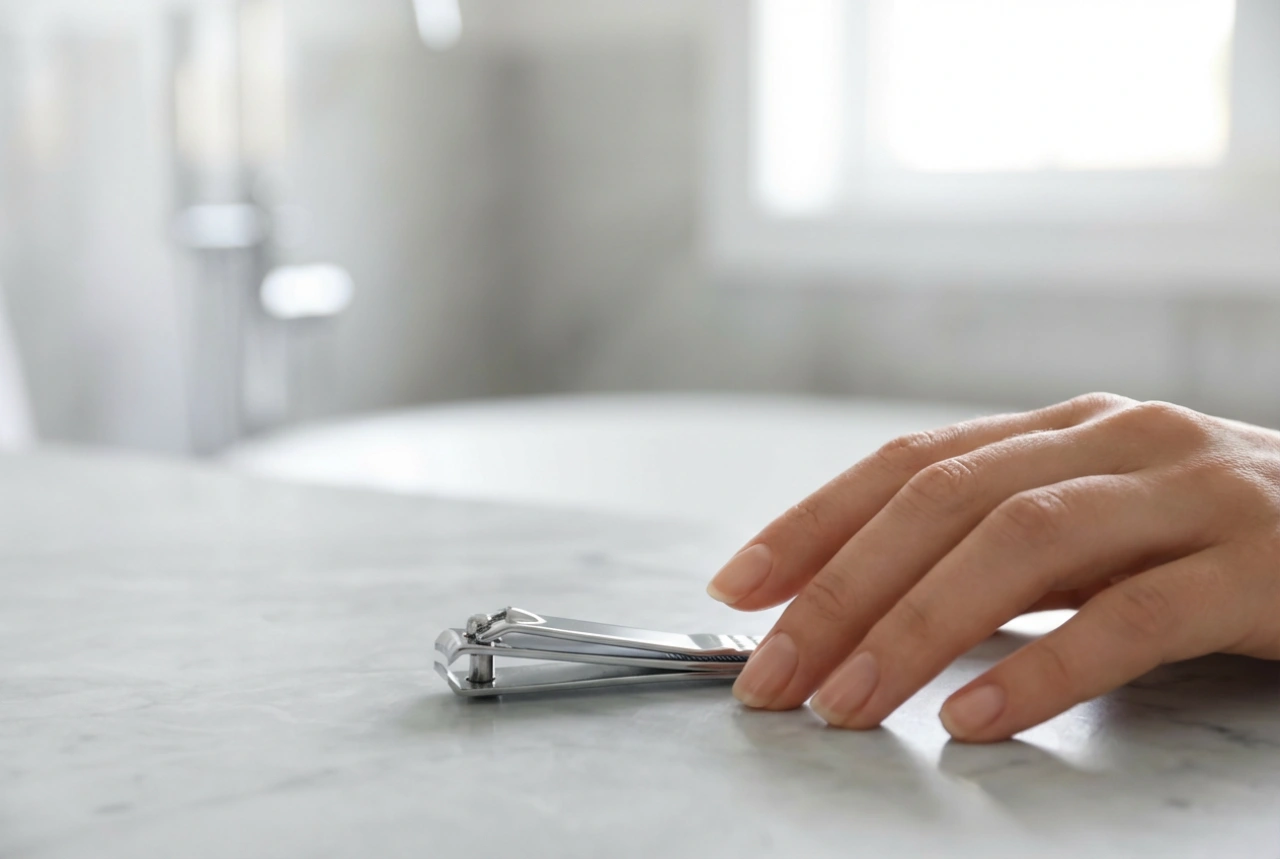
Step 1: Shaping and Cuticle Care
Start by giving your nails their desired shape using a file with an appropriate grit. File in one direction to avoid splitting the nail plate. Next, gently push back the cuticles using a wooden stick or a metal pusher. It is generally advised to avoid cutting cuticles at home, as this can lead to potential issues. Pushing them back is a safer and equally effective way to achieve a clean nail bed.
Step 2: Matting the Nail Plate
Using a soft buffer block, gently buff the entire surface of each nail. The goal is not to file down the nail, but simply to remove the natural shine. This creates a slightly rougher texture that the hybrid product can adhere to much more effectively. Once done, dust off any residue with a soft brush.
Step 3: Cleansing and Dehydrating
This is a crucial step. Soak a lint-free wipe in a dedicated nail cleaner or isopropyl alcohol and thoroughly wipe each nail. This process removes any remaining dust, oils, and moisture from the nail plate, ensuring optimal adhesion and preventing the manicure from lifting prematurely.
Applying the 5-in-1 Product: A Step-by-Step Guide
With your nails perfectly prepped, you are ready to apply the 5-in-1 product. Remember to work with thin layers and be precise to achieve a professional-looking result. You will need a UV or LED lamp to cure the product.
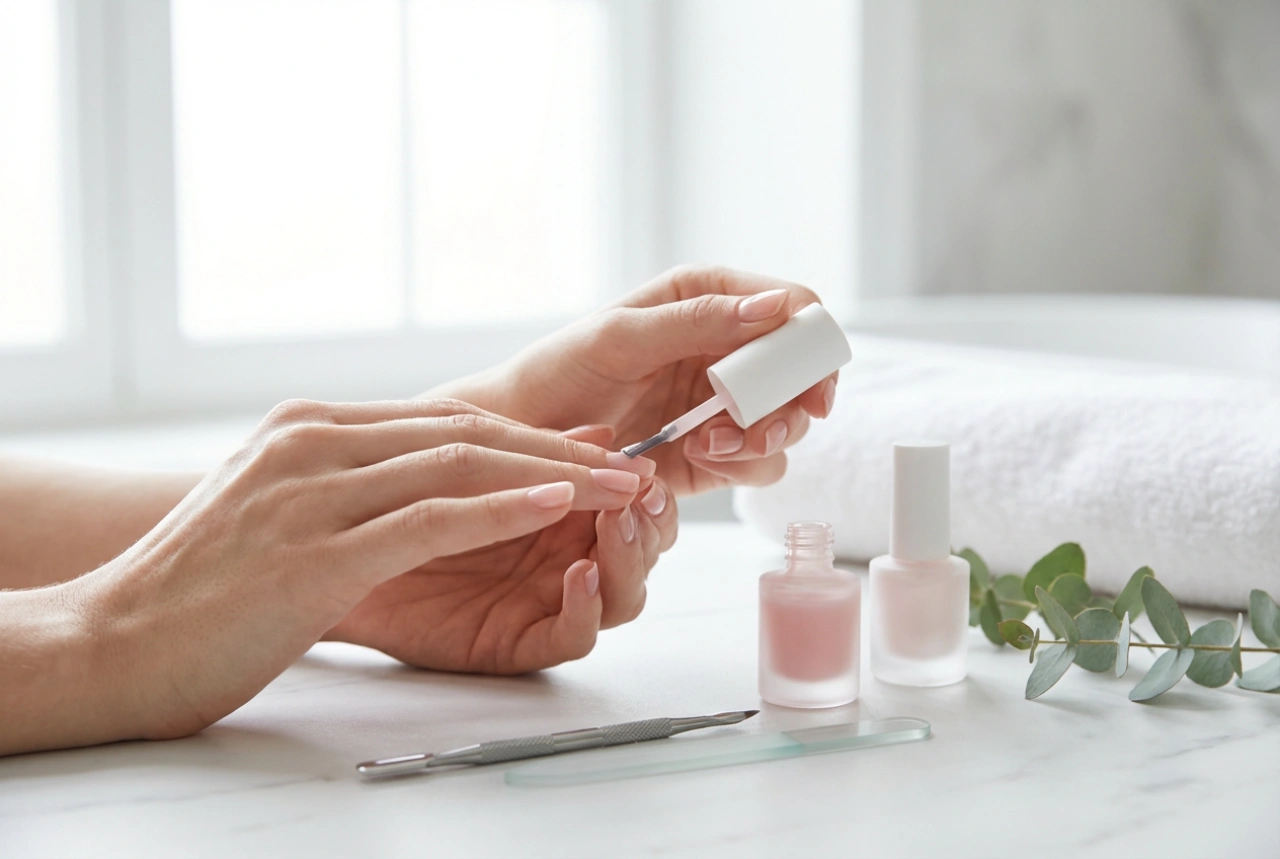
Step 1: The First Thin Layer
Apply a very thin, even layer of the 5-in-1 product, just like you would with a traditional nail varnish. This initial layer acts as the base coat. Be extremely careful not to let the product touch your skin or flood the cuticles. If you make a mistake, clean it up with a small brush or a wooden stick dipped in cleaner before curing.
Step 2: Curing Under the Lamp
Place your hand under your LED or UV lamp and cure for the time specified by the manufacturer (typically 30-60 seconds for an LED lamp). Your first layer is now set.
Step 3: The Second Layer for Colour and Structure
Apply a second layer. This layer can be slightly thicker than the first to build up the colour and create a smooth, even surface. This is also the stage where you can use the product's building properties to create a gentle 'apex' (the highest point of the nail) for added strength, or to make minor repairs or extensions. Again, ensure the product does not touch the skin.
Step 4: Final Curing and Finishing
Cure the second layer under the lamp for the recommended duration. After curing, most hybrid products leave a sticky 'inhibition' layer. To reveal the final, high-shine finish, wipe this sticky layer off each nail using a lint-free pad soaked in cleaner. Some modern formulas are 'no-wipe' and do not require this final step.
Tips for a Flawless and Durable Finish
To ensure your quick manicure lasts as long as possible, keep a few final tips in mind. Attention to these small details can make a big difference.
- Seal the Free Edge: With each coat you apply, gently swipe the brush along the very tip of the nail. This 'caps' the free edge and is the best way to prevent chipping.
- Patience with Layers: It is always better to apply two or three thin layers than one thick, gloopy coat. Thick layers may not cure properly, leading to a wrinkly finish and reduced durability.
- Keep it Clean: Maintaining a small, clean margin around the cuticles and sidewalls not only looks neater but also prevents the product from lifting as your nails grow.
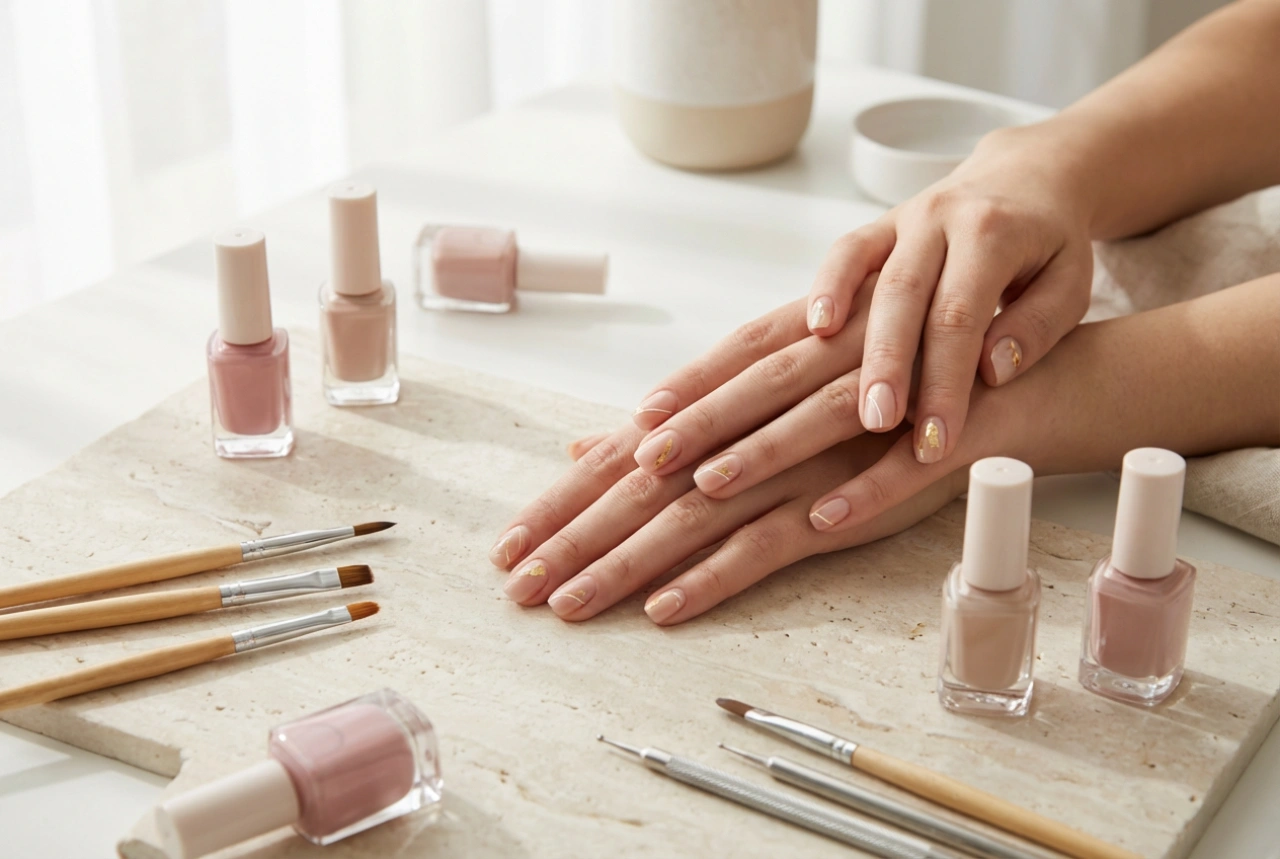
- Aftercare is Important: Once your manicure is fully cured and cleansed, apply a nourishing cuticle oil to the skin around your nails. This rehydrates the skin and gives your manicure a perfect, fresh-from-the-salon look.
By using a 5-in-1 product and following these steps, you can achieve a beautiful, strong, and long-lasting manicure at home in significantly less time. Enjoy your perfectly polished nails!