Nail art is a wonderful way to express your creativity and elevate your personal style, turning your nails into a miniature canvas. Far from being just a coat of polish, intricate designs can complement an outfit, celebrate a season, or simply bring you joy. With a little patience and a few basic tools, you can move beyond a single shade and begin creating your own beautiful nail art at home. This guide will walk you through the entire process, from designing your look to ensuring it lasts as long as possible.
Preparation: The Foundation for Flawless Art
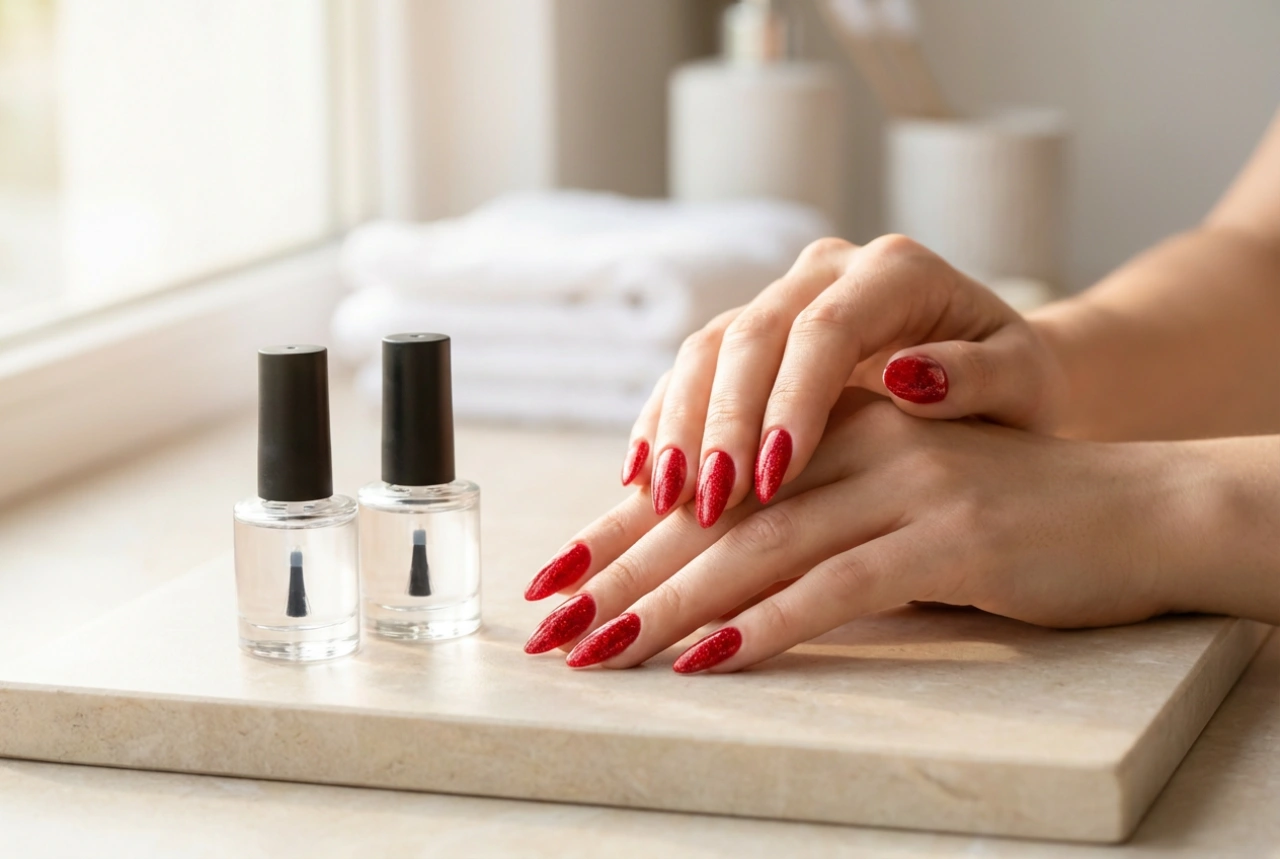
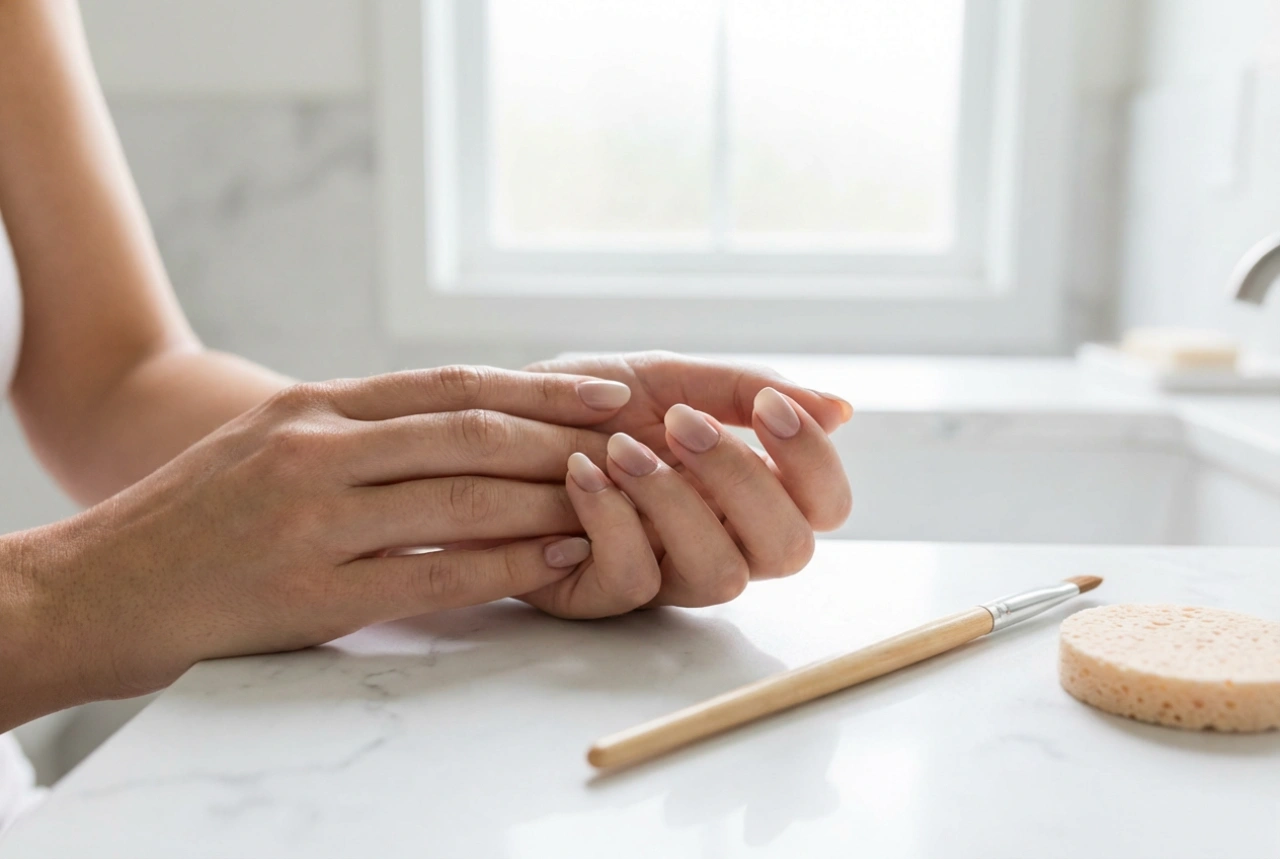
The secret to any stunning manicure, especially one with detailed art, is impeccable preparation. A well-prepared nail provides a smooth surface for polish application and helps your design last longer. Start by removing any old polish. Gently push back your cuticles, but avoid cutting them to maintain nail health. File your nails into your desired shape, ensuring all edges are smooth. Afterwards, lightly buff the surface of your nails to create a subtle texture that helps polish adhere. Finally, cleanse each nail with a nail polish remover or alcohol wipe to remove any oils or dust. The most crucial preparatory step is applying a quality base coat. This not only protects your natural nails from staining but also creates an ideal foundation for your chosen colours to shine.
Design and Inspiration: Unleashing Your Creativity
The creative possibilities with nail art are endless. A little planning can help focus your ideas and lead to a more successful outcome. Before you reach for the polish, take some time to think about the design you want to create.
Finding Inspiration
Inspiration is all around you. Look at patterns in textiles, the colours of a sunset, geometric shapes in architecture, or the delicate details of a flower. Deciding on a theme, such as 'minimalist lines', 'floral accents', or 'seasonal celebration', can help narrow down your choices and create a cohesive look.
Sketching and Colour Selection
Once you have an idea, it’s helpful to sketch it out. You can use a piece of paper with nail-shaped outlines or a plastic nail wheel, which allows you to test colour combinations and practise your design. This step helps you visualise the final look. When choosing your colour palette, consider how the shades will interact. You could opt for a monochromatic scheme with different tones of the same colour, a complementary scheme with contrasting colours for a bold effect, or an analogous scheme using colours that sit next to each other on the colour wheel for a harmonious finish.
Tools and Techniques: Your Nail Art Starter Kit
You don’t need a professional kit to start creating beautiful designs. A few simple tools can open up a world of artistic possibilities. As you become more confident, you can gradually expand your collection.
Essential Tools
- Dotting Tools: These come in various sizes and are perfect for creating dots, flowers, and other circular patterns. You can also use the end of a hairpin or a toothpick.
- Fine-Liner Brushes: A very thin brush is essential for painting lines, curves, and intricate details.
- Striping Tape: This ultra-thin adhesive tape helps you create perfectly straight, crisp lines and geometric patterns.
- Sponges: A small piece of a cosmetic sponge is the key to achieving gradient or ombré effects.
Basic Techniques to Master
With these tools, you can try several easy techniques. Create a simple polka dot design using a dotting tool dipped in polish. For clean stripes, either paint them freehand with a fine brush or apply striping tape, paint over it, and remove the tape before the polish dries. To create a gradient, paint two or more colours onto a sponge and then dab the sponge onto your nail. This blends the colours seamlessly. Another option is 'dry brushing', where you wipe most of the polish off the brush before lightly swiping it across the nail for a textured, artistic effect.
Application and Finishing: Bringing Your Design to Life
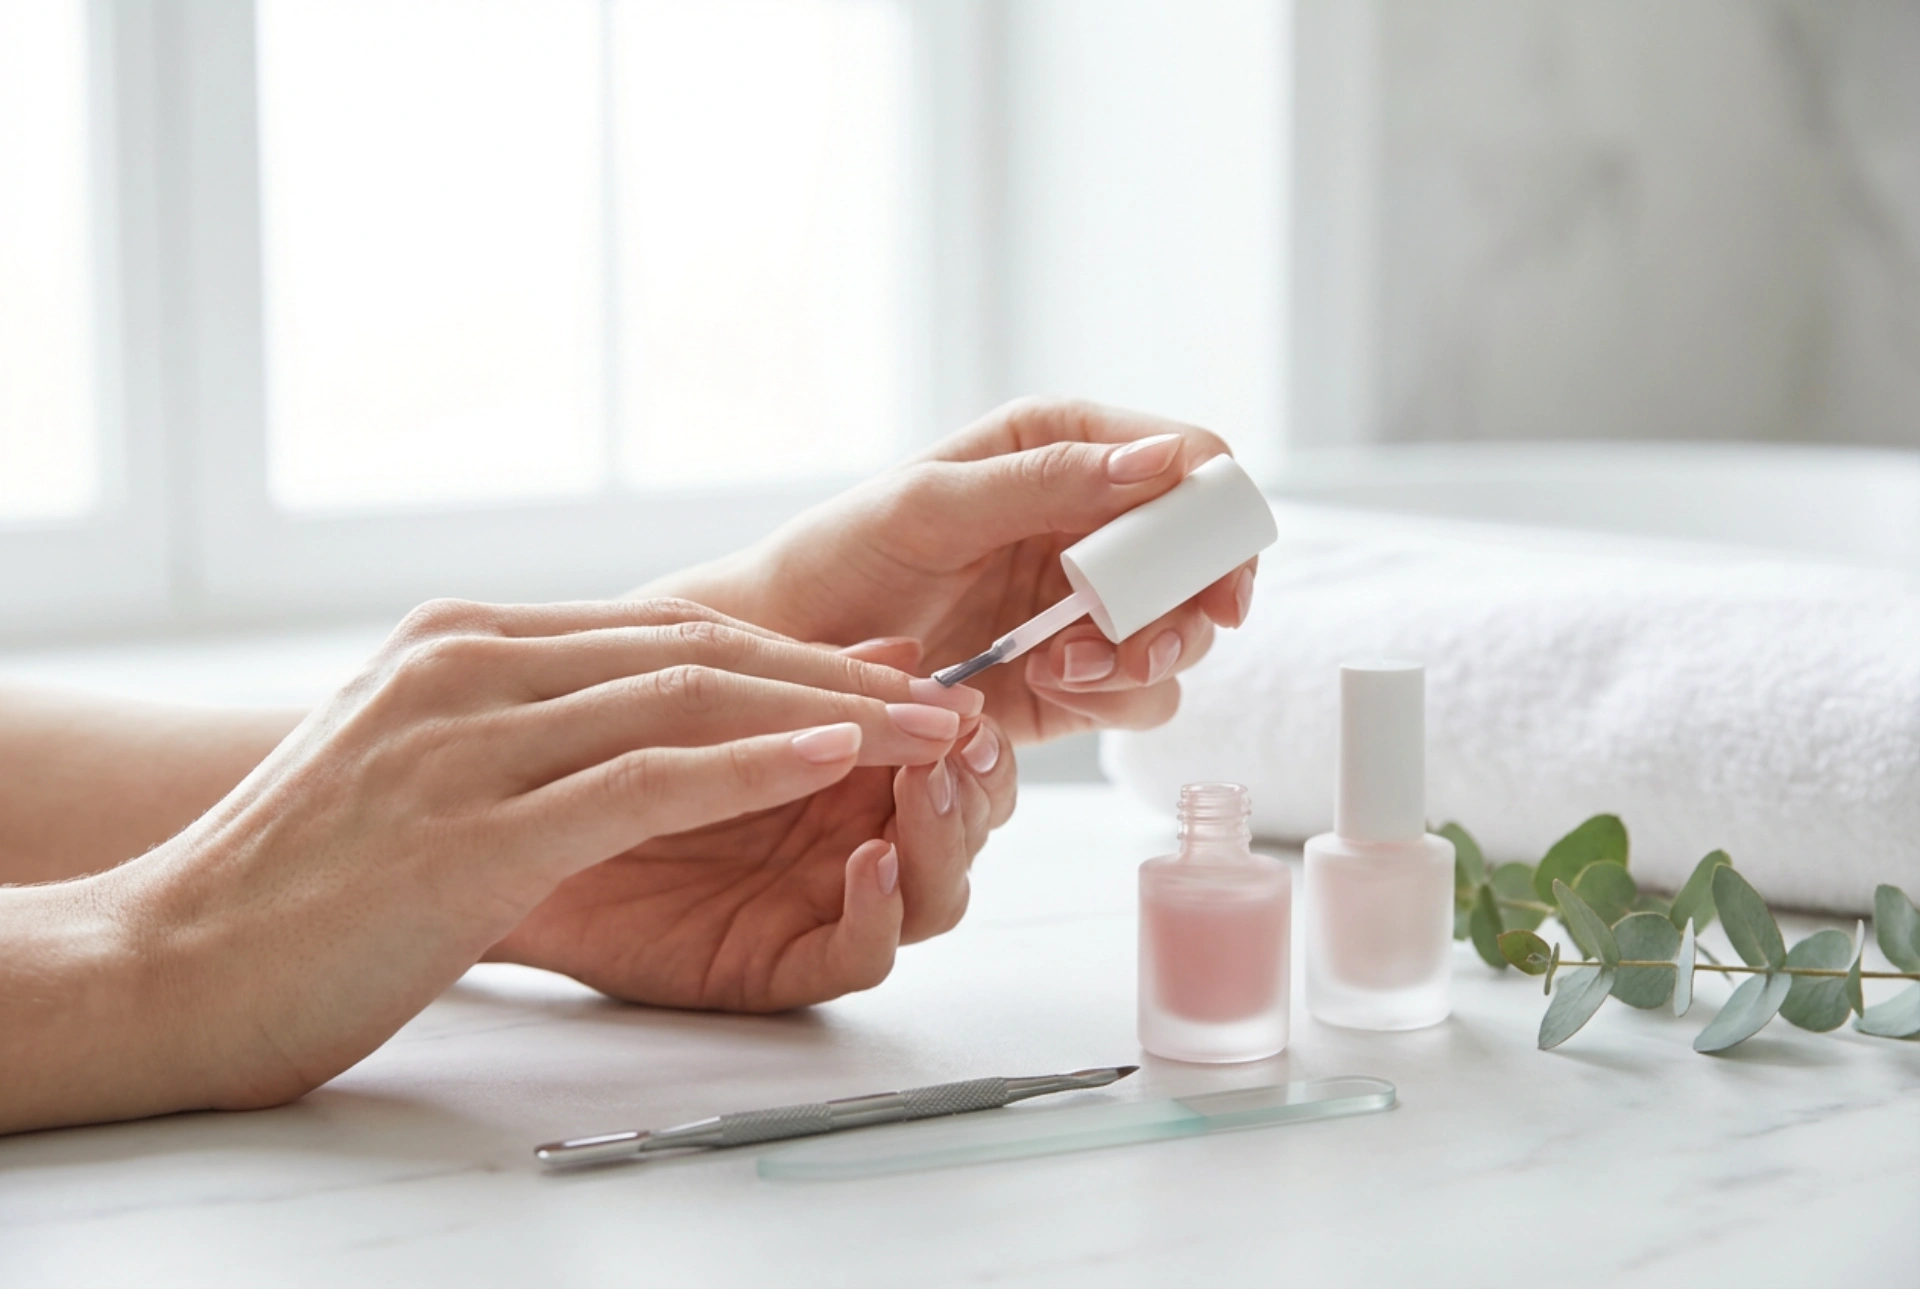
With your nails prepped and your design planned, it's time for the application. Patience is the most important tool at this stage. First, apply two thin coats of your base colour, allowing each one to dry completely. Once the base is dry, begin creating your art. Work on one element at a time, such as adding all the dots or lines, and let each layer of your design dry before adding the next. This prevents smudging and keeps your lines crisp. If you make a mistake, use a small, clean brush dipped in nail polish remover to tidy up the edges or remove a small detail. After your design is complete and fully dry, apply a generous layer of a high-quality top coat. This is a non-negotiable step as it seals your art, adds shine, and provides a protective shield against chips and scratches. Be sure to 'cap the free edge' by running the brush along the very tip of your nail to create a seal that prevents chipping.
Longevity and Care: Keeping Your Art Perfect
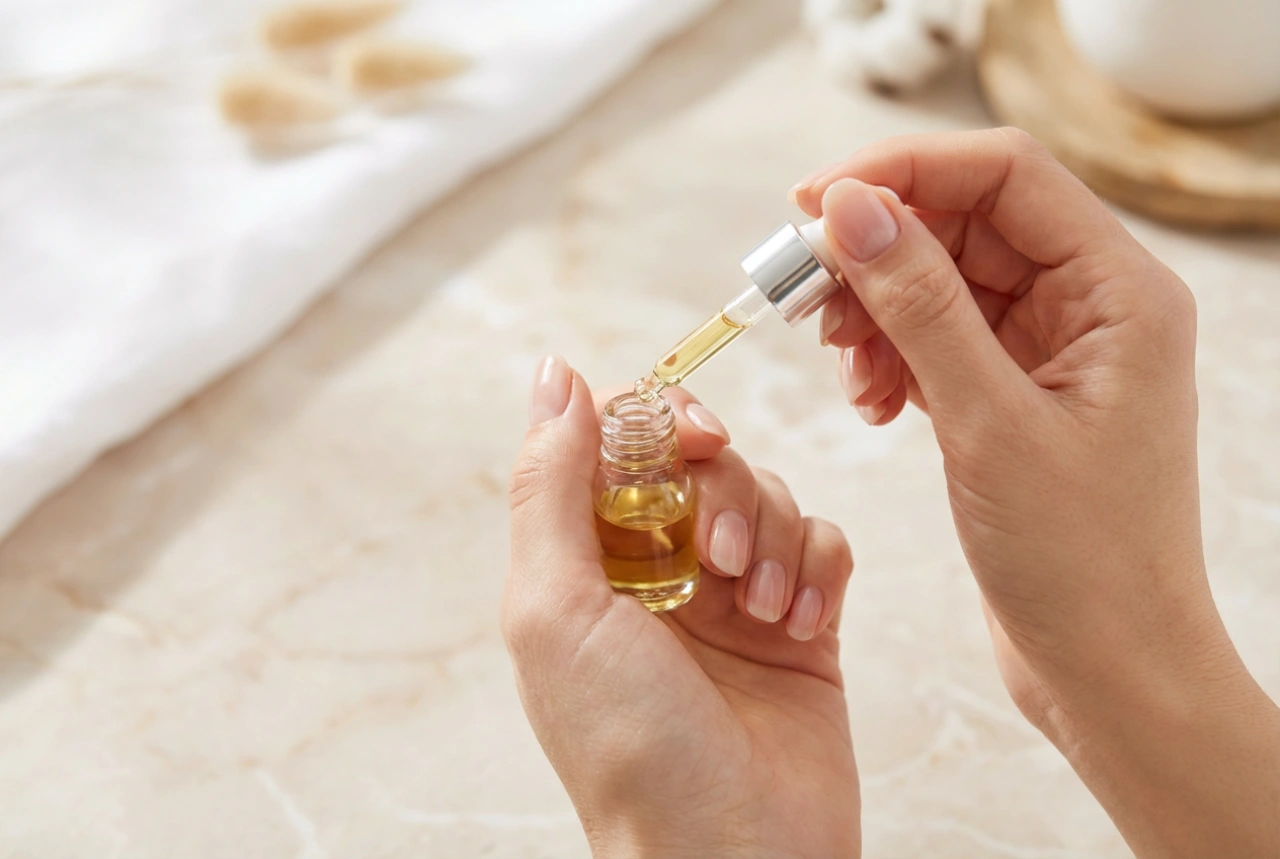
After all your hard work, you want your nail art to last. To keep your manicure looking fresh, reapply a thin layer of your top coat every two to three days. This will restore the glossy finish and reinforce the protective barrier. Daily care is also crucial. Get into the habit of moisturising your hands and cuticles with a nourishing cuticle oil or hand cream. Hydrated cuticles and nails are less prone to breaking. Finally, be mindful of your hands in daily activities. Wear gloves when washing dishes or using cleaning products, and try to avoid using your nails as tools to open cans or scrape surfaces. With proper care, your bespoke nail art can remain beautiful and chip-free for a week or even longer.