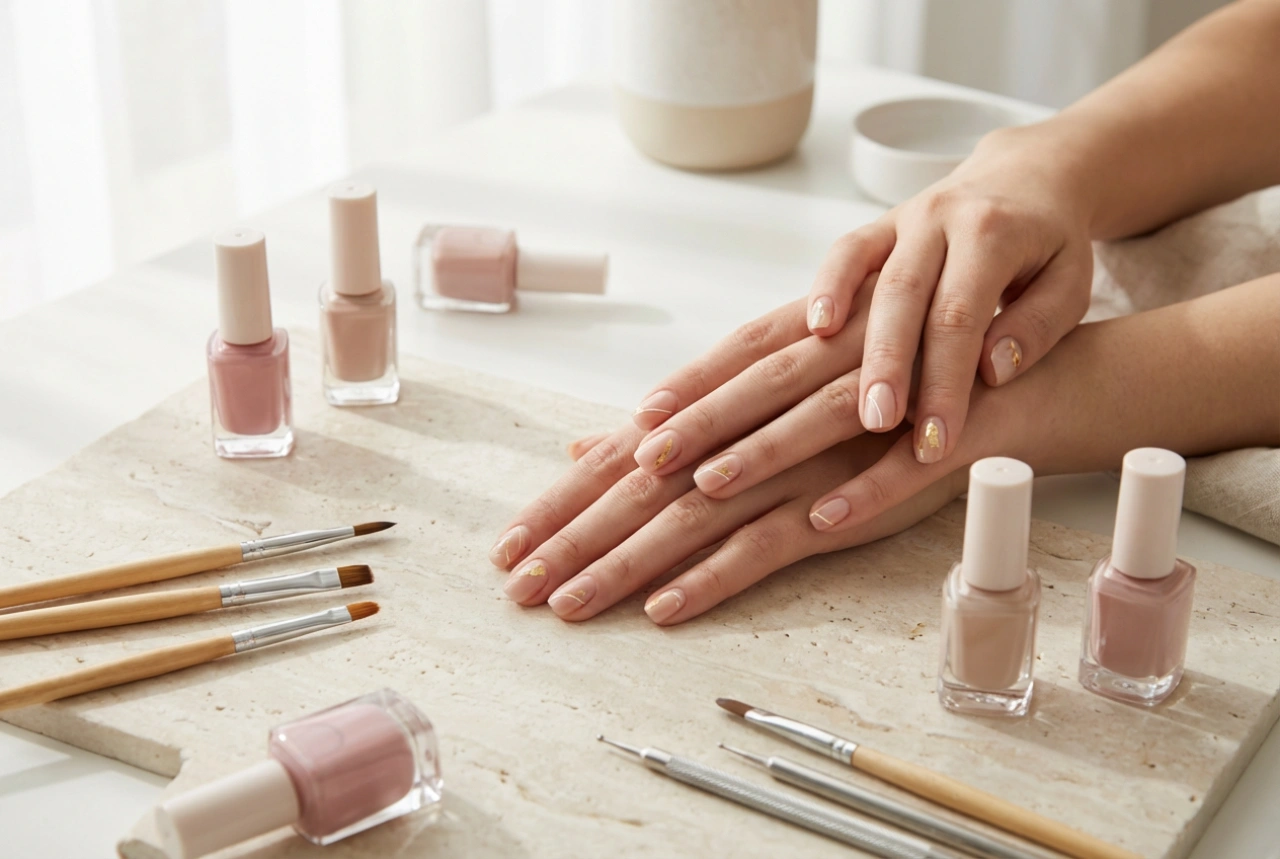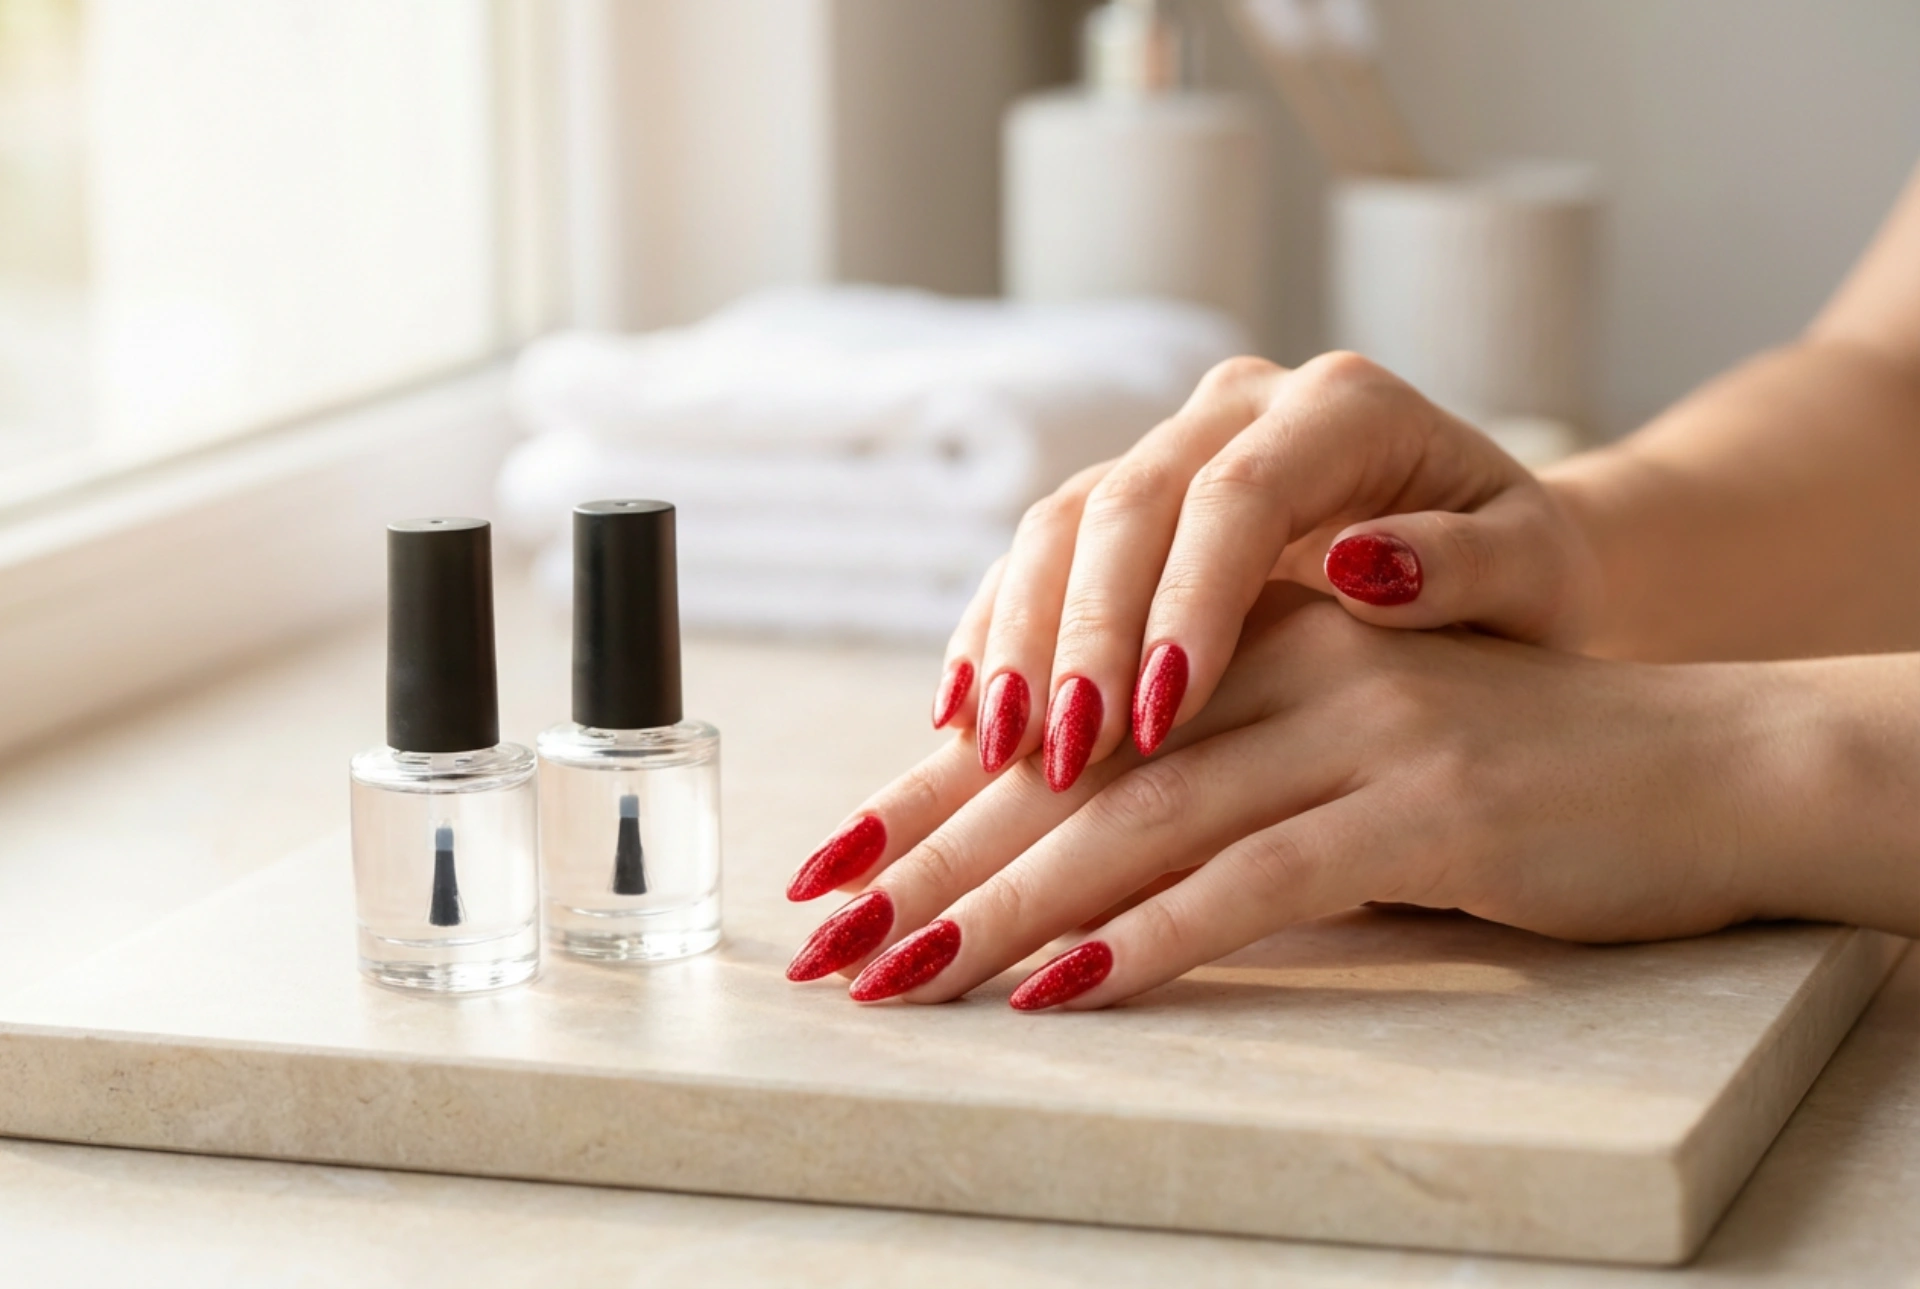


Red glitter nails are a timeless choice that combines classic elegance with a touch of glamour. Achieving that perfect, uniform sparkle, however, requires more than just a coat of polish. A flawless, dazzling finish, like the one seen on elegantly manicured hands, depends on a methodical approach that includes proper preparation, the right base, and a protective top coat. This guide will walk you through the steps to create a stunning and long-lasting red glitter manicure at home.
Preparation is Key to a Flawless Manicure
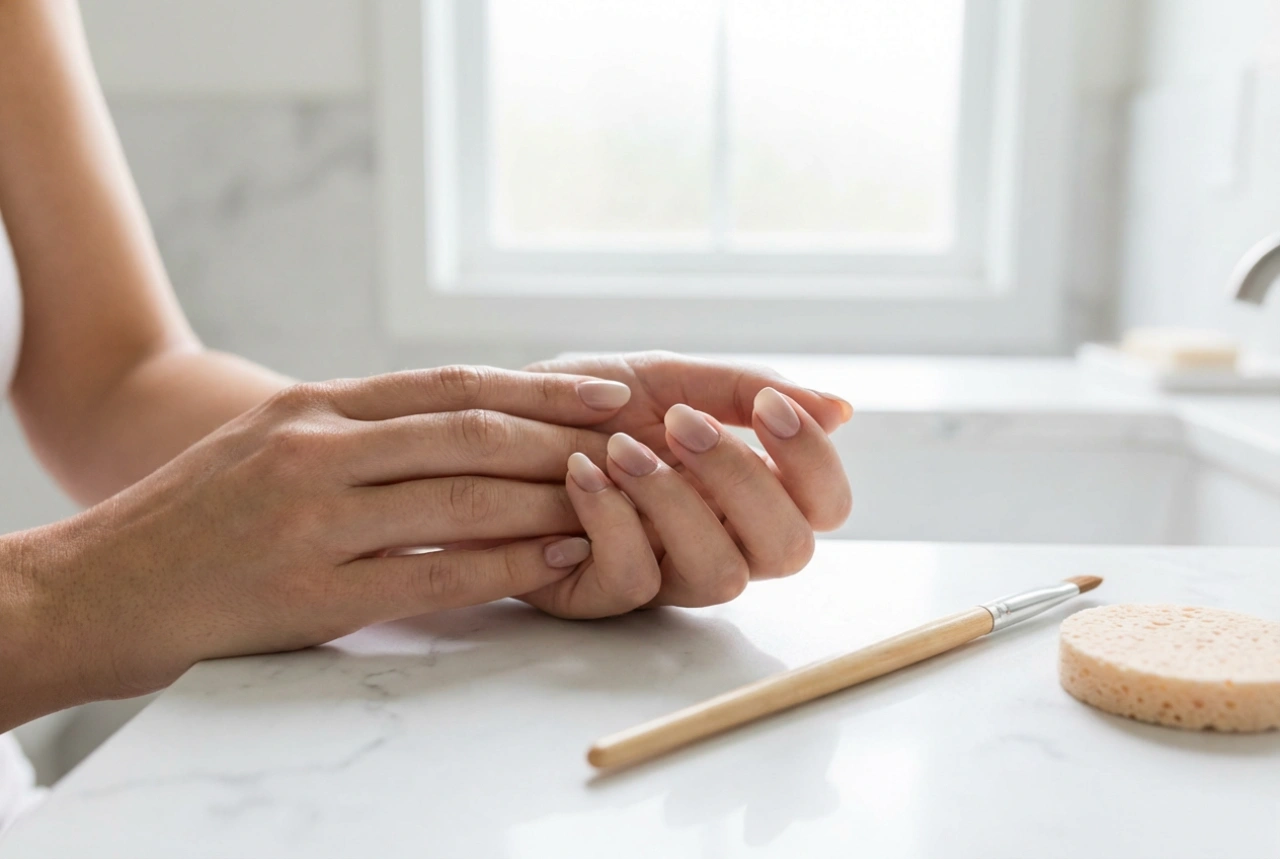
Before you even think about opening the polish bottle, preparing your nails is the most crucial step. A smooth canvas ensures an even application and a longer-lasting result. Start by removing any old polish completely. Then, wash your hands and gently clean under your nails. Shape your nails with a file, moving in one direction to prevent splitting. Gently push back your cuticles using a wooden or rubber-tipped cuticle pusher. Avoid cutting them, as they protect your nail bed from irritants. Finally, lightly buff the surface of your nails to create a subtle texture for the polish to grip onto, and wipe them with a nail polish remover or alcohol to dehydrate the nail plate and remove any oils or residue.
The Foundation: Base Coat and Colour Base
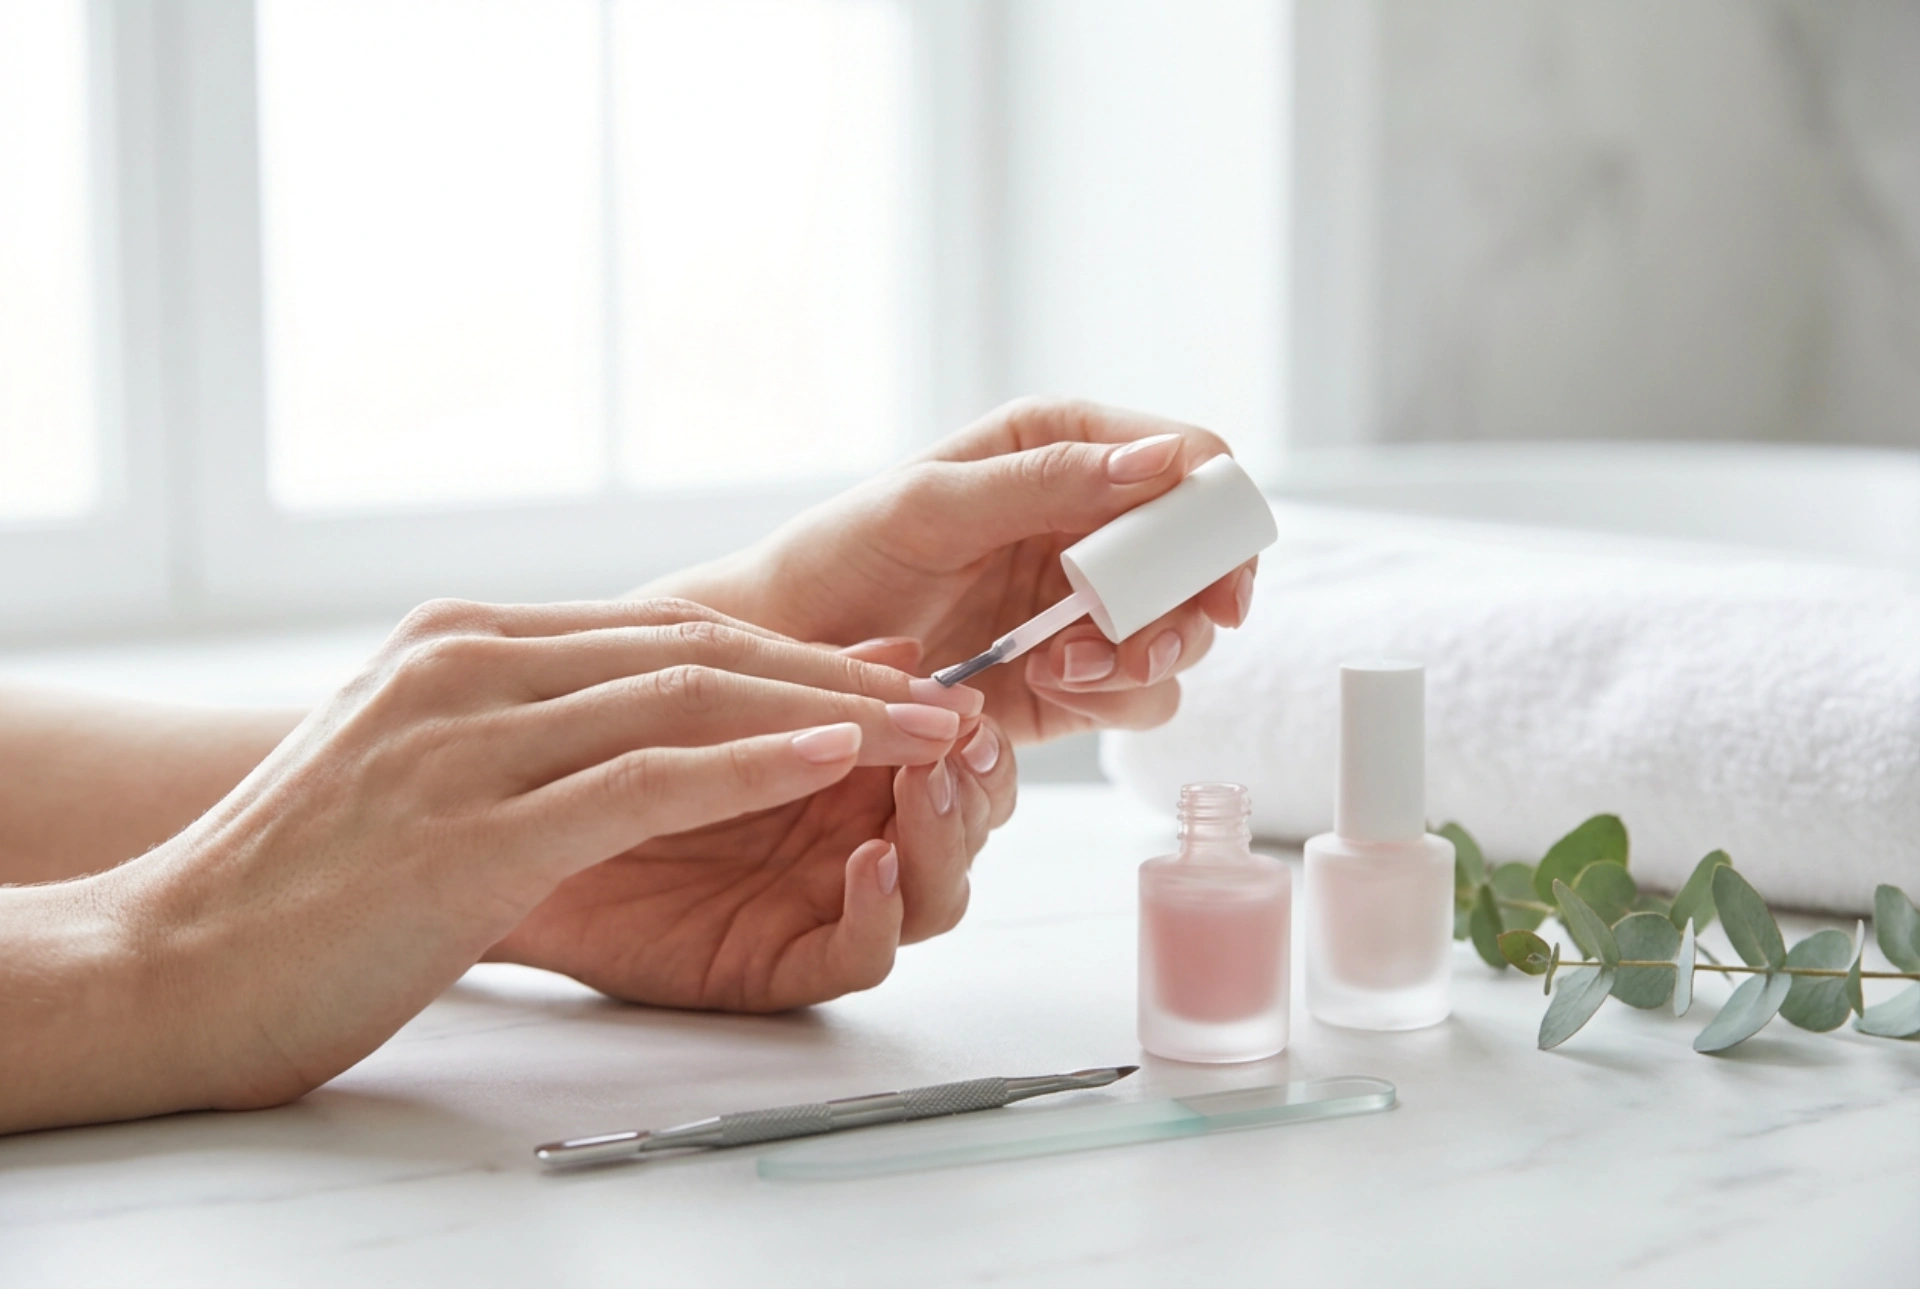
A quality base coat is non-negotiable for any manicure, but it's especially important with glitter polishes. It serves several purposes:
- Protection: It creates a barrier between your natural nail and the polish, preventing staining, which is common with deeply pigmented colours like red.
- Adhesion: It provides a tacky surface for the polish to adhere to, significantly extending the life of your manicure.
- Smoothness: It can fill in minor ridges on the nail surface, creating a smoother canvas for the glitter polish.
For an intensely vibrant red glitter look, consider applying a coat of a solid, opaque red polish that matches your glitter polish after your base coat has dried. This 'colour base' technique helps to achieve full coverage with fewer coats of the glitter polish, which can sometimes be sparse. It ensures there are no bald spots and provides a rich, deep background that makes the glitter pop even more.
Mastering the Art of Glitter Application
Applying glitter polish can be tricky. If applied like regular polish, it can often look patchy and uneven. The key is to achieve a dense, uniform distribution of glitter particles. There are two effective methods:
- The Layering and Dabbing Method: Apply a thin first coat using normal brush strokes. Let it dry completely. For the second coat, instead of stroking, gently dab or stipple the polish onto the nail, focusing on any sparse areas. This technique helps to deposit more glitter particles without dragging the ones already applied.
- The Sponge Method: For maximum glitter density, paint the glitter polish onto a small, disposable makeup sponge. The sponge absorbs some of the clear base in the polish, leaving a concentrated layer of glitter on the surface. Press or dab the glitter-loaded sponge directly onto your nail. This method provides an opaque, ultra-sparkly finish in one go. Remember to protect the skin around your nail with a liquid latex barrier or petroleum jelly for easier cleanup.
Seal the Deal with a Top Coat
Once you are happy with the glitter coverage and the polish is dry to the touch, it's time to seal your work with a top coat. Glitter polishes can have a gritty, rough texture. A good, thick top coat will smooth this out, creating a glossy, glass-like finish that enhances the sparkle. It also provides a durable protective layer that prevents chipping and helps your dazzling manicure last for a week or more. For an extra-smooth feel, you might even apply two layers of the top coat, allowing the first to dry before applying the second. This final step is essential for giving your red glitter nails that professional, brilliantly shiny look.