


A side fringe is a timeless hairstyle that can soften your features and add a touch of effortless elegance to your look. The key to a perfect side-swept fringe lies in achieving a natural, airy movement that frames the face without appearing heavy or stiff. With the right techniques for cutting, styling, and setting, you can maintain a beautiful fringe that looks fresh and light all day long. This guide will walk you through the essential steps to master your side fringe.
Choosing the Perfect Side Fringe for Your Face Shape
Before you even think about picking up the scissors, it's important to consider which style of side fringe will best complement your face shape. A well-chosen fringe can balance your proportions and highlight your best features.
- Oval Face: This face shape is considered the most versatile, so almost any style of side fringe will work well. You can experiment with both soft, wispy fringes and thicker, more dramatic styles.
- Round Face: A longer, sweeping side fringe that ends around the cheekbone can help to create the illusion of length and add definition to your face. Avoid short, blunt fringes, as they can make the face appear wider.
- Square Face: Soft, feathery side fringes are ideal for softening a strong jawline. A layered fringe that curves gently over the brow can add a lovely contrast to angular features.
- Heart-Shaped Face: A long, layered side fringe is perfect for balancing a wider forehead and a narrower chin. The fringe should draw attention downwards and towards the eyes.
A Guide to Trimming Your Fringe at Home
While a professional cut is always recommended for a major change, you can perform minor trims at home to maintain the length and shape of your existing fringe. Always proceed with caution and remember that it's better to cut too little than too much.
Preparing Your Tools and Hair
Ensure your hair is completely dry and styled as you would normally wear it. Cutting a fringe while it's wet can lead to surprises, as hair shrinks when it dries, often resulting in a much shorter fringe than intended. You will need a pair of sharp hairdressing scissors, not kitchen or craft scissors, as they provide a cleaner cut. You'll also need a fine-toothed comb and some clips to section off the rest of your hair.
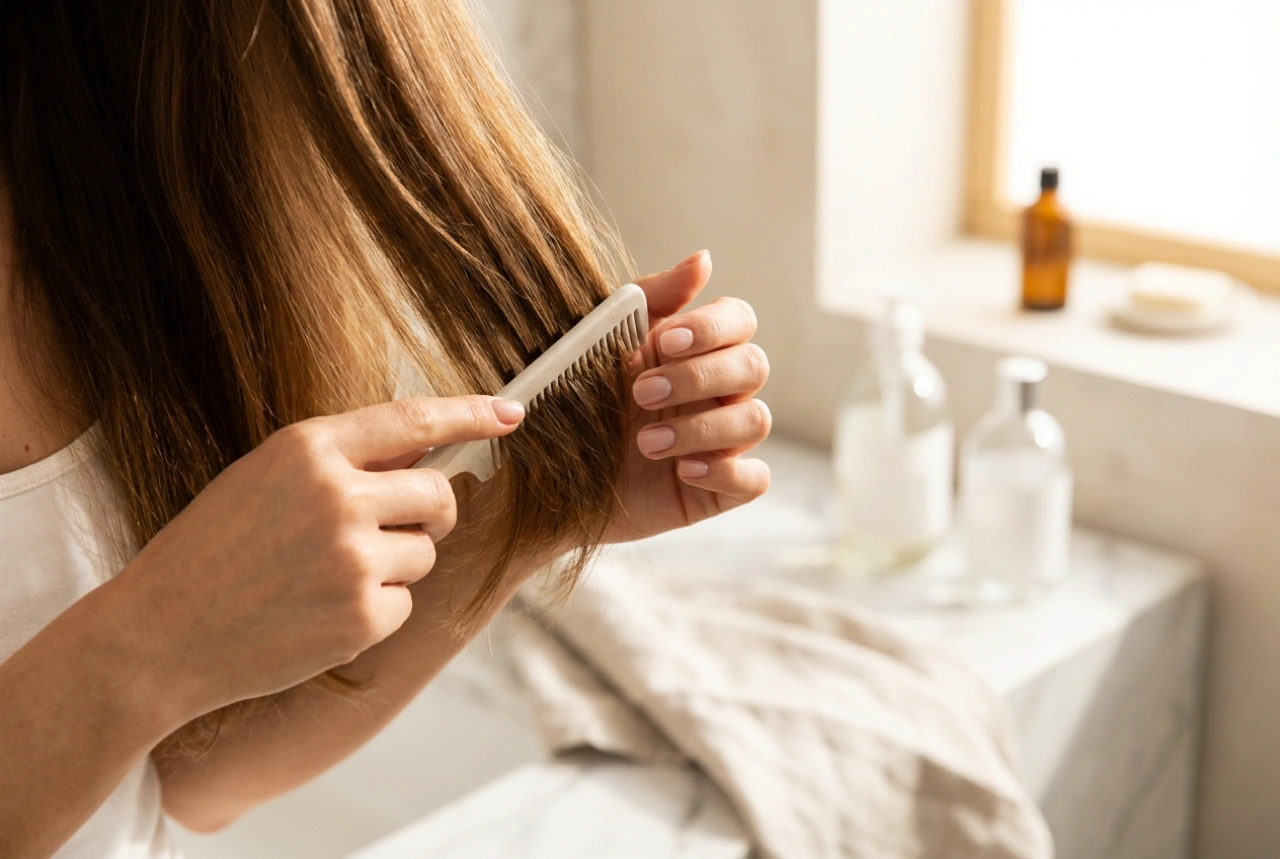
The Trimming Technique
First, use the comb to isolate your fringe. Clip the rest of your hair back securely so it doesn't get in the way. Comb your fringe into its natural side-swept position. Instead of cutting straight across, hold the scissors at a slight angle, pointing upwards, and make small, vertical snips into the ends. This technique, known as 'point cutting', creates a softer, more textured edge rather than a hard, blunt line. Trim only a few millimetres at a time, then step back to check the result before continuing.
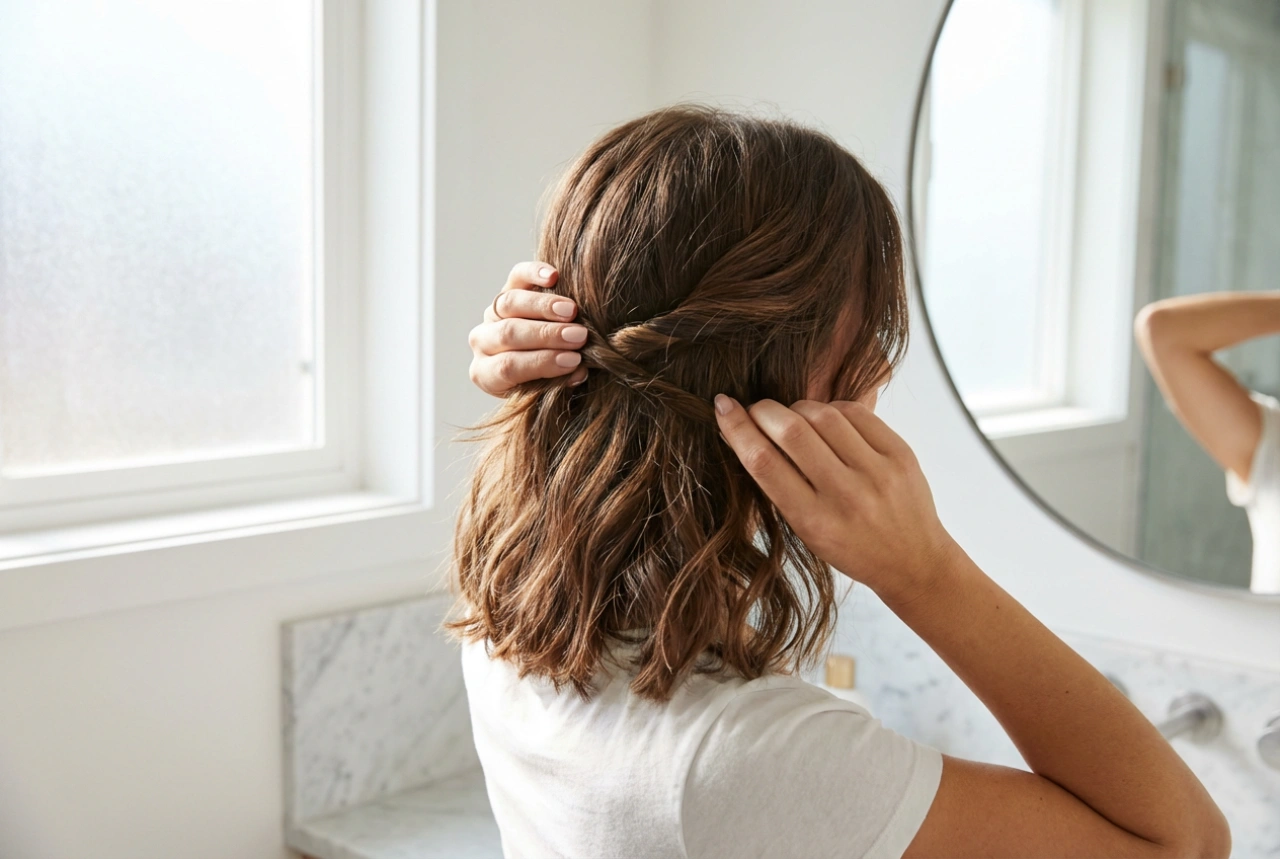
Everyday Styling for a Light and Airy Look
Achieving that coveted weightless finish is all about the right styling method. The goal is to give your fringe direction and a slight lift at the root without flattening it.
The most effective tool is your hairdryer, paired with a medium-sized round brush. Start with damp hair. Hold the hairdryer with the nozzle pointing downwards to avoid creating frizz. Take your fringe section and place the round brush underneath it at the roots. Blow-dry the fringe in the opposite direction to which you want it to sit. For example, if your fringe sweeps to the right, dry it towards the left. This simple trick creates natural volume at the root. When the root is almost dry, switch directions and blow-dry the fringe into its final, side-swept position. A final, quick blast of cool air will help to set the shape.
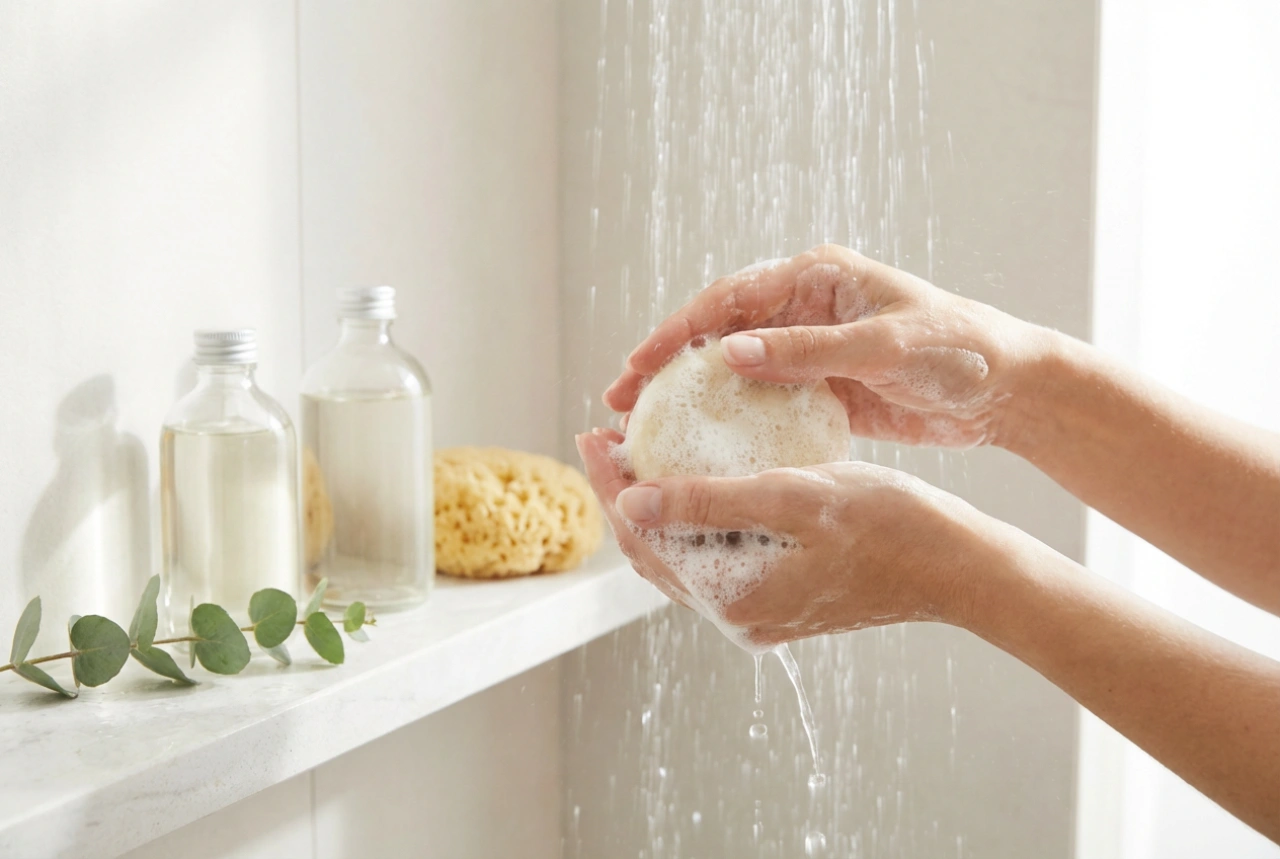
Setting Your Fringe Without the Weight
The final step is to lock your style in place without using heavy products that can make it greasy or stiff. The key is to choose lightweight formulas and apply them correctly.
- Light-Hold Hairspray: A fine-mist, light-hold hairspray is your best friend. Instead of spraying directly onto your fringe, spray it onto your fingertips or a comb and gently work it through your hair. This gives you more control and prevents you from applying too much product.
- Texturising Spray: A light texturising spray or sea salt spray can add grip and subtle definition, enhancing that airy, piecey look. Hold the bottle at least 30cm away from your head and apply a very small amount.
- Dry Shampoo: For those with finer hair or who are prone to an oily T-zone, dry shampoo is a game-changer. Apply a little to the roots of your fringe even on clean hair. It will absorb any excess oil throughout the day and provide a fantastic volume boost right where you need it.
By following these steps, you can easily maintain a beautiful side fringe that looks professionally styled. A good cut, combined with smart styling and minimal product, is the secret to a flawless, lightweight fringe that enhances your entire look.