


Innovations in the world of beauty constantly offer new ways to enhance our features with greater ease and precision. For many, achieving lush, voluminous eyelashes is a key part of their makeup routine, but traditional methods can be challenging. Enter magnetic eyeliner, a modern solution designed to simplify the process of applying false lashes, eliminating the need for messy glue and offering a fresh approach to accentuating the eyes.
What Exactly is Magnetic Eyeliner?
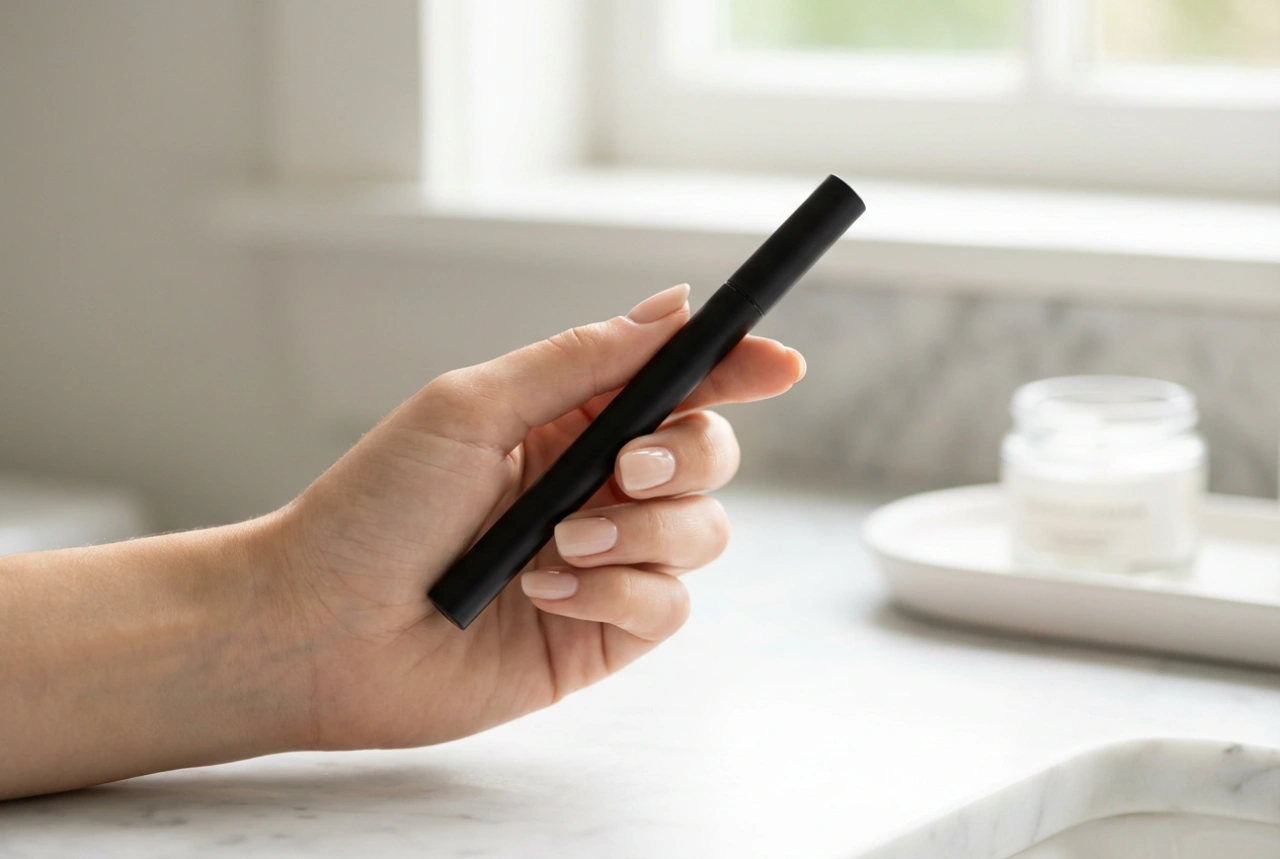
Magnetic eyeliner is a unique cosmetic product that looks and applies like a standard liquid eyeliner, but with a special twist. Its formula is infused with ultra-fine, cosmetic-grade iron oxides—tiny magnetic particles. These particles are what give the eyeliner its magnetic properties. It’s designed to be used in tandem with magnetic false eyelashes, which have small, lightweight magnets attached along their band. When the lashes are brought close to the dried eyeliner, the magnets on the lash band are attracted to the iron oxides in the liner, causing them to 'snap' into place and hold securely along the lash line.
Key Advantages of This System
- No Glue Required: This is the primary benefit. It avoids the potential mess, sticky residue, and waiting time associated with traditional lash adhesives.
- Easier for Beginners: Many people who struggle with placing lashes correctly using glue find the magnetic system more forgiving, as you can easily adjust the lash position without re-applying adhesive.
- Reusability: Since there's no glue buildup on the lash band, magnetic lashes are often easier to clean and can be reused more times than their traditional counterparts, making them a more sustainable option in the long run.
- Gentler on Natural Lashes: Without the need to pull away sticky glue from your lash line, the removal process can be gentler on your natural lashes.
A Step-by-Step Guide to Flawless Application
Achieving a perfect result with magnetic eyeliner and lashes is all about following the correct steps. A methodical approach ensures a strong hold and a seamless look. Let's break down the process from preparation to final placement.
Step 1: Prepare Your Eyelids
Start with a clean canvas. Ensure your eyelids are clean and free of any oils or residual makeup. If you plan to wear eyeshadow, apply it before the magnetic eyeliner. Powder eyeshadows work best, as creamy or oily formulas can interfere with the eyeliner's ability to adhere and dry properly. You can also apply your regular mascara to your natural lashes at this stage, which can help the false lashes blend in more naturally.
Step 2: Apply the Magnetic Eyeliner
This is the most crucial step for a secure hold. First, shake the magnetic eyeliner bottle vigorously for several seconds. This is essential to ensure the magnetic particles are evenly distributed throughout the liquid. If they settle at the bottom, the liner won't have enough magnetic strength. Using the applicator brush, draw a line along your upper lash line, just as you would with any liquid eyeliner. Here are a few key points:
- Line Thickness: The line needs to be thick enough to create a sufficient magnetic surface for the lash magnets to grip. A thin, delicate line might not provide enough hold. Aim for a line that is at least the same width as the lash band's magnets.
- Apply a Second Coat: For an extra-strong, all-day hold, wait for the first coat to dry slightly and then apply a second coat. Pay special attention to the inner and outer corners of your eye, as these are the areas where lashes are most likely to lift.
Step 3: Let the Eyeliner Dry Completely
Patience is a virtue here. You must wait for the eyeliner to dry completely before attempting to attach the lashes. A common mistake is applying the lashes while the liner is still wet or tacky. This will result in a messy application and a weak bond. The liner should feel smooth to the touch and not transfer when you gently tap it. This usually takes one to three minutes, depending on the formula and how thickly you've applied it.
Attaching and Perfecting Your Magnetic Lashes
Once your eyeliner is fully dry, you're ready for the magic. Before you begin, prepare your lashes for a perfect fit.
Prepare the Lashes
First, hold the lash up to your eye to check the fit. If the band is longer than your natural lash line, trim the excess from the outer edge using small scissors. Trimming from the outer edge preserves the shorter lashes at the inner corner for a more natural look. Next, gently bend the lash band into a C-shape and hold for a few seconds. This helps it curve to the natural shape of your eye, preventing the ends from lifting.
Attach and Adjust
Using your fingers or a non-metallic lash applicator, hold the magnetic lash and position it just above your natural lash line, aligning the centre of the band with the centre of your eye. Slowly bring the lash towards the dried eyeliner. You should feel it gently 'click' or 'snap' into place as the magnets connect with the liner. Once the centre is attached, gently press the inner and outer corners into place. If you need to reposition it, carefully lift the lash off, re-apply a touch-up of liner if needed (and let it dry!), and try again.
Tips for Removal and Care
Proper removal and care will extend the life of your magnetic lashes and keep your eyes happy. To remove the lashes, gently grip the outer corner of the lash band and slowly peel it away from your lash line. Avoid pulling or tugging. The magnets should release without much resistance. To remove the magnetic eyeliner, a standard makeup remover may not be sufficient. It's best to use a dual-phase or oil-based makeup remover. Apply the remover to a cotton pad, hold it over your closed eye for about 15-20 seconds to dissolve the liner, and then gently wipe it away. After each use, clean any liner residue from the tiny magnets on the lash band using a cotton swab and a bit of oil-free makeup remover. Let them dry completely and store them back in their original case to protect their shape.