


An elegant updo is a timeless choice for a formal event like a wedding, offering a touch of sophistication and ensuring your hair looks perfect throughout the celebration. For those with long hair, the possibilities are vast, ranging from intricate braids to classic chignons. Creating a beautiful updo at home might seem daunting, but with the right preparation and a clear, step-by-step approach, you can achieve a polished and romantic look that will turn heads and complement your outfit beautifully.
Preparation is Key to a Lasting Style
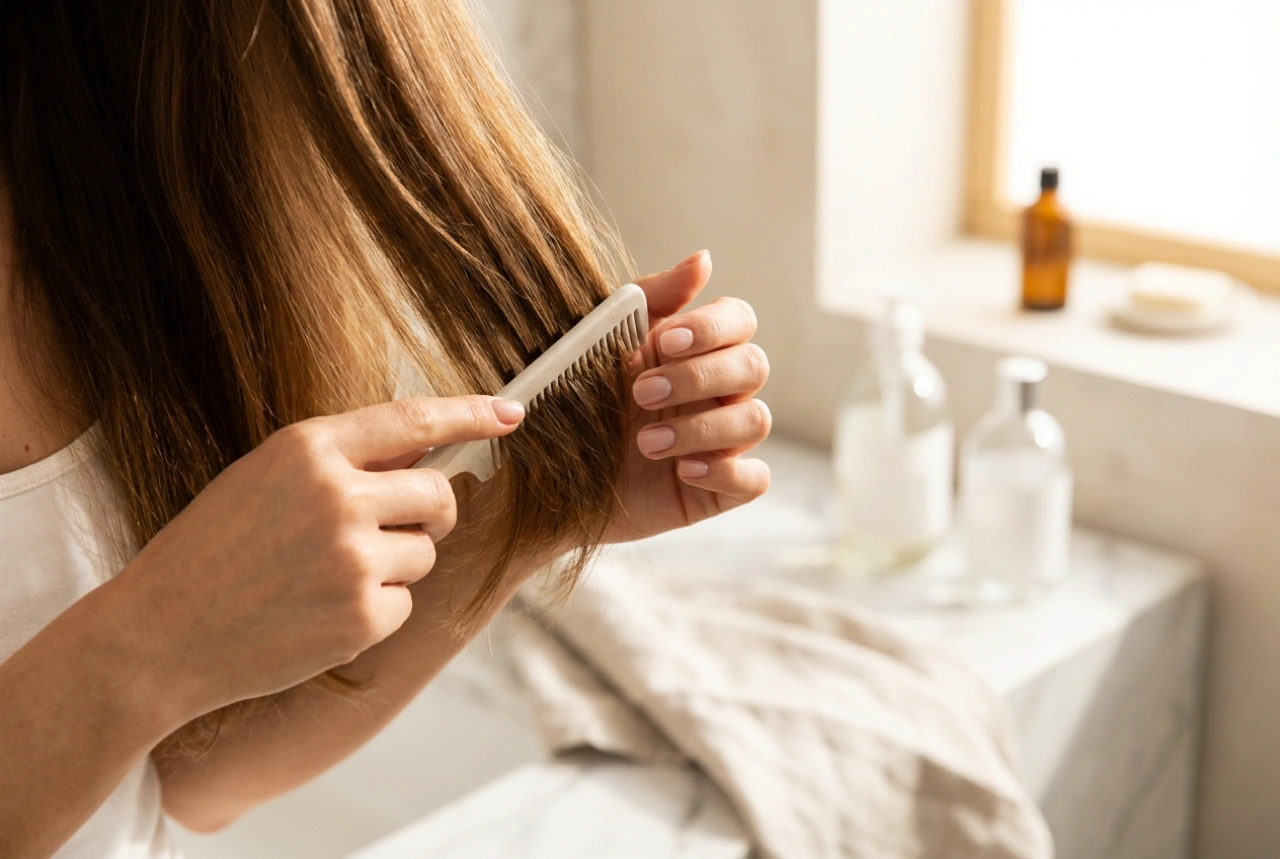
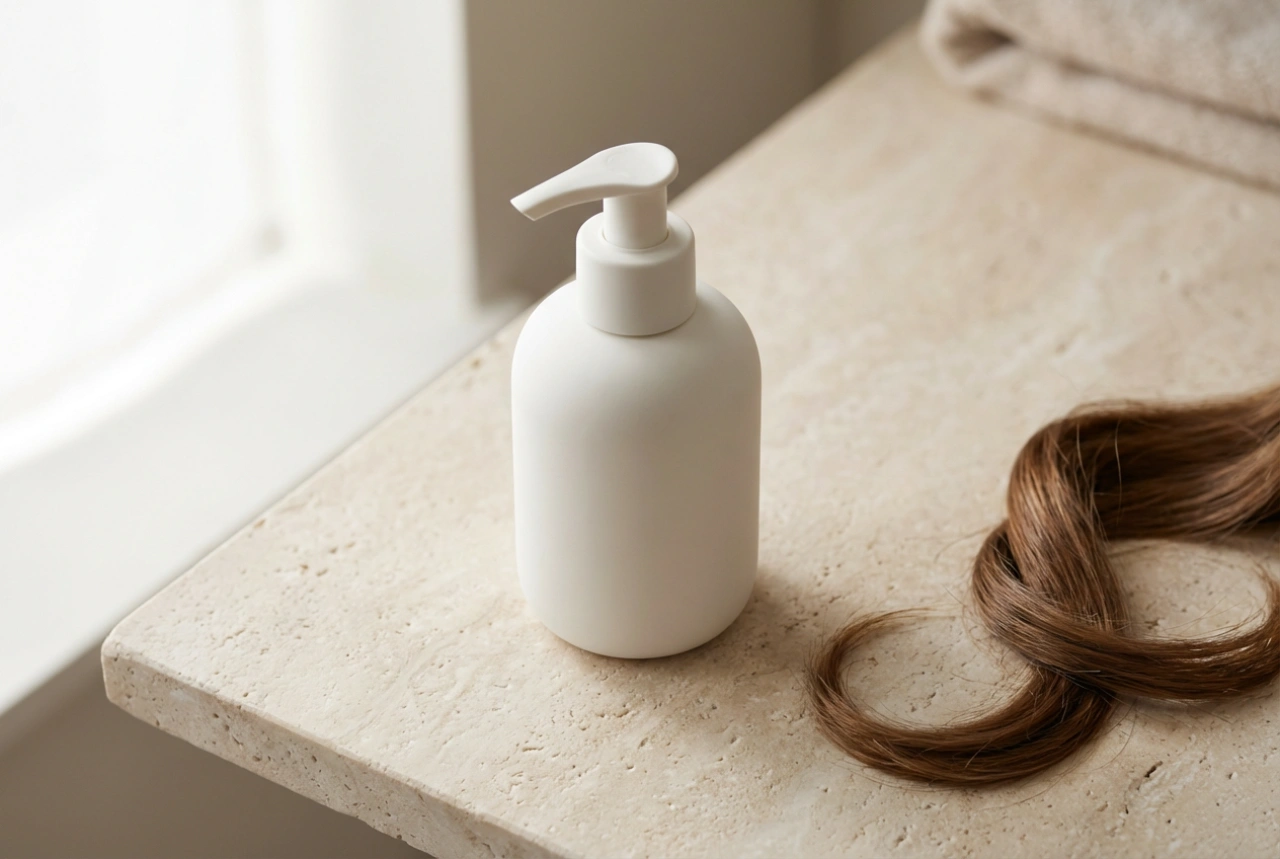
The foundation of any great hairstyle begins long before you start pinning. For an updo, it's often best to work with hair that isn't freshly washed. Second-day hair typically has more grit and natural texture, which helps it hold a style much better than silky, clean hair. If you must wash your hair on the day, avoid using heavy conditioners that can weigh it down. Before you begin styling, apply a texturising spray or a lightweight mousse from roots to ends. This will add grip and volume, making the hair more pliable and easier to work with. Ensure your hair is completely dry before moving on to the next stage.
Create a Textured Base with Soft Waves
Most romantic updos feature soft, flowing textures rather than poker-straight hair. Creating gentle waves or curls provides a beautiful base that adds dimension and softness to the final look. You can use a curling wand, a straightener, or hot rollers to achieve this. Work in manageable one- to two-inch sections, curling the hair away from your face for a flattering effect. Don't aim for tight, perfect ringlets; the goal is to create movement and a gentle bend. Once all the hair is curled, gently run your fingers through it to loosen the waves and create a more natural, cohesive look. This texture will not only look beautiful but will also help the pins grip the hair more securely.
Building the Updo: A Step-by-Step Guide
With your hair prepped and textured, you are now ready to construct the updo. Have your tools ready: hair elastics, bobby pins that match your hair colour, and a firm-hold hairspray.
Step 1: Section Your Hair
Start by creating your desired parting. Then, separate your hair into three main sections. Create two sections at the front, one on each side, from your parting down to your ears. These will be used to frame the face and add detail later. Clip them out of the way. The remaining hair at the back will form the main body of your updo.
Step 2: Create the Foundation
Gather the large back section into a low ponytail at the nape of your neck or slightly higher, depending on your preference. Secure it with a hair elastic. For extra volume and a softer silhouette, you can gently tug at the hair on the crown of your head to create some lift before you fully tighten the ponytail. This technique, known as 'pancaking', prevents the style from looking too flat or severe.
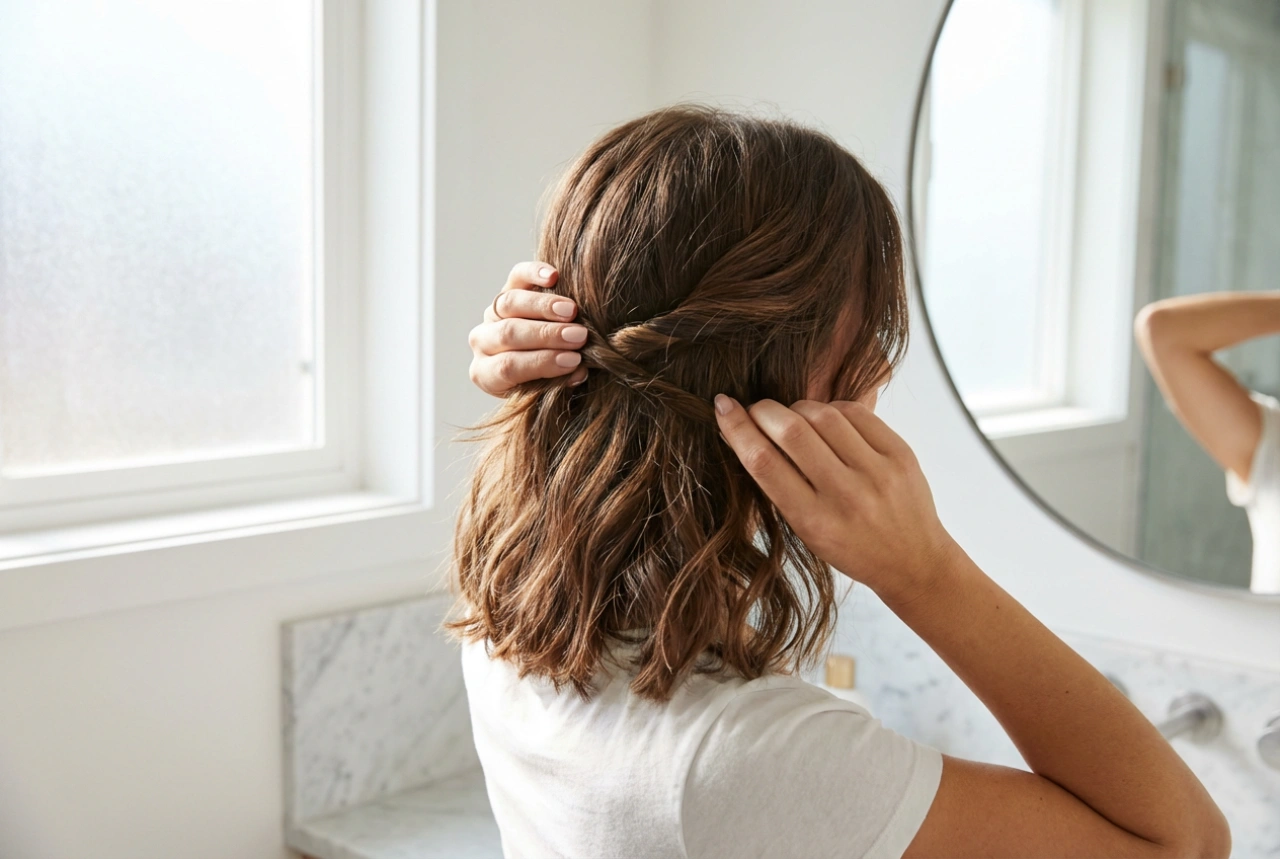
Step 3: Form the Bun or Chignon
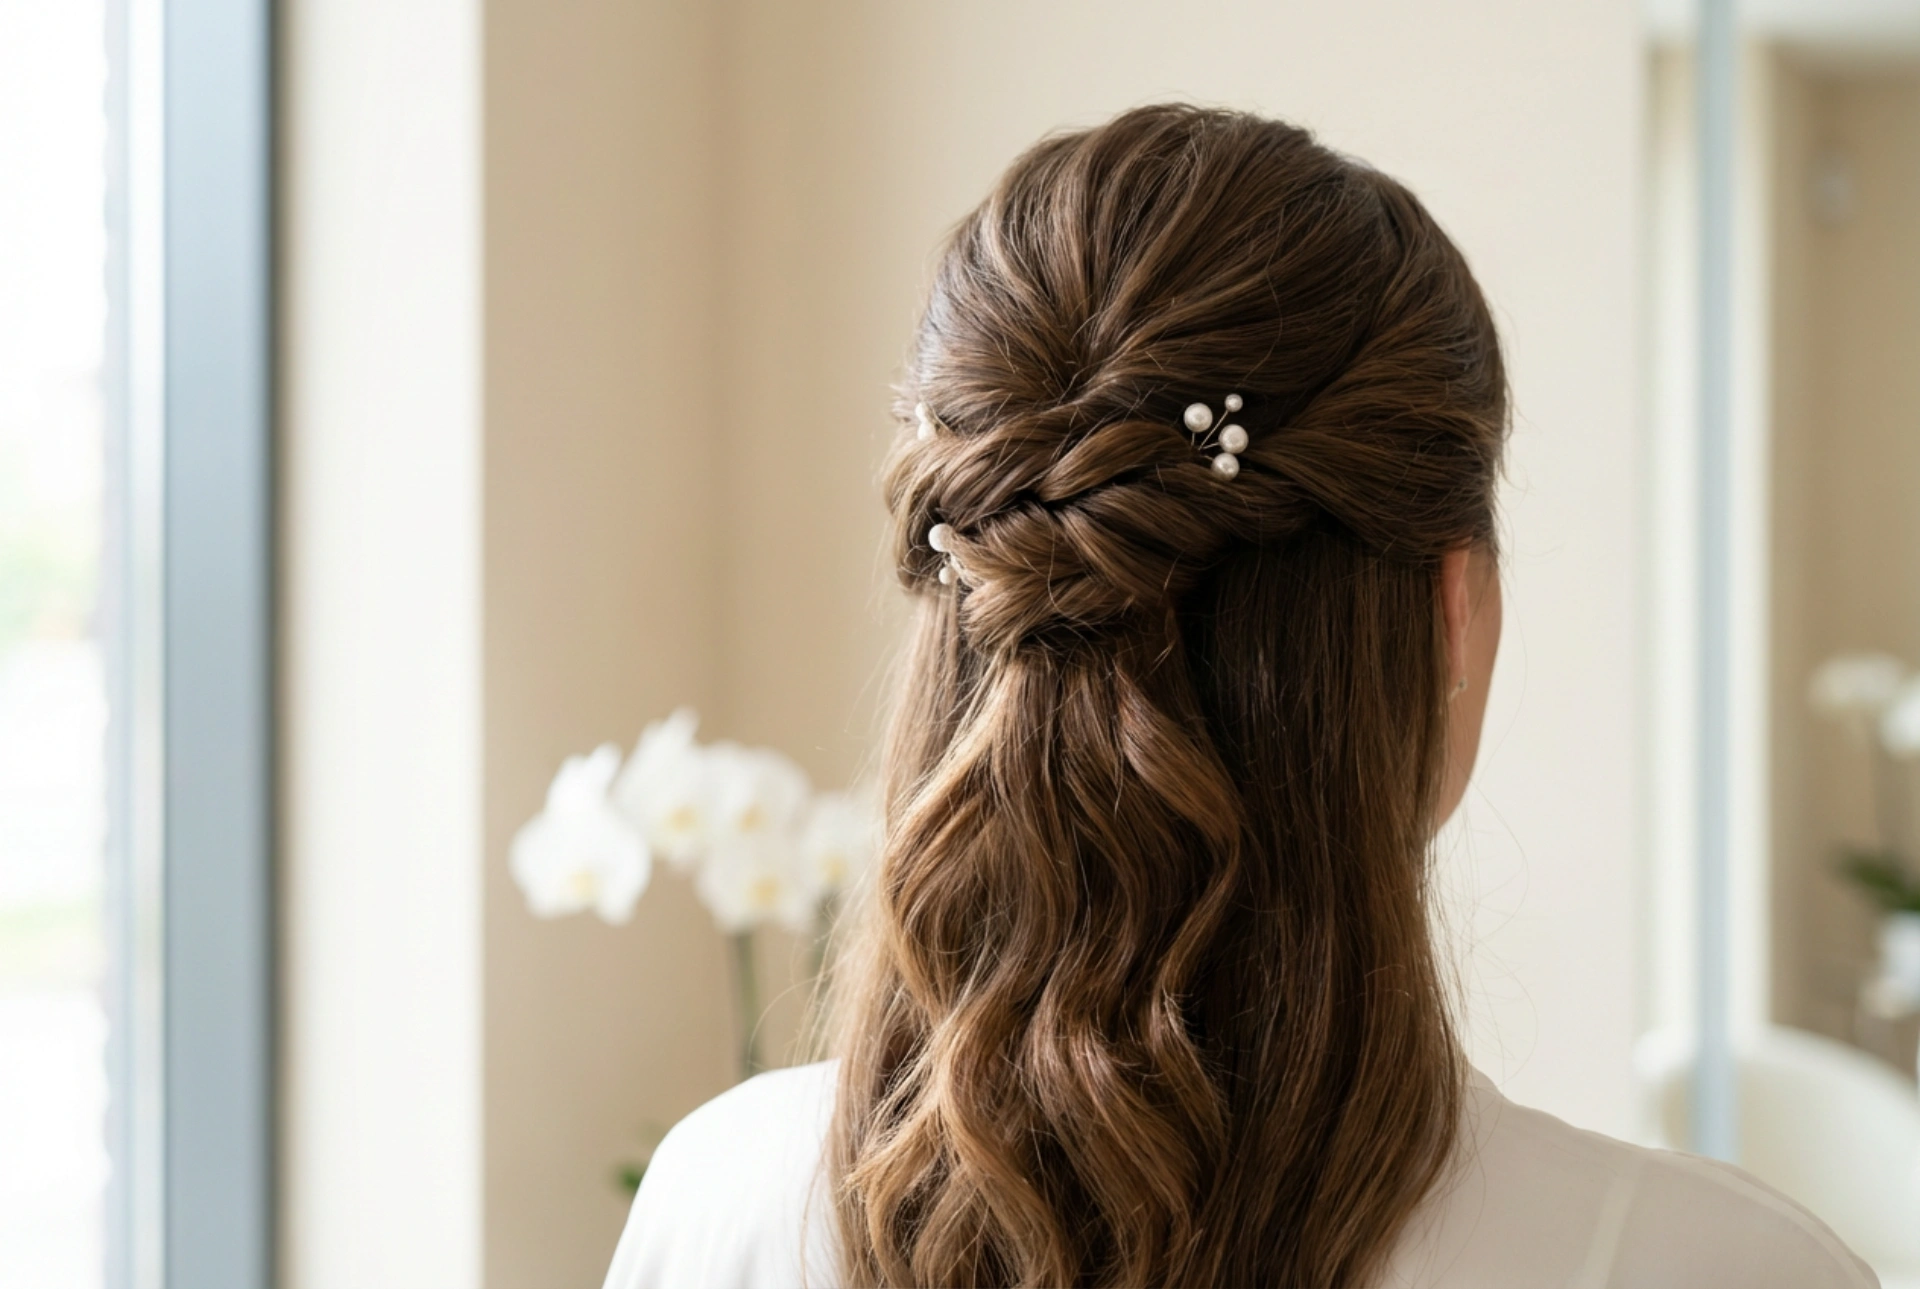
Take the ponytail and lightly twist it from the base to the ends. Next, wrap the twisted ponytail around its base to form a bun. Tuck the ends underneath the bun and secure them. Use several bobby pins to fasten the bun to your head, inserting them around the perimeter. For a stronger hold, insert the pins in a criss-cross pattern. Don't worry about it being perfectly neat; a slightly undone, textured bun looks modern and romantic.
Step 4: Style the Front Sections
Unclip one of the front sections of hair. Gently twist it backwards, keeping it loose to maintain the soft texture. Drape it over the side of the bun and pin it securely in place, tucking the ends into the chignon. Repeat the process on the other side. You can leave a few soft tendrils loose around your face to create a delicate, face-framing effect that enhances the romantic feel of the hairstyle.
Finishing Touches for a Polished Look
Once you are happy with the shape of your updo, the final step is to set it in place. Gently pull out a few strands or adjust the bun to achieve your desired level of 'undone' elegance. Once satisfied, generously mist your entire head with a strong-hold hairspray to lock everything in place and tame any flyaways. For a professional-looking finish, you can spray a little hairspray onto a clean toothbrush or spoolie and gently smooth down any unruly hairs around your hairline. For a wedding, consider adding a subtle decorative accessory, such as a few pearl-tipped pins or a delicate hair vine, to elevate the style.