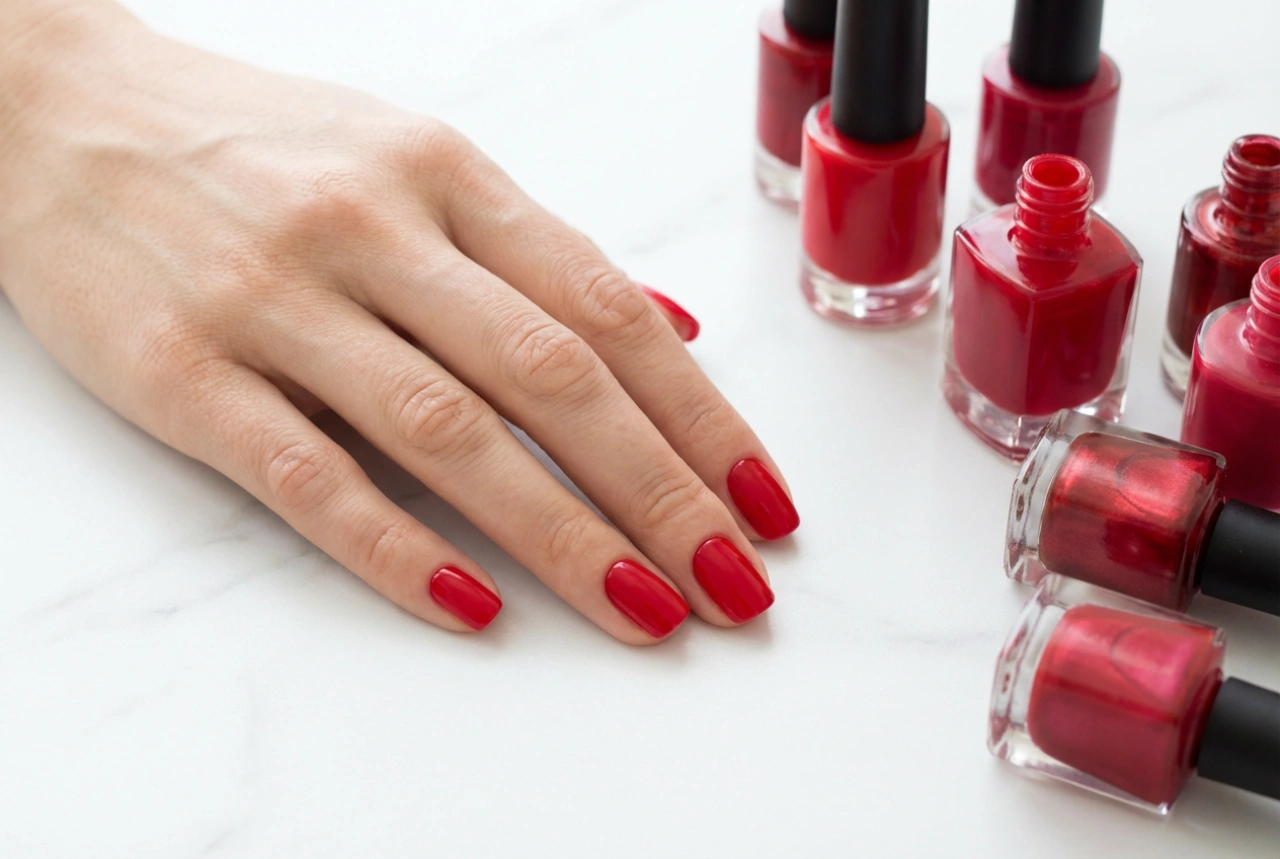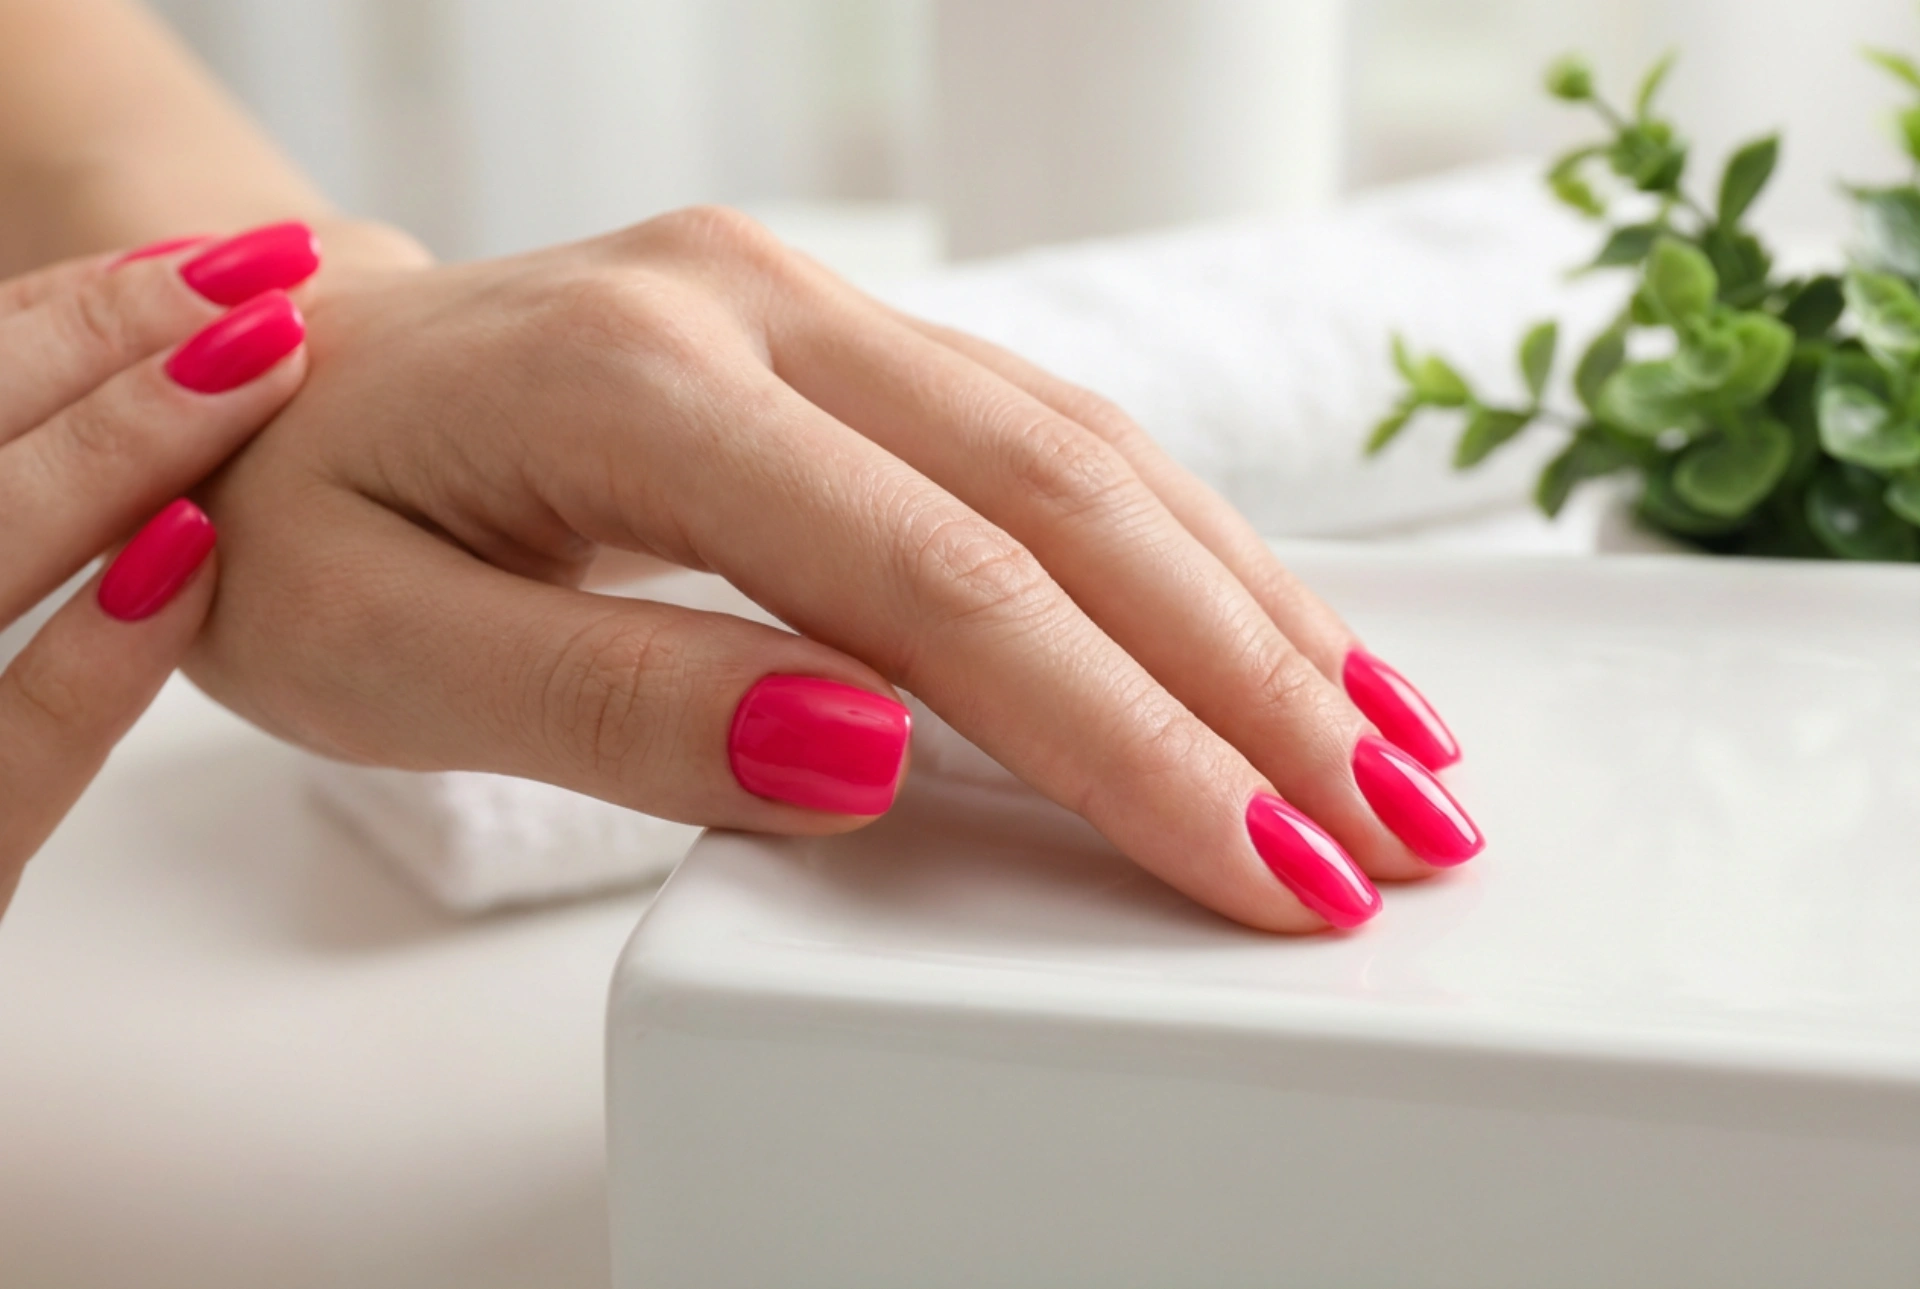


Neon raspberry is a colour that exudes confidence and energy, making it a fantastic choice for a manicure that truly stands out. As seen on perfectly polished hands, this vibrant hue can elevate any look with its modern and playful aesthetic. However, applying such an intense, bright colour can be challenging. The key to achieving that coveted smooth, streak-free, and glossy finish lies in a methodical approach to preparation, application, and finishing. With the right techniques, you can create a professional-quality neon manicure at home.
Nail Preparation: The Foundation for Flawlessness
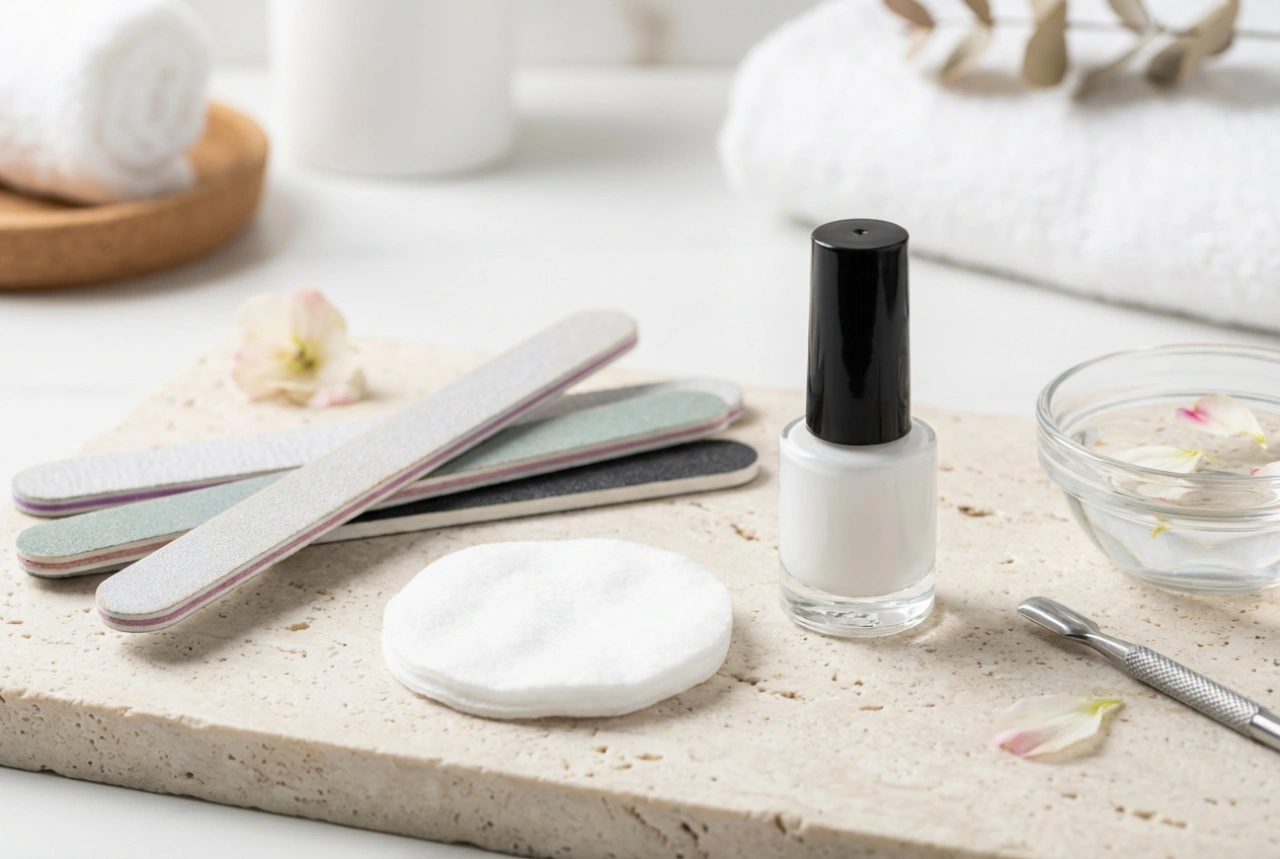
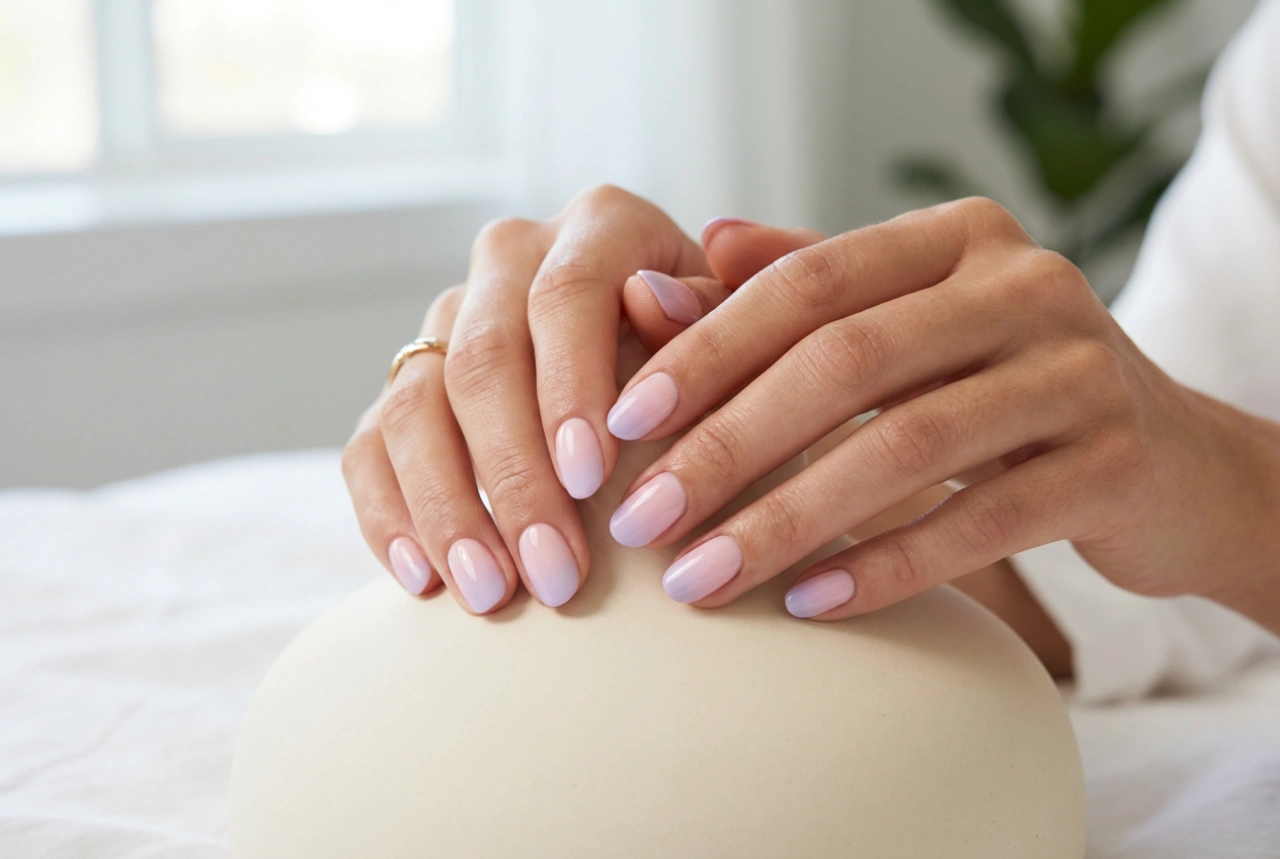
Before you even think about opening that bottle of vibrant polish, preparing your nails properly is a crucial first step. A smooth canvas is essential for a flawless result. Skipping this stage can lead to a lumpy, uneven finish and reduce the longevity of your manicure.
Create the Perfect Shape and Surface
- Clean and Shape: Start with clean, dry nails. Remove any old polish completely. Use a nail file to gently shape your nails to your desired length and form, whether it's square, oval, or almond. Always file in one direction to prevent splitting.
- Cuticle Care: Gently push back your cuticles using a wooden or rubber-tipped cuticle pusher. Well-maintained cuticles create a clean frame for your polish and a larger nail surface to work on. Avoid cutting them unless you are experienced, as this can lead to damage.
- Buff and Cleanse: Lightly buff the surface of your nails with a fine-grit buffer. This smooths out any ridges and creates a slightly porous surface for the polish to adhere to. Afterwards, wipe each nail with a lint-free pad soaked in nail polish remover or isopropyl alcohol. This removes any natural oils and debris, ensuring maximum adhesion.
The Art of Applying Neon Polish without Streaks
Neon polishes are notoriously tricky due to their pigmentation. They can often appear streaky or patchy if not applied correctly. Patience and thin coats are your best friends in this process. The goal is to build up the colour gradually for an opaque, even look.
The Power of the Right Base
Never skip the base coat, especially with bright colours like neon raspberry. It serves multiple purposes: it protects your natural nails from staining, provides a smooth base for the colour, and helps your manicure last longer. For neons, consider using a solid white or pale pastel base coat. This undercoat will make the neon colour appear even more vibrant and can help you achieve full opacity with fewer coats of the tricky neon formula.
Technique for a Smooth Application
- Thin Coats are Key: The most common mistake is applying the polish too thickly. This leads to streaks, bubbling, and long drying times. Instead, apply very thin, even coats.
- The Three-Stroke Method: Load your brush with a small amount of polish, wiping off the excess on the inside neck of the bottle. Place the brush in the centre of the nail, slightly away from the cuticle. Push back gently towards the cuticle, then pull the brush straight down to the tip. Lift the brush and repeat for the left and right sides of the nail.
- Patience Between Coats: Allow each coat to dry for at least two to three minutes before applying the next one. Applying a second coat to wet polish will drag the first layer, causing streaks. Two to three thin coats should be enough to achieve an intense, opaque raspberry colour.
Sealing the Deal: The High-Gloss Top Coat
A top coat is the final, essential step to transform your manicure from good to great. It protects the colour from chipping, adds incredible shine, and smooths over any minor imperfections, giving you that professional, gel-like finish.
- Choose a Quality Top Coat: Opt for a quick-drying, high-shine top coat. It will protect your vibrant colour and give it a durable, glossy shield.
- Apply Generously: Unlike the colour coats, you can be a little more generous with the top coat. Apply it in a smooth, even layer over the entire nail.
- Cap the Free Edge: To provide extra protection against chipping, run the brush horizontally along the very tip of your nail. This technique, known as 'capping the edge,' seals the polish and significantly extends the life of your manicure.
Maintaining Your Vibrant Manicure
Once your nails are perfectly painted and dry, a little aftercare can keep them looking pristine for longer. Avoid strenuous activities with your hands for the first few hours. Apply cuticle oil daily to nourish the skin around your nails, which keeps them healthy and enhances the overall look of your manicure. If you notice the shine dulling after a few days, you can apply another thin layer of top coat to refresh the gloss and add another layer of protection.