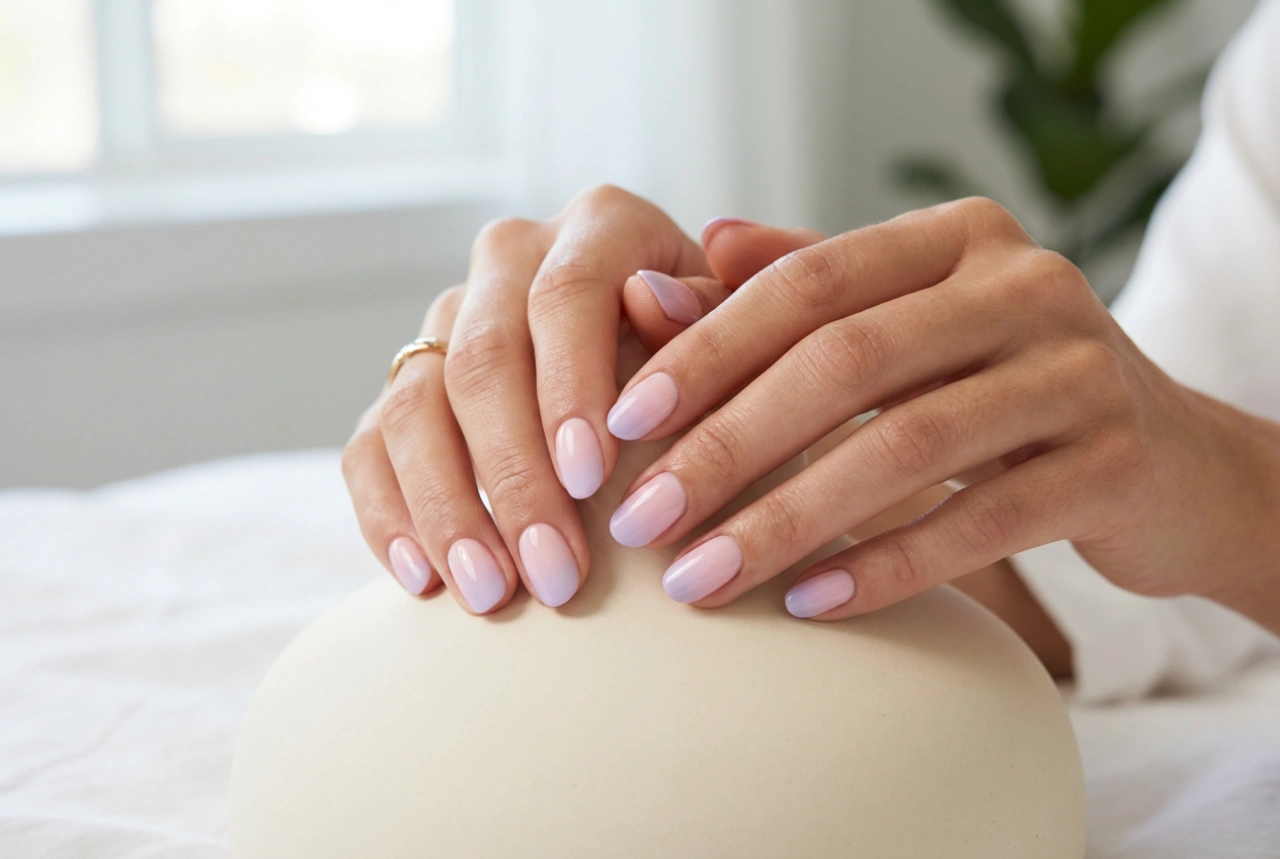


A long-lasting, glossy manicure is a hallmark of a polished look and a rewarding part of any self-care routine. Gel polish offers durability and shine that traditional nail varnish often can't match. Achieving a salon-quality result at home is entirely possible with the right techniques and a little patience. Understanding the complete process, from meticulous preparation to safe removal, is key to not only a beautiful manicure but also to maintaining the health of your natural nails. This guide will walk you through each essential step.
Preparing the Nail Plate for a Gel Manicure
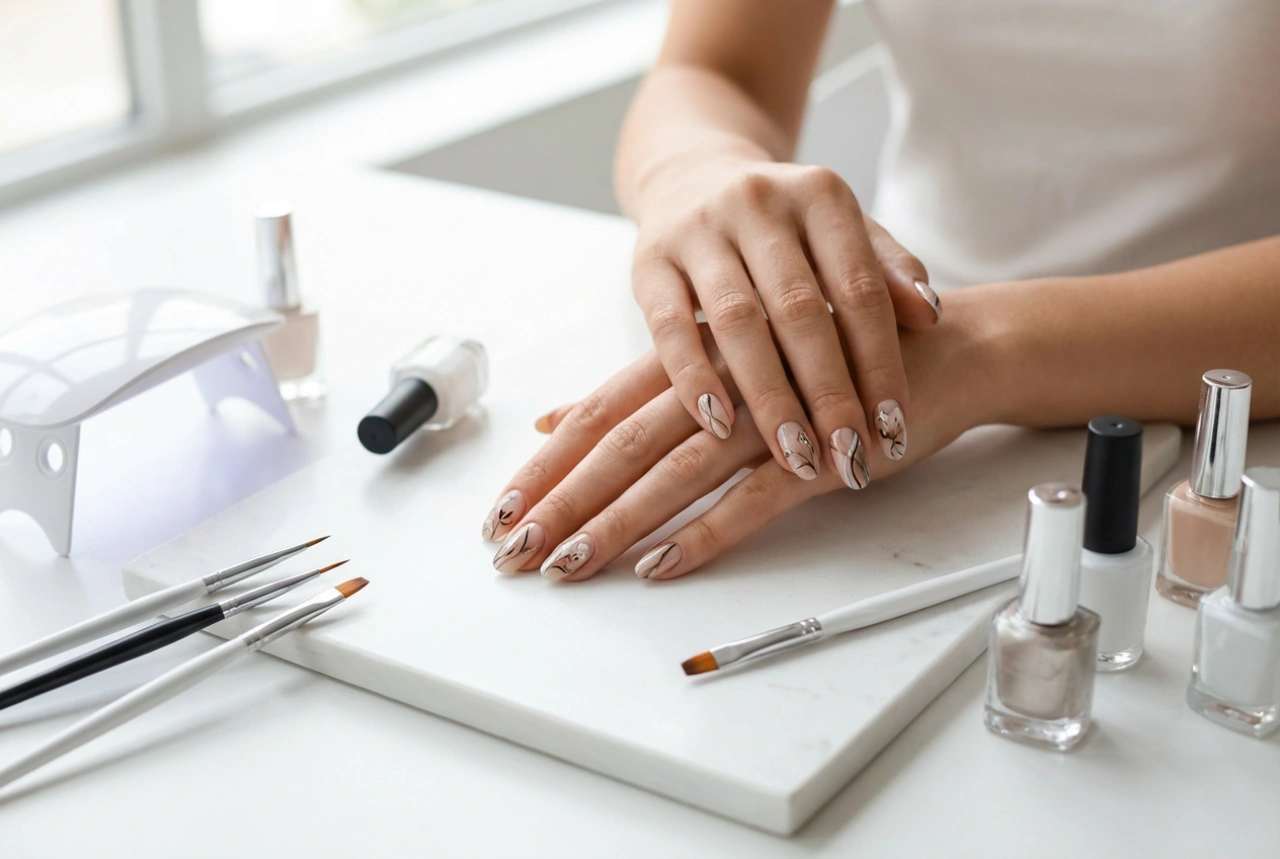
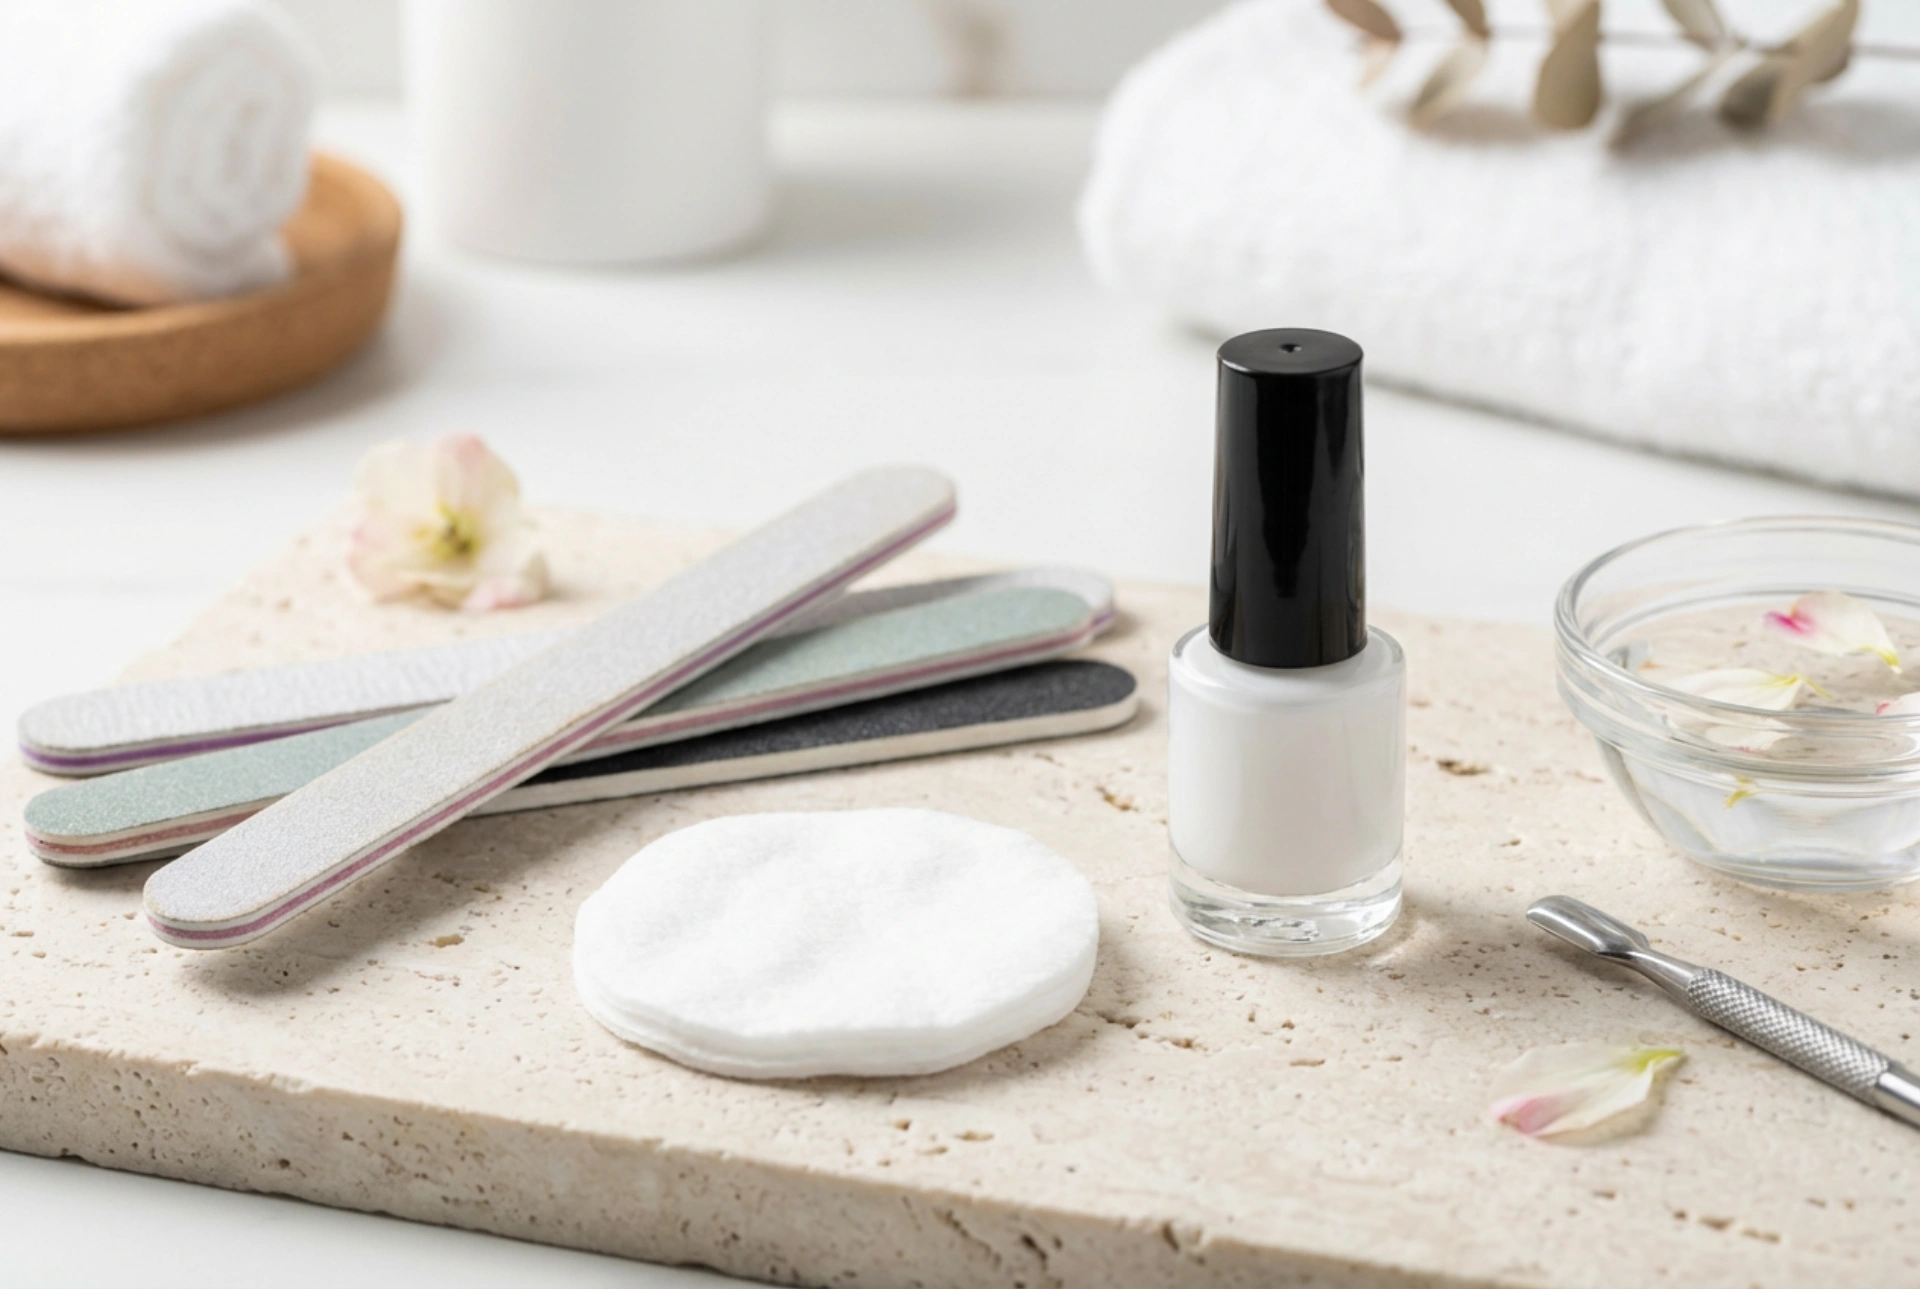
Proper preparation is the foundation of a durable and flawless gel manicure. Skipping these steps can lead to the polish lifting or chipping prematurely. The goal is to create a clean, dry, and slightly textured surface for the gel to adhere to.
Key Preparation Steps:
- Shape Your Nails: Start by filing your nails to your desired shape using a gentle nail file. Always file in one direction to prevent splitting.
- Manage Cuticles: Apply a cuticle remover solution and gently push back the cuticles using a wooden stick or a cuticle pusher. Avoid cutting them, as they protect the nail matrix from impurities. Carefully remove any non-living tissue from the nail plate.
- Buff the Nail Plate: Using a fine-grit buffer block, gently buff the entire surface of each nail. The aim is to remove the natural shine, not to thin the nail. This creates a subtle texture that helps the base coat grip the nail.
- Cleanse and Dehydrate: After buffing, remove all dust with a soft brush. Then, wipe each nail with a lint-free pad soaked in a specialised nail cleaner or isopropyl alcohol. This step removes oils and dehydrates the nail plate, ensuring maximum adhesion.
- Apply a Primer: For nails that are prone to lifting, you can apply a thin layer of a non-acidic primer. This product acts like double-sided tape, creating a stronger bond between the natural nail and the base coat. Allow it to air dry completely.
The Art of Application and Curing
Applying gel polish requires precision. The key is to use thin, even layers. A UV/LED lamp is essential for this process, as it cures (hardens) the gel, making it durable and chip-resistant. Make sure your lamp is compatible with the gel products you are using.
Application Process:
- Base Coat: Apply a very thin layer of the base coat, making sure to cover the entire nail surface but avoiding the cuticles and surrounding skin. 'Capping' the free edge by running the brush along the tip of the nail helps prevent chipping. Cure under the lamp for the time specified by the product's manufacturer (typically 30-60 seconds).
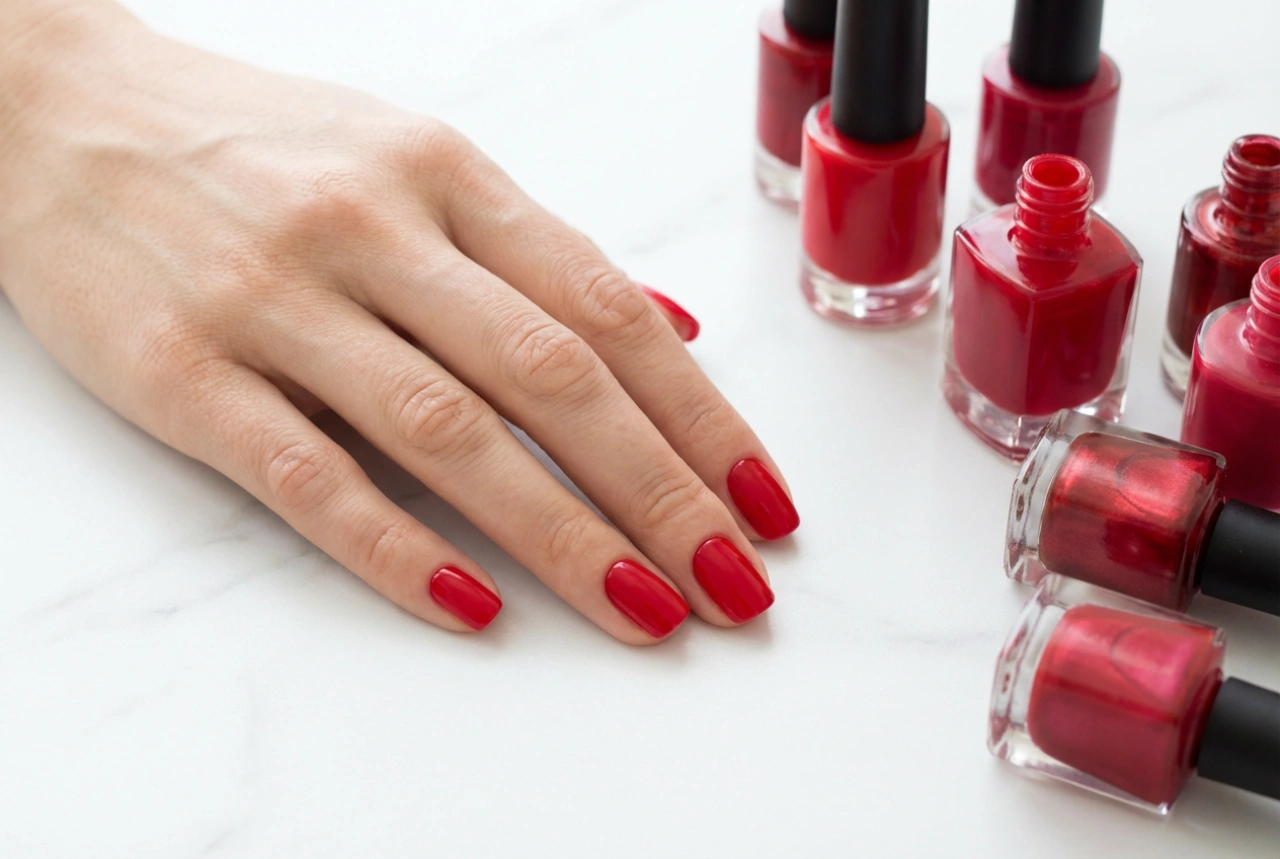
- Colour Coats: Apply your chosen colour in a thin, even layer. If you get any polish on your skin, clean it up with a wooden stick before curing. Cure the layer under the lamp. Apply a second coat for full opacity, and if needed, a third, curing each layer separately. Thin coats are crucial for proper curing and preventing the polish from wrinkling.
- Top Coat: Finish with a thin layer of a high-shine top coat. This protects the colour from fading and scratching, providing that signature glossy finish. Be sure to cap the free edge again. Cure this final layer for the recommended time, which may be slightly longer than for the colour coats.
- Final Cleanse: Most gel systems leave a sticky (or dispersion) layer after the final cure. To reveal the shine, wipe each nail firmly with a lint-free pad soaked in a nail cleaner.
How to Safely Remove Gel Polish at Home
Improper removal is one of the main causes of nail damage. Never peel or scrape off gel polish, as this can remove layers of your natural nail along with it, leaving them weak and brittle. A gentle soak-off method is the safest approach.
Safe Removal Steps:
- Break the Seal: Use a nail file to gently buff the shiny surface of the top coat. You don't need to file down to the natural nail, just remove the shine. This allows the remover solution to penetrate the layers of gel.
- Soak the Gel: Saturate small pieces of cotton pads with a specialised gel polish remover containing acetone. Place a saturated cotton piece on each nail.
- Wrap the Nails: Secure each cotton pad in place by wrapping the fingertip in a small piece of aluminium foil. This traps heat and prevents the acetone from evaporating, speeding up the process.
- Wait Patiently: Allow the nails to soak for about 10-15 minutes. You might feel a slight warming sensation.
- Gently Remove: After the waiting period, unwrap one nail. The gel polish should look softened and lifted. Use a wooden orange stick or a gentle cuticle pusher to carefully scrape away the loosened gel. If it doesn't come off easily, re-wrap the nail and wait a few more minutes. Never force it.
Aftercare for Healthy Nails
Once the gel polish is completely removed, your nails and the surrounding skin will need some hydration. Immediately apply a nourishing cuticle oil to the cuticles and massage it into the nails and surrounding skin. Follow up with a rich hand cream. It's also a good practice to give your nails a break from gel polish occasionally to allow them to rehydrate and strengthen naturally.