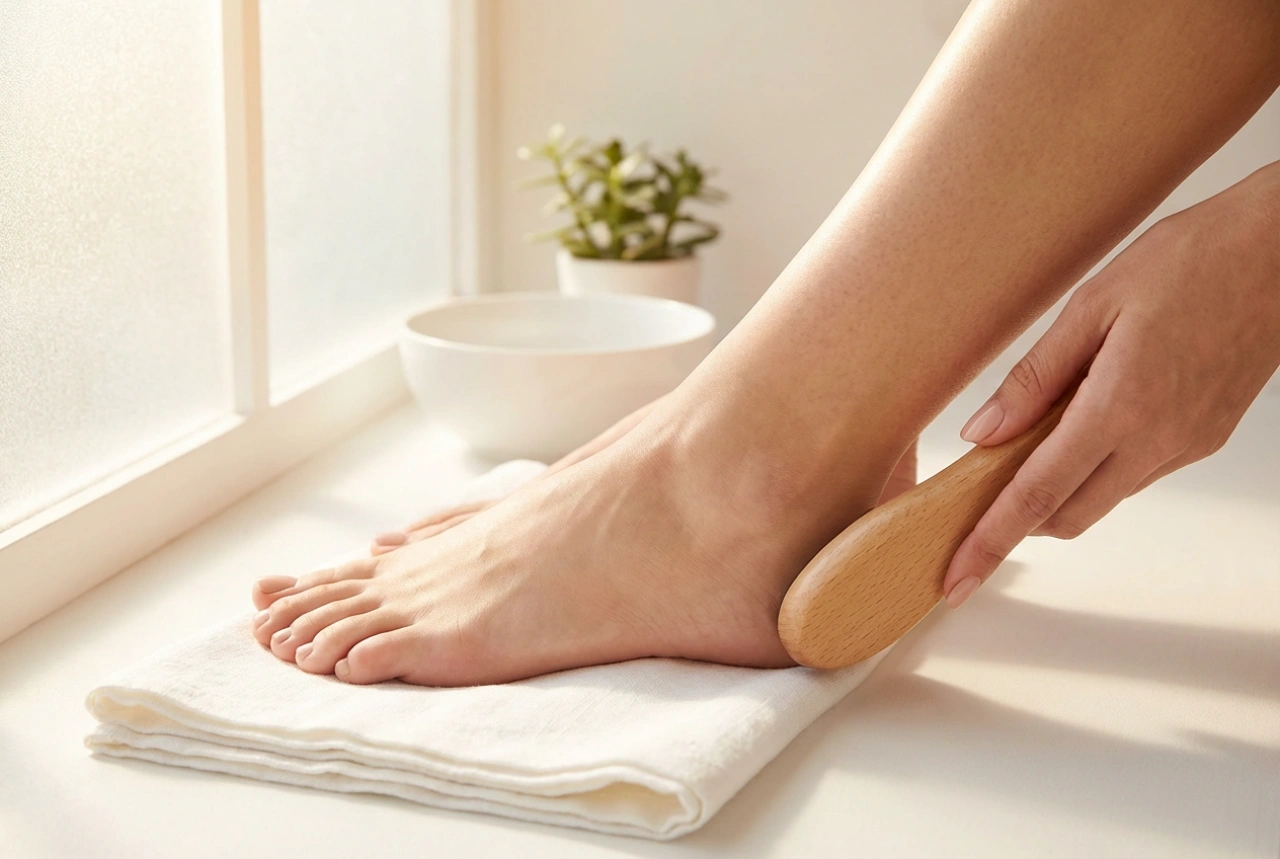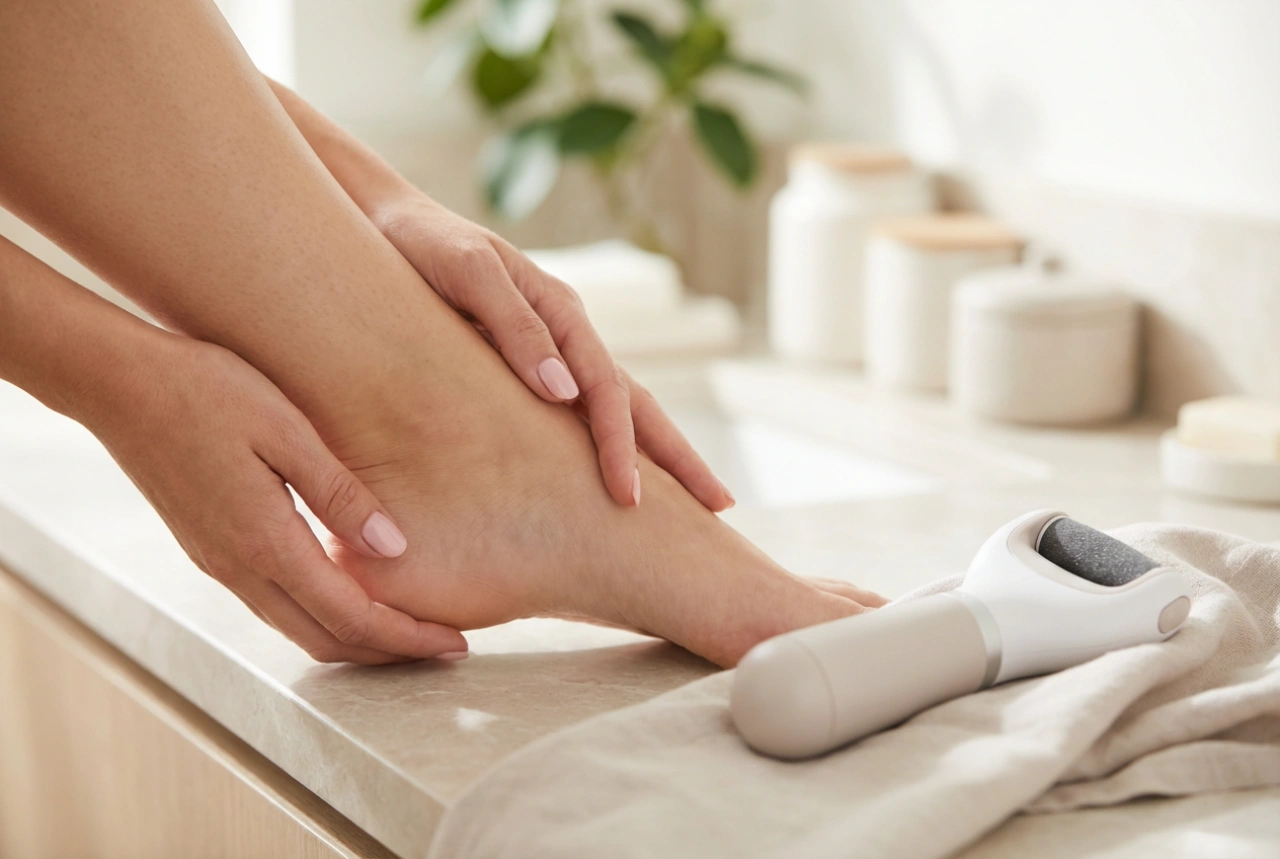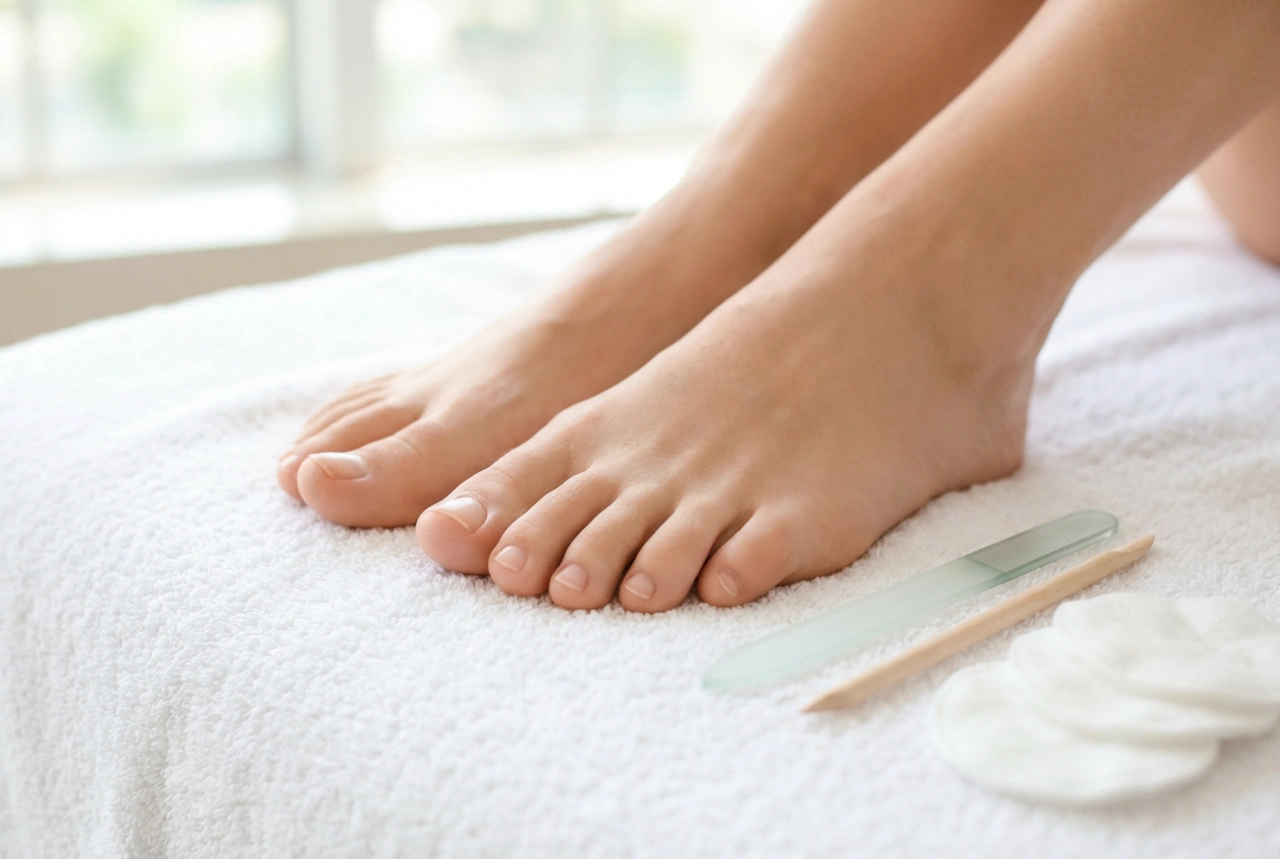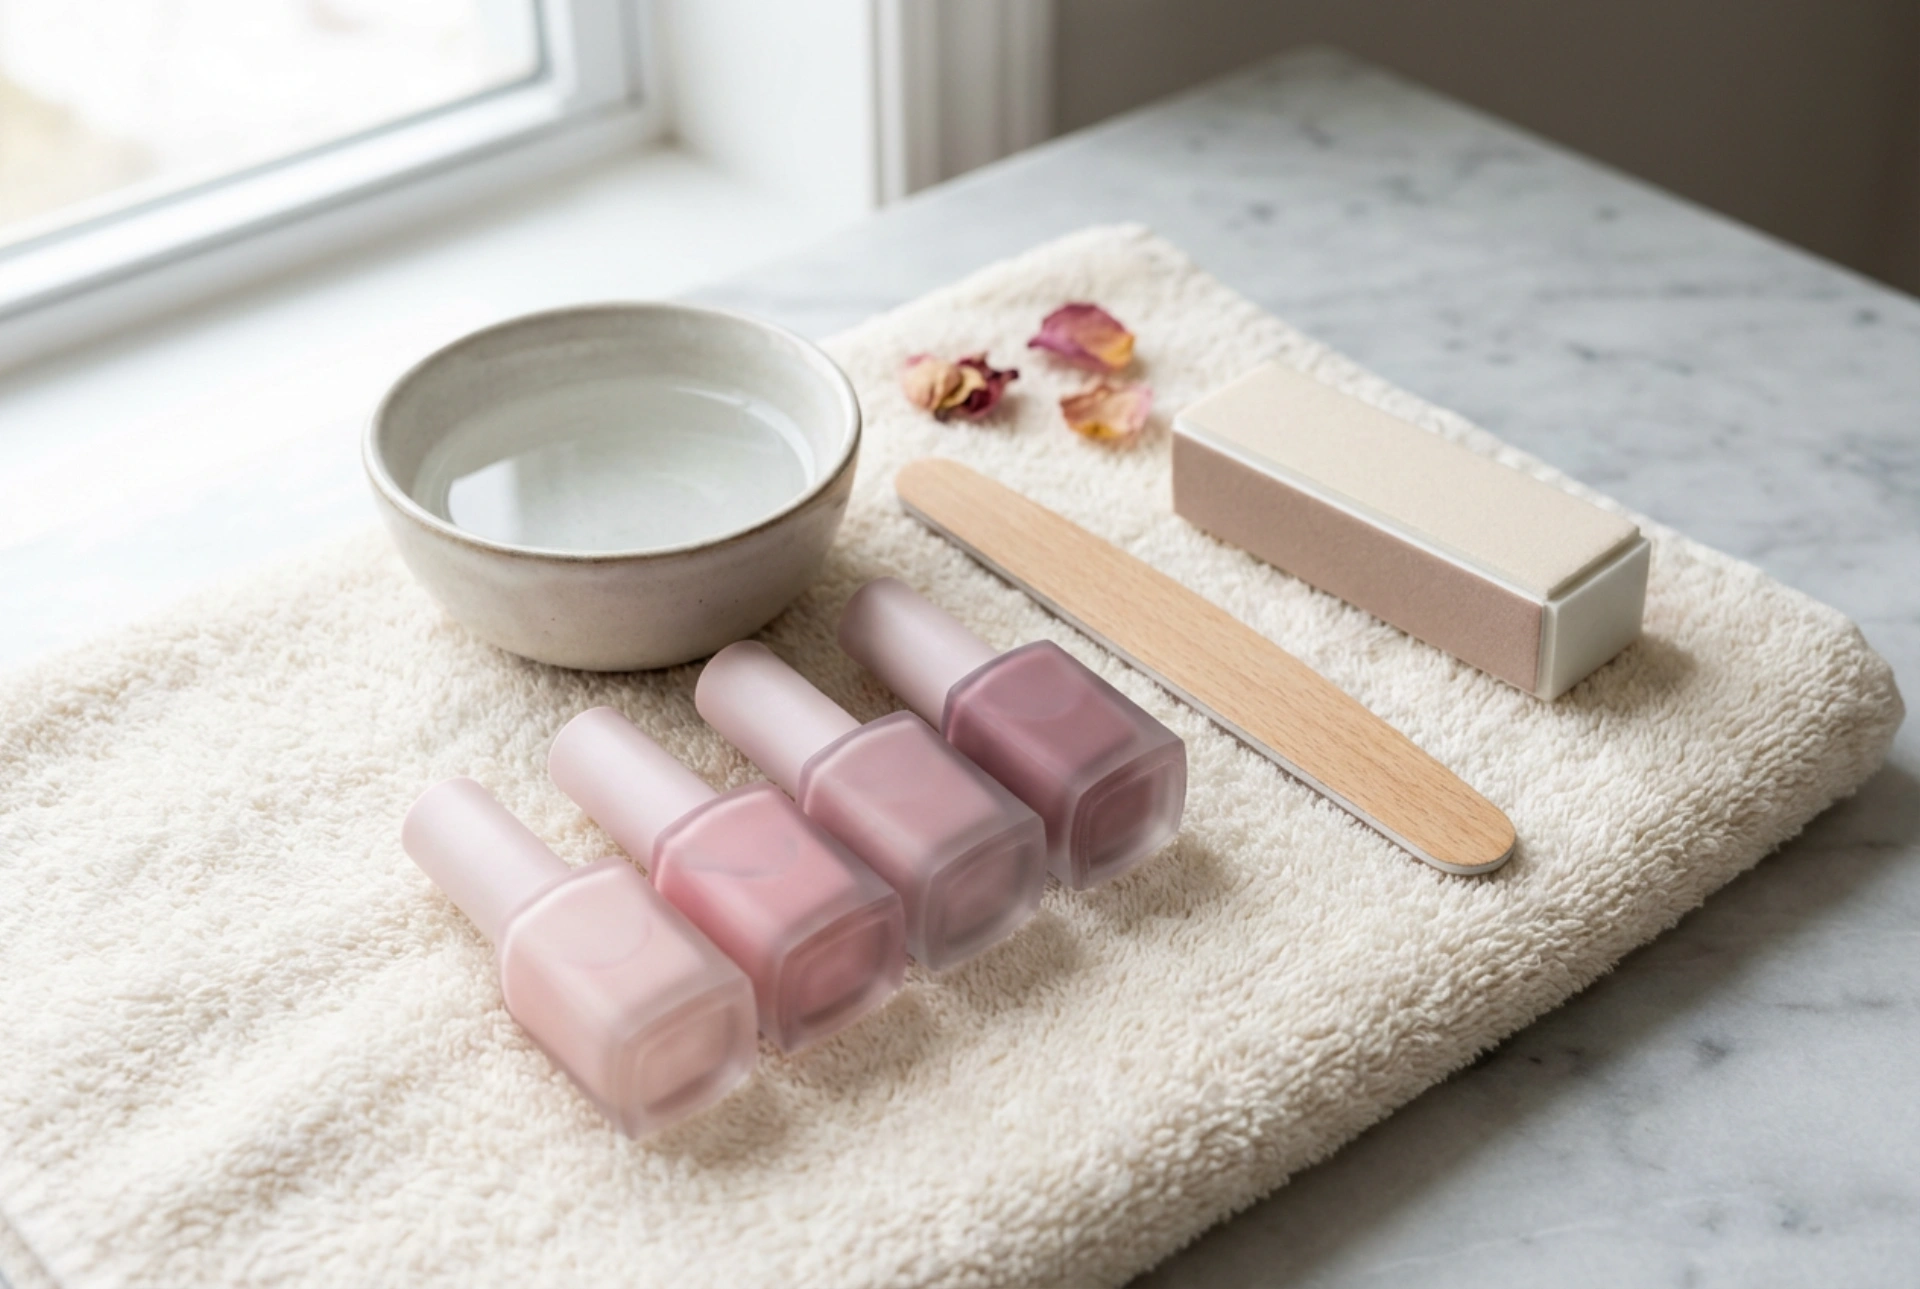


Creating a spa-like atmosphere at home starts with the right setting. A beautifully arranged space with a plush, light-coloured towel, essential pedicure tools, and a delicate palette of nail polish bottles bathed in soft, natural light sets the perfect mood for a self-care ritual. Among the various nail art trends, the ombre pedicure remains a classic favourite. This elegant technique, which seamlessly transitions from one shade to another, might seem challenging to achieve outside a professional salon, but with the right tools and a little patience, you can easily master it at home.
Essential Tools for a DIY Ombre Pedicure
Before starting, gather all the necessary items to ensure a smooth, uninterrupted process. Having your tools organised on a clean surface makes the experience far more relaxing.
- Nail file and buffer: Essential for shaping the nails and smoothing the surface so the gradient applies evenly.
- Base coat and top coat: The base protects the nail plate, while a high-quality top coat is crucial for blending the ombre transition and adding shine.
- Two or more coordinating nail polishes: Choose shades that blend well together, such as pastel pink and white, or lavender and deep purple.
- A cosmetic sponge: A simple makeup sponge is the secret weapon for creating the perfect gradient.
- Nail polish remover and a small brush: For precise clean-up around the cuticles.
Selecting Your Colour Palette
Choosing the right colours is key to a successful ombre effect. For beginners, selecting shades from the same colour family—such as light pink and deep berry, or soft sky blue and royal blue—is highly recommended, as they blend effortlessly. If you want to experiment, choosing contrasting shades can create a bold look, but they may require a neutral transition shade in the middle to prevent the gradient from looking muddy.
Step-by-Step Nail Preparation
A flawless ombre pedicure depends heavily on the preparation of the nail canvas. Any ridges or unevenness on the nail plate can disrupt the smooth transition of colours.
First, gently file your toenails into your preferred shape, ensuring the edges are smooth to prevent snagging. Use a nail buffer to gently buff the surface of each nail. This removes natural oils and creates a slightly textured surface that helps the polish adhere better. Next, gently push back the cuticles using a wooden stick. Cleanse the nails thoroughly to remove any dust or residue from buffing. Apply a thin, even layer of base coat. This step is essential to protect your natural nails from staining and to ensure the coloured polish goes on smoothly.
The Sponging Technique for a Perfect Gradient
The sponge method is the most reliable technique for achieving a seamless ombre effect at home. First, apply one to two coats of your chosen base colour—typically the lightest shade in your gradient palette. Allow this layer to dry completely. If the base is wet, the sponge may pull the polish off the nail.
Next, prepare your cosmetic sponge. Lightly dampen the sponge with water and squeeze out any excess. This prevents the sponge from absorbing too much nail polish. Apply the chosen colours in parallel, slightly overlapping horizontal stripes directly onto the flat surface of the sponge. Gently press the sponge onto your nail, moving it slightly up and down to blend the line where the colours meet. Do not press too hard; light, dabbing motions work best. Repeat this process for each toe, reapplying polish to the sponge as needed. For a more intense colour payoff, allow the first sponged layer to dry for a couple of minutes, then apply a second layer using the same dabbing technique.
Sealing and Smoothing the Ombre Effect
Immediately after sponging, the texture of the nail may appear slightly bumpy or matte due to the sponge's texture. This is completely normal and is easily corrected in the final step.
The magic of the ombre pedicure lies in the top coat. Apply a generous layer of a glossy top coat while the sponged polish is still slightly damp. The top coat acts as a blending agent, pulling the colours together and erasing any textured patterns left by the sponge. Ensure you cap the free edge of each nail with the top coat to prevent premature chipping. This sealing step guarantees a smooth, professional, high-shine finish that protects your hard work.
Cleaning Up and Post-Pedicure Care
Because the sponging technique involves dabbing polish over the entire nail area, some product will inevitably end up on the surrounding skin. Once you have applied your top coat, take a small, flat makeup brush or a cotton swab dipped in nail polish remover. Carefully trace around the edges of each nail to clean away any excess polish. This clean-up process instantly elevates the overall look, giving your pedicure a crisp, professional finish. Allow your toes to dry completely before putting on closed-toe shoes. Enjoying a quiet moment while your nails dry is the perfect conclusion to this relaxing home beauty ritual.