

A relaxing home beauty ritual often begins with setting the right atmosphere, where elegant, well-cared-for hands and feet receive the gentle attention they deserve. Using a sleek, modern electric pedicure device can elevate this experience, allowing you to achieve wonderfully smooth and aesthetic results in the comfort of your own home. However, to ensure both safety and efficacy, understanding how to prepare your feet, select the appropriate interchangeable attachments, and master the correct working technique is essential. This comprehensive guide outlines the fundamental steps to achieving a beautiful, salon-quality cosmetic pedicure while prioritising the health and comfort of your skin.
Preparing the Feet: The Dry Technique
Unlike traditional manual foot files that often require soaking the skin in water beforehand, modern electric pedicure devices work most effectively on completely dry skin. Wet skin becomes highly soft, elastic, and prone to tearing. When you apply a rotating attachment to wet skin, it can easily catch and cause micro-tears rather than cleanly exfoliating. Therefore, beginning your routine with dry feet is the preferred approach for modern cosmetic electric filing, ensuring a much smoother and safer result.
To prepare, start by thoroughly washing your feet with a mild soap to remove any surface impurities, and then dry them completely with a soft towel. Pay close attention to the spaces between the toes, as any residual moisture can affect the grip of the device or the comfort of the treatment. Sanitising both your feet and the pedicure tool before you begin is also a key step in maintaining a clean beauty routine. If your skin is naturally very dry or has minor rough patches, working on a dry surface allows the device to gently dust away dead skin cells smoothly and precisely, leaving the healthy, soft layers beneath completely undisturbed.
Understanding Interchangeable Attachments and Grits
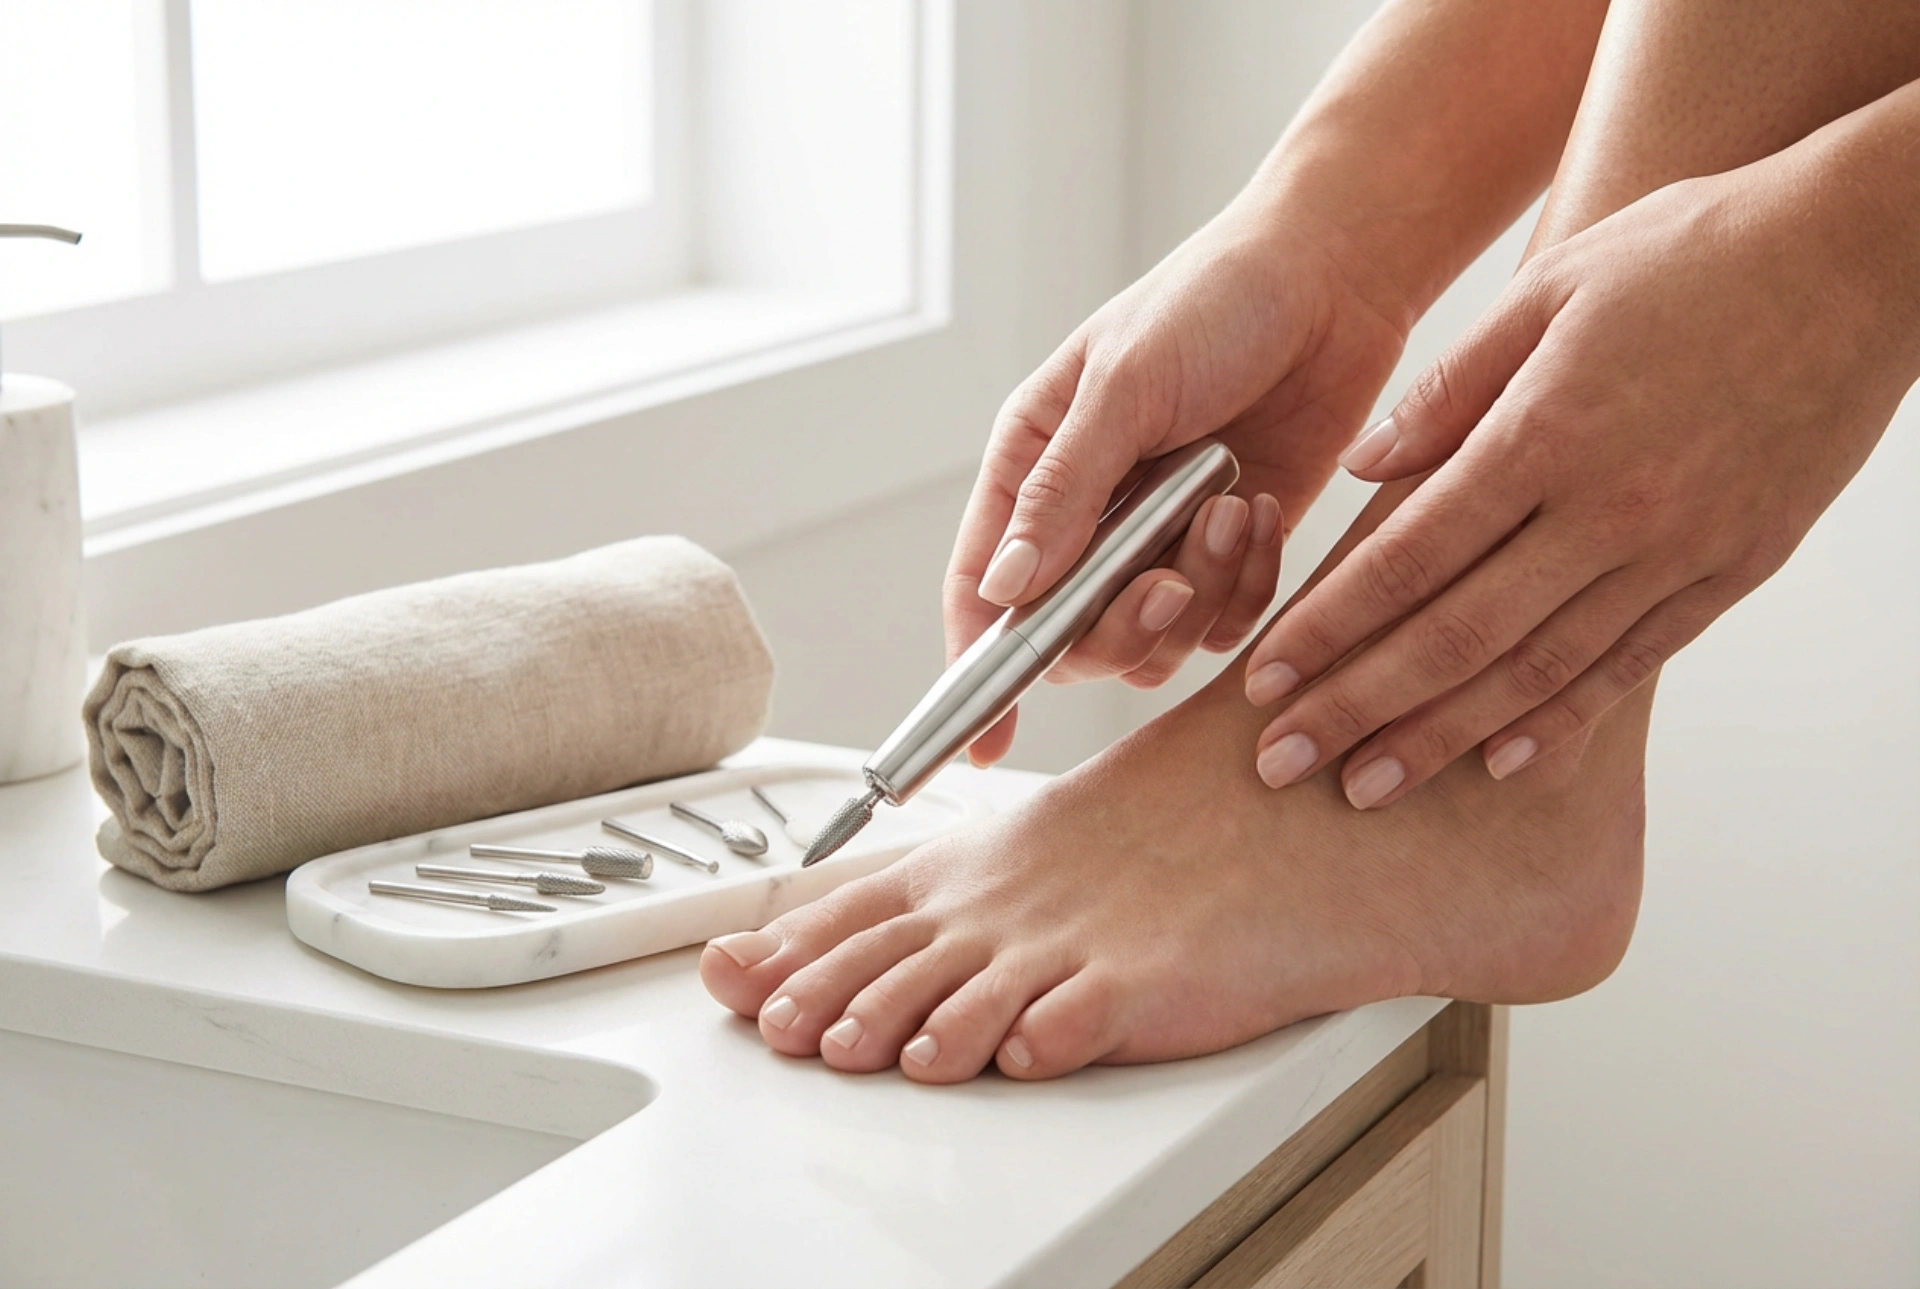
One of the main advantages of a high-quality electric pedicure device is the variety of interchangeable attachments, often referred to as burrs, bands, or caps. Each attachment serves a specific purpose in your grooming routine, and choosing the right one is crucial for a gentle and effective process:
- Coarse grinding discs or caps: These are designed for the initial phase of the beauty ritual. They help to gently reduce larger areas of rough, dry skin, particularly around the heels and the balls of the feet.
- Medium grit attachments: Ideal for smoothing out the transitions between different areas of the foot, ensuring an even texture across the entire sole.
- Fine-grit polishers: These softer attachments, often made of silicone or felt, are used in the final stage to buff the skin to a silky-smooth finish and gently tidy up the cuticles around the toenails.
When selecting attachments, always start with the gentlest option if you are a beginner. It is far better to work slowly and progressively than to use an overly abrasive grit that might sensitise the skin.
Safe Working Technique: Speed, Angle, and Pressure
Using an electric pedicure device requires a steady, confident hand and a highly mindful approach. The key to a safe and comfortable home treatment lies in mastering the balance between the rotation speed, the angle of contact, and the amount of pressure applied to the skin. Modern devices often come with adjustable speed settings, and it is highly recommended to start on the lowest setting to get a feel for how the tool interacts with your skin.
Firstly, always keep the device in constant, gentle motion. Holding a rotating attachment in one spot for more than a second or two can quickly generate friction heat, causing discomfort, redness, or mild irritation. Use light, sweeping strokes across the surface of the skin, following the natural curves of your foot. Let the speed of the device do the work rather than pressing down hard; applying excess pressure can cause the motor to stall, reduce the efficacy of the file, or lead to uneven skin removal.
Keep the attachment at a flat or slightly angled position relative to the skin surface, ensuring maximum contact without digging the edges of the tool into the skin. If you feel any warmth or tingling, immediately move to another area or reduce the rotation speed. Remember to work in sections, starting from the heel and gradually moving towards the ball of the foot, taking brief pauses to inspect your progress and feel the texture of the skin with your fingers.
Post-Treatment Care and Device Maintenance
Once you have finished smoothing your feet, the beauty ritual is not quite complete. Gently wipe away any remaining dust with a damp cloth or rinse your feet with warm water. This is the perfect moment to apply a rich, nourishing foot cream or cosmetic oil. Because the fresh layer of skin is highly receptive, a moisturiser containing ingredients like shea butter, glycerin, or jojoba oil will lock in hydration, keeping your feet soft and supple for longer.
Finally, clean your equipment to maintain hygiene and prolong the life of your device. Remove the used attachments, brush away any residue, and sanitise them according to the manufacturer’s instructions. Store your sleek device and its carefully organised attachments in a clean, dry place, ready for your next serene home beauty session.