

Achieving smooth, silky legs at home is a timeless beauty ritual that can deliver salon-like results with the right technique. Using warm wax is one of the most effective methods for long-lasting smoothness, as it removes the hair from the root, allowing you to enjoy soft skin for several weeks. To achieve the best results without irritation, it is essential to pay close attention to the preparation of the skin, the temperature of the wax, the application technique, and the subsequent soothing routine that restores comfort to your skin.
The importance of wax temperature
Getting the temperature of your leg wax right is the first and most crucial step in ensuring a comfortable and successful hair removal process. If the wax is too cold, it will not spread evenly and may fail to grip the hairs properly, leading to patchy results and unnecessary pain. Conversely, if the wax is too hot, you risk causing redness, discomfort, or mild superficial burns on your delicate skin.
For optimal application, always heat the wax according to the manufacturer's instructions. Before applying it to your legs, perform a quick patch test on the inside of your wrist. The wax should feel pleasantly warm and have a smooth, honey-like consistency. If it runny or dripping too quickly, let it cool down for a few minutes until it reaches a safe and comfortable working temperature.
Mastering the direction of application and pulling
The secret to a smooth finish lies in understanding the natural growth pattern of your hair. For the vast majority of people, leg hair grows downwards towards the feet. Mastering the correct application and removal technique is essential to prevent hair breakage and minimize the occurrence of ingrown hairs.
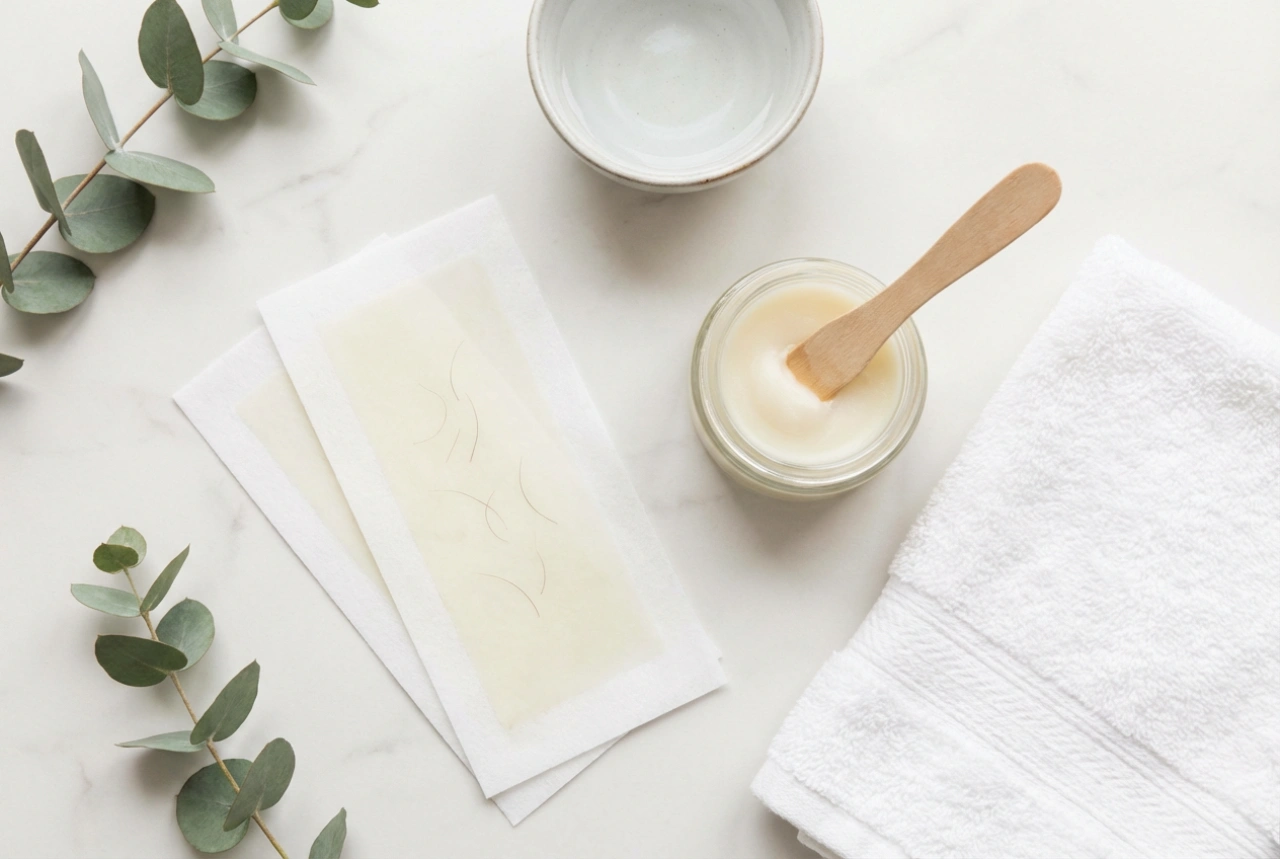
- Step 1: Application – Always apply the wax in the direction of hair growth. Use a wooden spatula or a roll-on applicator to spread a thin, even layer of wax downwards from the knee towards the ankle.
- Step 2: Securing the strip – If you are using paper or fabric strips, place the strip over the wax and smooth it down firmly in the direction of hair growth to ensure a strong grip.
- Step 3: The removal – Hold the skin at the base of the strip taut with one hand. With your other hand, grip the bottom edge of the strip and pull it back quickly and firmly in the opposite direction of hair growth (upwards towards the knee). Keep your hand close and parallel to the skin rather than pulling upwards, as this reduces discomfort and ensures a clean removal.
Soothing post-depilation care
Once you have finished removing the hair, your skin requires gentle care to recover and retain its moisture. It is completely normal for the legs to appear slightly pink or feel warm immediately after waxing. To restore comfort and maintain a healthy skin barrier, you should follow a dedicated post-waxing routine.
Begin by removing any sticky wax residue left on the skin. Since wax is oil-soluble, applying a gentle, fragrance-free natural oil, such as sweet almond or jojoba oil, will easily dissolve the remaining product while nourishing the skin. Avoid harsh soaps or alcohol-based lotions immediately after waxing, as they can cause dryness and stinging.
Moisturizing and protection tips
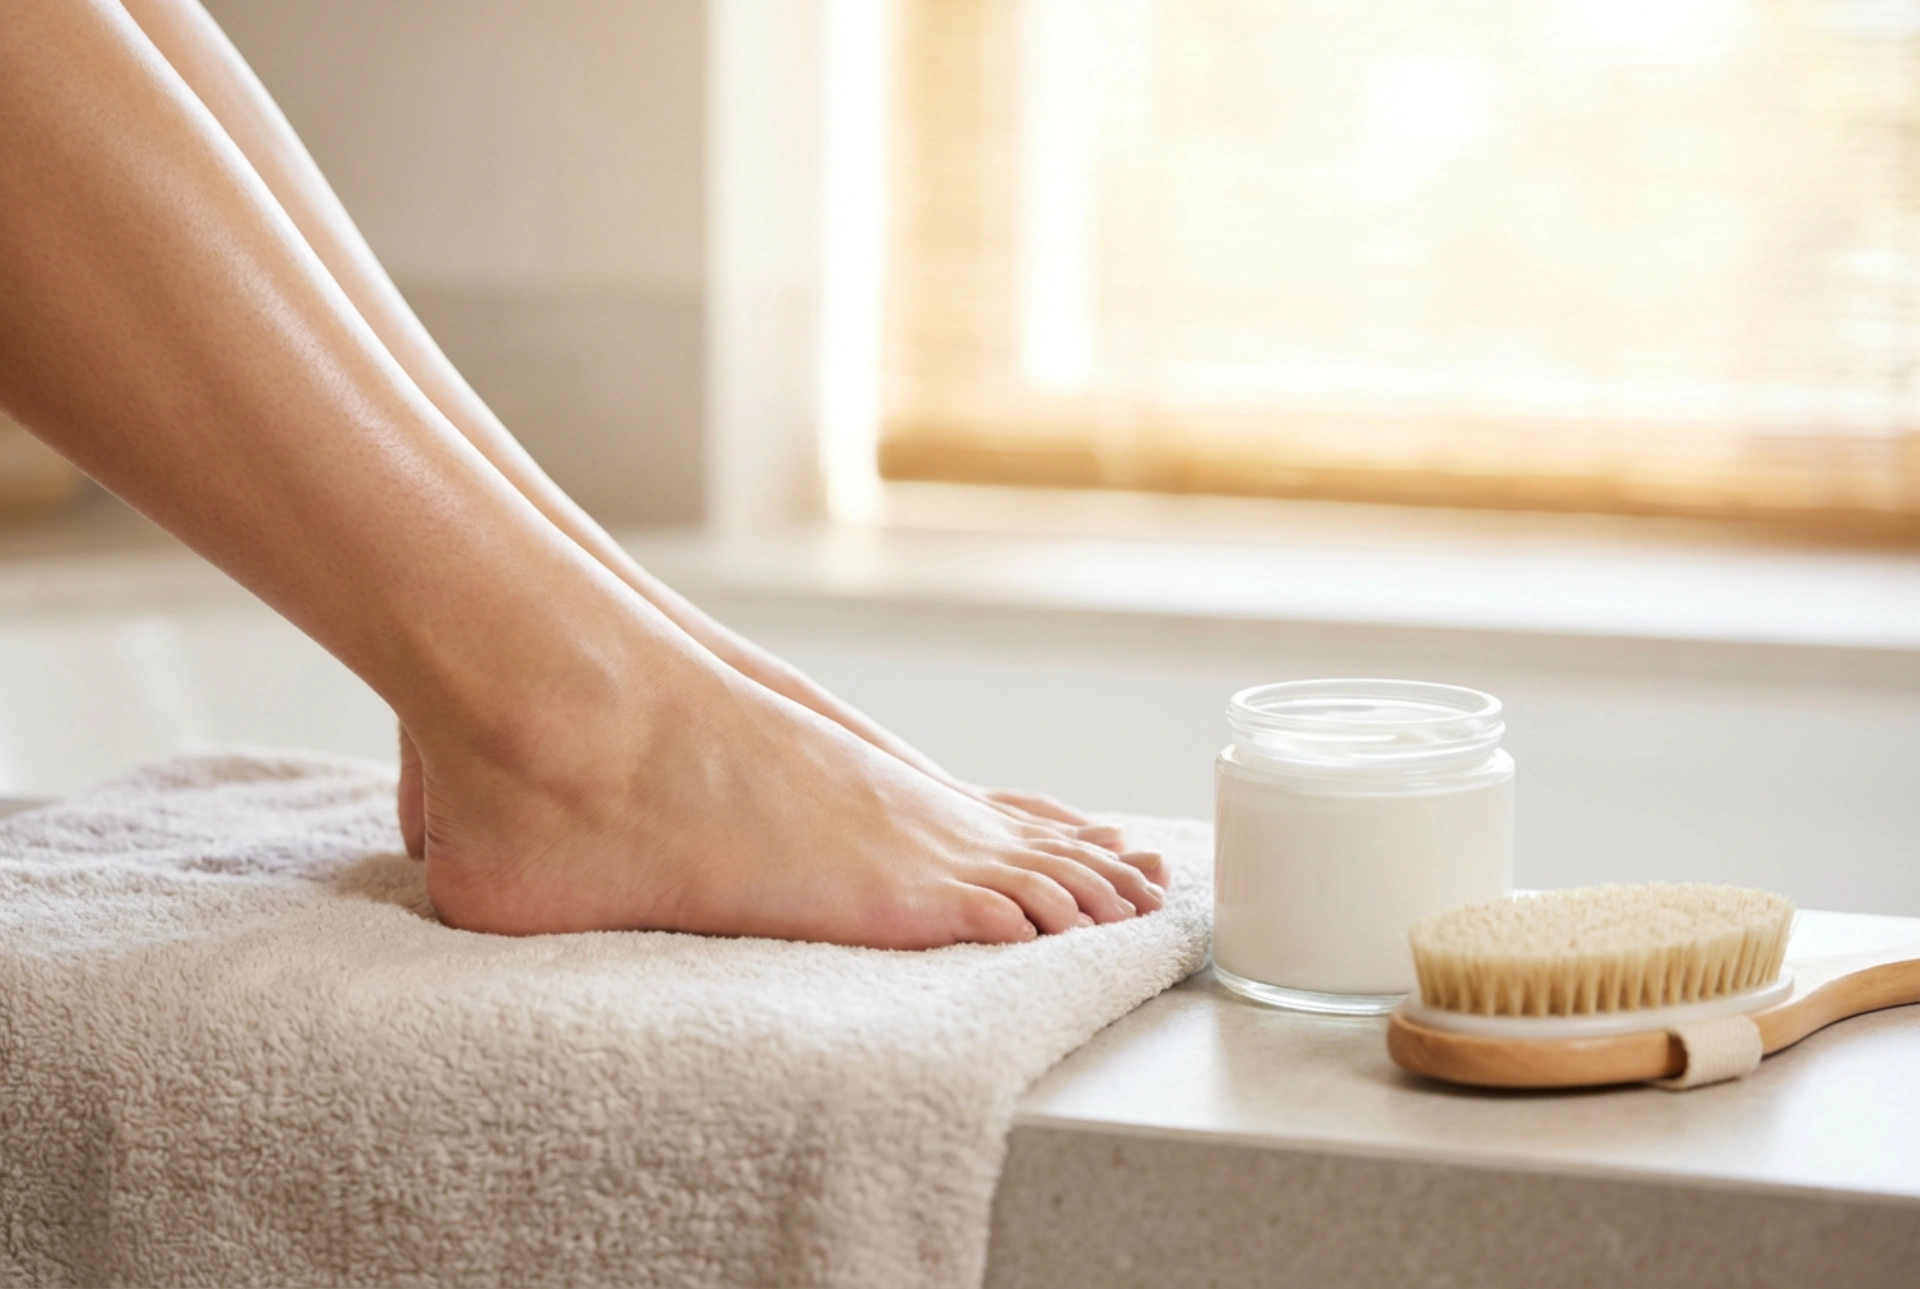
In the days following your hair removal session, focus on keeping your legs well-hydrated. Apply a lightweight, soothing lotion containing ingredients like aloe vera or chamomile to calm any minor redness. It is also wise to wear loose, breathable clothing made from natural fibers, such as cotton, to prevent friction against the freshly waxed skin.
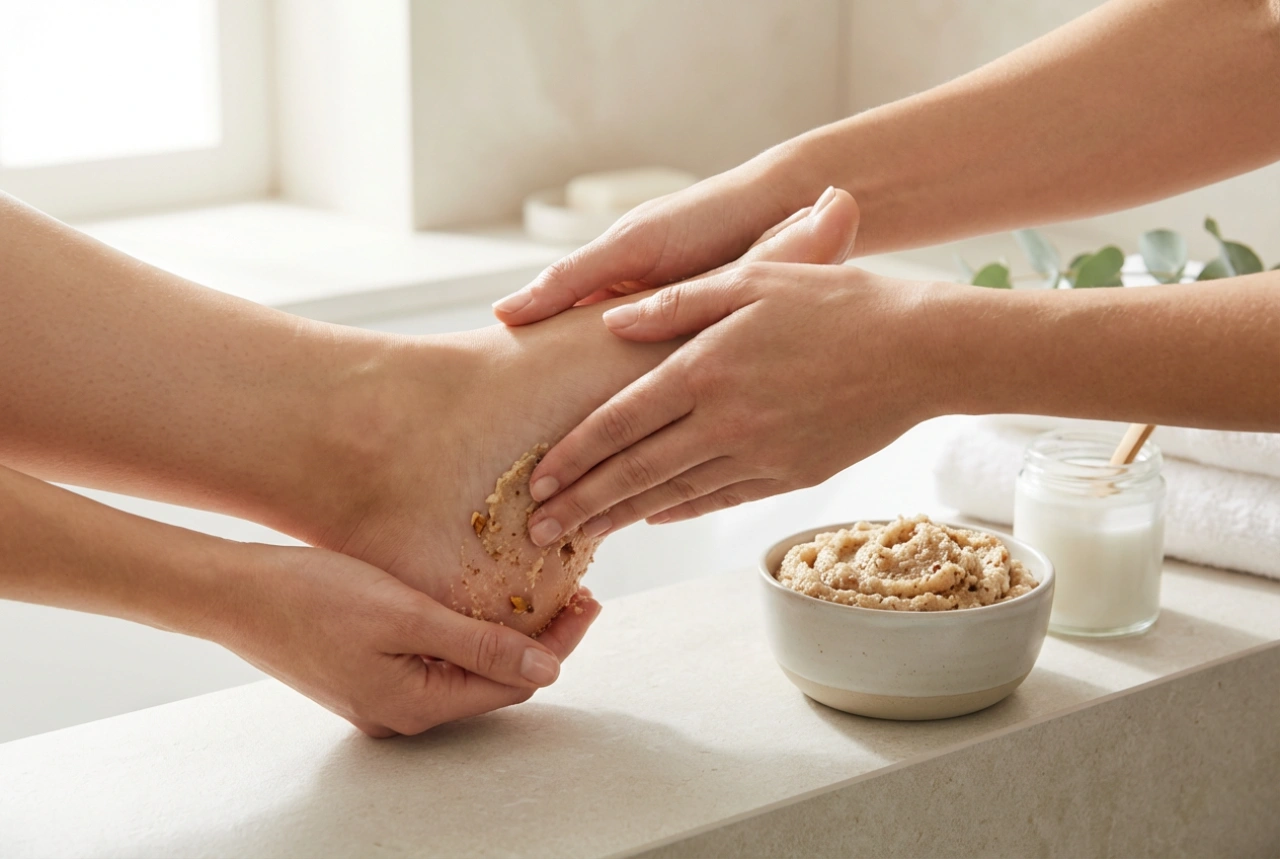
Additionally, avoid hot baths, swimming pools, saunas, and direct sun exposure for at least 24 to 48 hours after waxing. Your pores remain open during this initial period, making the skin more sensitive to heat and environmental factors. After a few days, you can gently exfoliate your legs with a soft brush or a mild body scrub to encourage healthy skin renewal and prevent new hairs from trapping under the surface.