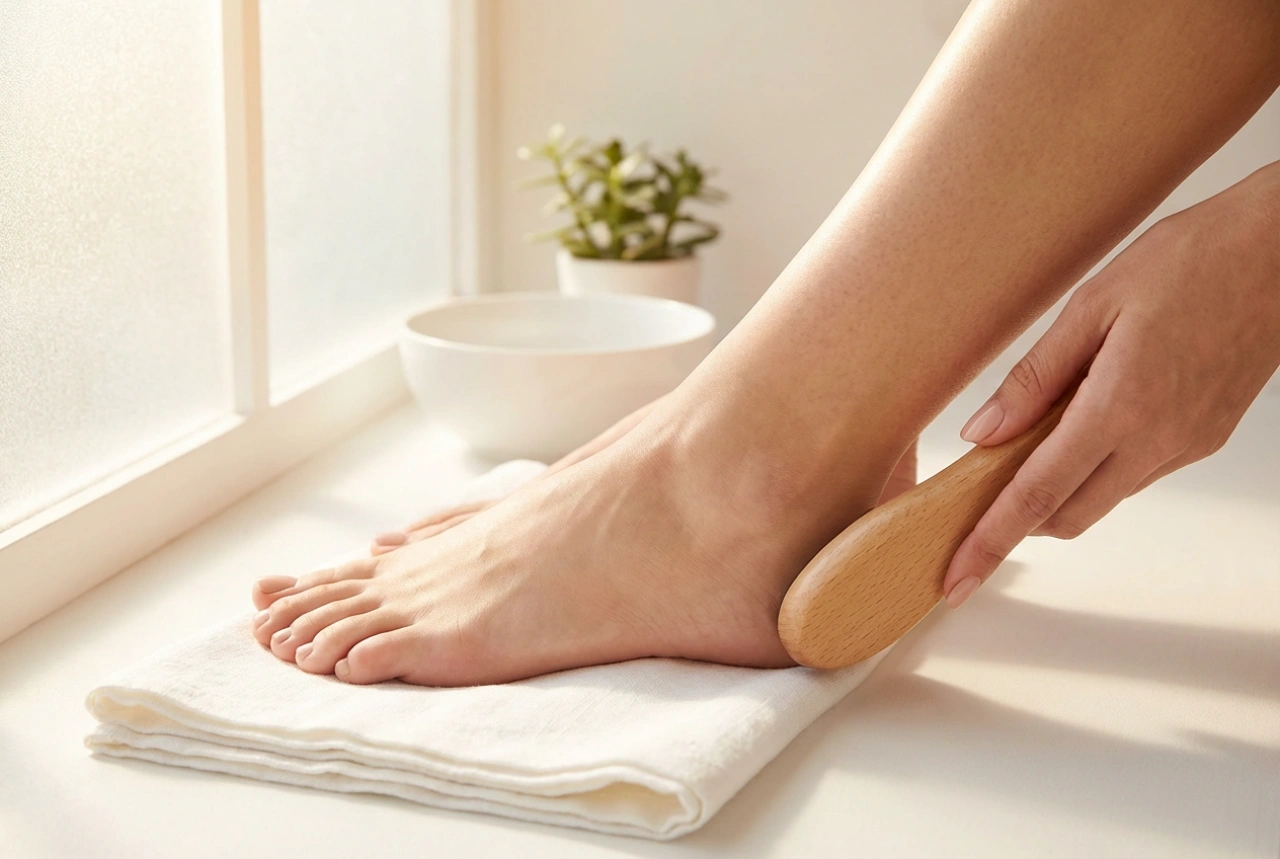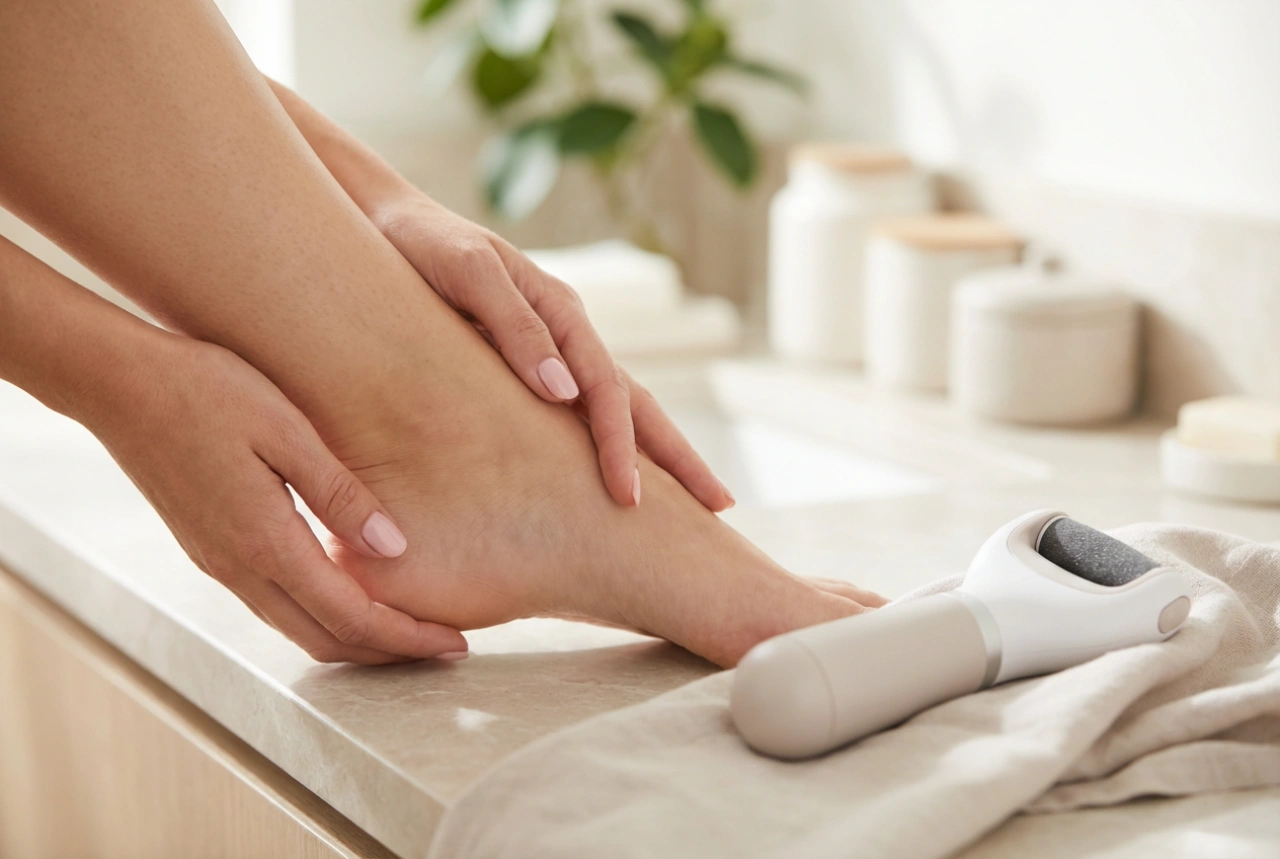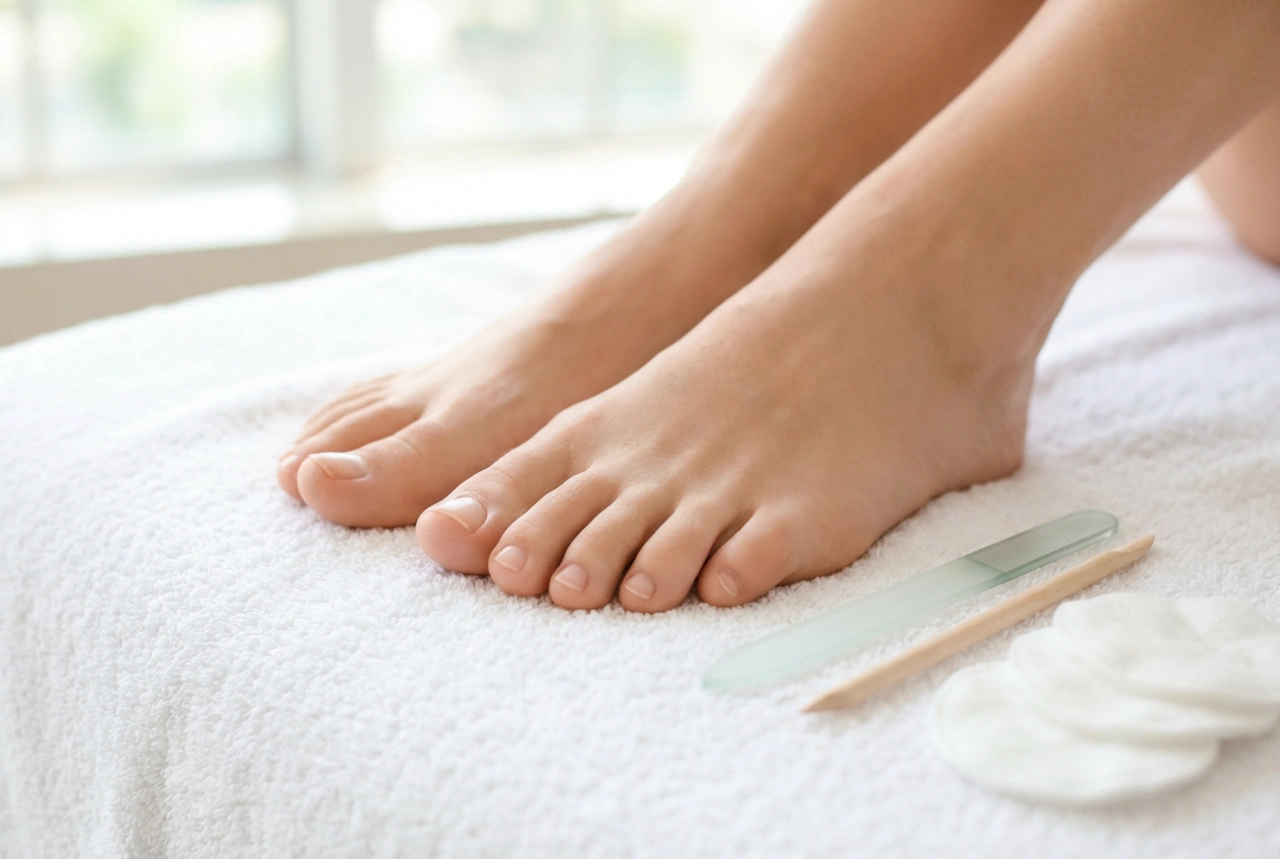


A beautiful and long-lasting pedicure starts long before the application of your favourite colour. The key to a flawless look that resists chipping and peeling lies in the preparation and the application of a high-quality pedicure base coat. Just like a canvas needs priming before painting, toenails require a dedicated foundation to ensure the subsequent layers of polish adhere perfectly. Taking the time to perform a precise, serene home pedicure with the right products can elevate your personal grooming routine, giving you salon-worthy results in the comfort of your own home.
The Essential Role of a Pedicure Base Coat
Many people wonder if a base coat is truly necessary for a pedicure, especially since toenails are generally thicker and less exposed to daily wear than fingernails. However, the skin on our feet is constantly in contact with shoes, socks, and moisture, making a strong foundation vital. A dedicated base coat performs several essential functions that directly impact the longevity of your pedicure:
- Enhanced Adhesion: It acts as a double-sided adhesive, bonding firmly to the natural nail plate on one side and gripping the coloured polish on the other.
- Stain Prevention: Highly pigmented polishes, especially dark reds, blues, or purples, can penetrate the porous layers of the nail plate, causing unsightly yellowing or staining. A base coat creates a protective barrier.
- Smoothing Imperfections: Toenails often develop natural ridges or minor unevenness. A good base coat fills in these microscopic imperfections, creating a perfectly smooth surface for an even colour application.
How to Choose the Right Base Coat for Your Toenails
Not all base coats are created equal, and selecting the right one depends heavily on the condition of your nails and the type of pedicure system you prefer. Understanding the options available will help you make an informed choice for your home nail care kit.
Classic vs. Gel Base Coats
If you prefer a traditional air-drying pedicure, a classic air-dry base coat is your best option. These formulas are lightweight and dry within a few minutes. For those who opt for light-cured systems, a dedicated gel base coat is required. Gel bases offer superior durability and can withstand friction from closed-toe shoes much better than traditional polishes, but they do require a curing lamp.
Ridge-Filling and Conditioning Formulas
If your toenails are prone to horizontal or vertical ridges, look for a ridge-filling base coat. These products contain specialised ingredients that level out the nail plate, ensuring the colour glide is seamless. For dry or brittle nails, choosing a formula enriched with nourishing oils, vitamins, or proteins can help support the natural strength of the nail plate while keeping it protected.
Step-by-Step Guide to Perfect Application and Adhesion
Achieving maximum adhesion is not just about the product you choose; it is also about the precision of your application process. Following a systematic approach ensures that the base coat bonds flawlessly to the nail plate.
Step 1: Thorough Prep and Degreasing
Any residual oil, lotion, or dust on the nail plate will act as a barrier, preventing the base coat from adhering. Begin by gently pushing back the cuticles. Use a fine-grit buffer to lightly remove the natural shine from the surface of the nail. Afterwards, wipe each nail thoroughly with a lint-free wipe soaked in a professional dehydrator or isopropyl alcohol. This step is crucial for removing all moisture and oils.
Step 2: Thin and Precise Application
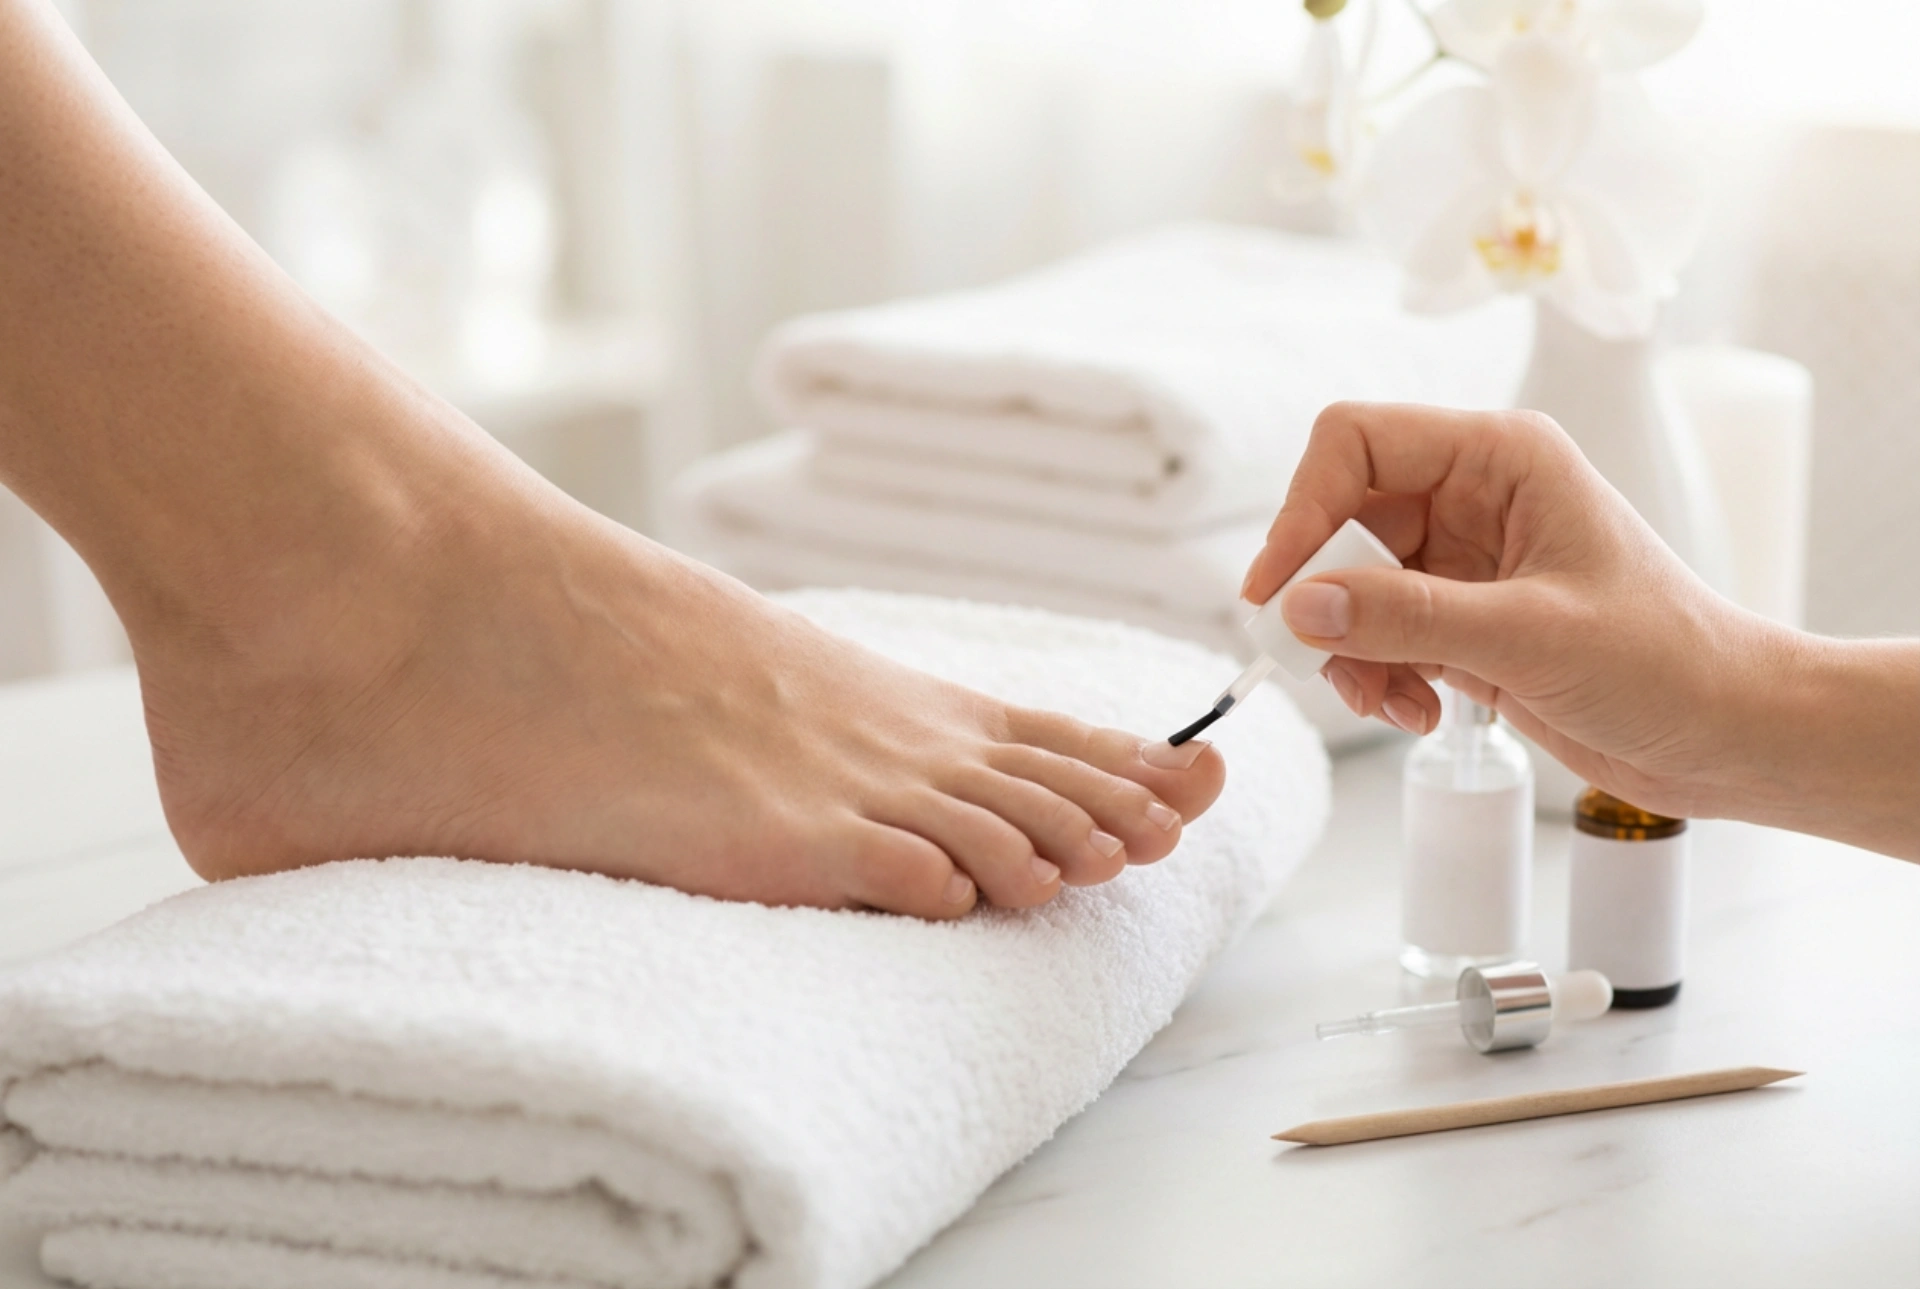
When applying the base coat, less is always more. Wipe excess product off the brush against the neck of the bottle. Apply a very thin, even layer, starting from the centre of the nail near the cuticle and wiping towards the free edge. Be careful not to let the product touch the cuticle or the surrounding skin, as this can cause the polish to lift prematurely as the nail grows.
Step 3: Capping the Free Edge
One of the most important secrets to a long-lasting pedicure is sealing the tip of the nail. Gently run the brush along the very edge of the toenail. This technique, known as capping, seals the polish and prevents water and friction from lifting the layers from the tip.
Step 4: Proper Drying or Curing
Allow the base coat to dry completely according to the manufacturer's instructions. If you are using a gel system, cure it under the lamp for the full recommended time. Avoid touching the nails during this phase, as even a small amount of oil from your fingertips can compromise the adhesion of the subsequent colour layers.
Maintaining Your Home Pedicure
Once your base coat and colour are applied, maintaining the pedicure involves simple, regular care. Keep the skin around your toenails hydrated with lightweight oils after the polish has dried completely. Avoid wearing tight footwear immediately after your pedicure to prevent pressure on the freshly polished nails, ensuring your beautiful, durable pedicure lasts for weeks.