

Achieving smooth skin at home has become a standard part of many beauty routines, with waxing being one of the most effective methods for long-lasting results. At the heart of this process is the wax warmer, a simple yet essential device designed to melt various types of wax to the perfect consistency. Utilizing a professional-grade heating device ensures that the wax reaches a safe and uniform temperature, preventing common mishaps associated with alternative heating methods. Understanding how to operate, maintain, and clean this device is key to achieving a comfortable and hygienic hair removal ritual in the comfort of your own home.
Understanding Temperature Settings for Optimal Consistency
Operating a wax warmer successfully requires a basic understanding of temperature control. Most modern devices feature either an analogue dial or a digital display to regulate heat levels. When first turning on the machine, it is customary to use the maximum heat setting to melt the wax beads or tablets quickly. However, this high temperature is solely for melting and should never be the temperature at which the wax is applied to the skin.
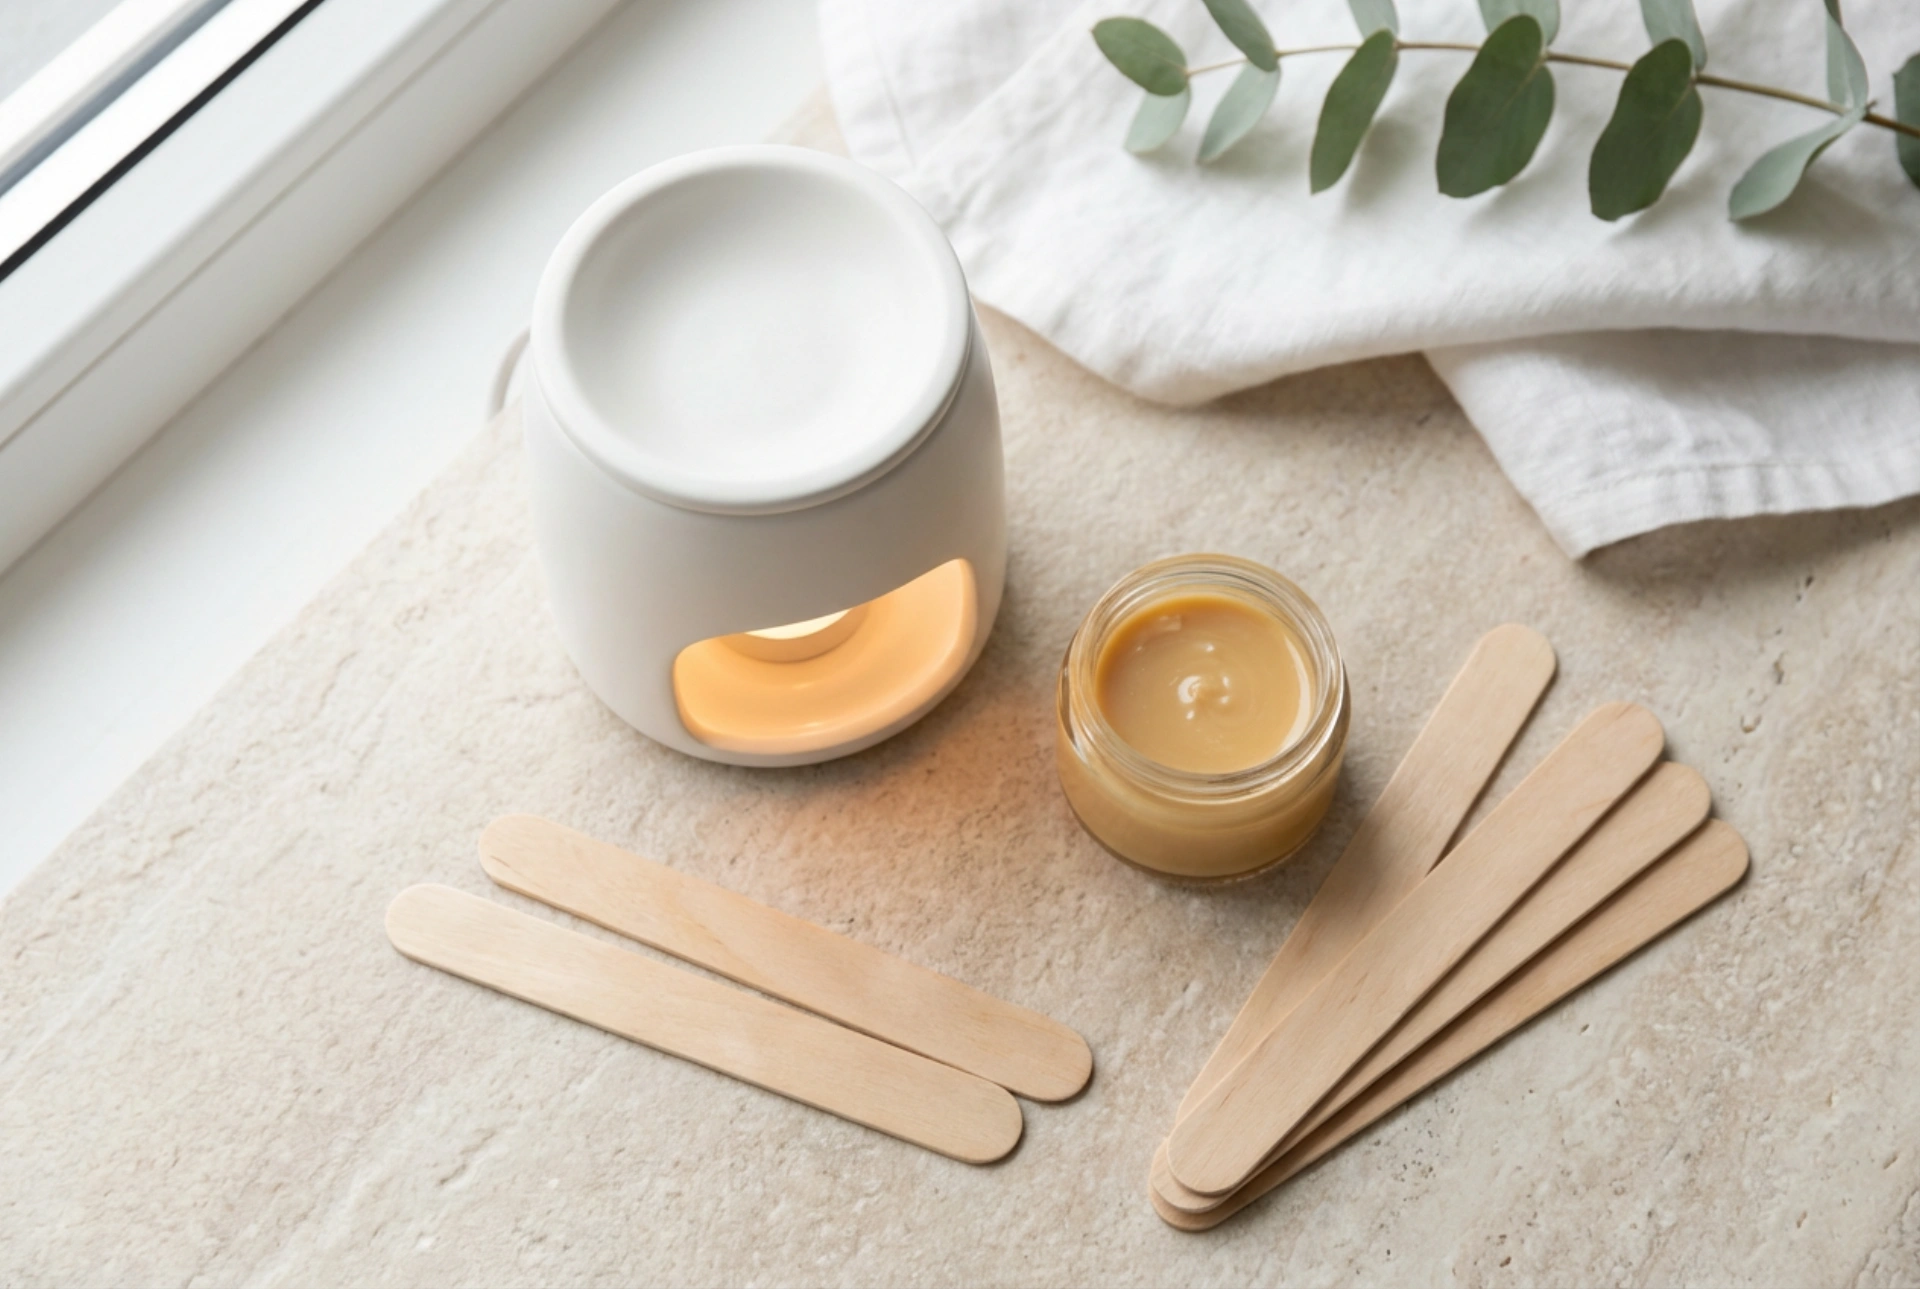
Once the wax has completely liquefied, the temperature must be lowered to a medium or standby setting. The ideal consistency of ready-to-use wax should resemble thick honey or warm caramel. If the wax is too runny, it is likely too hot and carries a risk of burning the skin. Conversely, if the wax is too thick or clumpy, it has cooled down too much and will not adhere properly to the hairs, leading to inefficient removal. Finding the right balance takes a little patience but ensures a seamless and painless application.
Crucial Safety Measures for At-Home Waxing
Prioritizing safety during your beauty routine is paramount to avoiding skin irritation and burns. Before applying any melted wax to your body, always perform a patch test. Apply a tiny amount of the warmed wax onto the inside of your wrist to check both the temperature and your skin's sensitivity. The wax should feel comfortably warm, never hot or painful.
In addition to temperature checks, the physical placement of your device is vital for a safe environment. Always place the wax warmer on a flat, stable, and heat-resistant surface away from water sources. Keep the power cord tidy to prevent accidental trips or spills. Furthermore, never leave a heating device unattended, and always unplug the unit immediately after you have finished your hair removal session.
How to Clean and Maintain Your Wax Warmer
Keeping your beauty tools clean is essential for hygienic reasons and ensures the longevity of your equipment. Cleaning a wax warmer might seem daunting due to the sticky nature of the residue, but following a few simple steps can make the process effortless. It is highly recommended to clean the pot while it is still slightly warm, as completely cooled wax is much harder to remove.
- Step 1: Switch off and unplug. Always disconnect the device from the power outlet before beginning any cleaning procedure to ensure absolute safety.
- Step 2: Wipe away excess wax. While the pot is still warm, use a clean wooden spatula to scrape out as much residual liquid wax as possible.
- Step 3: Use oil for residue. Wax is oil-soluble, meaning water and soap will not easily dissolve it. Apply a generous amount of standard cosmetic oil, such as baby oil or mineral oil, to a clean paper towel or cotton pad and gently rub the sticky areas.
- Step 4: Wipe clean. Once the oil has dissolved the wax buildup, use a dry, lint-free cloth to wipe away the oily residue, leaving the inner container clean and ready for your next session.
Avoid using sharp metal objects, harsh abrasives, or chemical solvents to clean the inside of the heating pot, as these can scratch the protective coating and permanently damage the heating element.
Proper Storage for Long-Lasting Use
Once your wax warmer is thoroughly cleaned and has cooled down completely, proper storage will keep it in excellent condition. Store the device in a cool, dry place away from direct sunlight and humidity. Placing the lid back on the container is highly recommended to prevent dust, lint, and airborne particles from settling in the pot. By incorporating these straightforward maintenance and safety habits, your home beauty rituals will remain safe, hygienic, and highly effective.