

Achieving perfectly smooth skin at home does not have to be complicated or time-consuming. Using a roll-on wax cartridge is one of the most efficient, clean, and user-friendly methods to remove unwanted hair. This system ensures an even, ultra-thin layer of wax is distributed across the skin, minimising mess and reducing the risk of burns. By mastering the correct heating, application, and removal techniques, you can enjoy salon-quality smoothness in the comfort of your own dressing room.
Understanding the roll-on waxing system
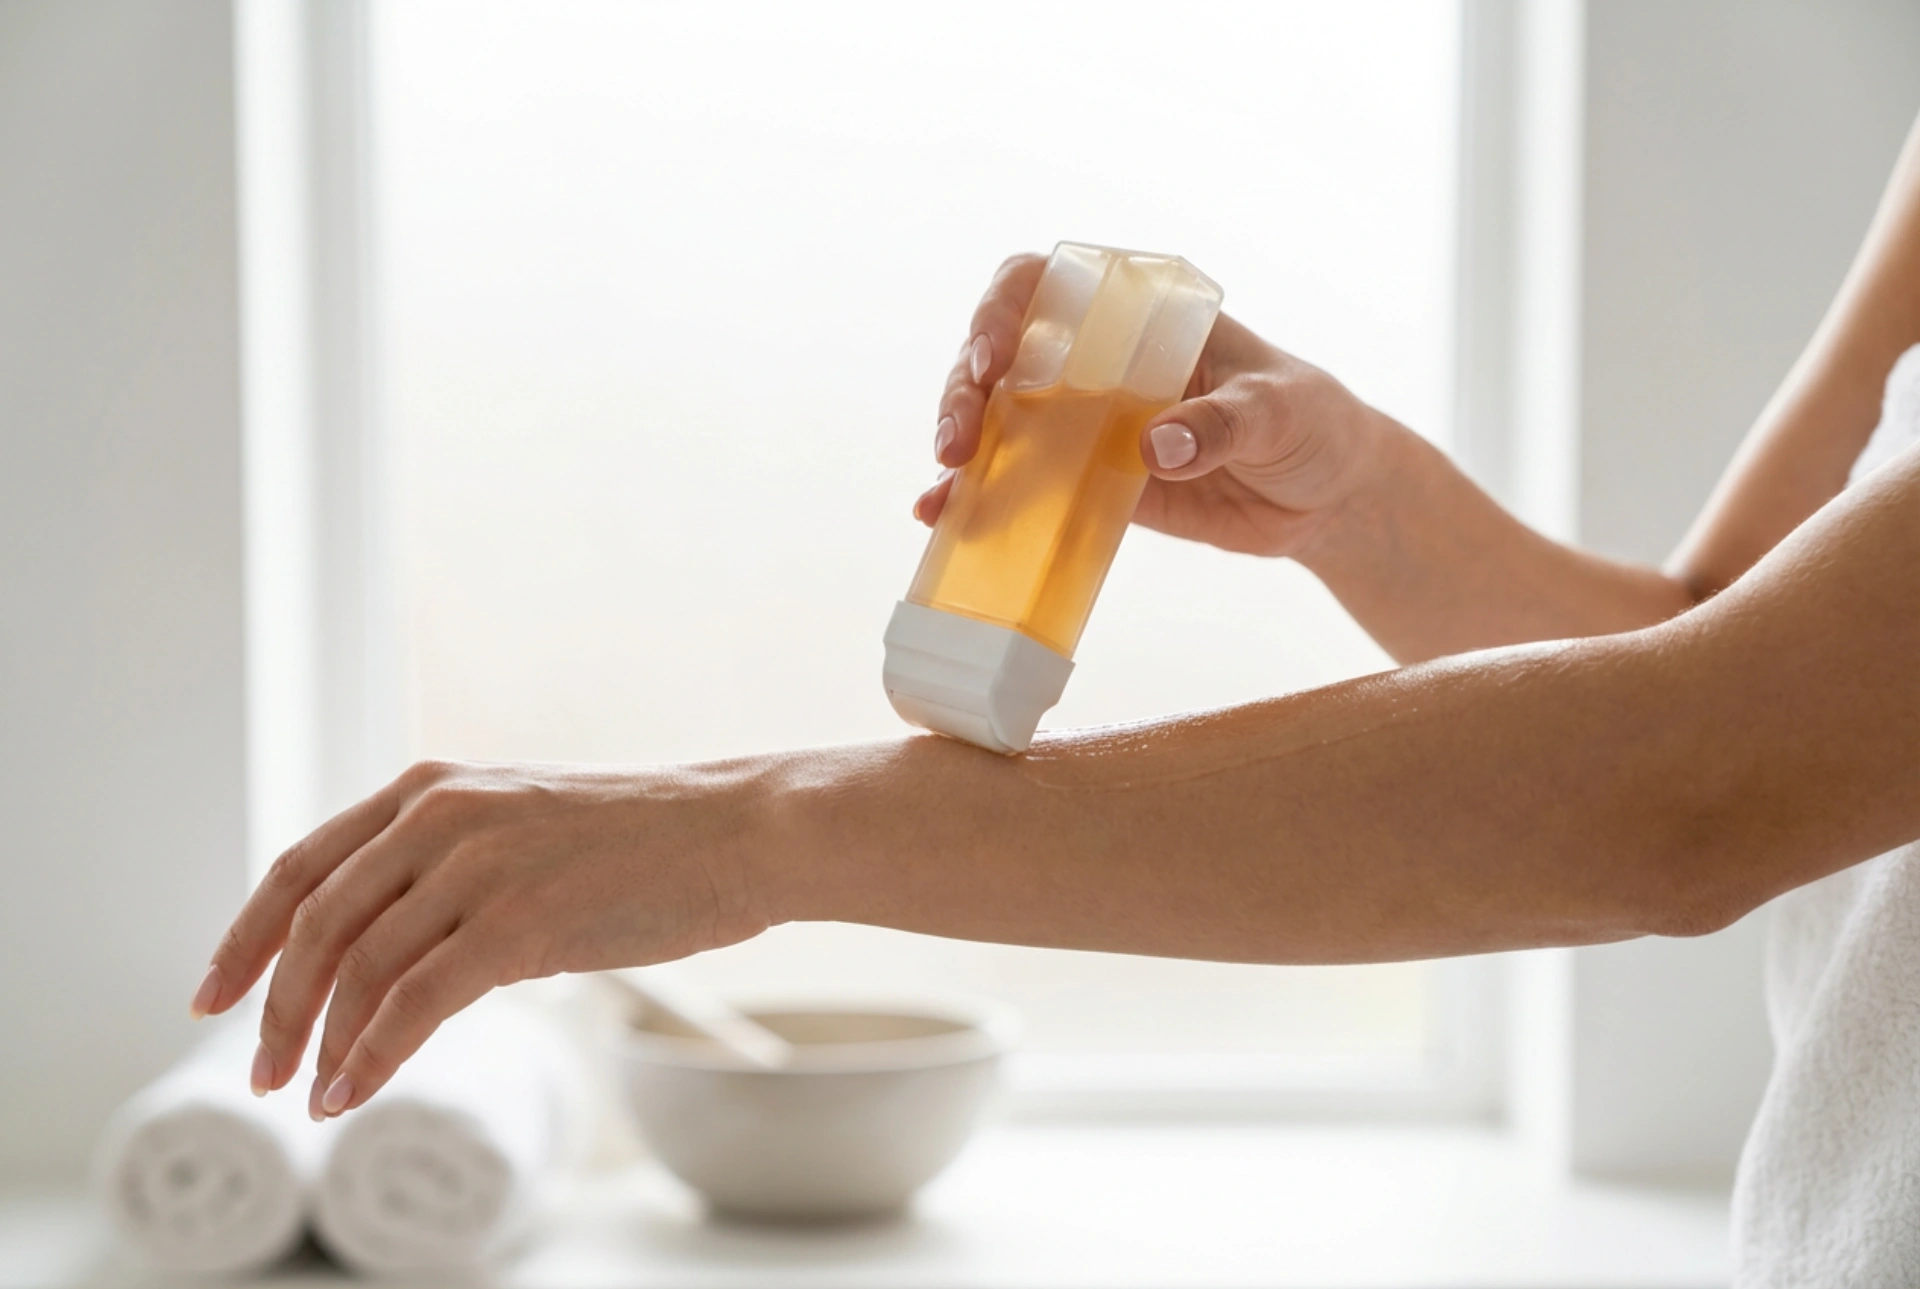
The roll-on wax system consists of a wax cartridge topped with a roller head, which is inserted into a dedicated heating device. Unlike traditional hot wax pots where you need a spatula, the roller head glides directly over the skin. This design not only speeds up the process but also guarantees that the wax is applied at a consistent thickness, which is key to successful hair removal. It is an excellent choice for larger areas such as legs, arms, and back, offering a practical alternative to shaving and salon visits.
Step 1: Preparing the skin and heating the wax
Preparation is the foundation of any successful waxing session. To ensure the wax adheres properly to the hair rather than the skin, start by thoroughly cleansing and drying the area you wish to treat. A gentle exfoliation 24 hours prior to waxing is highly recommended to lift flat hairs and remove dead skin cells. Immediately before application, you can apply a light dusting of cosmetic talc or powder to absorb any residual moisture or body oils.
To heat the wax, place the cartridge inside the heater and plug it in. The heating time typically ranges between 20 to 30 minutes, depending on the device. To verify that the wax has reached the correct fluid consistency, roll the cartridge over a clean wax strip first. If the roller spins smoothly and dispenses an even film of wax without pulling, the temperature is ideal for application.
Step 2: Smooth and precise application
Once the wax is adequately warmed, hold the applicator at a 45-degree angle to the skin. Gliding the roller firmly, apply the wax in a single, continuous layer in the direction of hair growth. Avoid going over the same area multiple times in one go, as this can lead to unnecessary skin irritation. The thin film left by the roll-on cartridge is exactly what is needed to grip the hairs firmly without overloading the skin with excess heat or product.
Step 3: Correct removal with paper strips
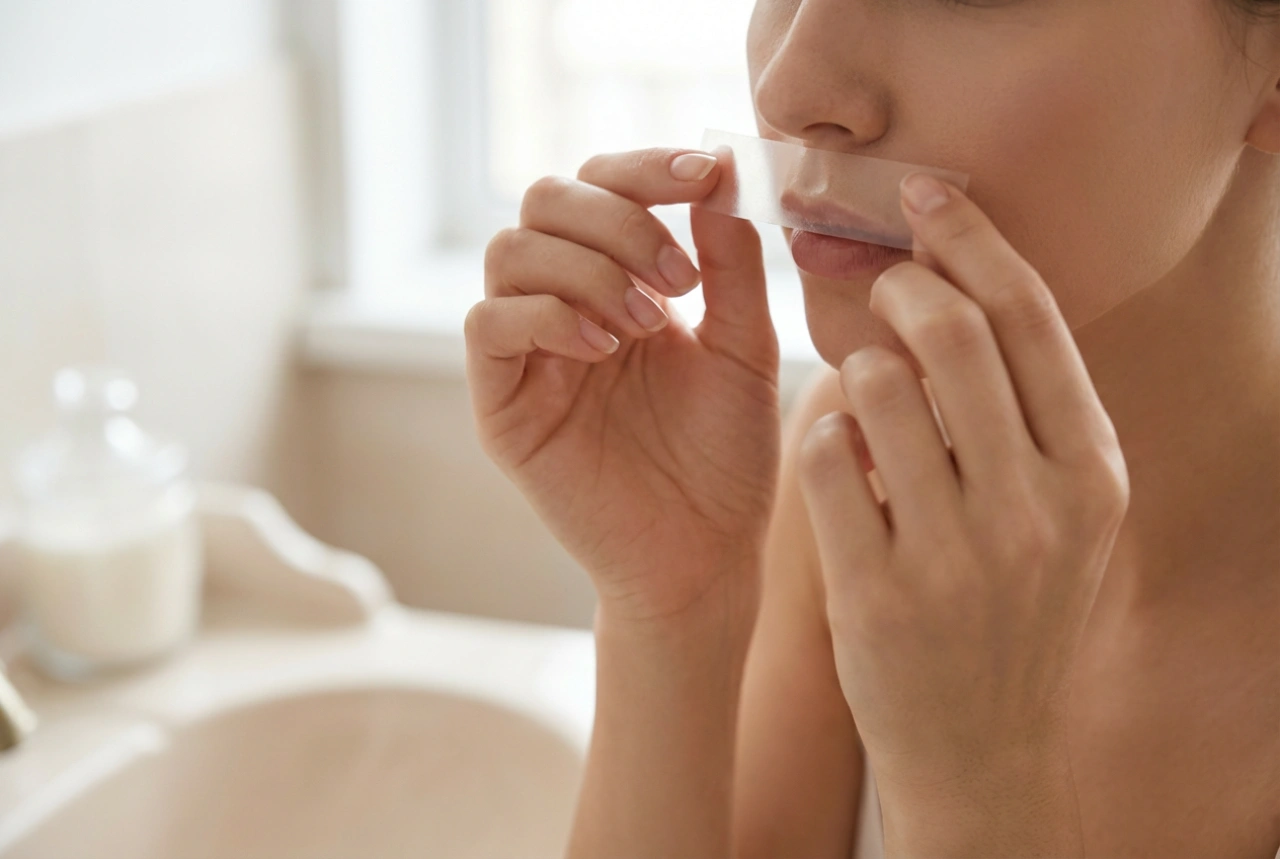
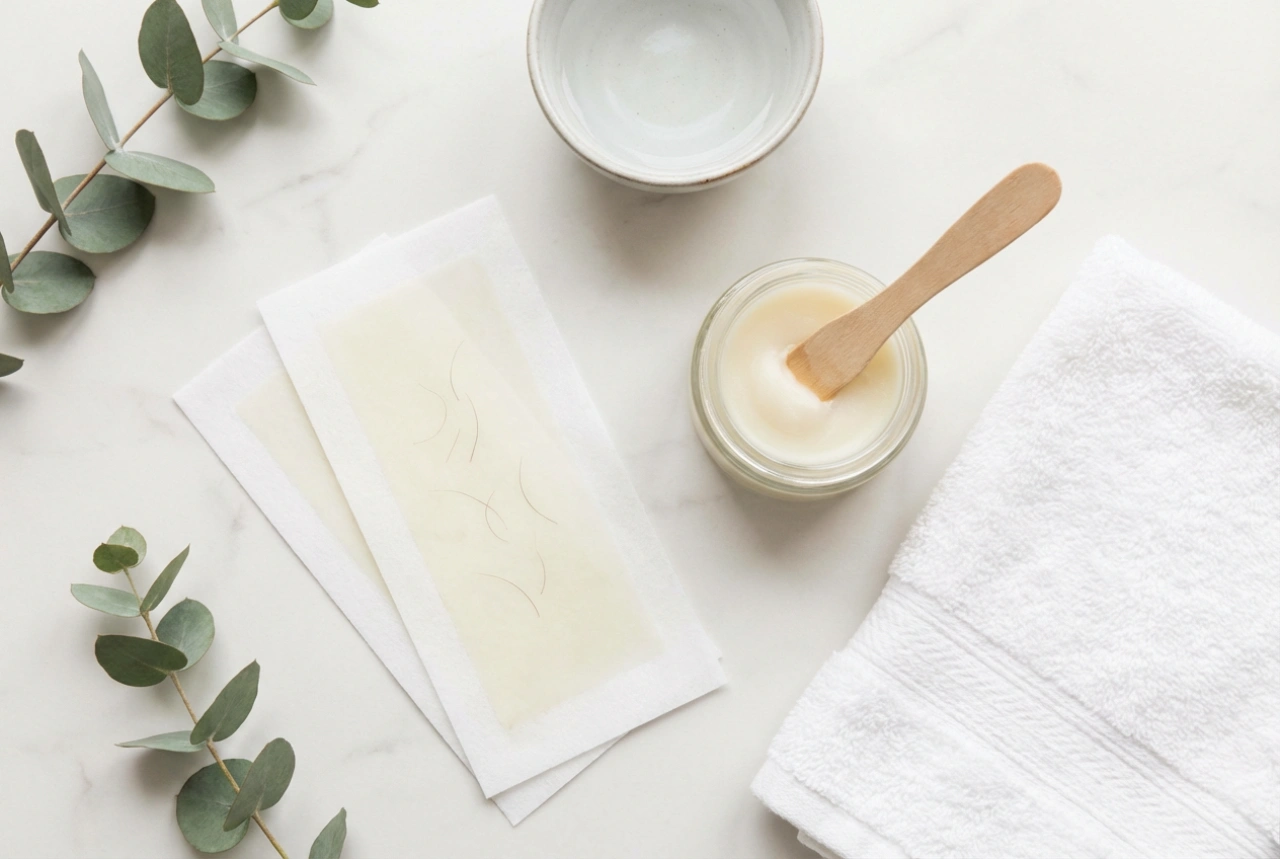
After applying the wax, immediately place a non-woven waxing strip over the waxed area, leaving a small clean tab at the bottom to grip. Smooth the strip down firmly with your hand several times in the direction of hair growth to ensure it bonds securely with the wax. To remove, hold the skin taut with one hand just below the edge of the strip. With your other hand, grip the clean tab and pull the strip back quickly and firmly in a single motion, parallel to the skin and against the direction of hair growth. Never pull the strip upwards, as this can cause bruising or skin lifting.
Step 4: Post-wax skin care
Once you have finished removing the hair, it is normal for the skin to show mild redness. Any remaining wax residues can be easily dissolved and removed using a post-depilatory body oil or a gentle natural oil like sweet almond oil. Avoid water-based cleansers for this step, as wax is lipophilic and will not wash off with water alone. Finish the treatment by applying a soothing, alcohol-free lotion or aloe vera gel to calm the skin. For the next 24 to 48 hours, keep the treated areas free from tight clothing, heavy perfumes, hot baths, and direct sun exposure to allow the skin barrier to fully recover.