

Achieving smooth skin at home has never been easier, and wax strips remain one of the most accessible and effective methods for long-lasting hair removal. When done correctly, this simple beauty ritual can leave the skin feeling soft and clean for weeks. The key to a successful experience lies in the precision of each step, from preparing the skin to the final soothing touch. By understanding the physical techniques of application, pressure, and removal, you can easily minimise discomfort and enjoy professional-quality results in the comfort of your own bathroom.
Preparation is the Foundation of Smooth Skin
Before you even open a packet of wax strips, the state of your skin plays a vital role in how effective the treatment will be. For the wax to adhere properly to the hairs, the skin surface must be entirely free from oils, lotions, and perspiration. A gentle wash with a mild soap followed by thorough drying is essential. Some beauty experts recommend applying a very light dusting of unscented talcum powder or cosmetic powder to the area. This helps to absorb any residual moisture and ensures that the wax grips only the hairs and not the skin itself, which significantly reduces discomfort during removal.
Choosing the Right Hair Length
For cold wax strips to work efficiently, the hair needs to be of an optimal length. Ideally, this is between two to five millimetres. If the hair is too short, the wax will not be able to grab it firmly, leading to incomplete hair removal. On the other hand, if the hair is too long, the process can be unnecessarily painful and may lead to hair breakage instead of removal from the root. If necessary, gently trim the hair before starting the procedure.
The Art of Application and Pressure
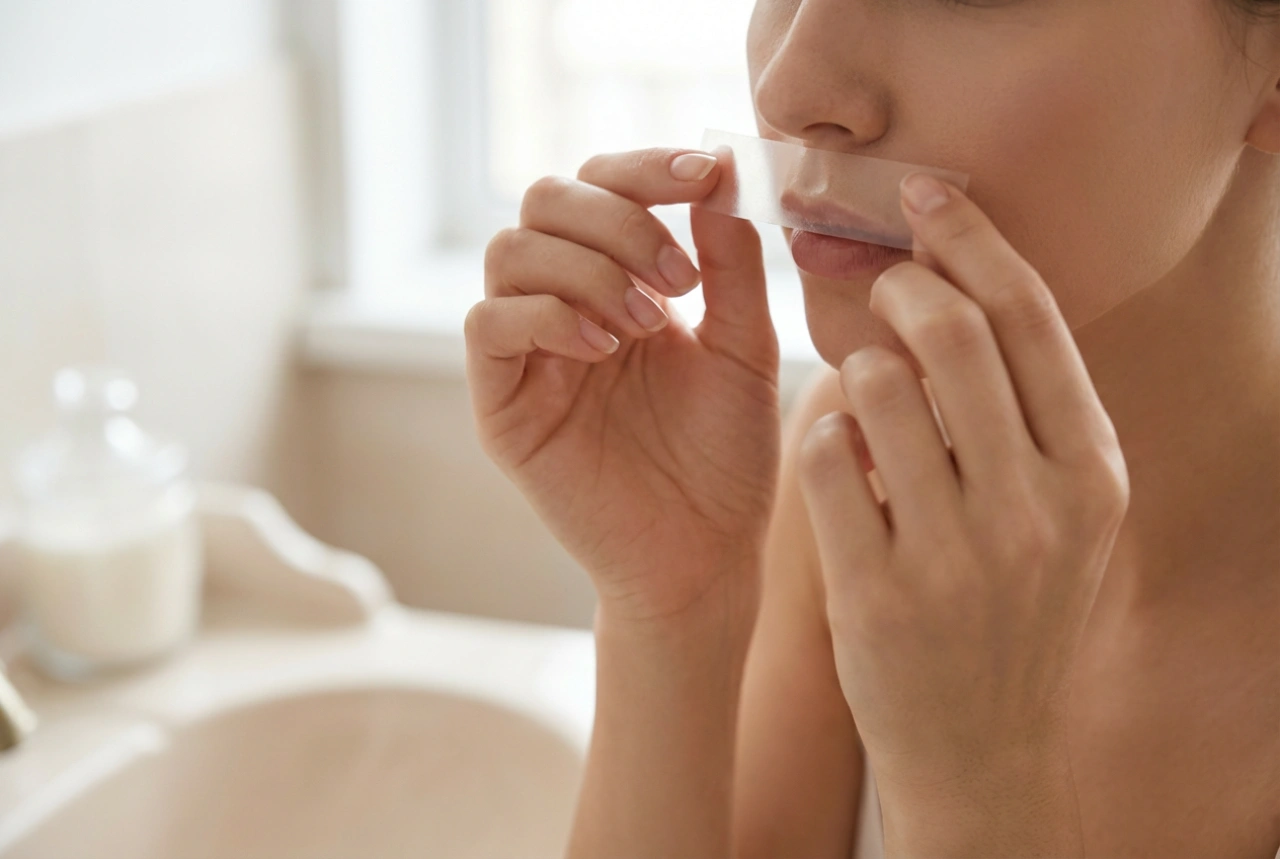
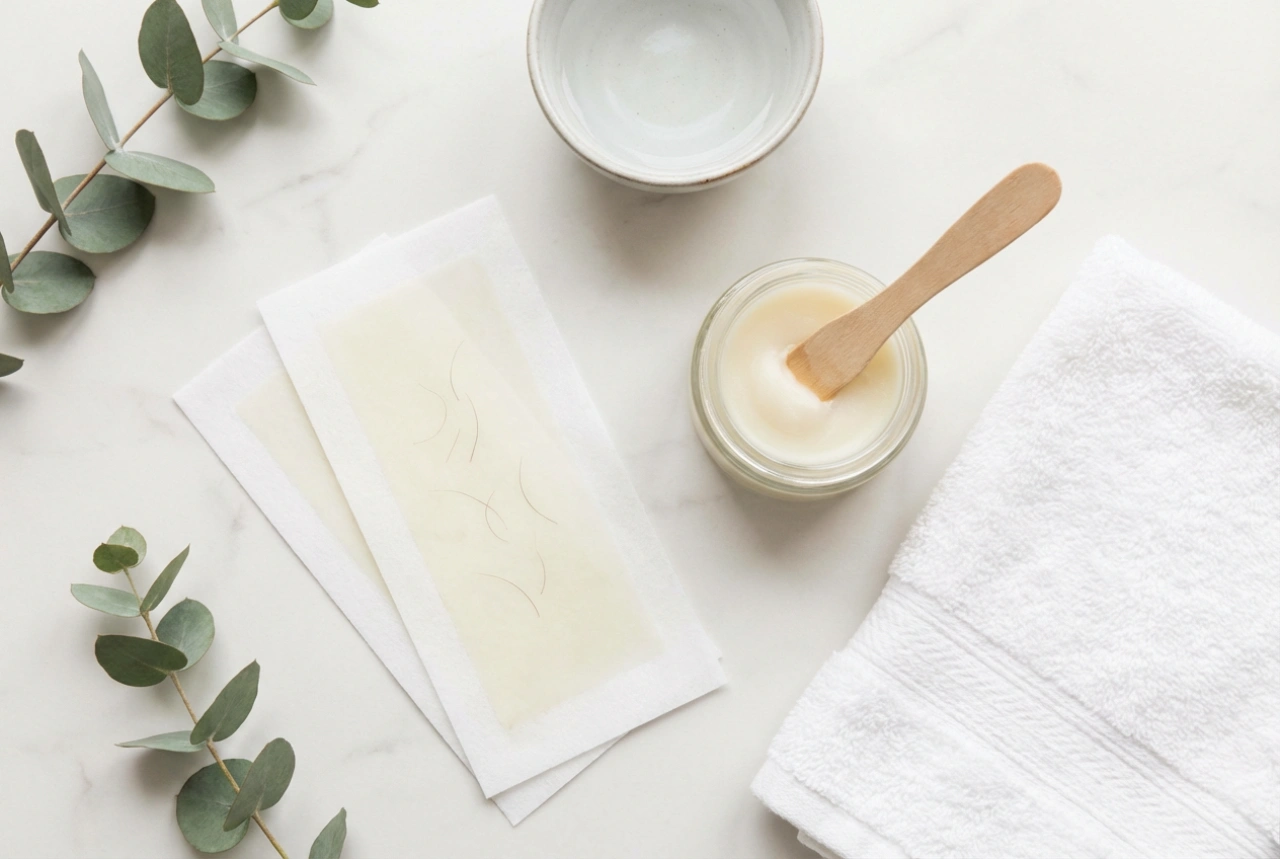
Once the skin is prepared, it is time to warm and apply the strip. Most ready-to-use wax strips require a small amount of warmth to activate the wax. Rubbing the double-sided strip between your palms for a few seconds is usually sufficient to soften the formula. Gently peel the two strips apart to reveal the active wax surface.
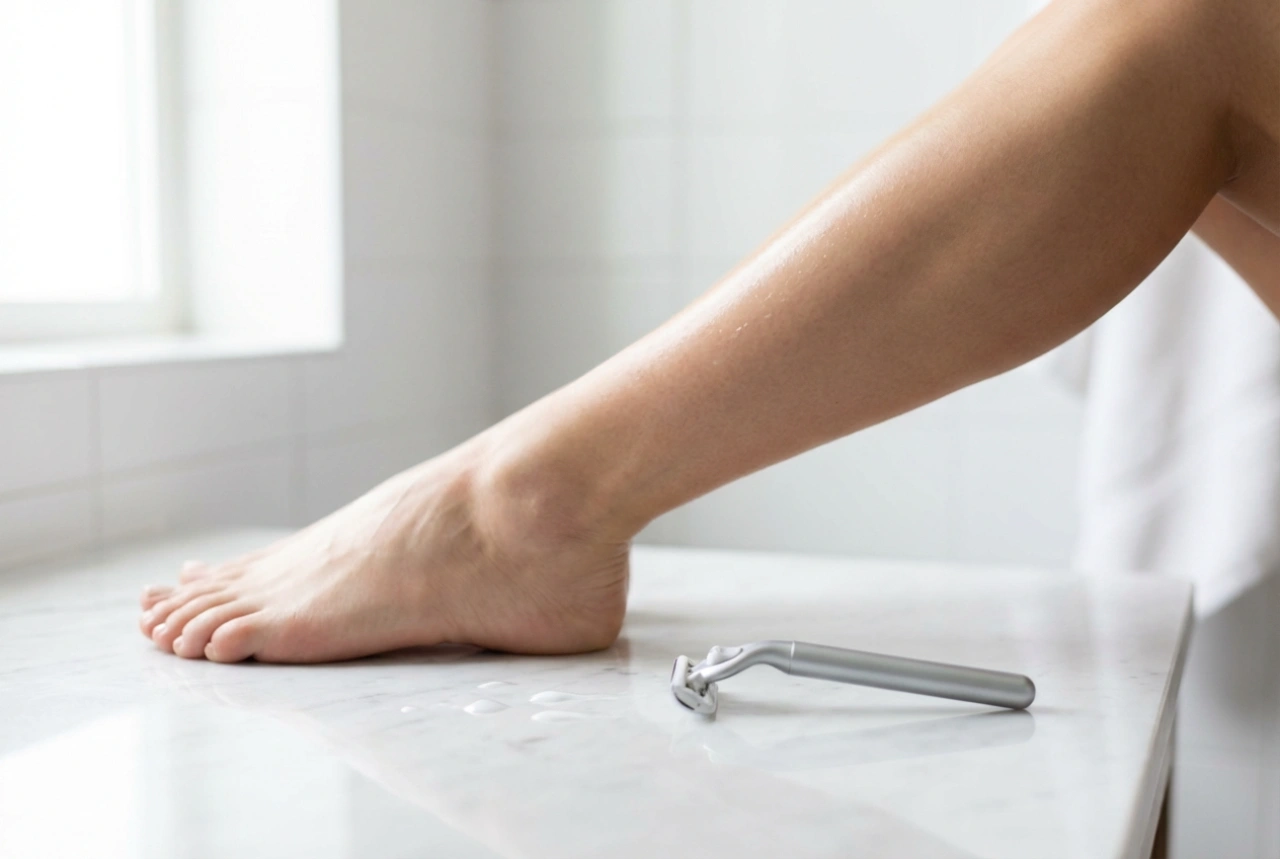
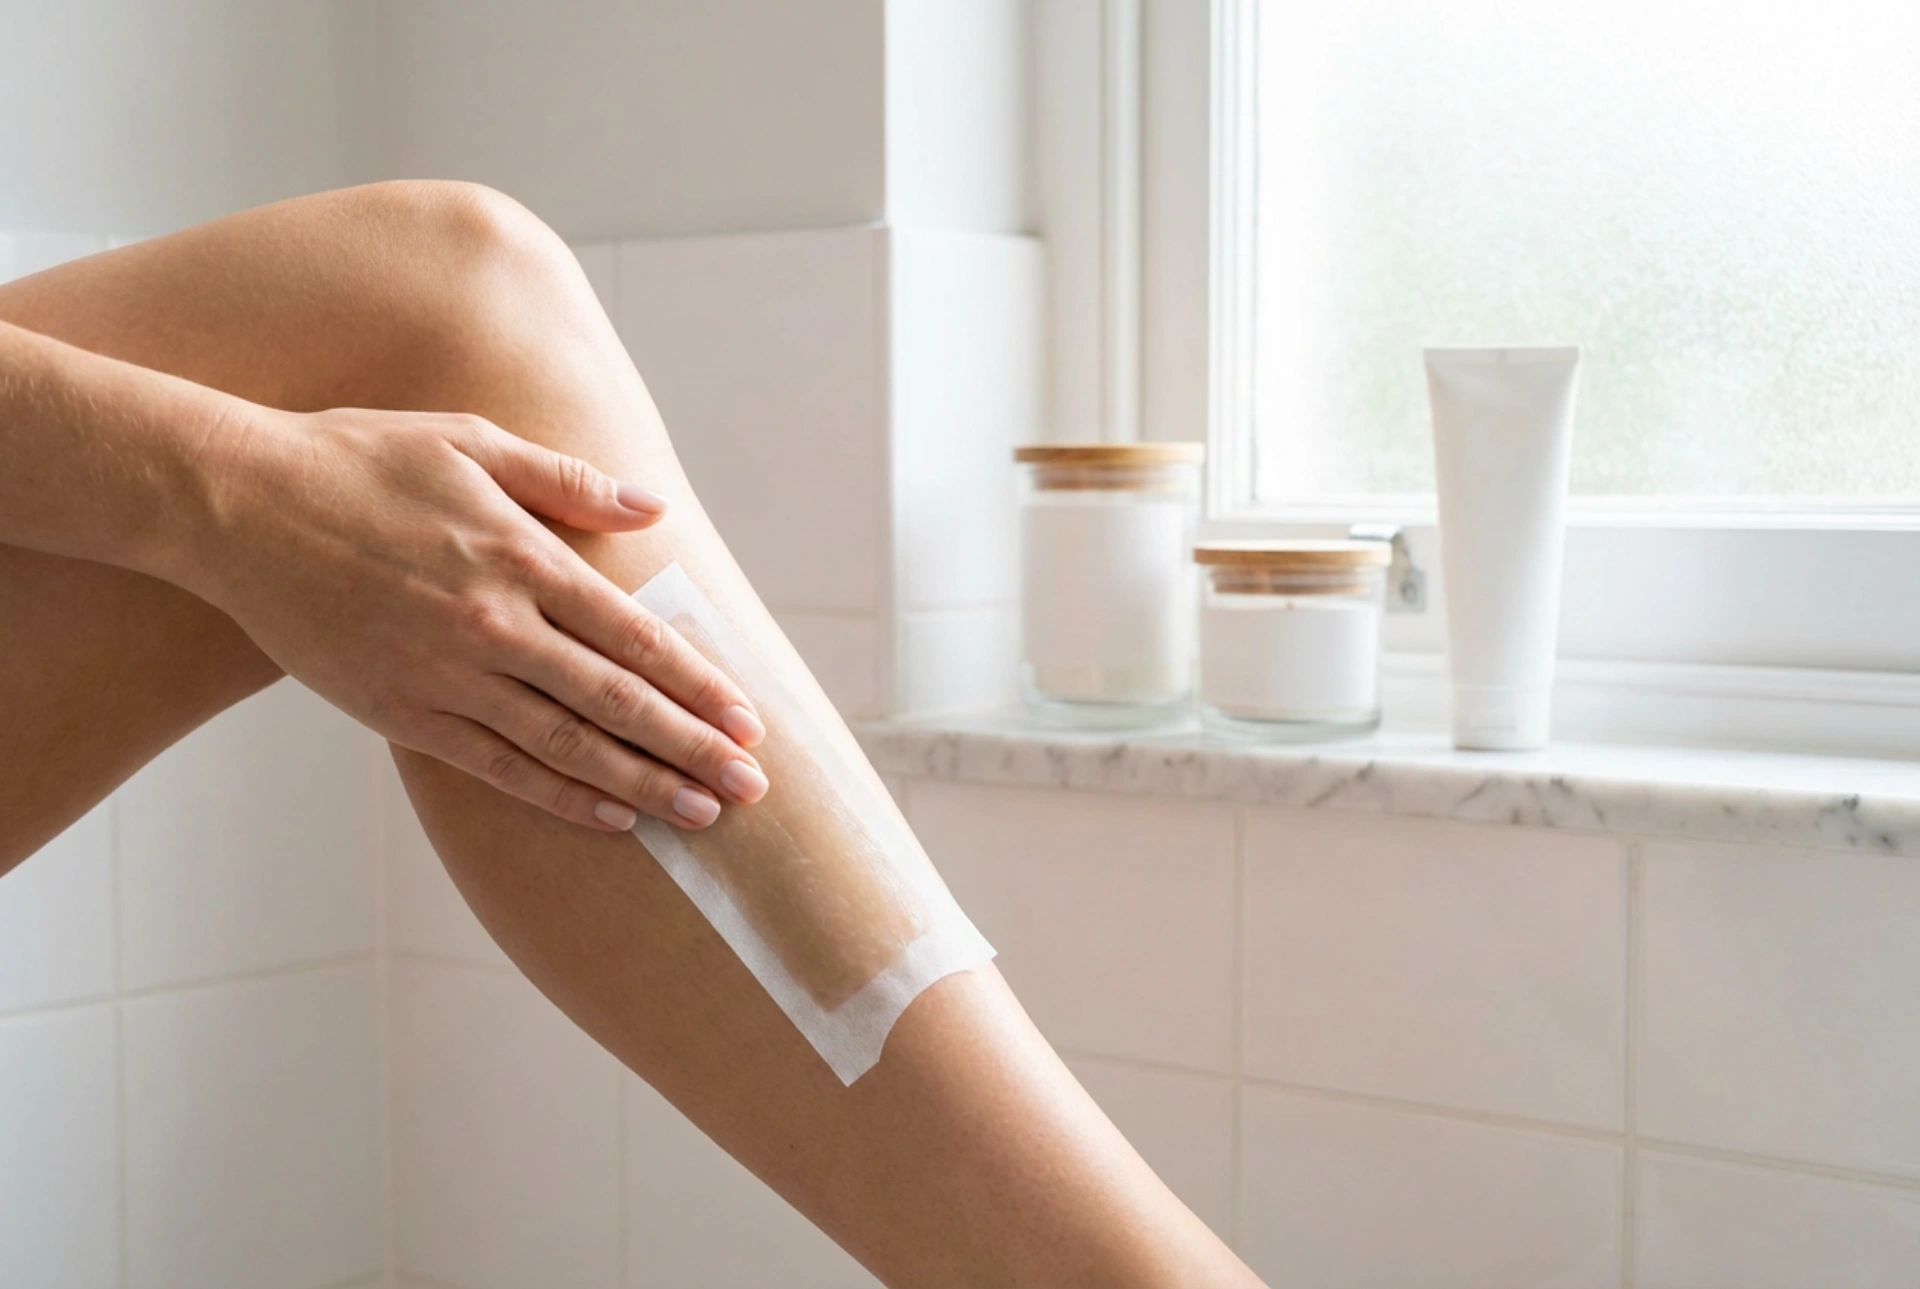
When placing the strip onto the skin, direction is everything. Always apply the strip in the direction of hair growth. For example, on the lower legs, this is typically downwards towards the ankle. Once the strip is placed, use the flat of your hand or your fingers to press it down firmly. Smooth it over several times in the direction of hair growth. This pressure ensures that every single hair becomes fully embedded in the wax layer, which is crucial for a clean pull.
The Removal Technique: Fast and Parallel
The removal phase is where technique matters most to avoid skin irritation. To prepare for the pull, hold the skin extremely taut with one hand. This stabilises the skin surface and prevents it from pulling upwards with the strip, which is the primary cause of bruising and unnecessary discomfort.
The Golden Rule of Pulling
With your other hand, grip the bottom edge of the strip. In one swift, fluid motion, pull the strip back in the opposite direction of hair growth. It is vital to pull the strip back parallel to the skin, keeping it as close to the body as possible, rather than pulling it upwards or outwards. An upward pull can break the hairs at the surface and cause irritation. Speed is your friend here; a fast, confident motion yields the cleanest results and minimizes the sensation of discomfort.
Essential Aftercare for Calm and Nourished Skin
Immediately after the strip is removed, you may notice slight redness, which is a completely normal reaction to hair removal. To instantly calm the area, press the palm of your hand firmly against the skin for a few seconds. The gentle pressure helps to soothe the nerve endings.
To clean any sticky wax residue left behind, never use soap and water, as this will only dry out the skin and fail to remove the wax. Instead, use a post-wax wipe or a cotton pad soaked in a gentle, neutral body oil such as sweet almond oil or baby oil. The oil effortlessly dissolves the wax while providing initial nourishment to the freshly depleted skin barrier.
Nurturing the Skin Barrier
- Avoid hot baths, saunas, and intense sun exposure for at least twenty-four hours after waxing to prevent irritation.
- Apply a light, fragrance-free moisturising lotion or a soothing gel containing aloe vera to calm the skin.
- Do not apply perfumes, deodorants, or active chemical exfoliants to the treated area immediately after the procedure.
- After forty-eight hours, begin a gentle exfoliating routine with a soft washcloth or a mild scrub to prevent the occurrence of ingrown hairs as the new, softer hair begins to grow.