

Achieving silky, smooth skin in the comfort of your own home has become a cornerstone of modern self-care routines. Ready-to-use wax strips provide a convenient and efficient way to remove unwanted hair, delivering results that last far longer than shaving. However, the key to a comfortable and successful waxing session lies in the technique. The simple, mindful act of warming a wax strip between your palms prepares the product for optimal adhesion, ensuring a gentle and thorough hair removal process. Understanding how to prepare, apply, and correctly pull these strips is the secret to achieving professional-looking results without unnecessary discomfort.
Pre-Waxing Preparation: Setting the Stage for Smoothness
Before you even touch a wax strip, proper skin preparation is essential. Wax adheres best to clean, dry skin that is free from oils, sweat, and cosmetic products. To begin, thoroughly cleanse the area you intend to wax with a mild soap or body wash, and pat it completely dry. It is advisable to avoid applying any body lotions, moisturisers, or oils on the day of waxing, as these can create a barrier between the wax and the hair, reducing the effectiveness of the treatment.
In addition to cleansing, a gentle exfoliation one or two days prior to waxing can make a significant difference. Exfoliation helps to lift dead skin cells and release any trapped or flat hairs, making it easier for the wax to grab them from the root. Ensure the hair is of a suitable length—typically between two to five millimetres—for the wax to grip properly. If the hair is too short, the strip may not pull it out effectively; if it is too long, the process may be more uncomfortable than necessary.
How to Warm Wax Strips Correctly
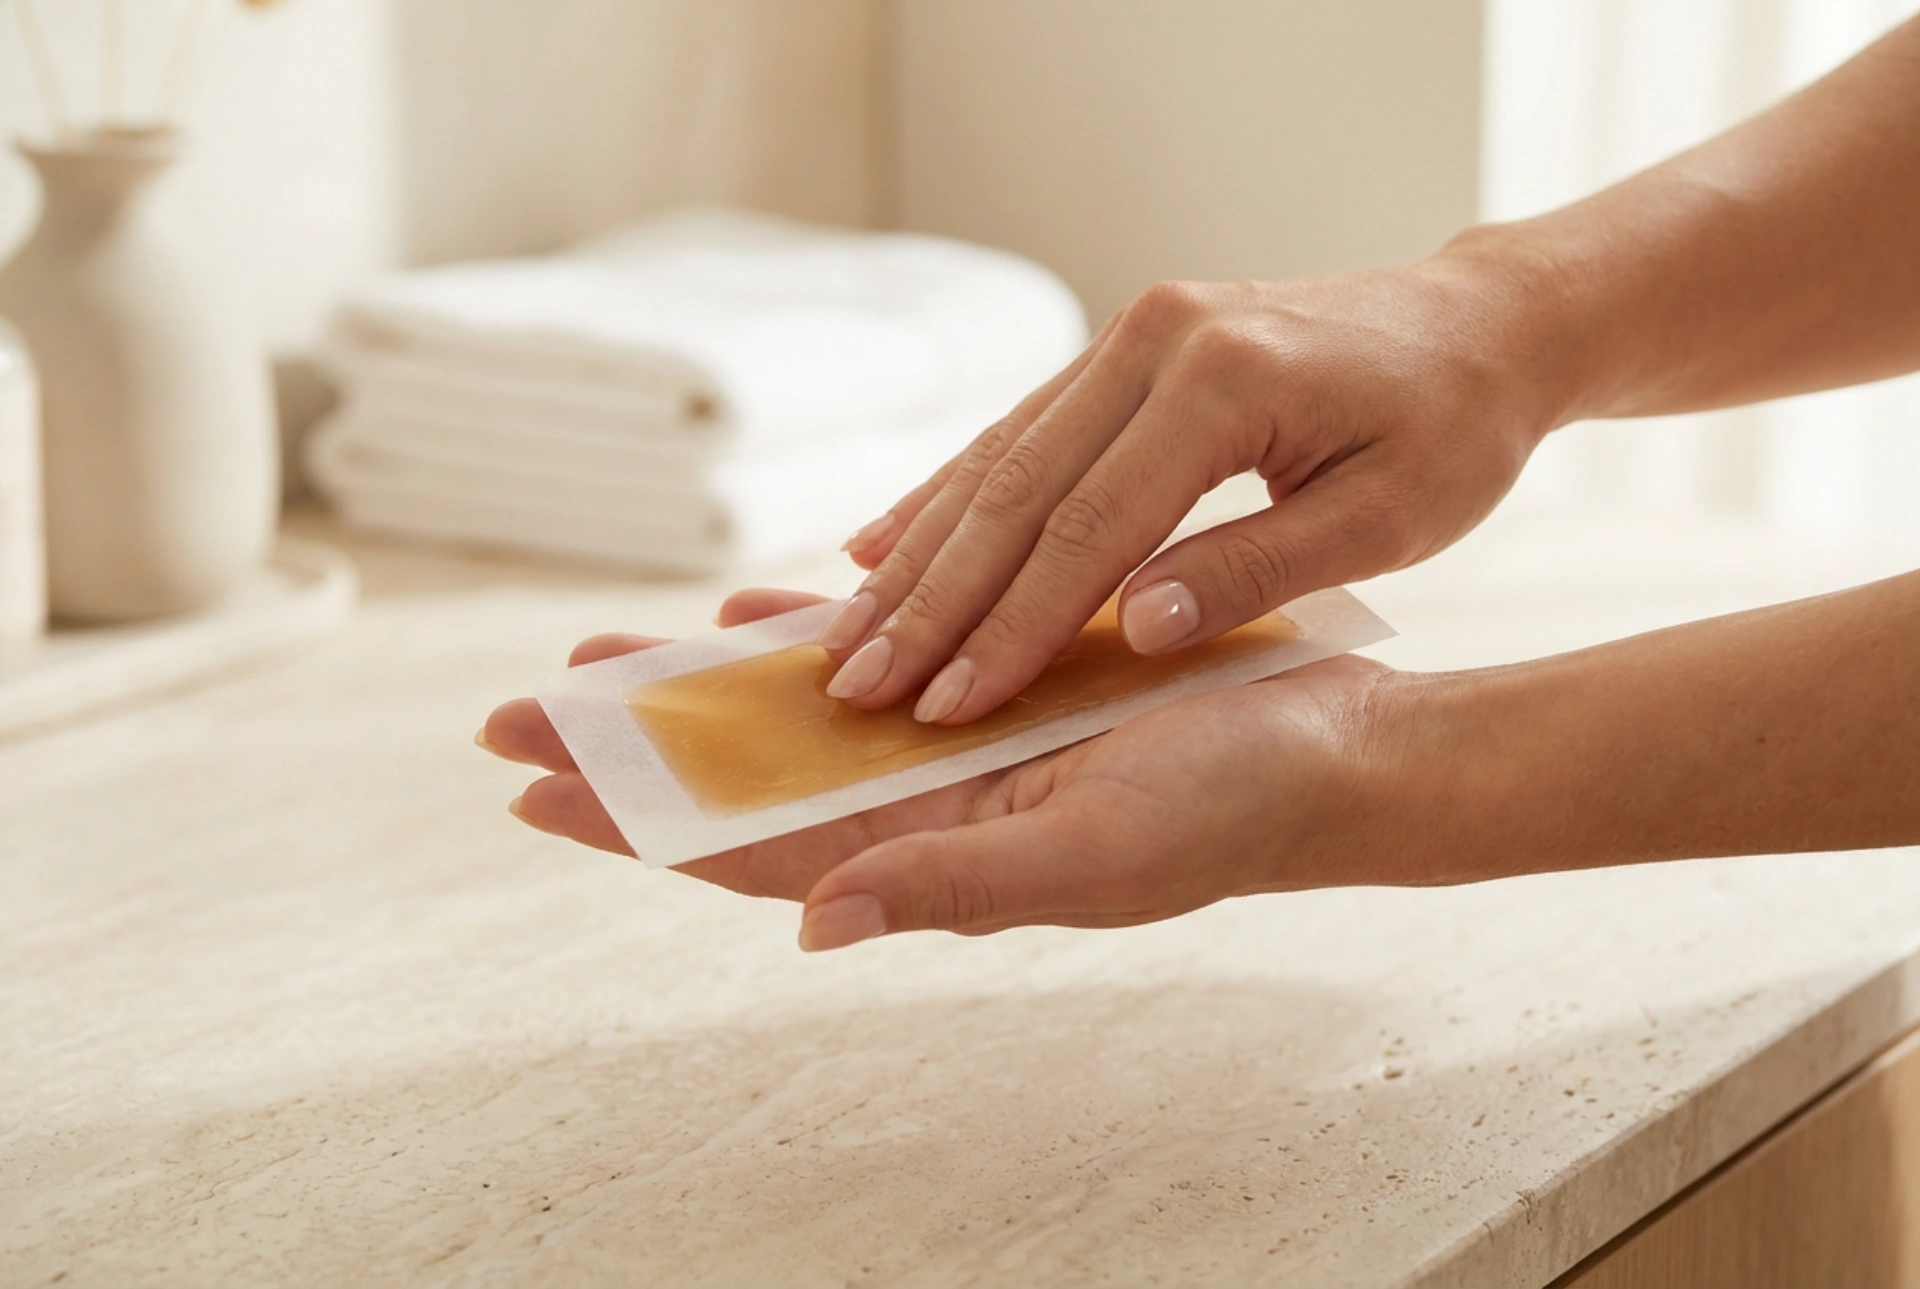
Ready-to-use wax strips require a small amount of heat to soften the wax, allowing it to adhere evenly to the skin and hair. The most common and safest method to achieve this is by using natural body heat. Place a double-sided wax strip between your palms and rub them together briskly for about ten to fifteen seconds. This gentle friction warms the wax to the perfect working temperature, making it pliable without becoming too runny or overly sticky.
Once the strip feels warm and flexible, slowly and evenly peel the two halves apart. Avoid rushing this step, as uneven peeling can leave more wax on one side than the other. Once separated, the strips are ready for immediate application. Do not let them sit or cool down, as the wax will quickly harden and lose its grip.
Application: Positioning for Maximum Grip
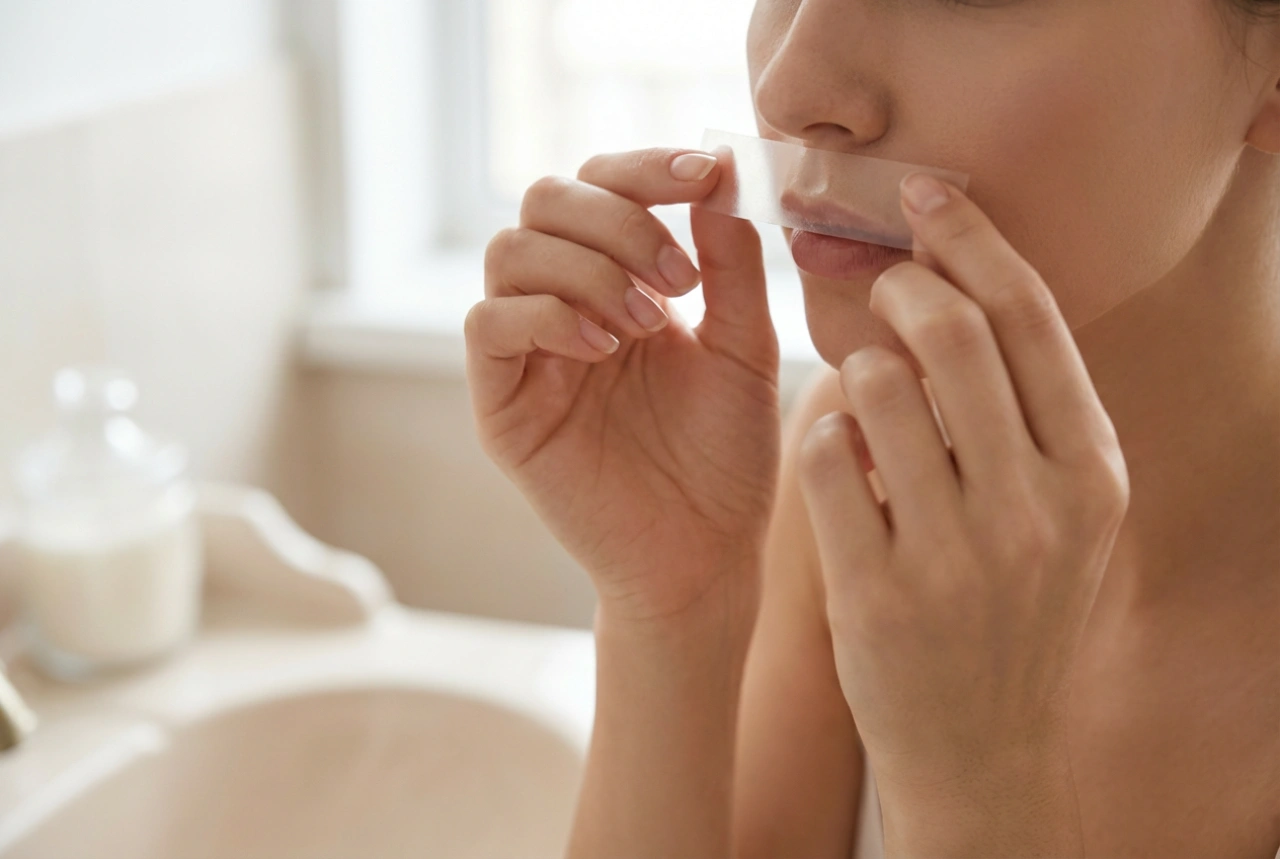
Applying the wax strip with precision is crucial for clean hair removal. Smooth the active side of the strip onto the desired area, ensuring it lies flat against the skin without any air bubbles or creases. To guarantee a strong grip on the hair shafts, firmly smooth the strip down several times in the direction of your hair growth. For example, if you are waxing your legs, you should smooth the strip downwards towards your ankles.
By pressing the strip firmly onto the skin, you ensure that every hair is securely embedded in the wax. Leave a small section at the end of the strip unattached or free of hair, which will serve as a convenient tab to hold onto when it is time to remove it.
The Pulling Technique: Quick, Flat, and Decisive
The removal stage is where many people make mistakes that can lead to skin irritation or incomplete hair removal. The most important rule to remember is that the strip must be pulled in the opposite direction of hair growth. Furthermore, the motion must be incredibly swift and decisive. A slow pull will not only be more painful but will also fail to remove the hair from the root, potentially snapping the hair shafts instead.
To minimise discomfort and protect your skin, use one hand to hold the skin taut just below the starting point of the strip. With your other hand, grip the free edge of the strip firmly. In one rapid movement, pull the strip back against the direction of hair growth. Crucially, keep the strip as close and parallel to the skin as possible. Avoid pulling the strip upwards or away from the body, as this lifting motion can cause bruising, skin irritation, and patchy results.
Post-Waxing Care: Soothing and Restoring the Skin
After you have successfully removed the hair, your skin will require a little extra care to soothe any temporary redness. It is completely normal for the skin to appear slightly pink immediately after waxing. To remove any sticky wax residue left behind, use a post-wax finishing wipe, which is often included in wax kits, or apply a small amount of gentle body oil, such as baby oil or sweet almond oil, to a cotton pad and sweep it over the area.
In the twenty-four hours following your waxing session, treat your skin with extra care. Opt for loose-fitting clothing made of breathable natural fibres to prevent friction. Avoid hot baths, saunas, swimming pools, intense workouts, and direct sun exposure, as the skin pores are temporarily open and more susceptible to irritation. Applying a simple, fragrance-free aloe vera gel can help to cool and calm the skin, ensuring a beautifully smooth and comfortable recovery.