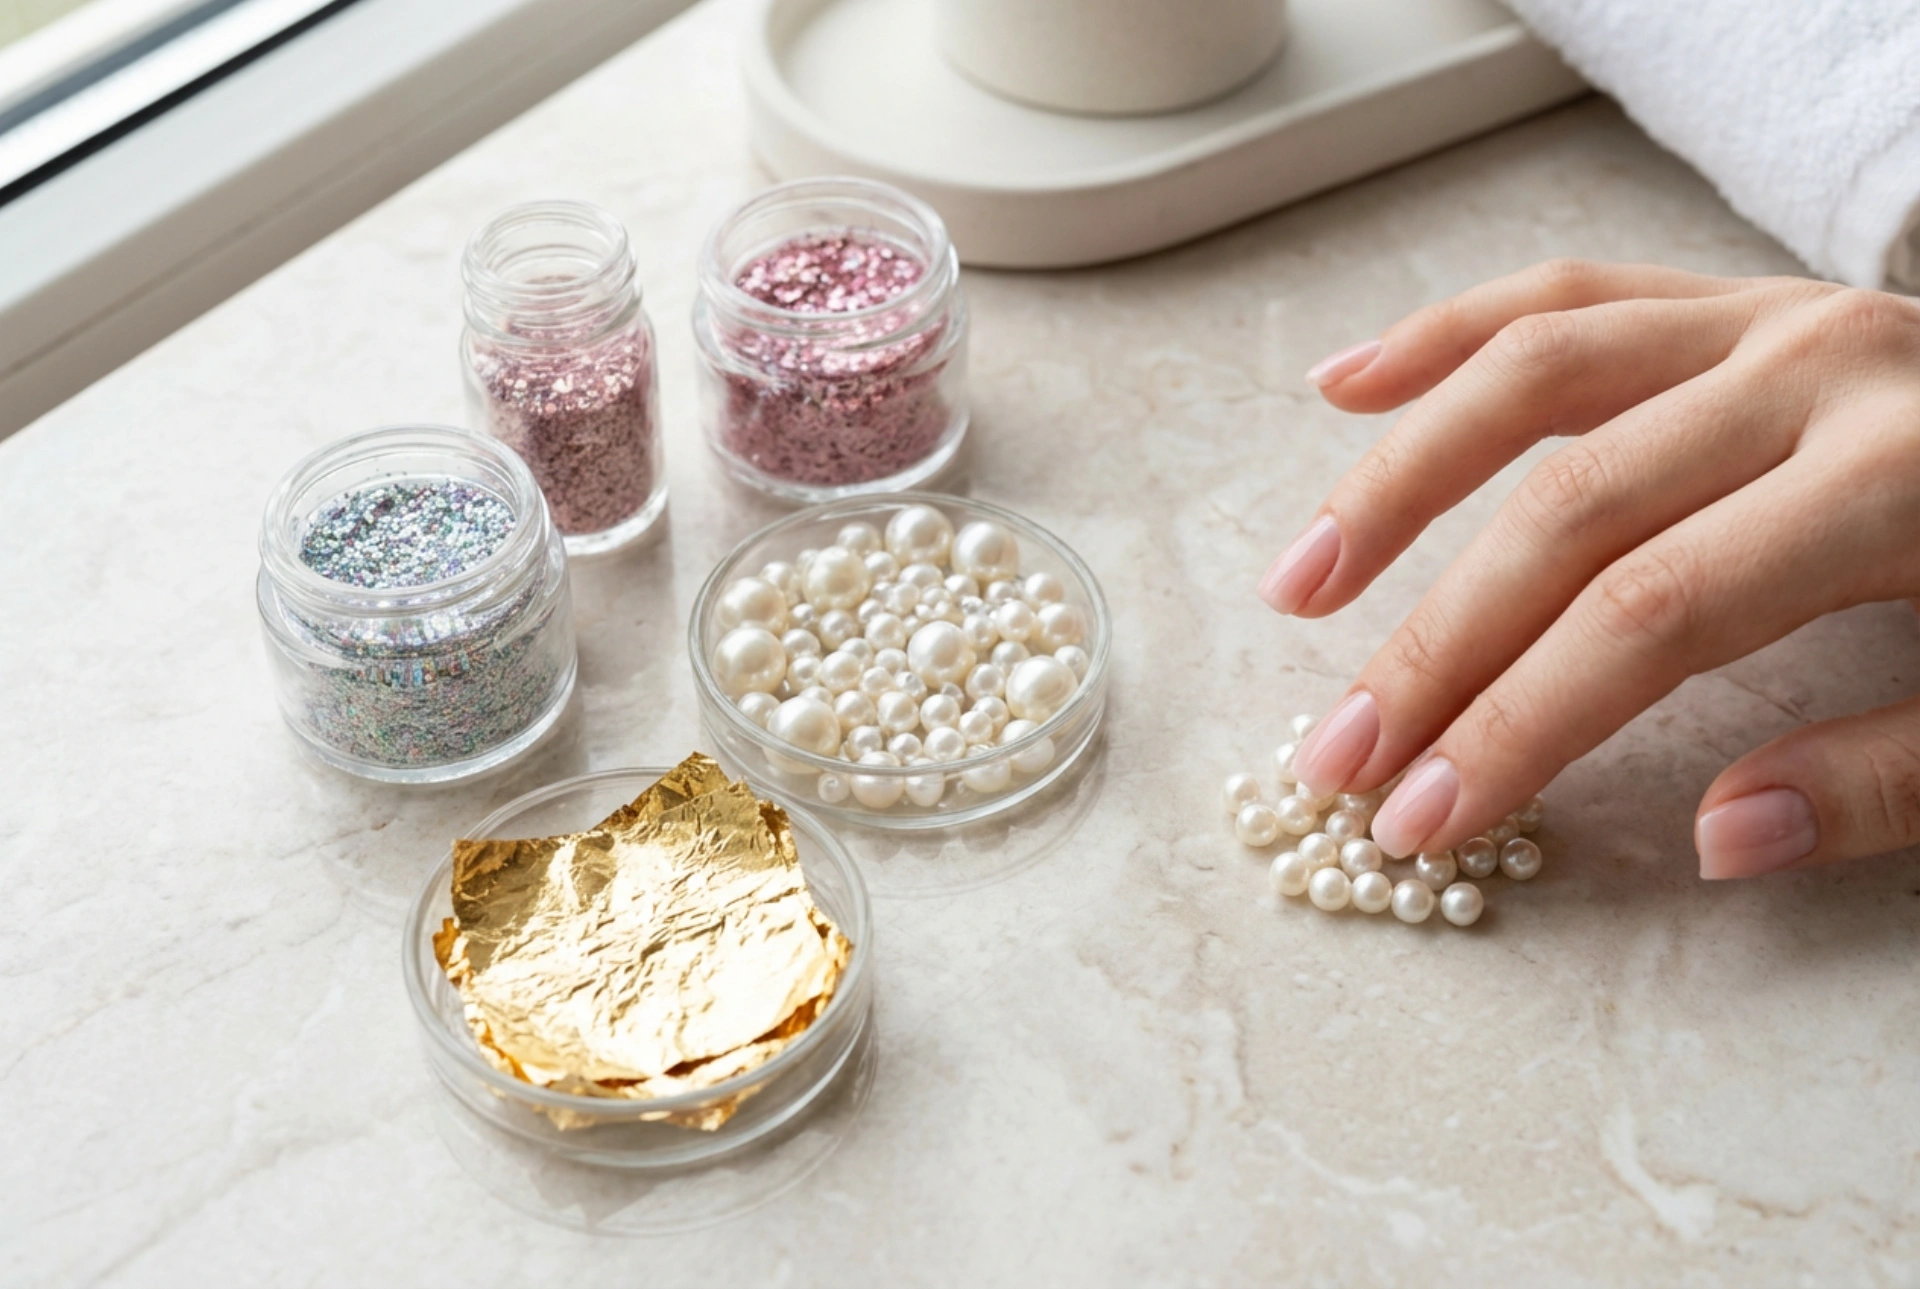


A beautifully curated selection of nail embellishments—ranging from iridescent glitters and delicate miniature pearls to subtle metallic foils—offers an instant way to elevate a classic manicure. Working with these intricate textures allows you to express your personal style, turning your nails into a canvas of self-expression. While professional-looking results might seem difficult to achieve at home, mastering a few basic techniques makes the process both simple and incredibly rewarding. With the right preparation and a gentle hand, you can create stunning, long-lasting nail art that captures the light beautifully.
The Diversity of Nail Embellishments
Before diving into the application process, it is helpful to understand the unique characteristics of the different ornaments available. Each type of embellishment brings its own texture and visual interest to a manicure.
Iridescent Glitters and Shimmers
Glitter remains one of the most popular choices for adding sparkle. It comes in various sizes, from ultra-fine dust that creates a subtle, uniform shimmer, to larger hexagonal pieces that catch the light from different angles. Iridescent glitters are particularly versatile, as they shift colour depending on the base shade underneath, offering endless combinations.
Metallic Foils
Gold, silver, and copper foils provide an elegant, slightly rustic lustre. Unlike uniform glitter, foil can be applied in irregular patches to create an organic, abstract look. It is incredibly thin and conforms easily to the natural curve of the nail, making it one of the most comfortable embellishments to wear daily.
Miniature Pearls and Studs
For those who appreciate three-dimensional designs, tiny pearls and flat-backed studs add a classic, sophisticated touch. These ornaments create a raised texture reminiscent of delicate jewellery. When positioned thoughtfully along the cuticle line or arranged in minimal patterns, they offer an understated yet luxurious aesthetic.
Essential Nail Preparation
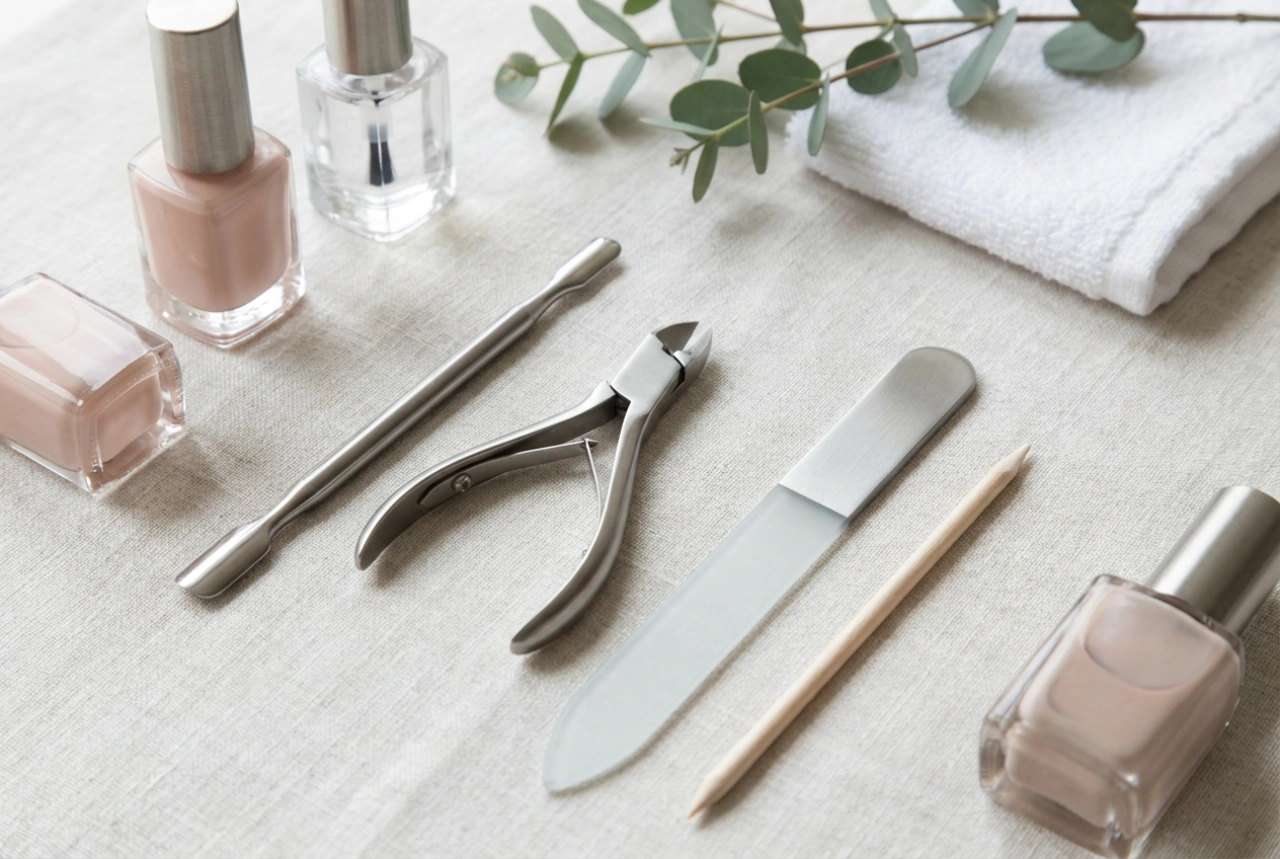
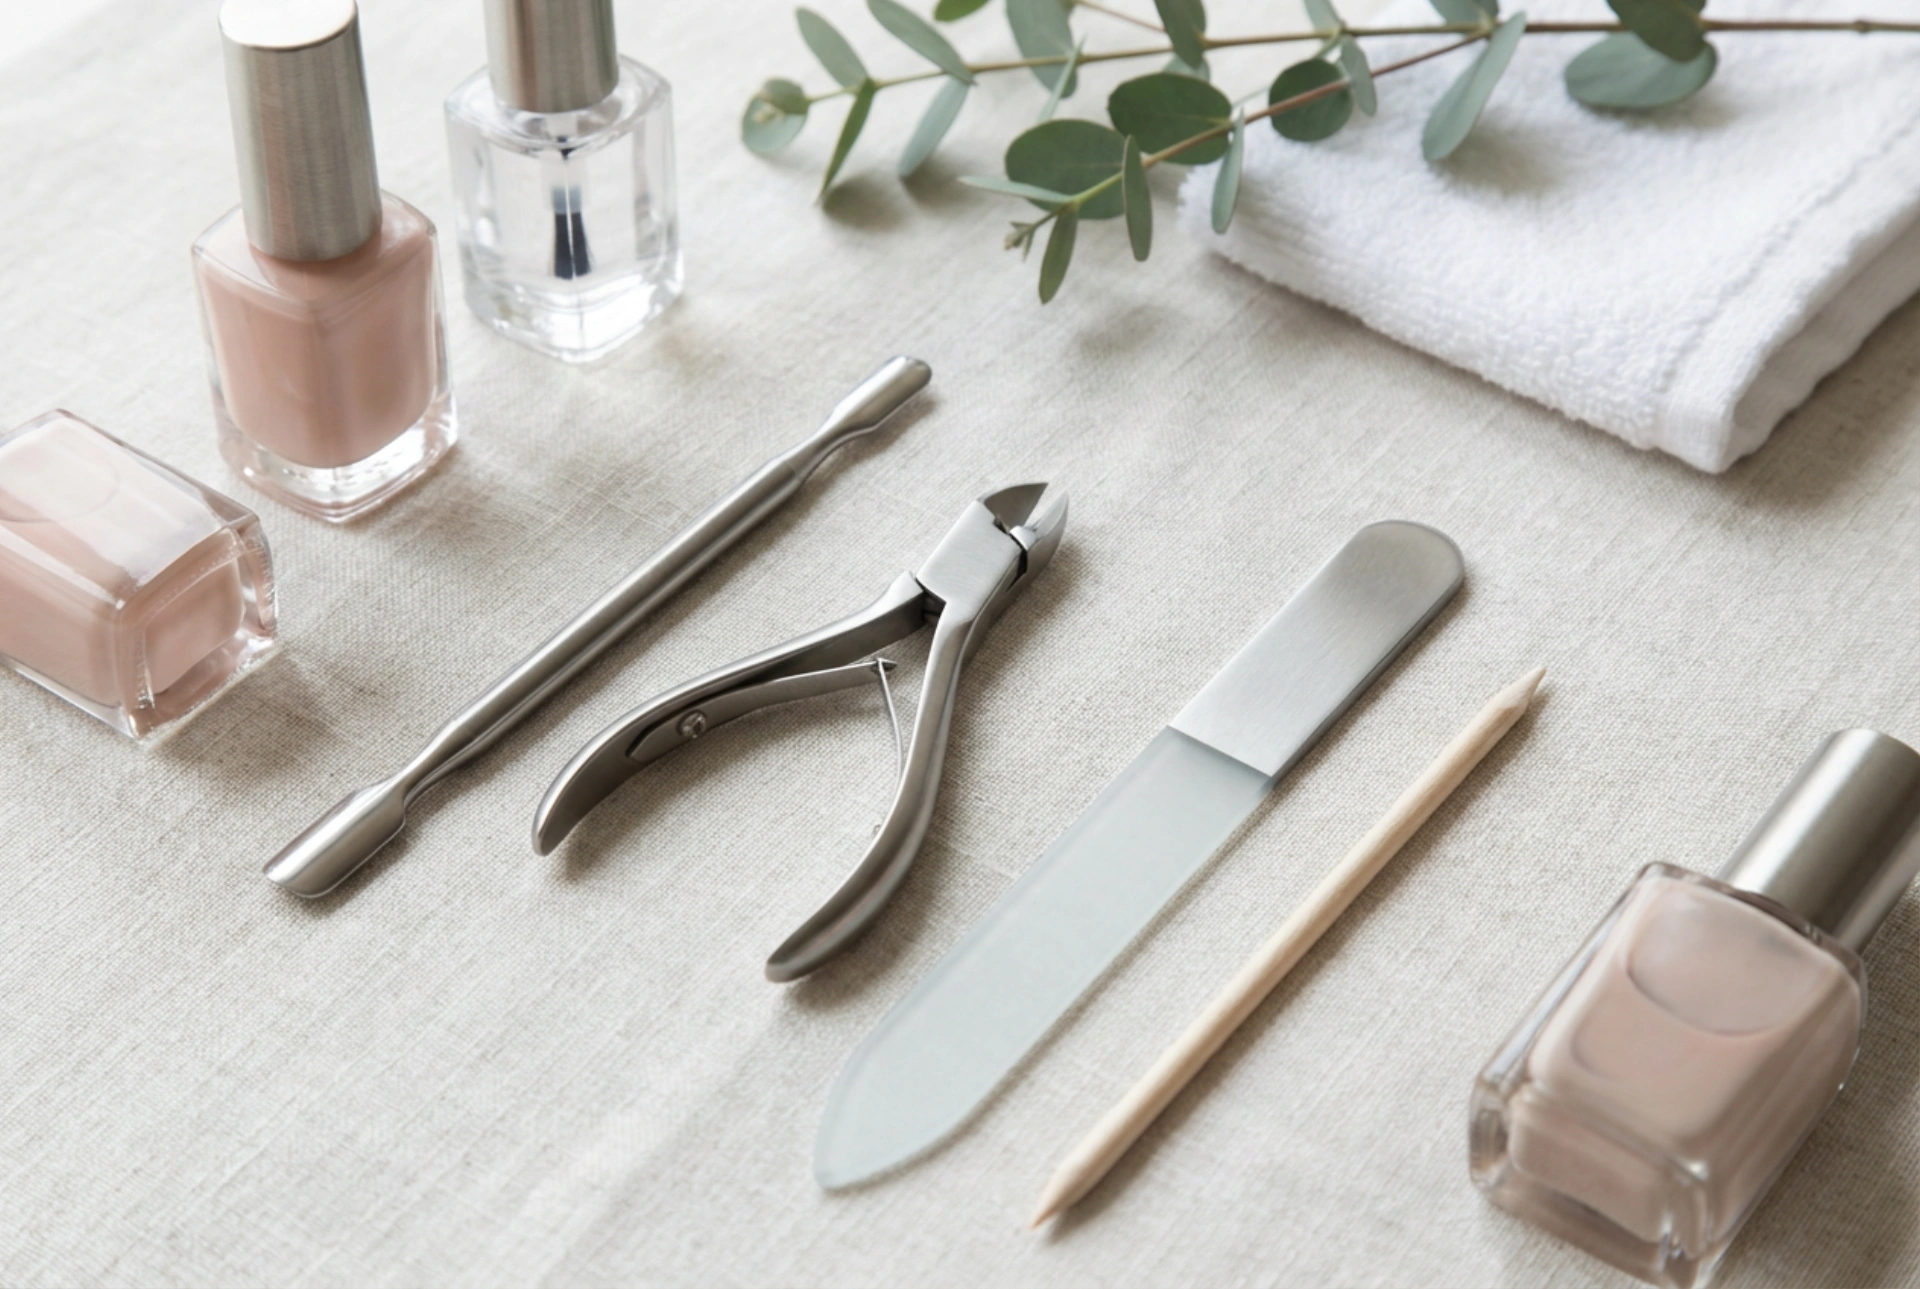
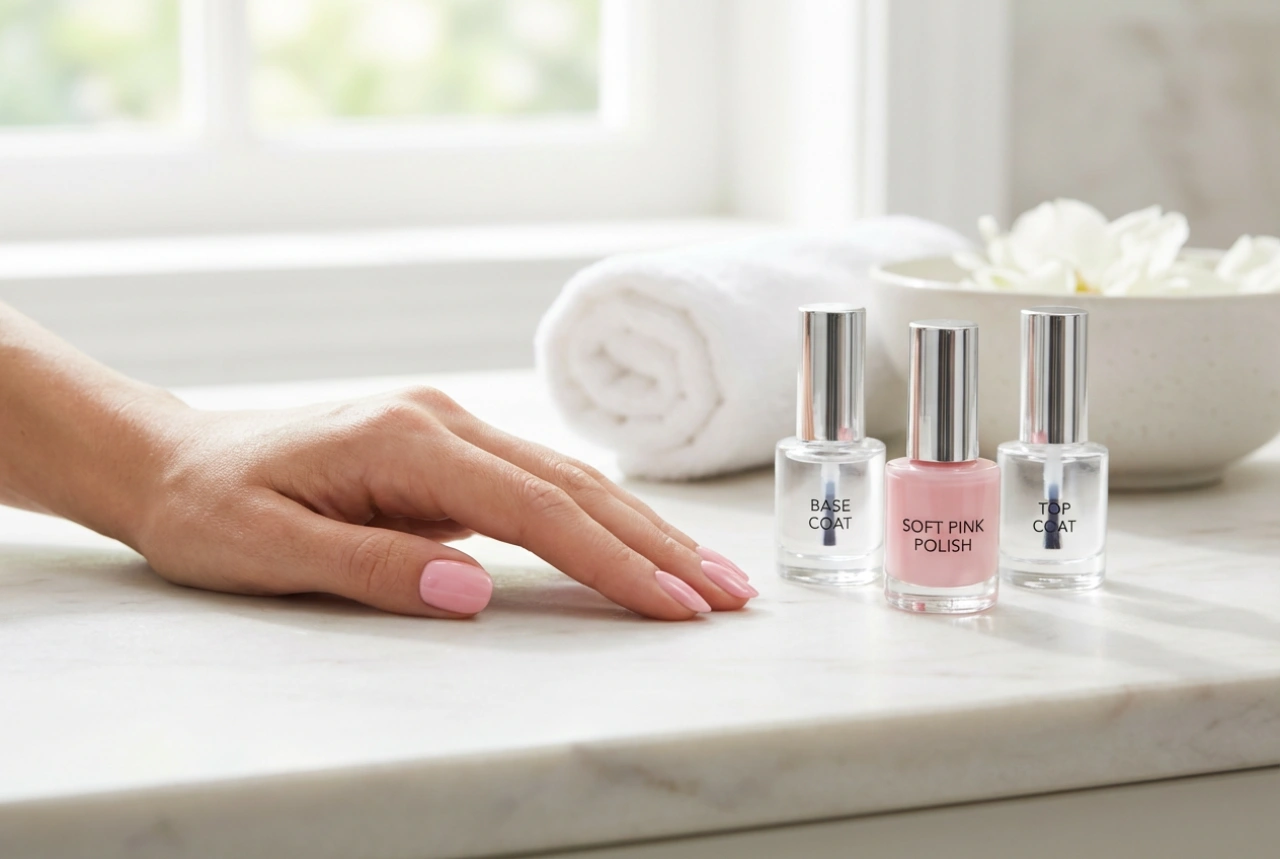
The secret to a durable design lies in the preparation of the nail plate. Any embellishment, no matter how light, requires a smooth and stable foundation to adhere to. Start by shaping your nails and gently pushing back the cuticles. Lightly buff the surface of the nail to remove natural oils, and cleanse it thoroughly with a lint-free wipe. Applying a high-quality base coat is essential, as it protects the natural nail and creates an even surface for your colour and decorations.
Proven Application Techniques
Applying nail art requires patience and the right tools. Here is how to achieve the best results with the most common embellishments:
- The Glitter Placement Method: To apply loose glitter precisely, use a damp detail brush or a wooden manicure stick. Touch the tip of the tool to a piece of glitter and place it gently onto a tacky layer of polish. For a full-glitter effect, you can gently press the nail directly into the glitter pot, then use a soft fan brush to sweep away any excess particles.
- The Foil Transfer Technique: Foil is best applied over a slightly sticky surface. You can press the foil sheet firmly onto specific areas of the nail where the polish remains slightly tacky, then pull it away quickly. The metallic layer will transfer in beautiful, abstract fragments.
- Securing Three-Dimensional Ornaments: For pearls and studs, place a small bead of clear top coat or dedicated nail adhesive onto the desired spot. Use a wax pen or tweezers to pick up the embellishment, place it onto the wet adhesive, and press down gently for a few seconds until it sets.
Sealing Your Design for Longevity
The final, crucial step in any nail art routine is sealing the design. A thick, protective top coat acts as a shield, preventing the edges of foils from peeling and stopping glitters from feeling rough to the touch. When dealing with three-dimensional elements like pearls, ensure you brush the top coat around the base of the ornament to lock it in place, rather than painting directly over the pearl itself, which can dull its delicate lustre. Always seal the free edge of the nail to prevent lifting, ensuring your beautiful creation remains intact and vibrant for days to come.