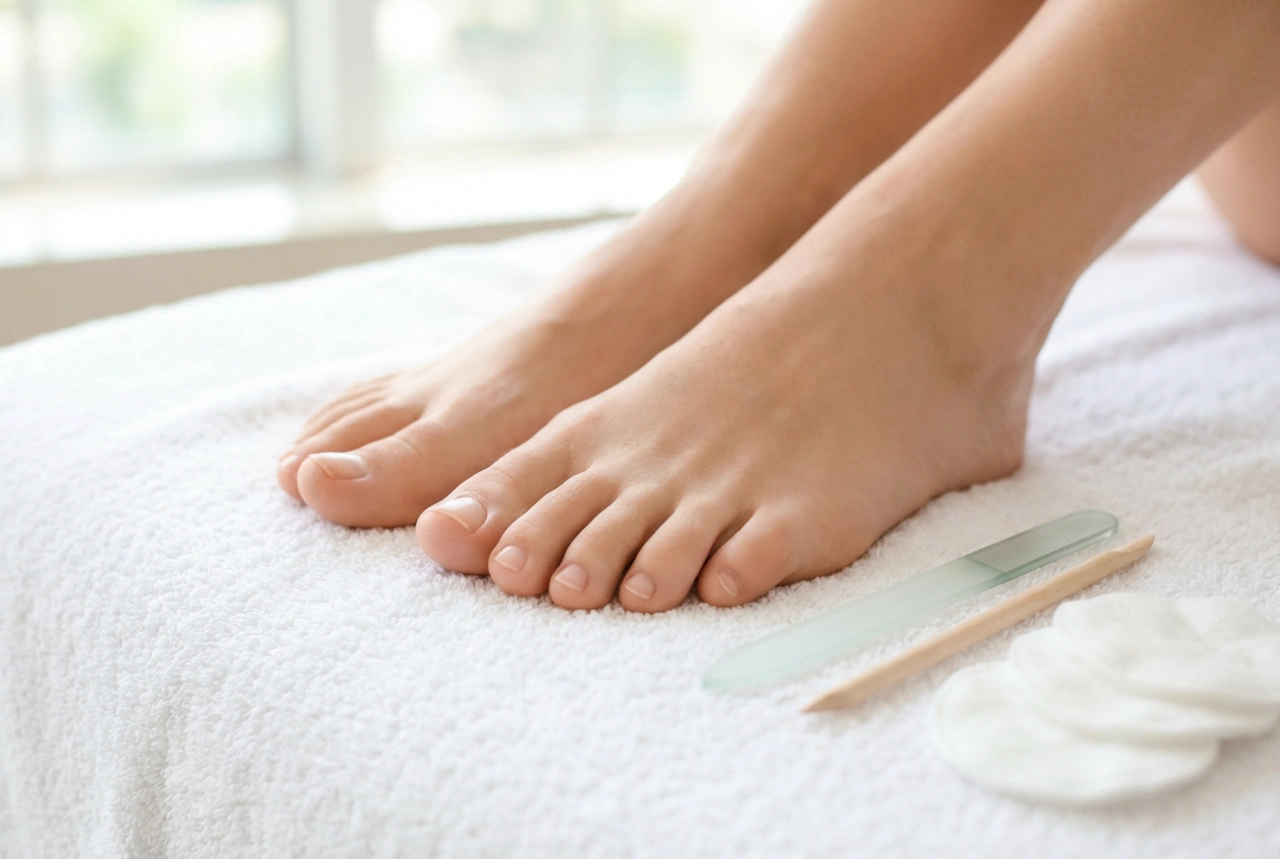


Beautifully pampered feet with a flawless, glossy finish can elevate any look, conveying a sense of refined, tasteful beauty. A delicate pink gel pedicure is a timeless classic that brings an understated elegance to the toes. Achieving that perfect, salon-quality look at home requires attention to detail—from preparing the nail plate to selecting the right hue and mastering precise lines near the cuticles. This guide explores how to select the ideal pink shade, ensure seamless coverage, and paint immaculate lines for a sophisticated result.
Essential Foot Prep for a Professional Finish
Before even reaching for the colour, the foundation of any stunning pedicure lies in proper foot preparation. Unlike manicures, toenails are subjected to friction from footwear, making preparation even more critical for gel longevity. Soak your feet in warm water to soften the skin, then gently exfoliate any dry areas. Ensure the nails are trimmed straight across to maintain a clean, comfortable shape, and round the corners very slightly with a file to avoid sharp edges. A clean, dehydrated nail plate ensures the gel adheres flawlessly, preventing premature lifting and ensuring your delicate pink shade remains immaculate for weeks.
Finding Your Perfect Pink Shade
Pink is incredibly versatile, ranging from subtle milky whites with a hint of rose to vibrant, punchy pastels. Choosing the right tone depends on your skin undertone and the desired effect.
Cool vs. Warm Undertones
If your skin has cool, pinkish undertones, look for cool pink polishes. These include soft baby pinks, mauves, and berry-infused tones. For warm, golden, or olive skin tones, peachy-pinks, salmon shades, and warm corals will look stunningly natural and complementary.
Opacity and Finish
- Sheer and Milky Pinks: Perfect for a clean, minimalist look. They give a healthy, manicured appearance to the nails without looking heavy.
- Full-Coverage Creams: Ideal for a bold, clean statement. Classic pastel pinks and solid dusty roses look best when fully opaque.
- Shimmer and Pearl: Subtle micro-shimmer can add depth and a modern twist to a classic pink pedicure, catching the light beautifully.
Achieving Flawless, Even Coverage
Light pink polishes, particularly pastel and milky shades, are notorious for streaking. To achieve a smooth, professional finish, the application technique is key.
First, always begin with a thoroughly prepared nail. Gently buffing the surface of the toenails helps remove any natural oils and smooths out ridges, which can cause polish to pool unevenly. Apply a thin, even layer of base coat and cure it according to instructions. When applying the pink gel polish, remember that multiple thin layers are always superior to one thick layer. A thick layer is likely to wrinkle under the lamp or create a bulky, unnatural appearance.
For sheer pinks, two coats usually suffice for a delicate glow. For opaque pastels, three very thin coats may be necessary to completely eliminate any streaking or patchiness. Allow the polish to self-level for a few seconds before placing your feet under the lamp.
Mastering the Perfect Cuticle Line
The hallmark of a high-quality pedicure is a clean, sharp line near the cuticles. Getting too close can cause the gel to flood the skin, leading to premature lifting, while staying too far away looks like weeks of regrowth from day one.
To achieve those precise, elegant lines, start by gently pushing back the cuticles using a wooden stick or a dedicated pusher. When applying the colour, do not place the brush directly at the cuticle line. Instead, place a drop of polish in the centre of the nail, slightly away from the base, and gently push the bead of polish towards the cuticle with the tip of the brush. This gives you immense control over the flow of the product.
If you struggle with the wide brushes that come with most bottles, keep a fine, detailer nail art brush handy. Dip it into a small amount of the pink gel polish and use it to outline the cuticle area and the side walls before filling in the rest of the nail with the standard brush.
Sealing the Look for Long-Lasting Shine
A beautiful pink pedicure deserves a high-gloss finish that lasts. The top coat plays a vital role in protecting the colour from fading, yellowing, or chipping. Apply a generous but controlled layer of top coat, ensuring you seal the free edge of each toenail. This capping technique prevents lifting from daily wear and tear.
Once cured, if using a wipe top coat, cleanse the tacky layer with a lint-free wipe soaked in a gentle prep solution. Finish the ritual by massaging a nourishing cuticle oil around the toes to hydrate the skin and highlight the glossy, pristine finish of your new pedicure.