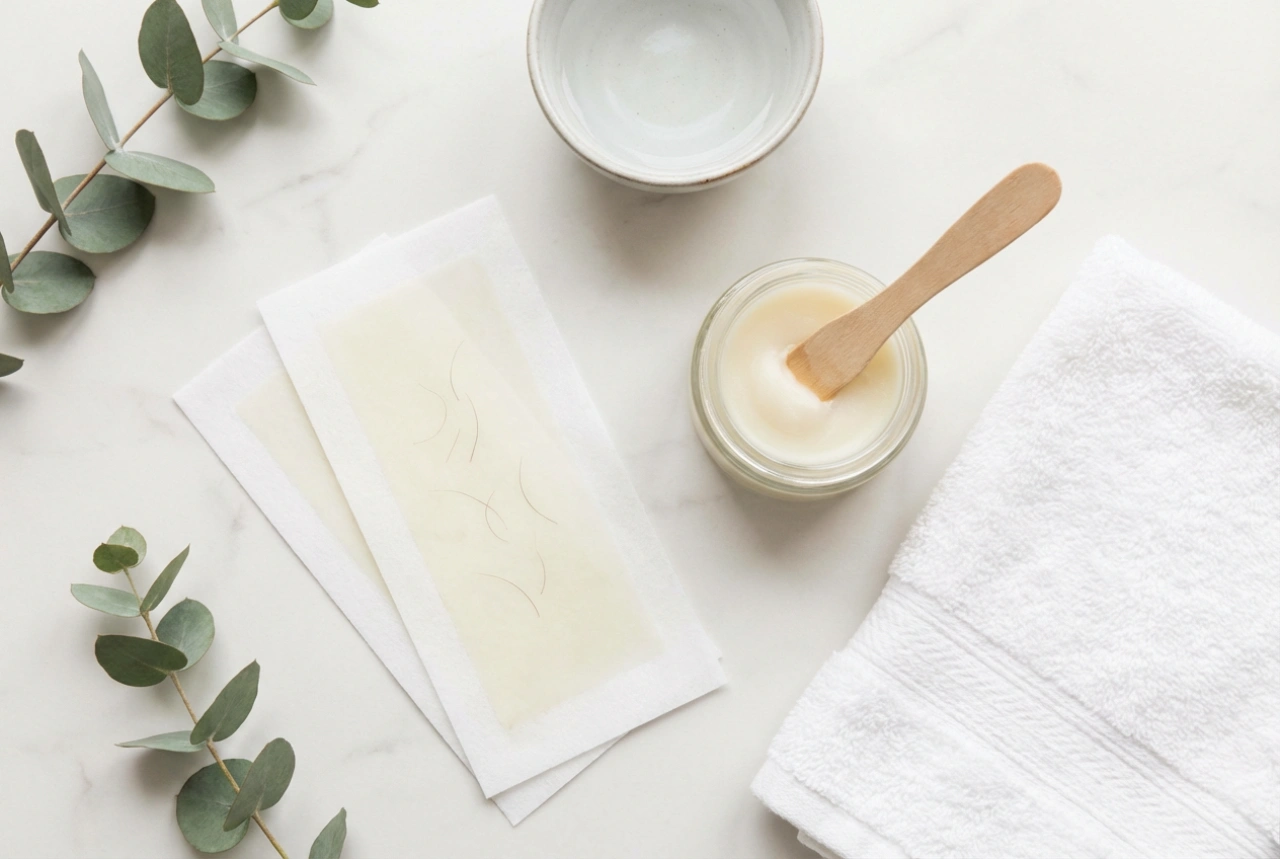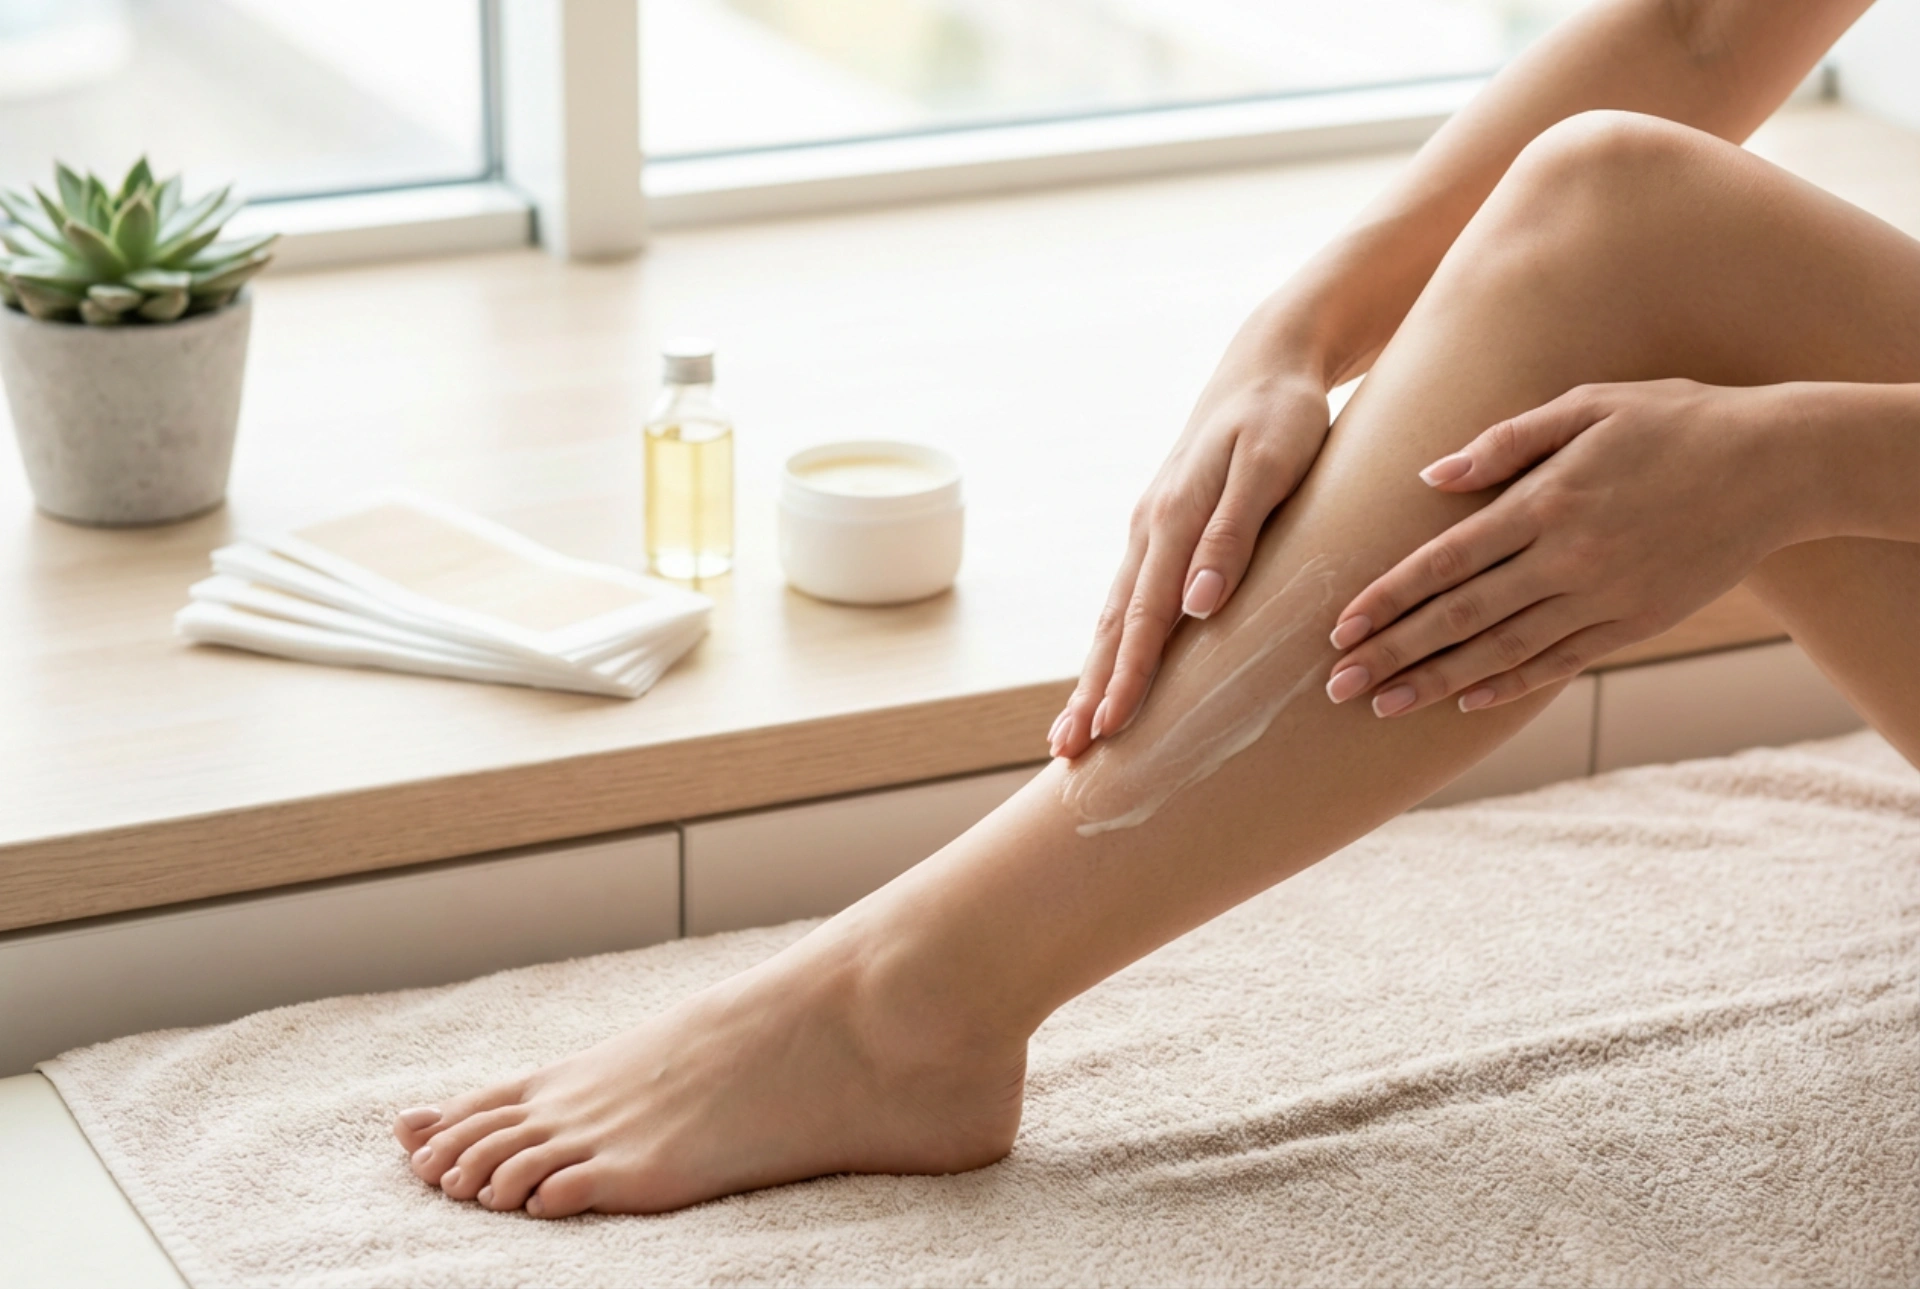


Achieving beautifully smooth legs at home is a timeless self-care ritual. There is a quiet satisfaction in completing a personal grooming routine, epitomised by the gentle application of a soothing lotion to freshly waxed skin. By setting up a calm, organised space with your waxing strips, pre-wax preparation oils, and post-wax lotions, you can transform a simple routine into a relaxing, spa-like experience. However, to achieve professional-grade results and maintain skin health, understanding the mechanics of waxing is essential.
Preparing Your Skin for a Flawless Wax
The foundation of any successful waxing session lies in how you prepare your skin. Skipping preparation can lead to uneven results, broken hairs, or unnecessary skin irritation. A thorough preparation routine ensures that the wax adheres perfectly to the hair shafts rather than the surface of the skin.
Exfoliation: The Essential First Step
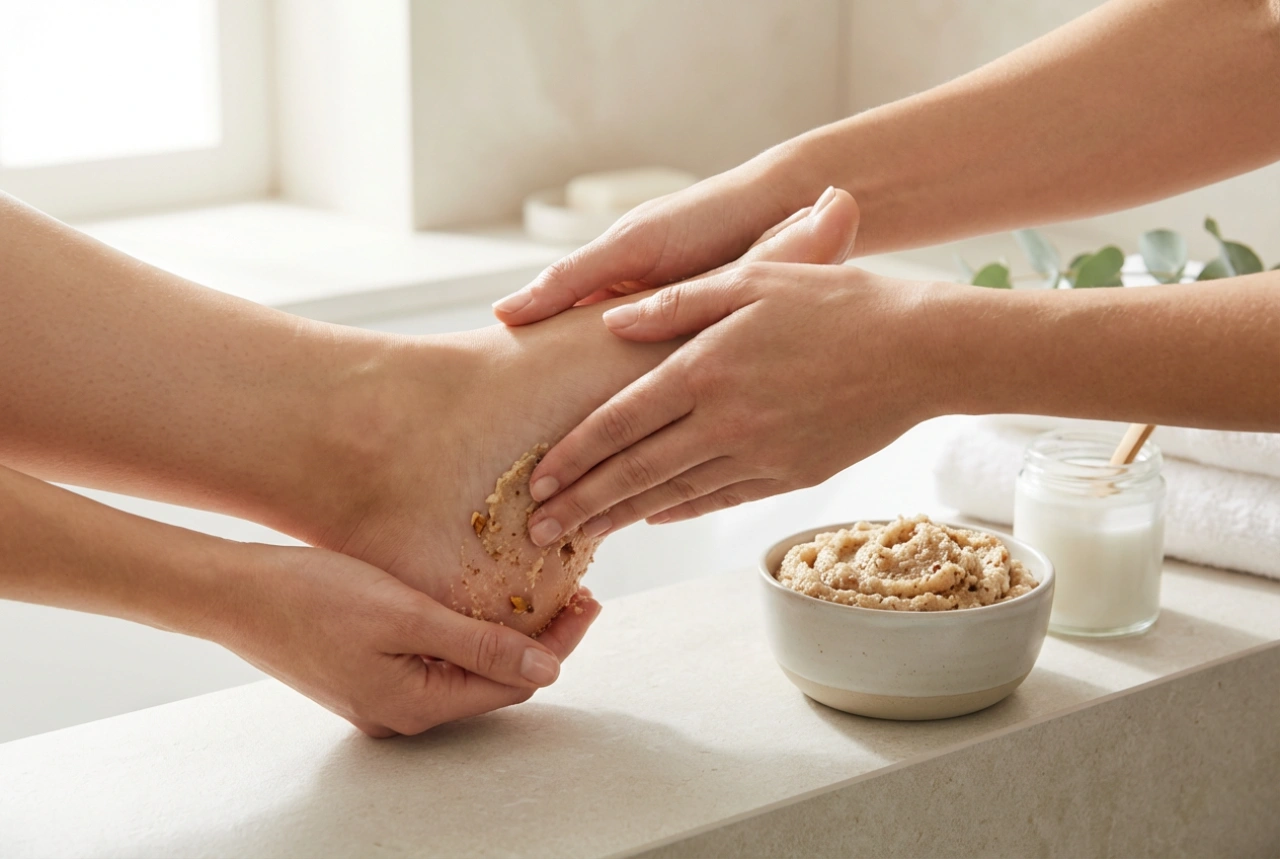
Exfoliating your legs twenty-four to forty-eight hours before waxing is highly beneficial. By using a gentle body scrub or a dry brush, you can remove dead skin cells that may be trapping shorter hairs. This simple step lifts flat-lying hairs, making them easier for the wax to grip. Ensure you do not exfoliate on the actual day of waxing, as this can make the skin overly sensitive to the warm wax.
Cleanse and Dry Thoroughly
On the day of your session, the skin must be entirely free from natural oils, moisturisers, deodorants, or sweat. Wash your legs with a mild soap and pat them completely dry. Any residual moisture or lotion will create a barrier, preventing the wax from sticking properly. To guarantee a dry surface, you can apply a very light dusting of unscented talcum powder or cosmetic powder to the legs. This absorbs excess moisture and helps the wax grip the hair more effectively.
Mastering the Technique: Application and Pulling Direction
The secret to minimising discomfort and avoiding broken hairs lies in your technique. Waxing requires a precise method of application and removal that respects the natural growth patterns of your body hair.
Applying the Wax Correctly
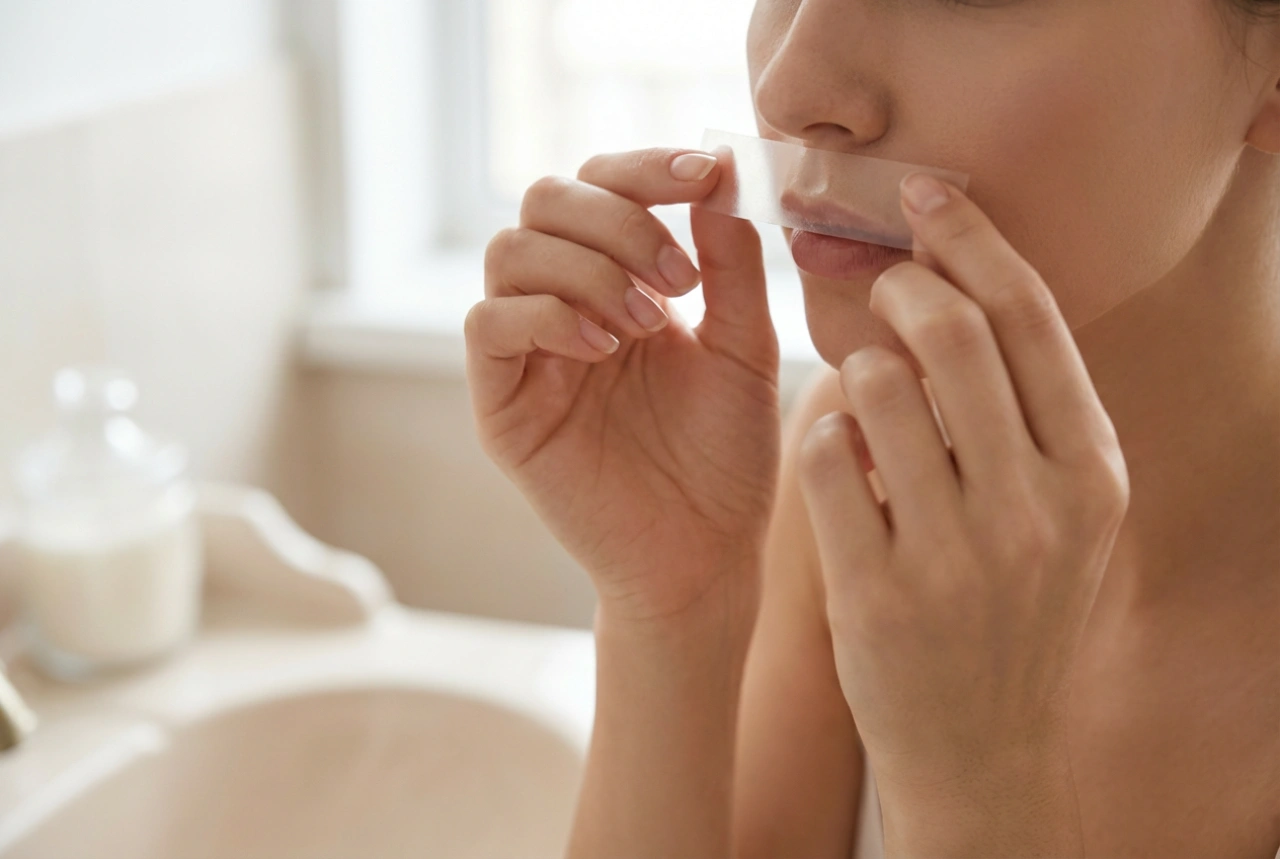
Whether you are using pre-waxed strips or warm cosmetic wax, always apply the product in the direction of hair growth. For most people, hair on the lower legs grows downwards towards the ankles. Use a spatula or the strip to smooth the wax down firmly, ensuring that every hair is fully encased in the product. Take your time during this step to ensure even coverage across the skin surface.
The Pulling Technique: Quick and Close
When it comes to removing the wax, speed and angle are crucial. To minimise discomfort and ensure clean hair removal, follow these steps:
- Hold the skin taut: Use one hand to pull the skin tight just below the area you are about to wax. This stabilises the skin, reduces the pulling sensation, and prevents bruising.
- Pull against the growth: Grip the edge of the strip or the hardened wax and pull it back in the opposite direction of hair growth (usually upwards from ankle to knee).
- Keep it close: Always pull the strip back parallel to the skin, rather than lifting it upwards. Pulling upwards can cause bruising and may snap the hairs at the surface instead of pulling them out from the root.
- Soothe immediately: Press your hand firmly onto the newly waxed area immediately after pulling. The gentle pressure helps to calm the nerve endings instantly.
Soothing the Skin: Essential Post-Wax Care
After completing your waxing session, your skin deserves dedicated attention to calm any temporary redness and restore its natural moisture barrier. The immediate hours following hair removal are when your pores are most vulnerable, making gentle care absolutely paramount.
Remove Residual Wax
Water alone will not remove oil-soluble wax residues. Instead, use a gentle post-wax oil or a simple natural oil, such as sweet almond or jojoba oil, applied on a clean cotton pad. This easily dissolves any remaining sticky patches while beginning the hydration process.
Hydrate and Soothe
Once the residue is cleared, apply a generous amount of a soothing, lightweight lotion. Formulations containing calming ingredients like aloe vera, chamomile, or panthenol are perfect for comforting the skin. Avoid heavy, heavily perfumed creams or products containing alcohol, as these can irritate freshly exposed pores.
What to Avoid After Waxing
To keep your skin looking smooth and radiant, observe a few simple precautions for twenty-four to forty-eight hours post-treatment:
- Avoid hot baths, steam rooms, and saunas, as heat can inflame sensitive skin.
- Postpone intense exercise or activities that cause excessive sweating.
- Steer clear of direct sun exposure or tanning beds to prevent hyperpigmentation.
- Wear loose-fitting, breathable clothing made from natural fibres like cotton to prevent friction and allow the skin to breathe.