

Creating a spa-like atmosphere at home can transform a simple beauty routine into a relaxing self-care ritual. A pink gel pedicure is a timeless choice, offering a clean, fresh, and elegant aesthetic that complements any look. Whether you prefer a soft pastel, a vibrant neon, or a delicate sheer pink, achieving professional-looking results at home is entirely possible with the right approach. By dedicating time to proper preparation and following precise application steps, you can enjoy a durable, glossy finish that lasts for weeks. Here is a comprehensive guide on how to perform a flawless pink gel pedicure in the comfort of your own home.
Essential Steps for Nail and Foot Preparation
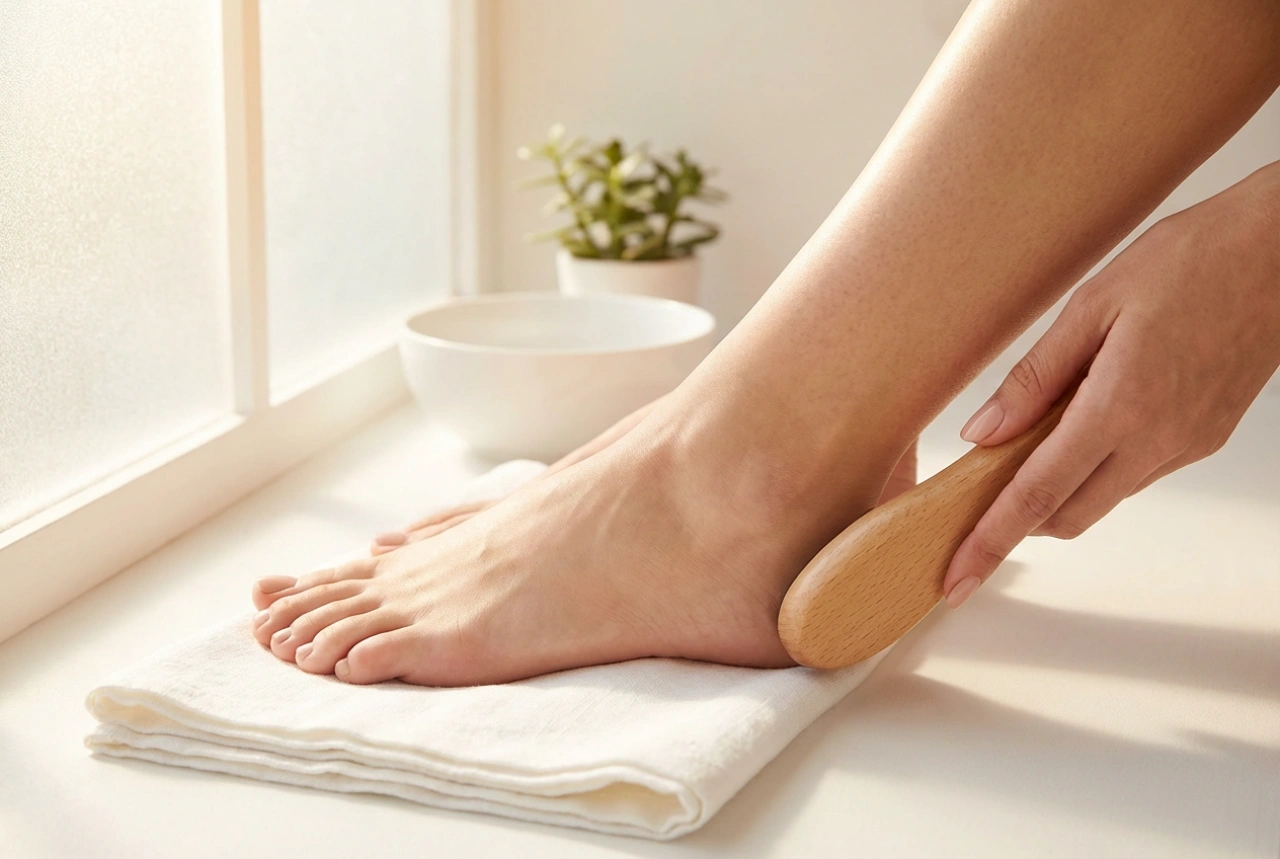
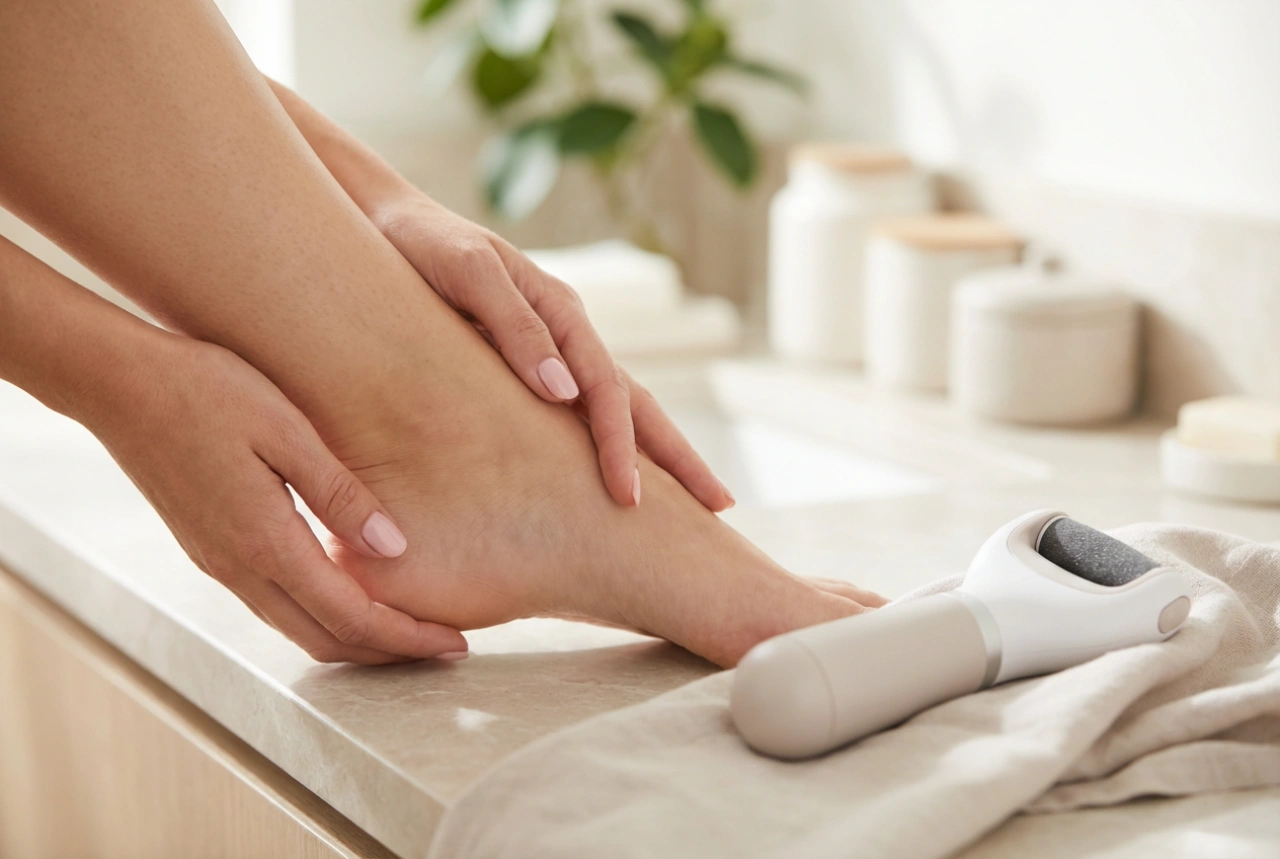
The key to a long-lasting gel pedicure lies in the preparation phase. Before reaching for any colour, it is essential to prepare both the skin of your feet and the nail plates. Begin by soaking your feet in a bowl of warm water infused with relaxing bath salts or a gentle foot soak. This softens the skin and cuticles, making them easier to work with. After drying your feet thoroughly with a soft towel, use a foot file to gently remove any dry skin from the heels and soles.
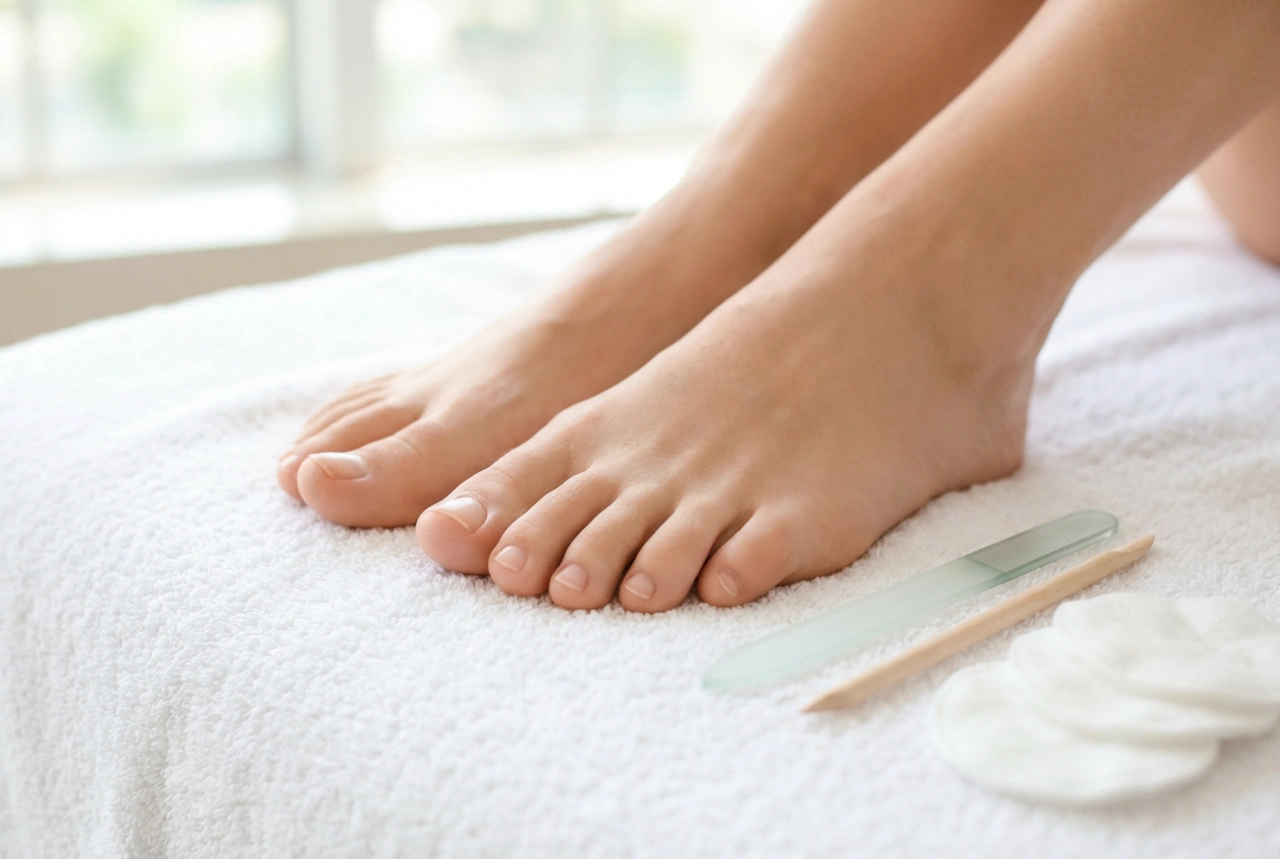
Next, focus on the nails. Trim your toenails straight across to prevent ingrown edges, and use a glass or paper nail file to shape them. Avoid metal files, as they can cause the nail layers to split. Gently push back the cuticles using a wooden manicure stick. If necessary, use cuticle nippers with caution, removing only the excess dead skin. Finally, use a fine-grit buffing block to gently remove the natural shine from the nail plate. This creates a slightly textured surface, which is crucial for the gel layers to adhere properly.
Degreasing and Applying the Base Coat
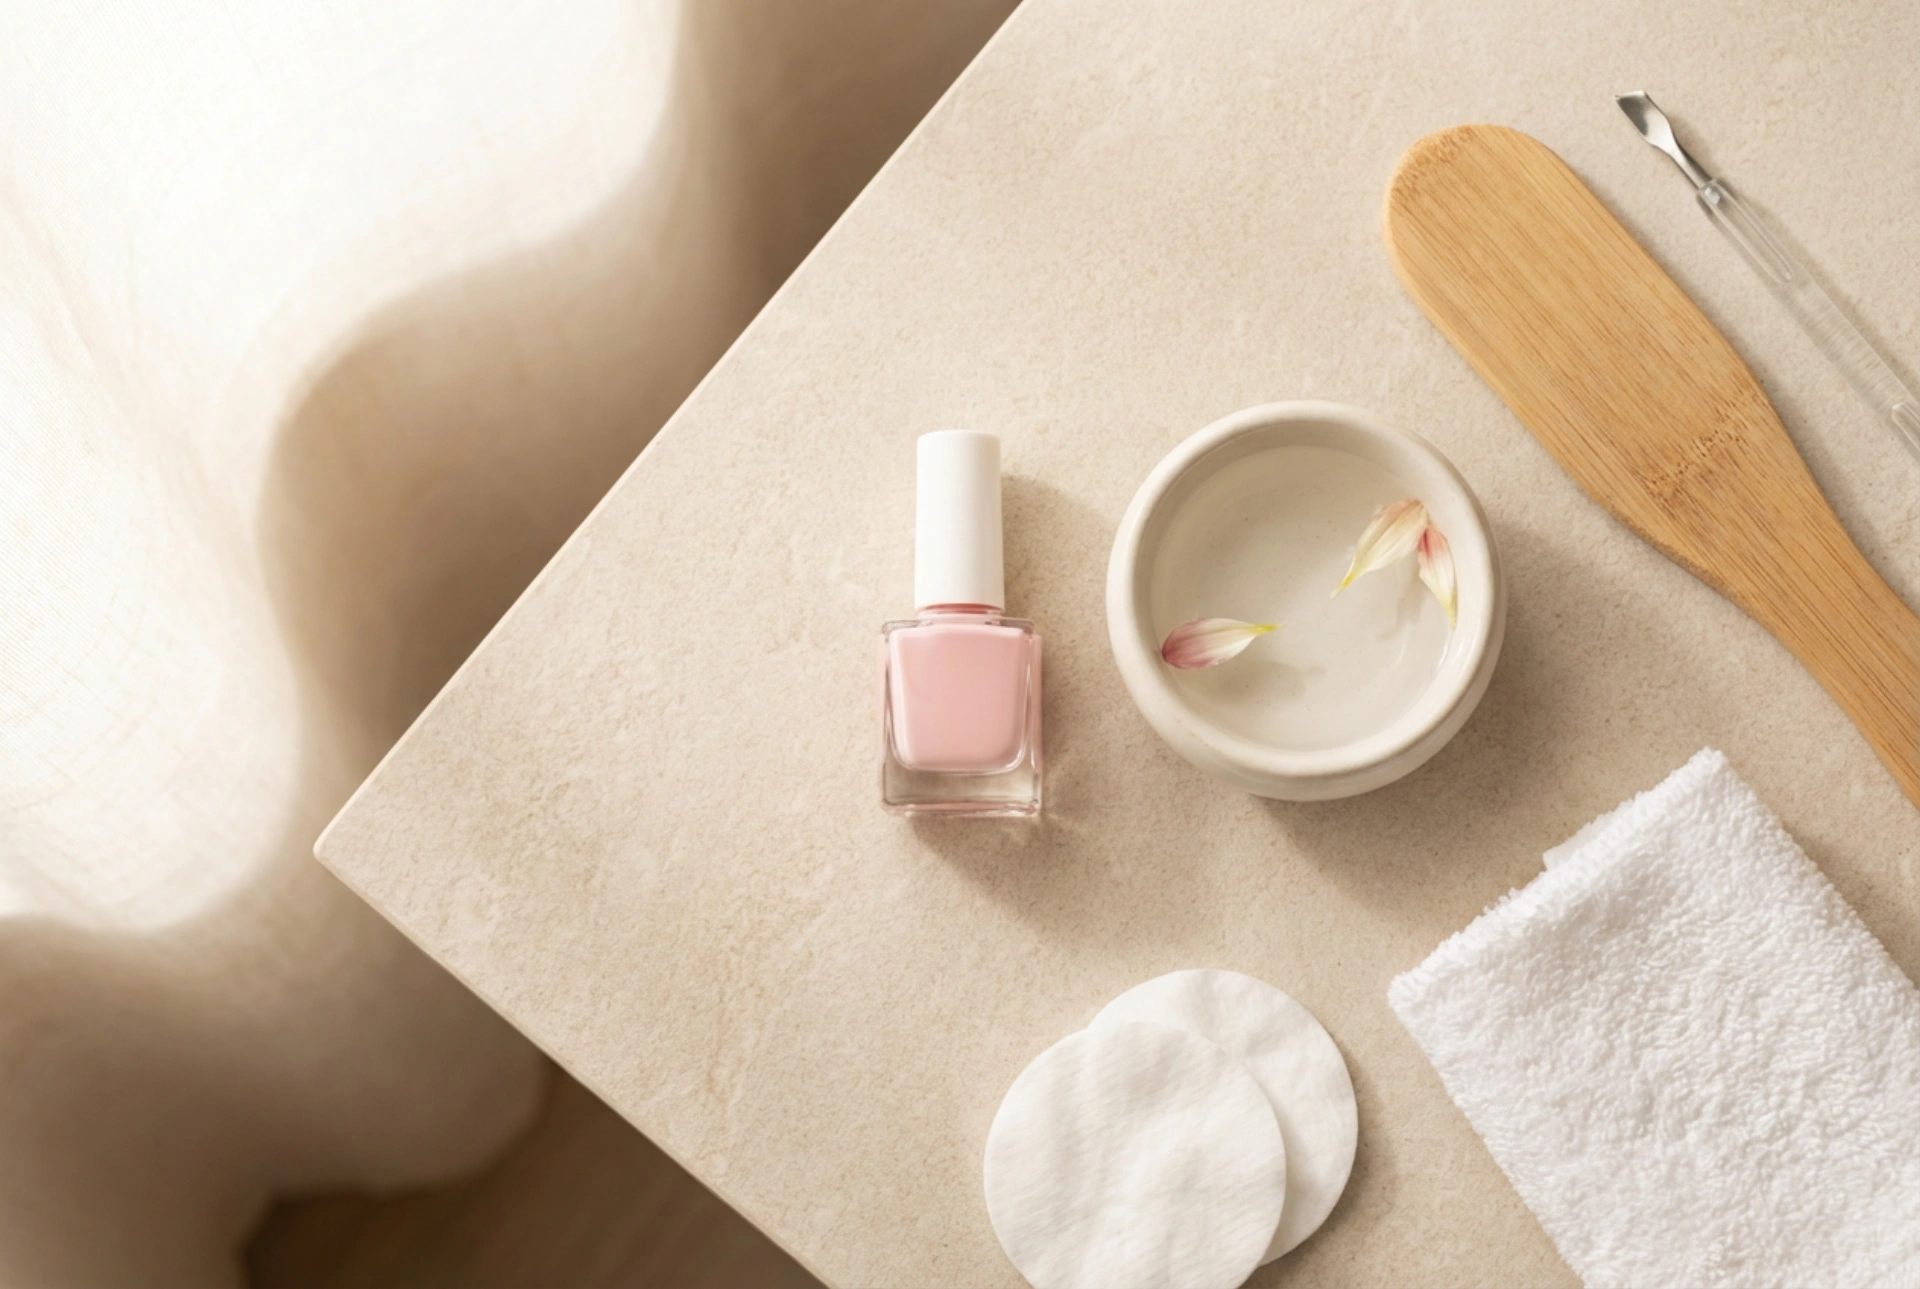
Once the nails are shaped and buffed, any remaining dust and natural oils must be completely removed. This step ensures that the gel products bond effectively to the nail plate, preventing premature lifting or peeling. Wipe each toenail thoroughly with a lint-free wipe soaked in a professional nail cleanser or isopropyl alcohol.
Once the nails are completely dry and matte, it is time to apply the base coat. The base coat acts as a protective barrier for your natural nails and provides a smooth foundation for the pink colour. Apply a very thin layer of base coat, taking care not to touch the surrounding cuticles or skin. If any gel gets onto the skin, remove it immediately with a wooden stick before curing. Cure the base coat under your LED or UV lamp according to the manufacturer’s instructions, usually for 30 to 60 seconds.
Applying the Pink Gel Polish
Now you are ready to apply your chosen shade of pink. Whether you have selected a subtle blush, a bright fuchsia, or a classic baby pink, the application technique remains the same. Keeping your application uniform is key to a smooth and professional finish.
- Apply thin layers: It is always better to apply two or three thin layers of colour rather than one thick layer. Thick layers may not cure properly in the lamp, leading to wrinkling or peeling.
- Cap the free edge: With each coat of polish, gently run the brush along the very edge of the toenail. This seals the colour and prevents chipping from the tips.
- Cure between coats: After applying the first thin layer of pink gel, cure it under the lamp. Repeat the process with a second layer to achieve full opacity and depth of colour, curing once again.
Remember to keep your toes flat and steady while curing to ensure the gel dries evenly under the light source.
Sealing and Protecting with the Top Coat
To lock in the beautiful pink colour and give your pedicure a high-gloss, scratch-resistant finish, you must apply a top coat. This final layer is essential for durability, protecting your pedicure from daily wear and tear. Apply an even layer of top coat over the entire nail, ensuring you cap the free edge once more. Cure this layer thoroughly under the lamp, typically for 60 seconds.
Depending on the type of top coat you use, there may be a sticky residue left on the surface after curing. If you are using a traditional top coat, wipe this inhibition layer away with a lint-free wipe saturated with nail cleanser. If you are using a 'no-wipe' top coat, this step is not necessary, and your nails will be instantly dry, shiny, and ready.
Aftercare and Moisturisation
A successful home pedicure does not end when the lamp goes off. To maintain the fresh aesthetic and keep the skin of your feet looking healthy, post-pedicure care is vital. Apply a drop of nourishing cuticle oil to the base of each toenail and gently massage it into the skin. This restores hydration lost during the degreasing and curing processes. Finish by applying a rich, moisturising foot cream to your feet, massaging it in thoroughly. Incorporating these simple hydration steps into your daily routine will prolong the beauty of your pedicure and keep your feet feeling incredibly soft and pampered.