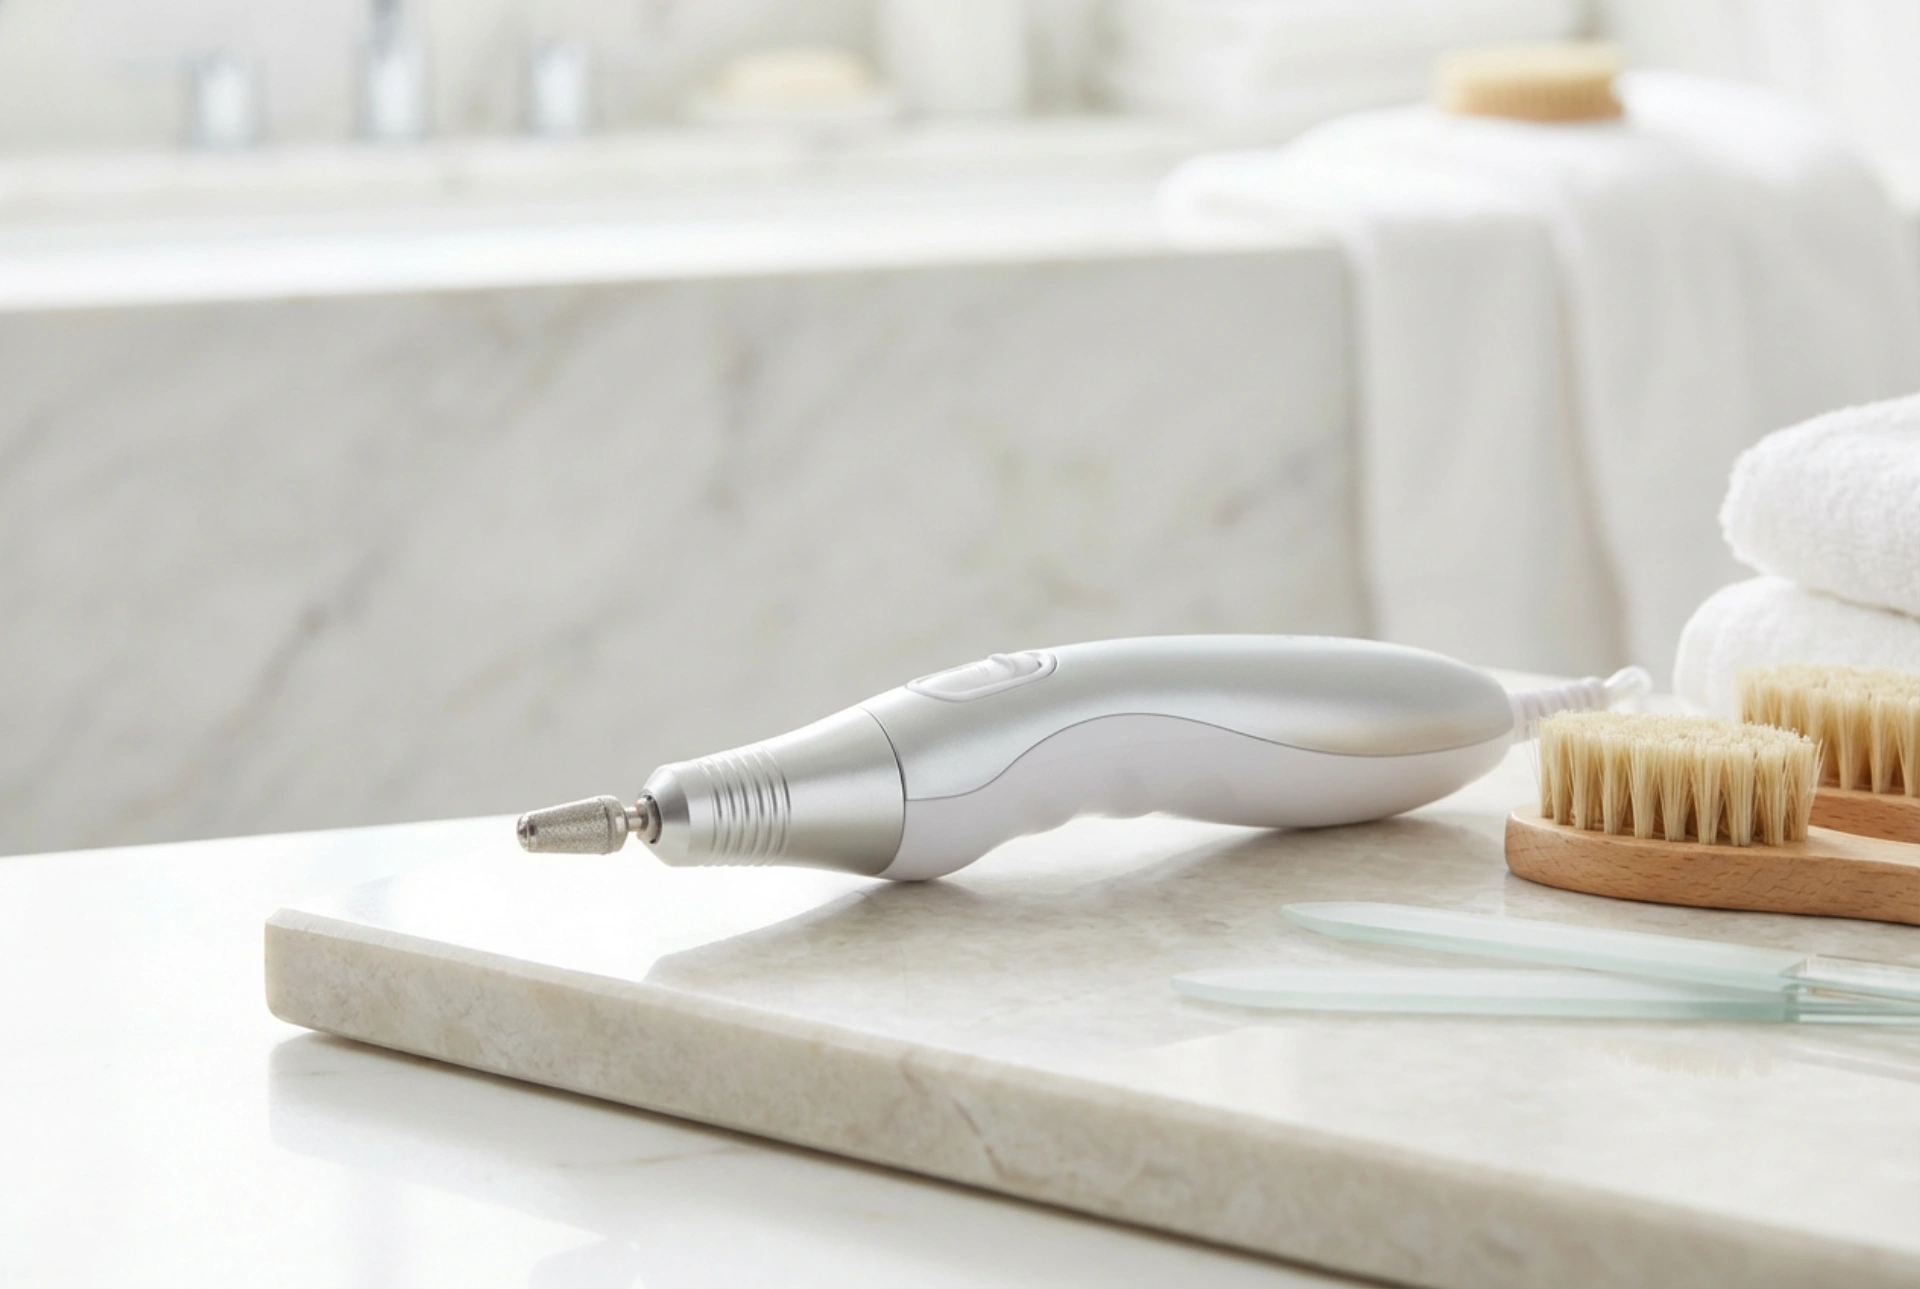


A sleek, modern electric pedicure machine represents the ultimate precision in modern foot care. Just like the pristine, ergonomic tools showcased on a clean, light-coloured surface under soft natural light, having the right equipment requires a solid understanding of how it functions. Achieving smooth, beautiful skin and well-groomed nails is not just about the cosmetic products you apply; it is deeply rooted in mastering the device itself. Knowing how to handle the handpiece, adjust the speed settings, and maintain the hygiene of your tools is essential for a safe, satisfying, and professional-feeling beauty routine at home.
Understanding the Fundamentals of an Electric Pedicure Drill
Before switching on your pedicure machine, it is vital to familiarise yourself with its anatomy and ergonomics. Most modern devices consist of a main power unit and a lightweight, pen-style handpiece. The design is deliberately ergonomic, allowing you to maintain a secure yet comfortable grip during delicate procedures. Proper handling not only prevents hand fatigue but also ensures the safety and precision of every movement.
To begin, always hold the handpiece as you would a pen or a stylus. Your fingers should rest comfortably near the collar of the device, but never directly over the rotating collet where the drill bit is secured. This grip provides maximum control, allowing you to guide the device smoothly across the skin and nails without applying unnecessary pressure. Remember, the machine is designed to do the work for you; a light, steady touch is always preferable to heavy-handed friction.
Mastering Speed Settings for Safe Application
One of the most common mistakes when using an electric pedicure drill is selecting the wrong rotation speed. Speed is measured in rotations per minute (RPM), and adjusting this correctly is key to avoiding discomfort, friction heat, and skin damage. A versatile device typically offers a range from 5,000 to over 25,000 RPM, which should be utilised strategically depending on the specific task at hand.
- Low Speeds (5,000 – 10,000 RPM): This range is ideal for delicate areas, such as working near the cuticles or smoothing the natural nail plate. Low speeds minimise the risk of over-filing and allow for meticulous precision.
- Medium Speeds (10,000 – 15,000 RPM): Perfect for refining the edges of the nails and gently smoothing minor dry skin patches around the toes. It offers a balanced performance without generating excessive heat.
- High Speeds (15,000 – 20,000 RPM): Reserved for managing tougher, dry skin on the heels and soles. When working at higher speeds, it is crucial to keep the handpiece moving constantly. Resting the rotating bit in one spot for even a second can cause a burning sensation due to friction.
Always start your pedicure session at a lower speed and gradually increase it as you gain confidence and move to thicker areas of skin. Never exceed the maximum recommended speed for the specific attachment you are using, as this can destabilise the handpiece and lead to vibrations that compromise your control.
Selecting and Using the Right Attachments
The versatility of a pedicure machine lies in its interchangeable bits. Using the correct attachment for each step of your routine ensures a smooth, polished finish while protecting the skin from unnecessary irritation. Standard kits generally include several types of bits, each designed for a specific purpose.
For smoothing larger surfaces of dry skin, disposable sanding bands or cap systems are highly effective. These coarse cylinders fit over a rubber mandrel and can be discarded after a single use, maintaining a high standard of hygiene. For detailed work around the nail folds and cuticles, small sapphire or diamond-dusted bits are preferred. Their fine abrasive qualities allow for gentle exfoliation without damaging the delicate surrounding skin. Finally, felt or silicone polishers can be used at the very end of the routine to buff the nails to a natural, healthy shine, giving your feet a pristine, cared-for appearance.
Essential Device Maintenance and Hygiene
To ensure your electric pedicure machine performs optimally for years, establishing a strict cleaning and maintenance routine is non-negotiable. Fine skin dust and nail debris can easily accumulate inside the handpiece, potentially clogging the motor and causing the device to overheat or lose power.
After every single use, turn off the device and unplug it from the power source. Use a small, soft brush to gently sweep away any visible dust from the handpiece, ventilation slots, and the collet where the bits are inserted. Wipe down the external surfaces of the machine with a damp, lint-free cloth. Avoid using harsh chemical solvents directly on the plastic casing, as this can degrade the ergonomic grip and finish over time.
Equally important is the care of your reusable metal and diamond bits. After each session, wash them in warm, soapy water to remove any organic residue. Once dry, they should be disinfected using a suitable beauty tool sanitiser. Always allow all parts to dry completely before storing them in a clean, dry, dust-free container. By investing a few minutes in maintenance after each session, you preserve the precision, safety, and longevity of your beauty tools.