

Achieving silky smooth skin in the comfort of your own home does not have to be a complicated process. With a wide selection of minimalist, ready-to-use wax strips available in various sizes, home hair removal has become highly accessible, precise, and efficient. Understanding how to match these strips to your specific body contours and mastering the correct application technique is the key to minimising discomfort and enjoying long-lasting, beautiful results.
Understanding Cold Wax Strips
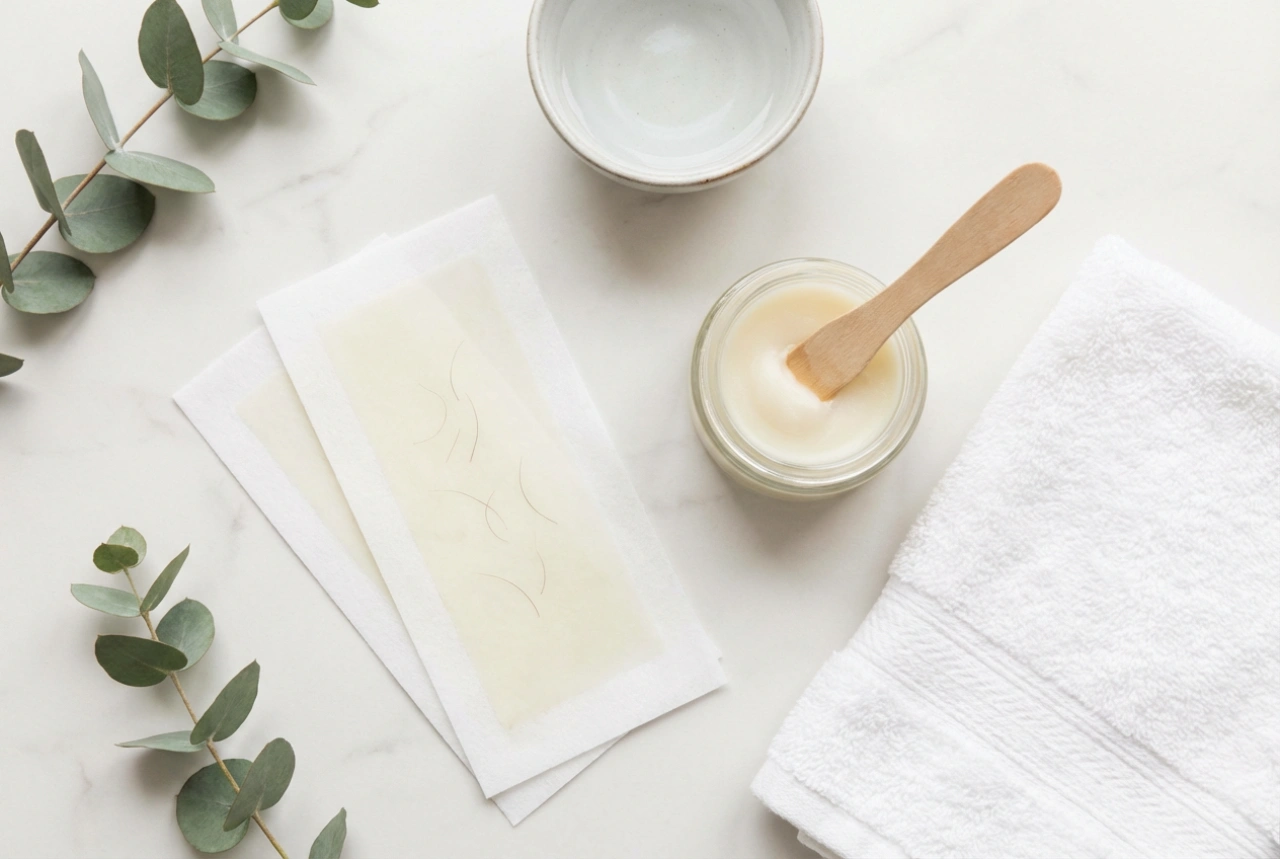
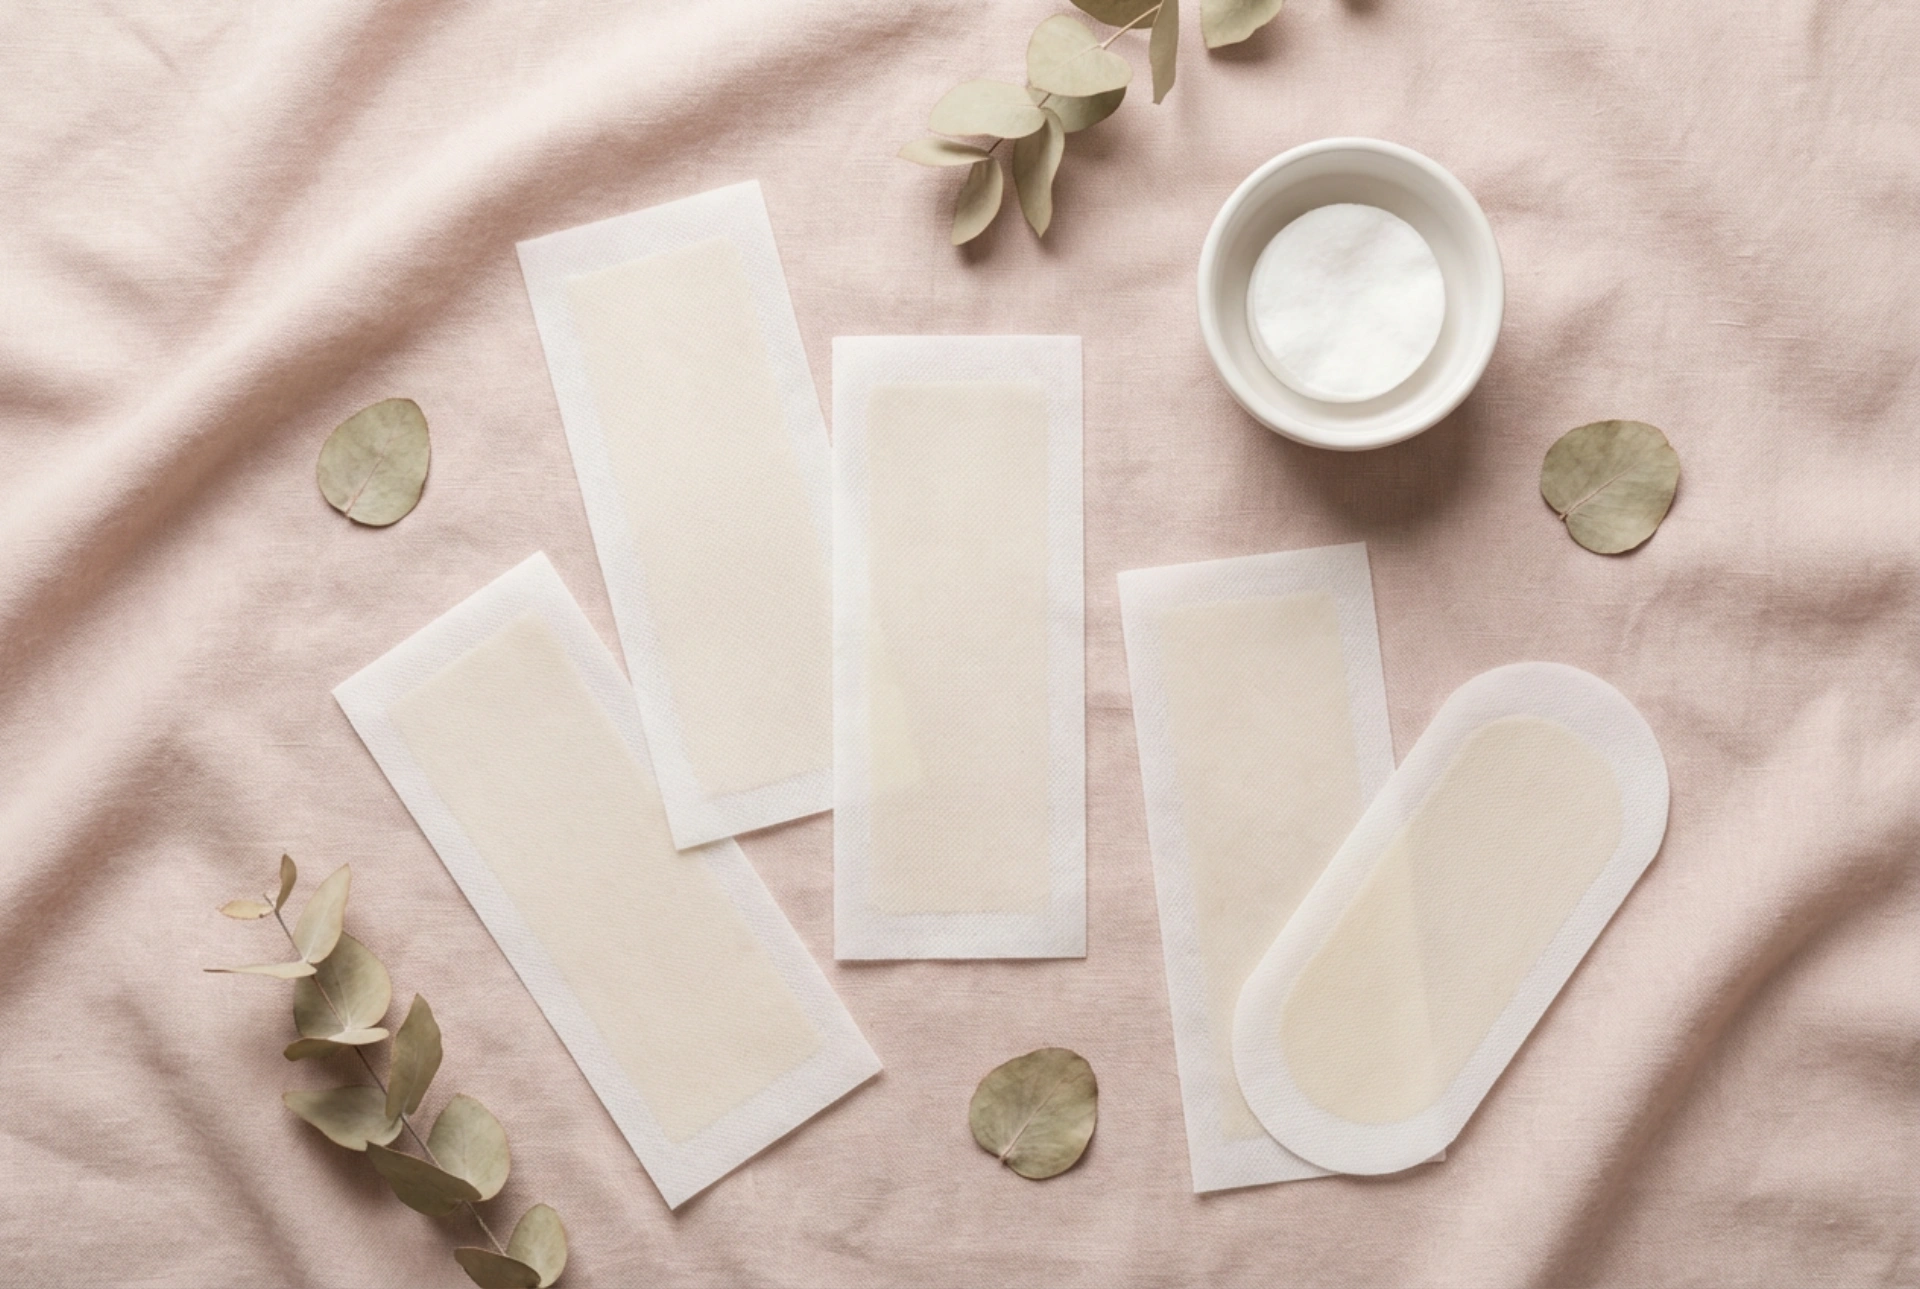
Ready-to-use cold wax strips are a popular home hair removal option because they require no heating equipment, messy pots, or complex preparation. They consist of pre-applied cosmetic wax on flexible backings, designed to adhere to the hair shaft and pull it directly from the root. This method provides smooth skin for several weeks, as the hair takes much longer to grow back compared to shaving. To get the best results from this method, choosing the right size and formula for your specific skin type and target area is essential.
Matching Wax Strips to Specific Body Parts
Different areas of the body have unique contours, skin sensitivity levels, and hair textures. Using the correct size of wax strip ensures efficiency and prevents unnecessary skin irritation.
Facial Waxing
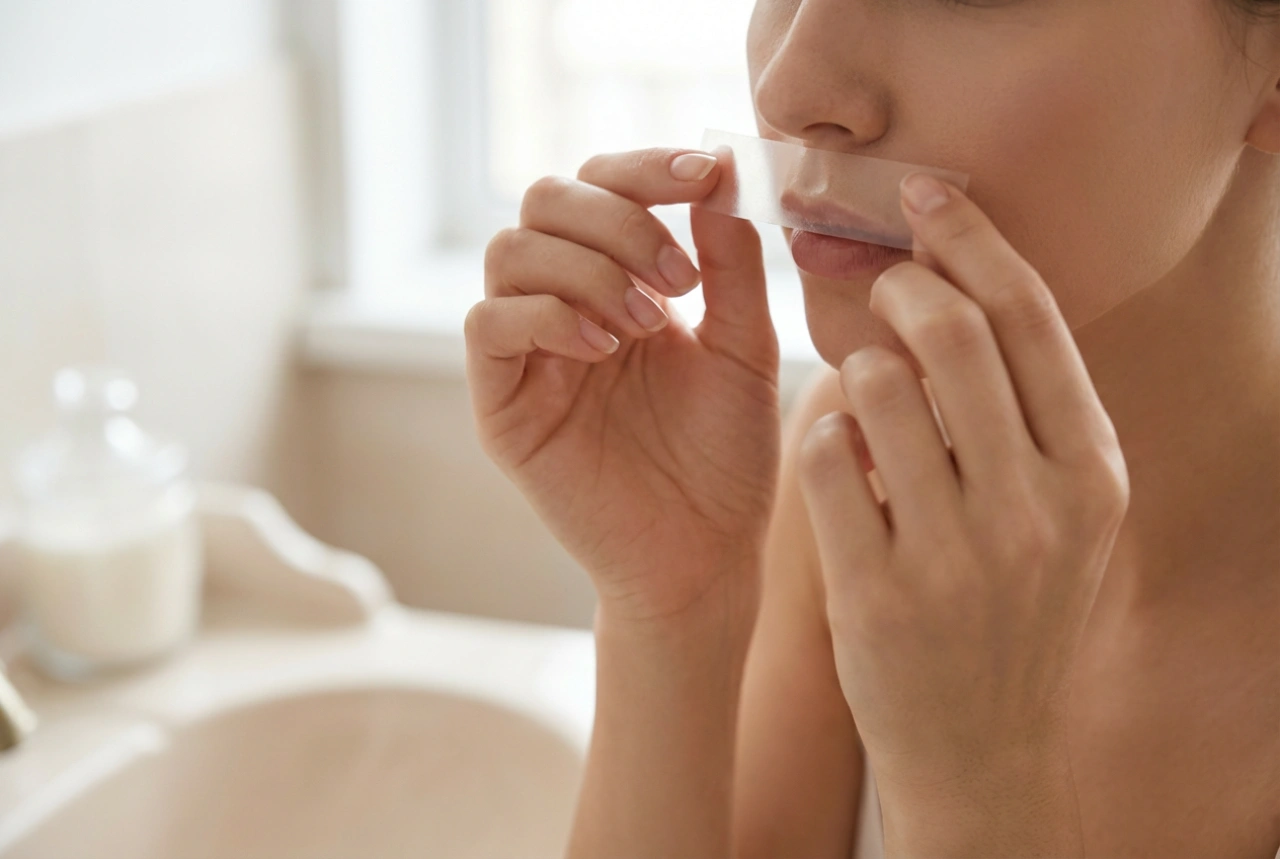
The delicate skin on the upper lip, chin, and between the brows requires maximum precision and gentle care. For these sensitive facial areas, always select small, narrow strips specifically designed for the face. Using a strip that is too large can lead to unnecessary pulling on the surrounding skin, causing redness. These mini strips allow for highly precise application, ensuring only the target hairs are gripped and removed.
Leg and Arm Waxing
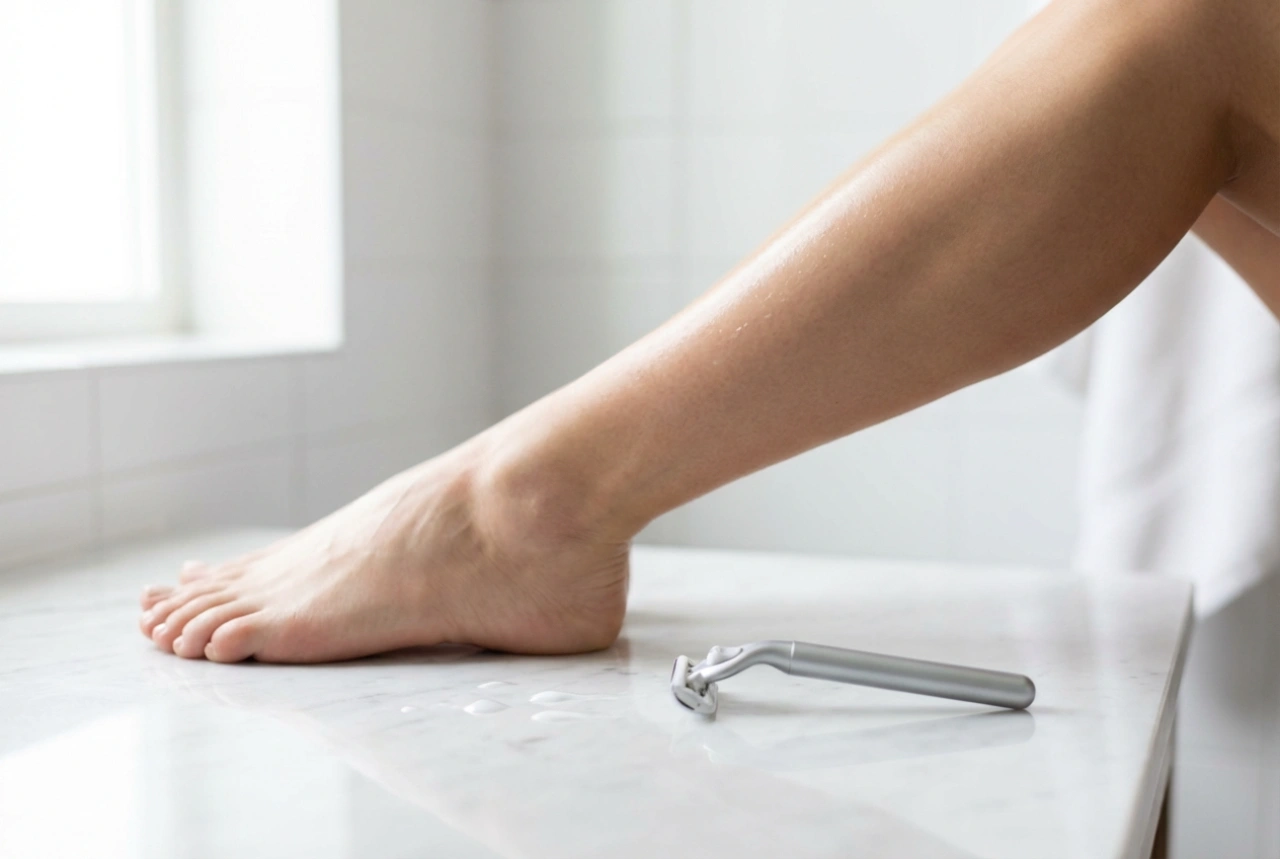
Large body areas need larger, wider wax strips to make the hair removal process quick and uniform. Standard large strips cover a significant surface area, allowing you to remove hair from the shins, thighs, or forearms in just a few quick motions. Trying to use small strips on large areas is time-consuming and often leads to uneven results and wasted product.
Underarms and Bikini Line
These areas feature curved contours and hair that often grows in multiple directions. Medium-sized strips, or larger ones cut carefully to size, work best here. It is important to work in smaller, manageable sections to ensure the strip adheres perfectly to the curved skin. This provides a cleaner pull and reduces skin tension in these sensitive zones.
Step-by-Step Guide to Safe Home Waxing
To achieve the best results and avoid skin irritation, follow this simple step-by-step routine:
- Cleanse and Dry: Ensure the skin is completely clean, dry, and free of oils, makeup, or moisturisers. Applying a tiny amount of talc-free powder can help the wax grip only the hair and not the skin.
- Warm the Strip: Rub the double strip gently between your palms for a few seconds to warm the wax slightly, making it soft and pliable.
- Separate and Apply: Slowly peel the strips apart. Apply one strip to the skin in the direction of hair growth, smoothing it down firmly a few times to ensure maximum adhesion.
- Pull with Confidence: Hold the skin taut with one hand. With the other hand, grip the bottom of the strip and pull it back quickly in a single, swift motion parallel to the skin, against the direction of hair growth. Never pull upwards, as this can cause bruising.
- Post-wax Cleanse: Use a gentle body oil or the post-wax wipes provided in the pack to remove any sticky wax residue. Water alone will not dissolve cosmetic wax.
Crucial Aftercare Tips for Smooth Skin
Immediately after waxing, the skin may appear slightly pink. This is a natural reaction that typically subsides within a few hours. To soothe the area, apply a fragrance-free moisturising lotion or pure aloe vera gel. Avoid hot baths, swimming pools, saunas, and direct sun exposure for at least 24 hours post-waxing to allow the pores to close and prevent irritation. Gentle exfoliation can be resumed after 48 hours to help prevent the occurrence of ingrown hairs.