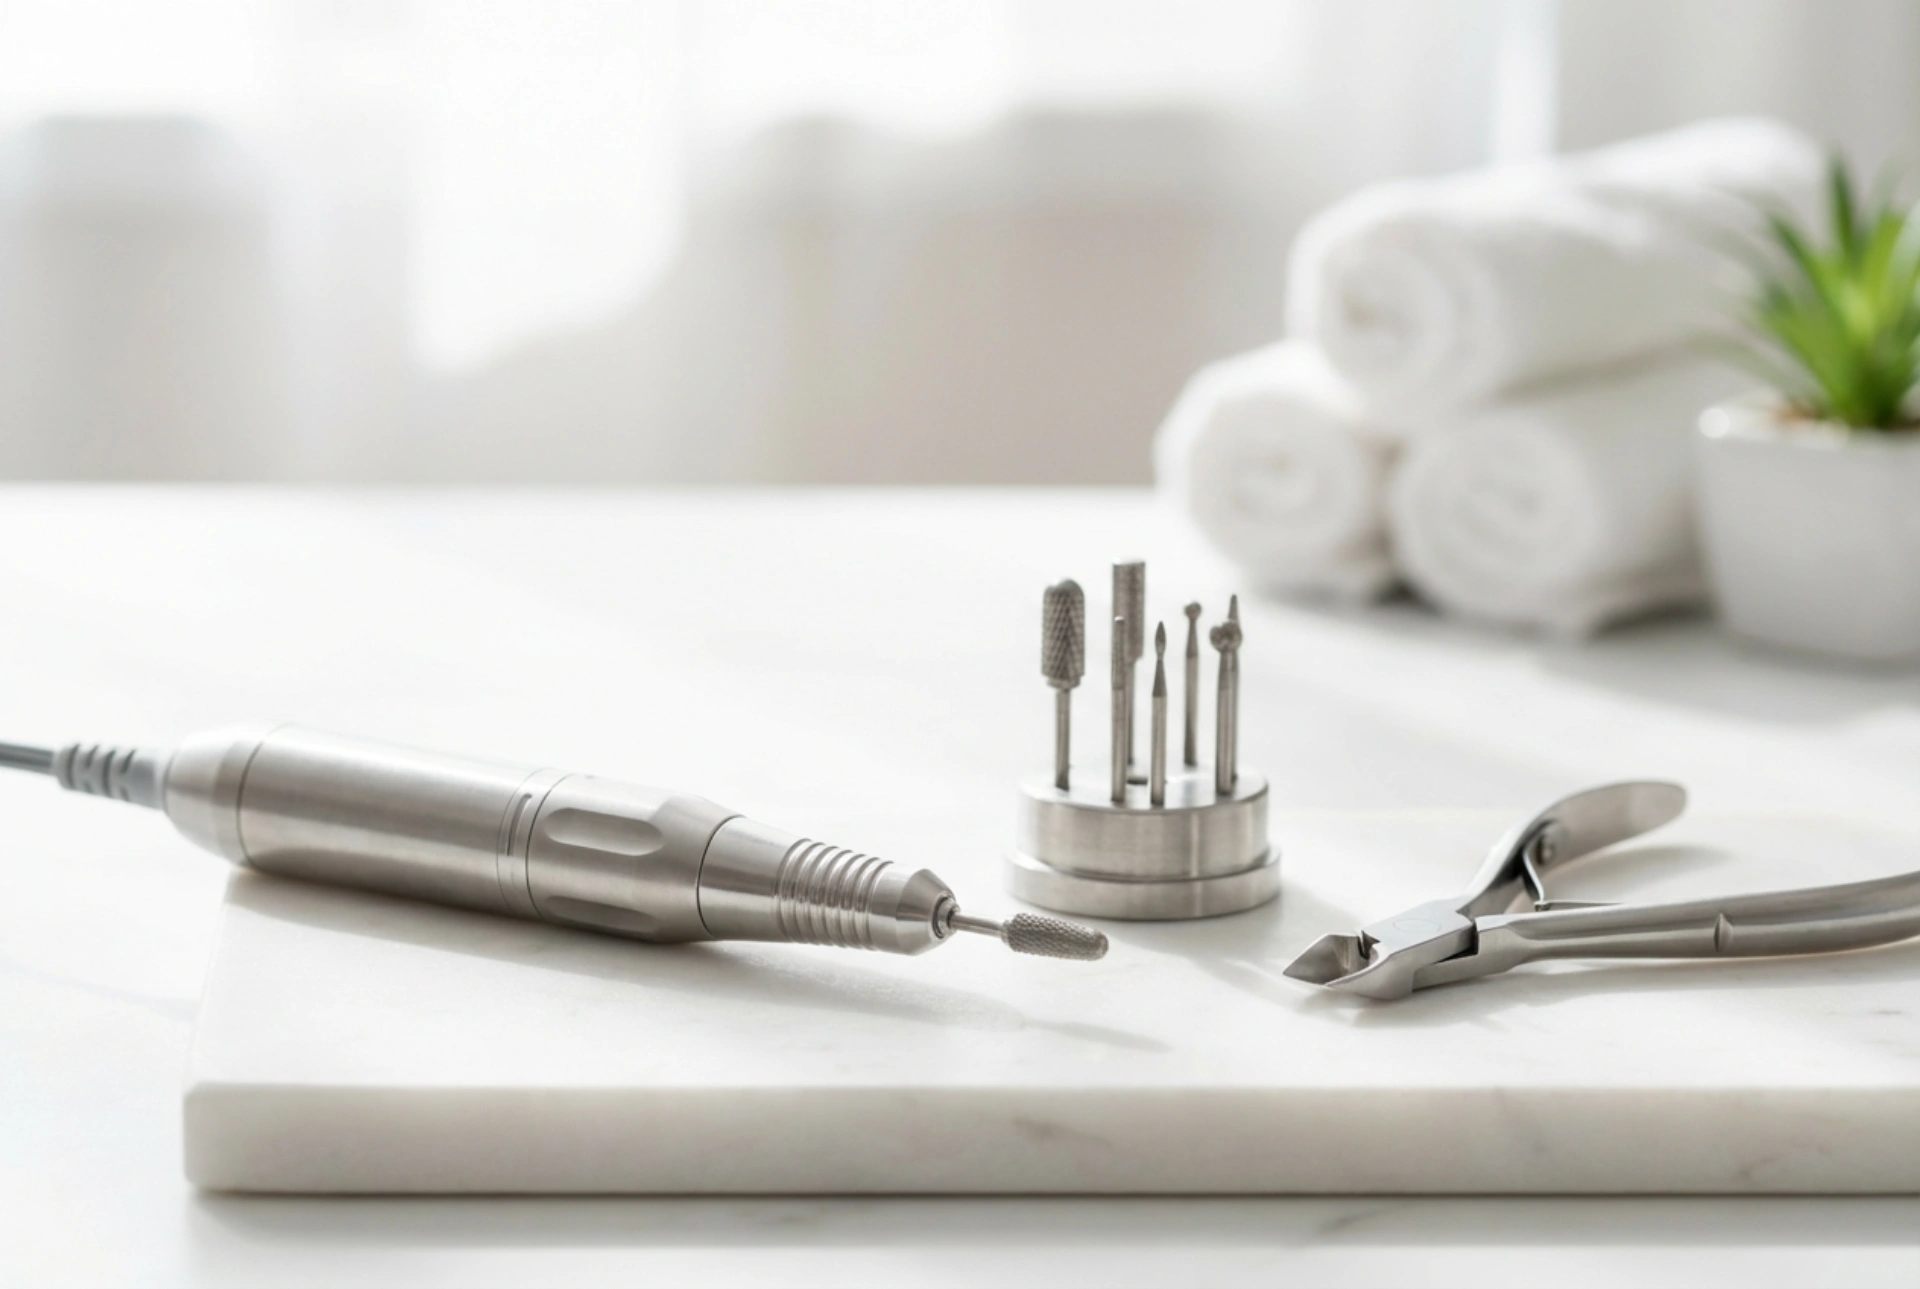


Achieving perfectly groomed feet and beautifully shaped toenails requires more than just standard manual files; it calls for precision, efficiency, and the right technical approach. A pedicure drill machine is a versatile, high-performance tool that has revolutionised both professional salons and advanced home-care routines. When arranged neatly alongside an array of sleek, interchangeable drill bits, it represents the pinnacle of modern cosmetic care. However, to truly benefit from this device, one must understand how to operate it safely and effectively. This guide explores the essential aspects of mechanical pedicure, focusing on working ergonomics, speed adjustment, and the precise selection of drill bits for a gentle, aesthetic finish.
The Importance of Ergonomics in Foot Care
Operating a pedicure drill requires a steady hand and a comfortable posture. Ergonomics is not just about comfort; it directly influences the safety and precision of the entire procedure. A poorly balanced handpiece or an awkward seating position can lead to wrist fatigue, which compromises control and increases the risk of accidental slipping.
When choosing or using a pedicure machine, pay close attention to the handpiece. It should be lightweight, slim, and ergonomically shaped to fit comfortably in your hand, resembling a thick pen. A high-quality handpiece should also feature minimal vibration. High levels of vibration not only cause hand numbness over time but also make it difficult to perform detailed work around the delicate cuticle area. Furthermore, the cable connecting the handpiece to the main control unit should be flexible and sufficiently long to allow unrestricted movement.
Your working environment plays an equally vital role. Ensure you have adequate lighting directed at the feet to avoid shadows. Position yourself so that your back is supported and your wrists can rest gently on a stable surface or cushion while working. This stability allows for micro-adjustments and steady pressure, ensuring a smooth and pleasant experience.
Understanding Rotational Speeds (RPM)
One of the most common mistakes when using a mechanical nail drill is applying the wrong speed for the task at hand. Pedicure machines typically offer adjustable speeds ranging from 0 to 30,000 revolutions per minute (RPM). Knowing how to control and adjust these speeds is crucial to prevent overheating the nail plate or damaging the surrounding skin.
- Low Speeds (5,000 to 10,000 RPM): This range is ideal for delicate work around the cuticles and lateral nail folds. Lower speeds allow for maximum precision and minimise the risk of friction-induced heat on the natural nail plate.
- Medium Speeds (10,000 to 15,000 RPM): Best suited for shortening and shaping natural toenails, refining the surface of the nail, or gently smoothing out minor rough patches of dry skin around the toes.
- High Speeds (15,000 to 20,000+ RPM): Typically reserved for smoothing the soles and heels using larger sanding caps or specialized cutters. The larger surface area of these attachments requires a higher rotational speed to glide smoothly over the skin without stalling, but it must be paired with a very light touch.
Regardless of the speed selected, the direction of rotation (clockwise or counter-clockwise) must match the direction of your movement. As a general rule, always work in the opposite direction of the bit’s rotation to maintain complete control and prevent the tool from skipping across the nail or skin surface.
Selecting the Right Drill Bits for Every Task
The secret to a flawless pedicure lies in the selection of the correct drill bits. Each bit is designed with a specific material, shape, and abrasiveness to perform a unique function within the cosmetic routine.
1. Diamond Bits
Diamond bits are crafted with fine diamond particles bonded to a metal base. They are exceptionally durable and precise, making them the ultimate choice for cleaning the nail plate, lifting and gently removing dry cuticles, and smoothing out the side walls of the toenails. They are available in various grits, usually indicated by a colour-coded ring on the shank (e.g., red for fine, blue for medium).
2. Ceramic and Carbide Bits
These bits are designed with unique cutting grooves rather than an abrasive surface. Ceramic bits are particularly popular in aesthetic care because they generate significantly less heat during friction. They are perfect for quickly and gently thinning down thickened nail plates, removing stubborn gel polish or overlays, and shaping the surface of artificial coatings.
3. Sanding Bands and Caps
For smoothing the soles of the feet and heels, disposable sanding caps mounted on a rubber mandrel are highly recommended. They offer a hygienic solution as they are discarded after a single use. Available in different grits, they can easily buff away dry, flaky skin, leaving the soles incredibly soft and uniform.
Essential Bit Shapes and Their Uses
The shape of the bit determines its accessibility to different areas of the foot and toenail. A ball-shaped bit is ideal for gently lifting cuticles and smoothing the dry skin around the nail fold. Cylinder bits are perfect for shortening nails and ensuring a perfectly straight edge, which helps prevent issues like ingrown edges. Cone-shaped bits, with their tapered points, allow you to reach tight corners and clean under the free edge of the nail safely without touching the delicate nail bed.
Safe Practices and Maintenance
When operating a pedicure drill, safety and hygiene must always come first. To prevent heat buildup, never hold the spinning bit in one spot; instead, keep it in constant, fluid motion across the nail or skin. Avoid applying downward pressure; let the speed of the machine and the grit of the bit do the work for you. After every use, reusable bits must be thoroughly cleaned, washed, and disinfected according to proper hygiene standards to maintain their performance and ensure safety for future applications.