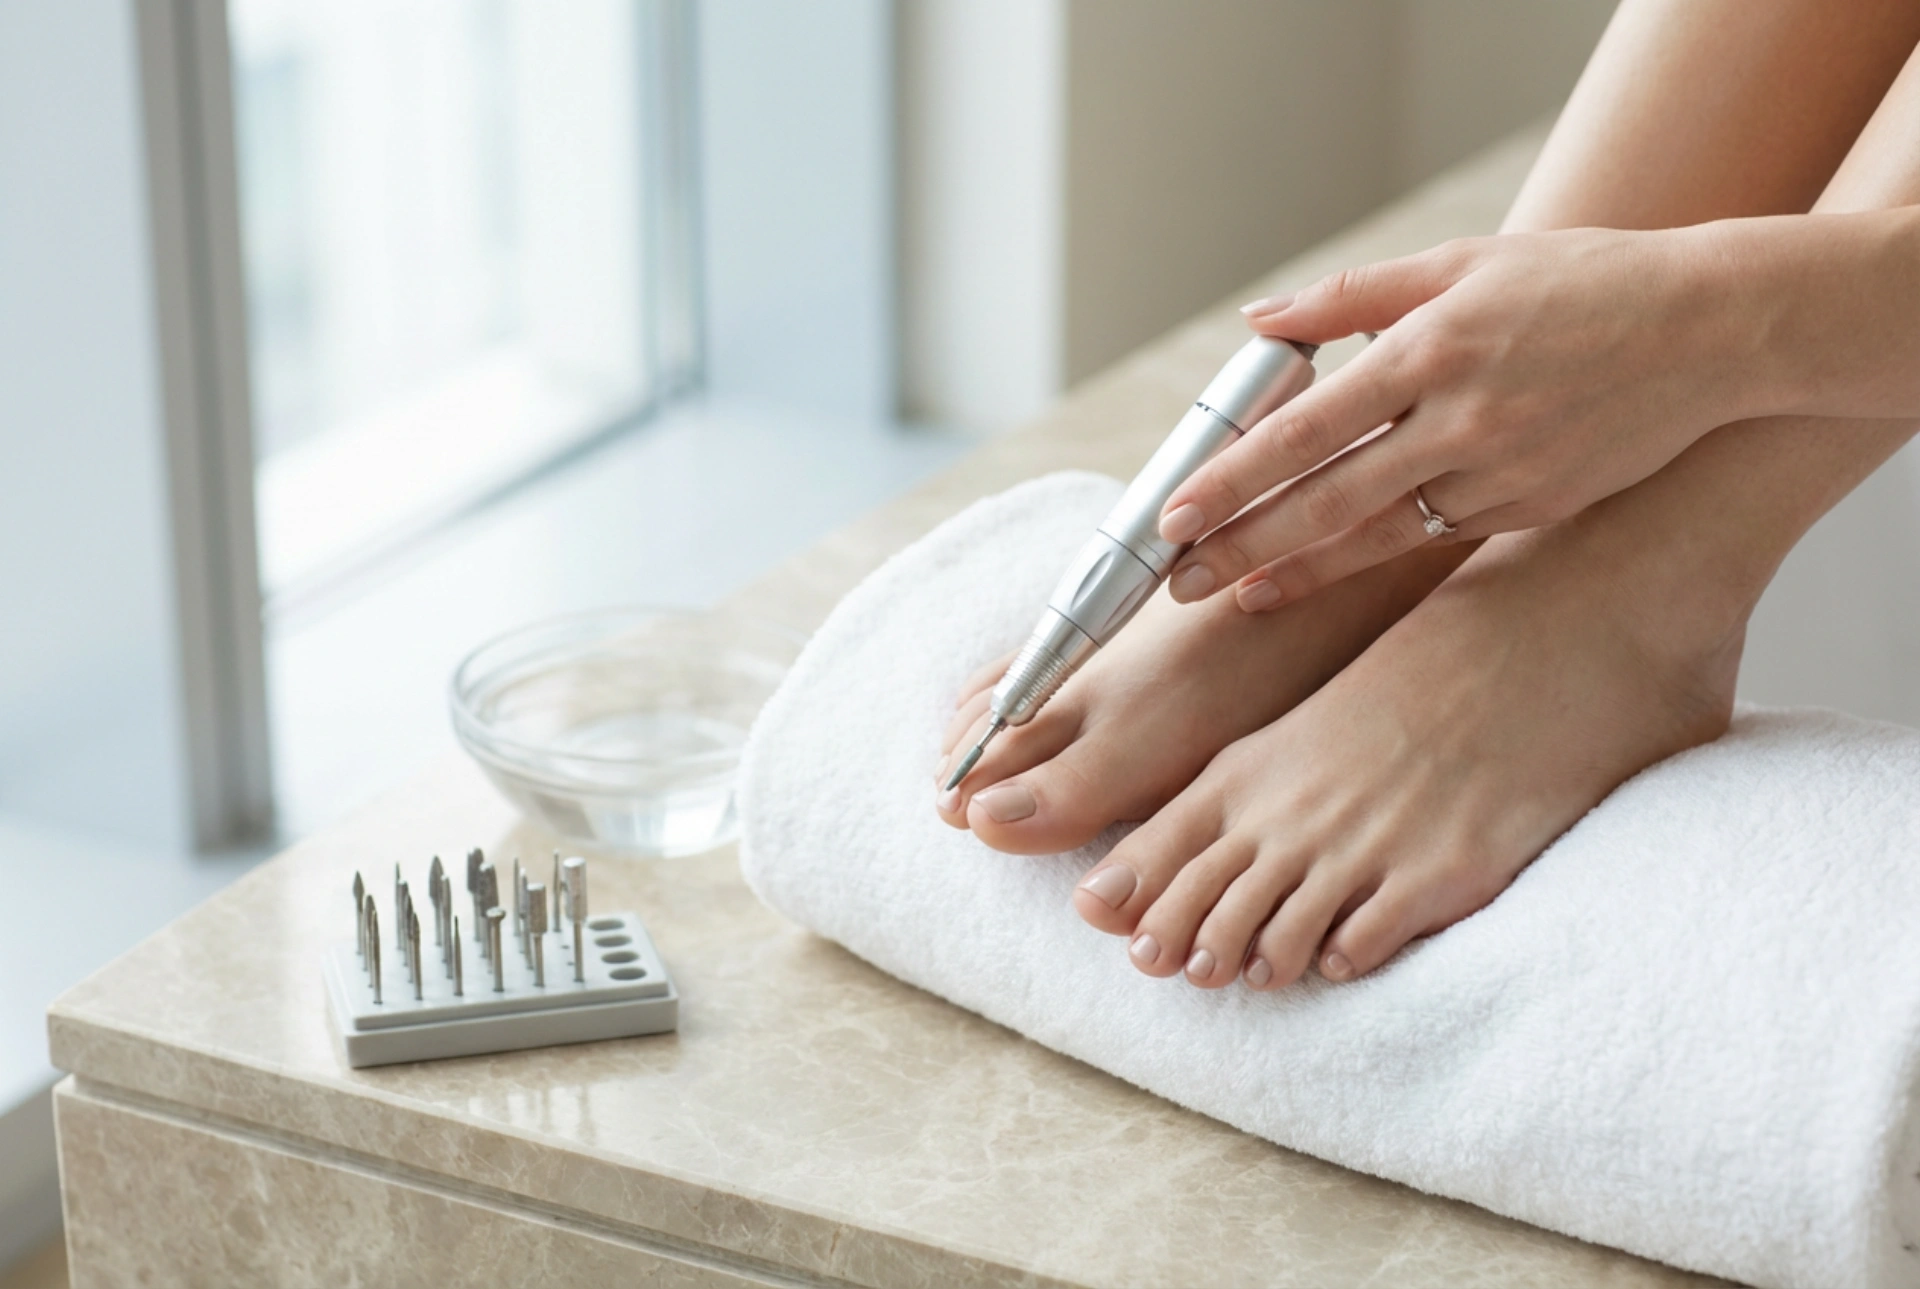


Elegant, well-groomed feet are a cornerstone of personal grooming and self-care. The sight of a sleek, modern pedicure drill paired with a carefully selected array of pristine drill bits resting on a clean surface evokes a feeling of meticulous care and sophisticated beauty. Achieving soft, salon-smooth feet at home has become incredibly accessible with the introduction of high-quality pedicure machines. However, to achieve professional-looking results safely, one must understand how to choose the right drill bits and master the correct application techniques. This guide explores how to navigate the world of pedicure drills to elevate your foot care routine.
Understanding Pedicure Drill Bits and Their Uses
The secret behind an effective pedicure lies in the variety of attachments, commonly known as drill bits. Each bit is designed with a specific material and shape to address different parts of the foot and nail area. Choosing the correct tool ensures that the process remains gentle, non-invasive, and highly effective.
Materials: Ceramic, Diamond, and Carbide
- Diamond Bits: These are highly precise and durable. Made with fine diamond particles, they are ideal for delicate work around the cuticle area, lateral nail folds, and smoothing out dry skin around the toes.
- Ceramic Bits: Known for their heat-reduction properties, ceramic attachments do not warm up as quickly as metal ones. They are excellent for gently removing hardened skin and smoothing out the nail surface.
- Carbide Bits: These bits feature small flutes that shave away dead skin or old nail products rather than grinding them. They are highly efficient but require a steady hand.
- Sanding Bands and Caps: These are disposable, single-use caps placed over a mandrel. They are perfect for treating larger areas, such as the heels and the soles of the feet, offering a hygienic and customisable level of exfoliation.
How to Select the Right Shapes for Safe Foot Care
In addition to materials, the shape of the drill bit determines its specific cosmetic function. Using the wrong shape can lead to uneven results or discomfort, making shape selection crucial for a seamless experience.
A cone or cylinder-shaped bit is excellent for shortening nails and smoothing out rough edges. For more detailed cuticle work, a flame or teardrop shape allows you to gently lift and clean the cuticle pocket without pressing onto the nail plate. Small sphere or ball bits are ideal for gently buffing away tiny, dry hangnails or hard skin spots directly adjacent to the nail. For the bottom of the feet, wide dome-shaped or flat-surfaced disc bits provide a smooth, sweeping motion that covers larger areas efficiently.
Speed and Grit: The Foundations of Technique
Operating a pedicure machine requires a balanced approach to rotation speed and grit selection. Most professional and home-use machines allow you to adjust the speed, measured in rotations per minute (RPM). For beginners, it is always recommended to start at a lower speed, generally between 5,000 and 10,000 RPM, particularly when working near the living tissue of the cuticles. This prevents accidental damage and gives you greater control over the movement of the handpiece.
The grit, or coarseness, of the bit is often color-coded on the shank. Fine and extra-fine grits are suitable for the natural nail plate and sensitive cuticle areas, while medium grits are versatile enough for general skin smoothing. Coarse grits should be reserved exclusively for very thick, dry skin on the heels and should be guided with light, sweeping motions to avoid generating friction heat.
A Step-by-Step Guide to the Dry Pedicure Technique
A dry pedicure is the preferred modern method when working with a pedicure drill. Dry skin is much easier to exfoliate precisely, as wet skin tends to soften too much, making it difficult to distinguish between dead cuticle and healthy skin. Follow these safe, universal steps for beautifully styled feet:
- Preparation: Ensure your feet are completely clean and thoroughly dry. Inspect the skin to identify areas that require smoothing.
- Nail and Cuticle Work: Using a fine diamond flame bit at a low speed, gently slide the bit parallel to the nail plate to clean the cuticle area. Switch to a small ball bit to tidy up any loose, dry edges around the nail folds.
- Smoothing the Soles: Attach a medium-grit sanding band or a dedicated dome bit. Gently sweep the tool across dry, rough patches on the heels and balls of the feet. Always move the tool in one direction, following the natural lines of the skin.
- Finishing Touches: Wipe away any remaining dust with a soft brush. Apply a rich, nourishing foot cream or oil to restore moisture and lock in the smoothness.
Essential Rules for Safe Home Pedicures
When incorporating a pedicure machine into your routine, safety should always be the priority. Never hold the drill bit in one place for more than a second, as the continuous rotation can quickly build up heat and cause discomfort. Keep the handpiece in constant, gentle motion. Additionally, always hold the tool at a flat angle relative to the skin or nail surface rather than pointing it directly downward. Finally, ensure all reusable bits are thoroughly cleaned and sanitized after every use to maintain impeccable hygiene standards.