

Achieving perfectly smooth and elegant legs is a cornerstone of many personal care routines. There is a distinct sense of luxury in looking down at beautifully hydrated, soft skin that catches the light with a subtle, healthy shimmer. While there are numerous methods to remove unwanted hair, waxing remains a classic choice for those seeking long-lasting results from the comfort of home. To achieve that coveted salon-quality finish without irritation, understanding the three essential stages—preparation, correct pulling technique, and post-waxing care—is key to a comfortable and successful experience.
Preparing the Skin for Waxing
The foundation of any successful waxing session lies in how you prepare your skin. Skipping this phase can lead to uneven results, broken hairs, or unnecessary discomfort. The goal of preparation is to ensure that the wax adheres perfectly to the hair rather than the skin itself, making the process smoother and more efficient.
Exfoliation is Key
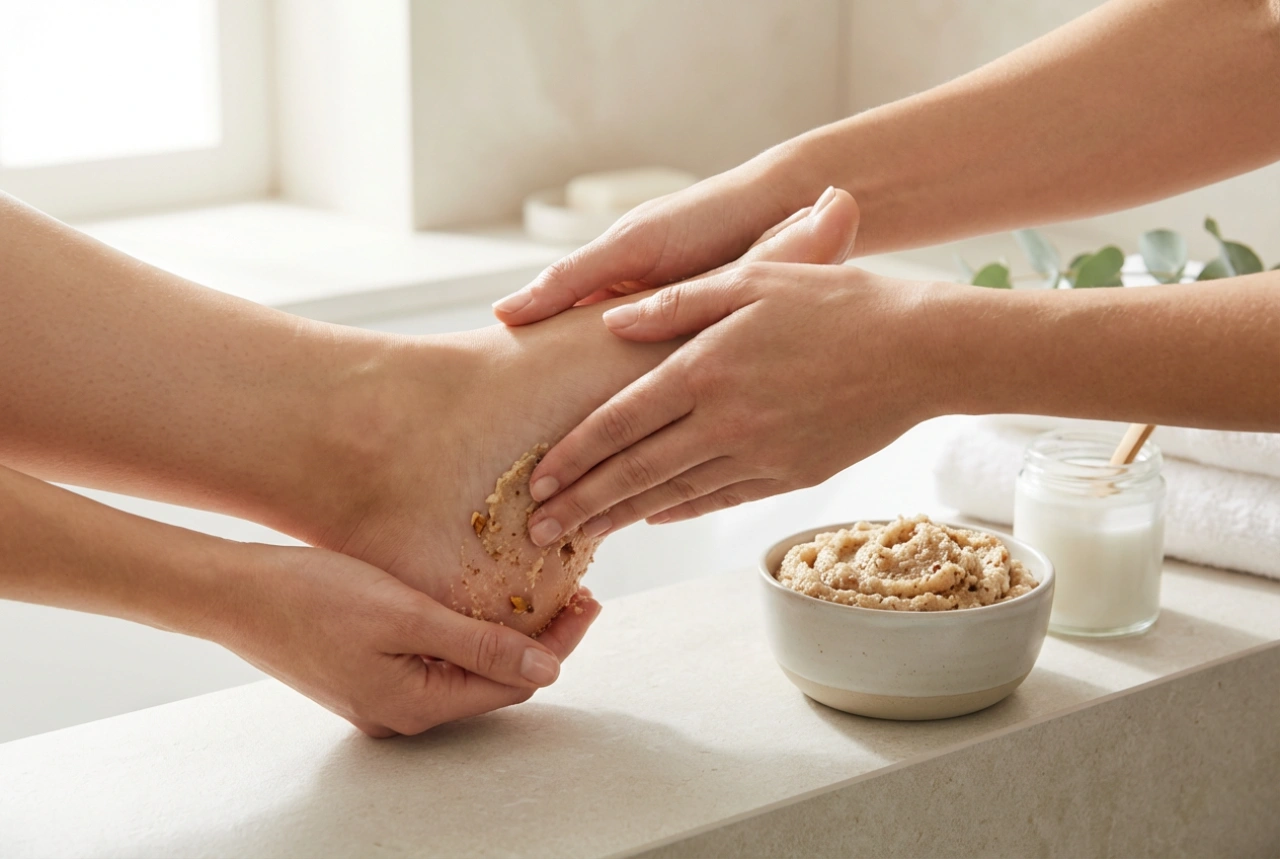
A day or two before you plan to wax, gently exfoliate your legs. Using a mild body scrub or a gentle exfoliating mitt helps to remove dead skin cells that may be blocking the hair follicles. This lift-off allows the wax to grip even the shortest hairs more effectively and significantly reduces the risk of ingrown hairs developing later on. However, avoid exfoliating on the actual day of waxing, as this can leave the skin too sensitive.
Cleanse and Dry Thoroughly
On the day of the treatment, ensure your legs are completely clean and free from any oils, heavy creams, or self-tanners. These products create a barrier that prevents the wax from sticking properly. Take a warm shower to open the pores, then dry your legs thoroughly with a clean towel. Applying a tiny dusting of talc-free cosmetic powder can help absorb any lingering moisture or perspiration, ensuring the skin remains dry throughout the process.
Check the Hair Length
For the wax to work efficiently, the hair needs to be of an optimal length—typically between four to six millimetres. If the hair is too short, the wax will not be able to grab it; if it is too long, the process can be more painful and may cause the hairs to snap at the surface rather than being pulled from the root.
The Right Waxing Technique: Step-by-Step
Mastering the technique of applying and removing the wax is crucial for minimising discomfort and achieving a flawlessly smooth finish. Whether you are using pre-waxed strips or warm soft wax, the basic principles of direction and speed remain the same.
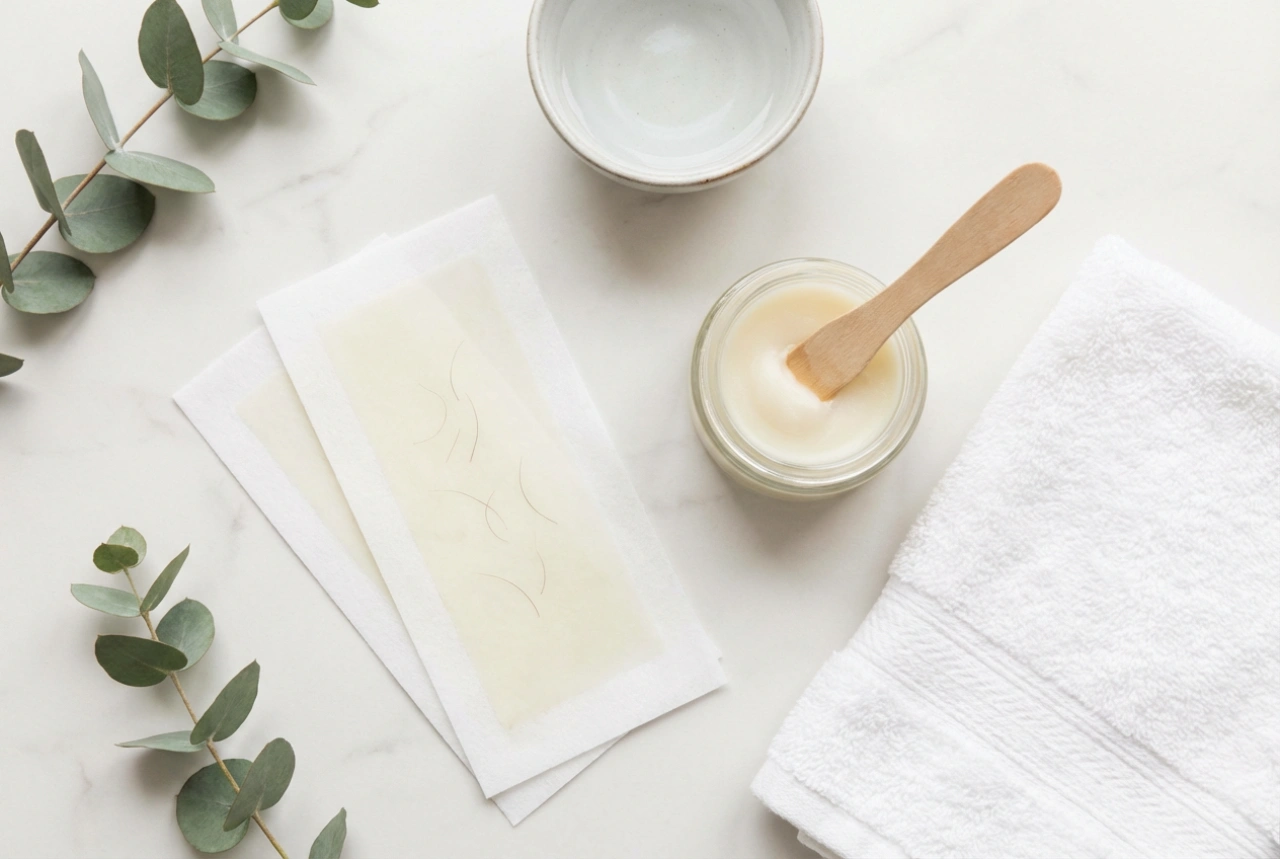
- Application: Always apply the wax in the direction of hair growth. For most people, this means smoothing the wax down the lower leg toward the ankle. Use firm pressure to ensure the wax fully wraps around each hair.
- Holding the Skin Taut: This is perhaps the most important step to prevent bruising and reduce pain. Use one hand to pull the skin tight in the opposite direction of the pull. Keeping the skin firm ensures the wax pulls only the hair, not the skin.
- The Pulling Motion: Grip the edge of the strip or wax. With a quick, confident motion, pull the strip back in the opposite direction of hair growth. Crucially, pull the strip parallel to the skin rather than lifting it upwards. Pulling upwards can cause bruising, broken capillaries, and incomplete hair removal.
Soothing and Hydration: Post-Waxing Rituals
Once the waxing is complete, your skin requires immediate soothing and nourishment. The removal of hair and wax can temporarily leave the skin slightly pink and sensitive, making a dedicated post-care routine essential to restore comfort and seal in moisture.
Removing Wax Residue
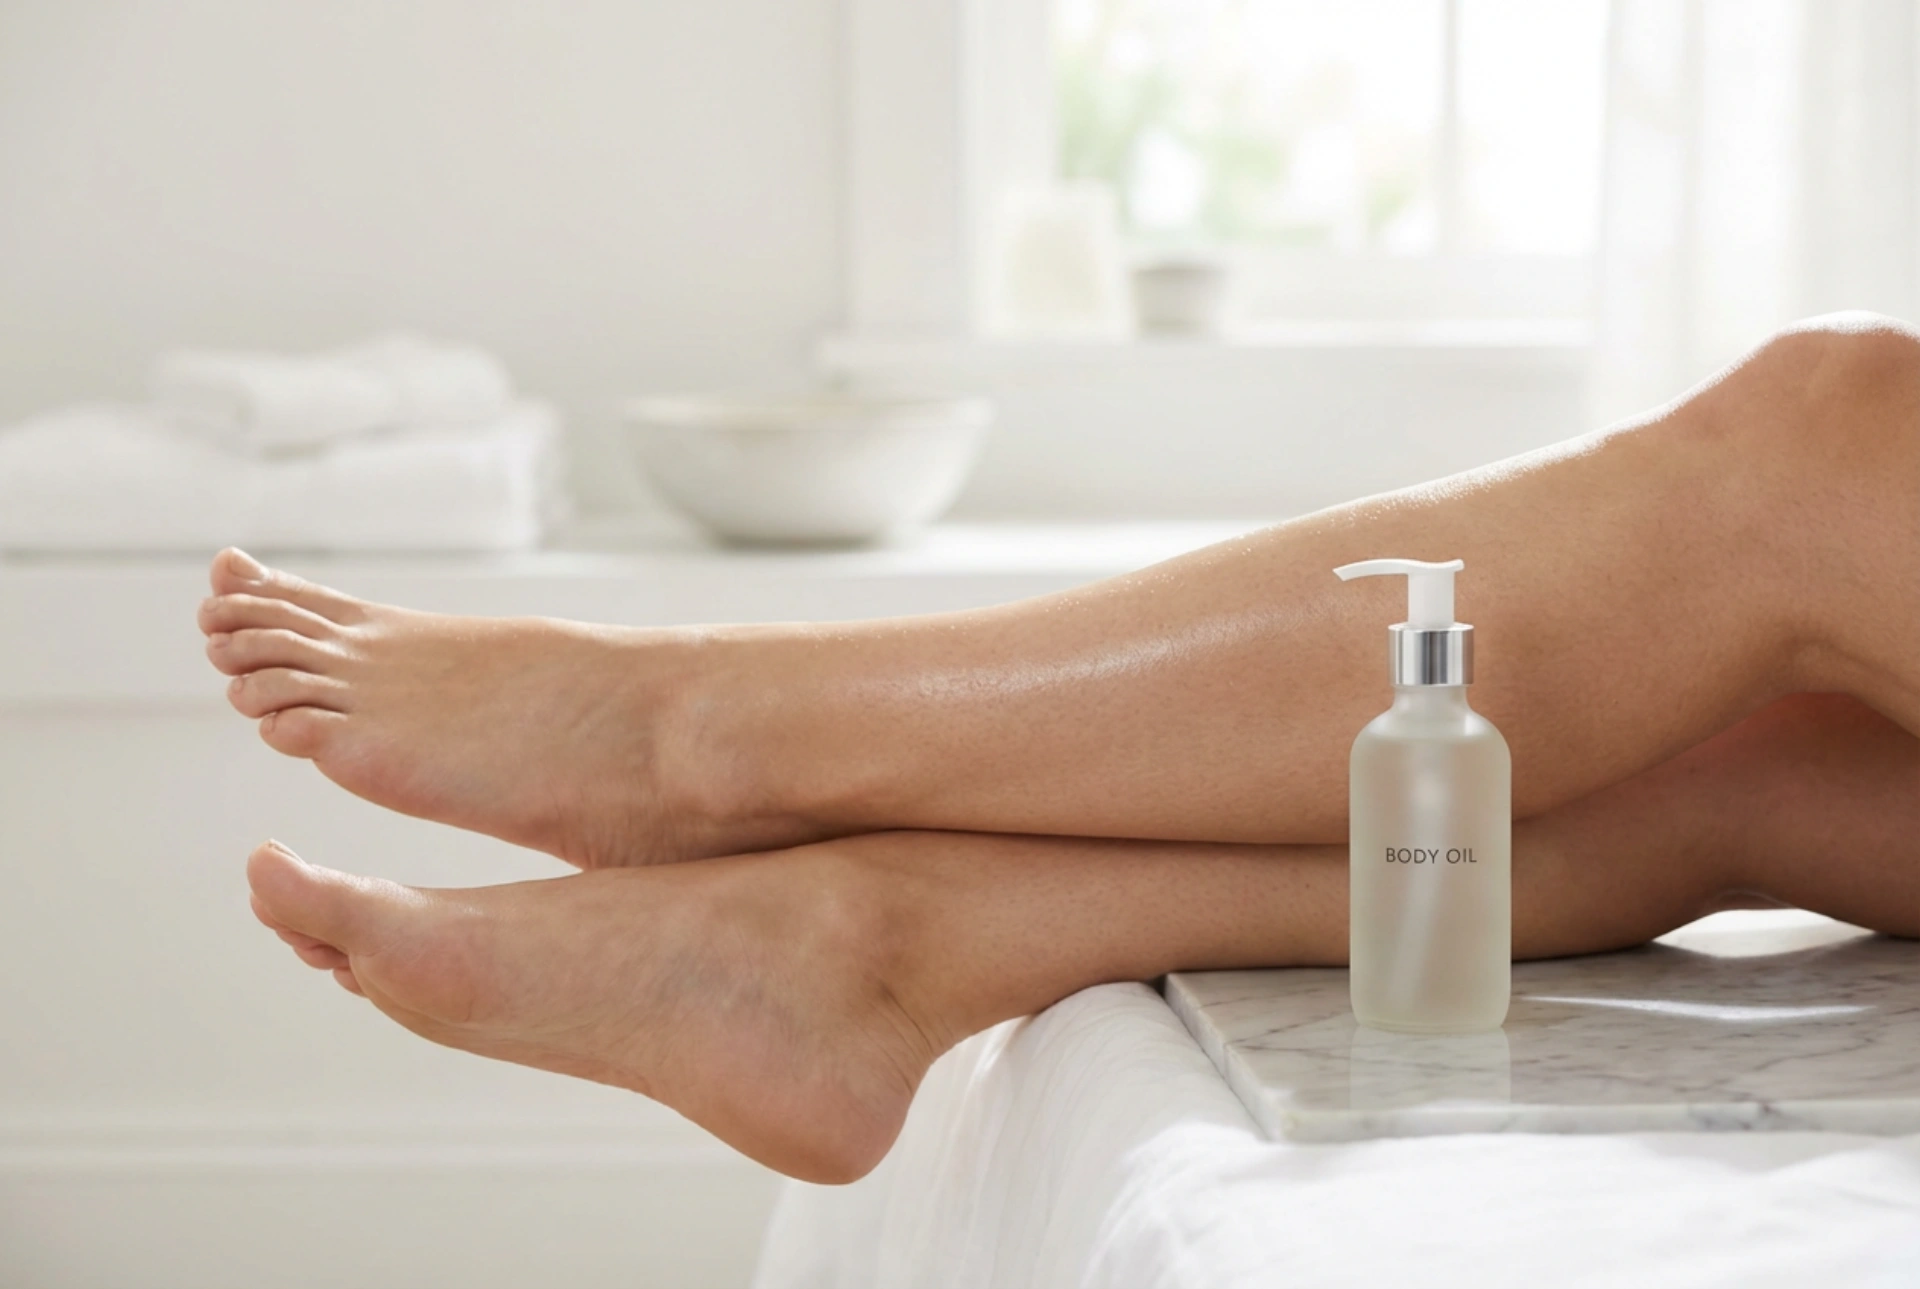
Water alone will not wash away residual wax. Instead, use a gentle, fragrance-free body oil. Pour a small amount of oil onto a cotton pad and gently sweep it over your legs. Not only does this dissolve any sticky patches effortlessly, but it also begins the process of deeply nourishing the skin barrier.
Calming and Cooling
After clearing any residue, apply a lightweight, soothing lotion. Ingredients such as aloe vera or chamomile are excellent choices for calming the skin and reducing any temporary redness. Avoid products with heavy synthetic fragrances or alcohol, which can cause a stinging sensation on newly waxed skin.
What to Avoid Immediately After Waxing
For the first twenty-four to forty-eight hours, your hair follicles remain open and sensitive. To prevent irritation or clogged pores, avoid hot baths, saunas, swimming pools, and intense workouts that cause heavy sweating. Opt for loose-fitting, breathable clothing made from natural fibres like cotton to prevent friction against your freshly waxed legs.
Long-Term Care for Velvety Soft Legs
Maintaining that beautiful, silky finish requires ongoing care between your waxing sessions. A consistent routine ensures your legs remain soft, glowing, and free from common post-waxing issues like dryness and ingrown hairs.
Regular hydration is vital. Apply a rich, nourishing body lotion daily to keep the skin supple. About three days after waxing, you can resume gentle exfoliation twice a week. This regular, mild peeling keeps the hair follicles clear, allowing new, finer hairs to grow back through the skin surface without becoming trapped. With a little patience and the right routine, you can enjoy beautifully cared-for legs all year round.