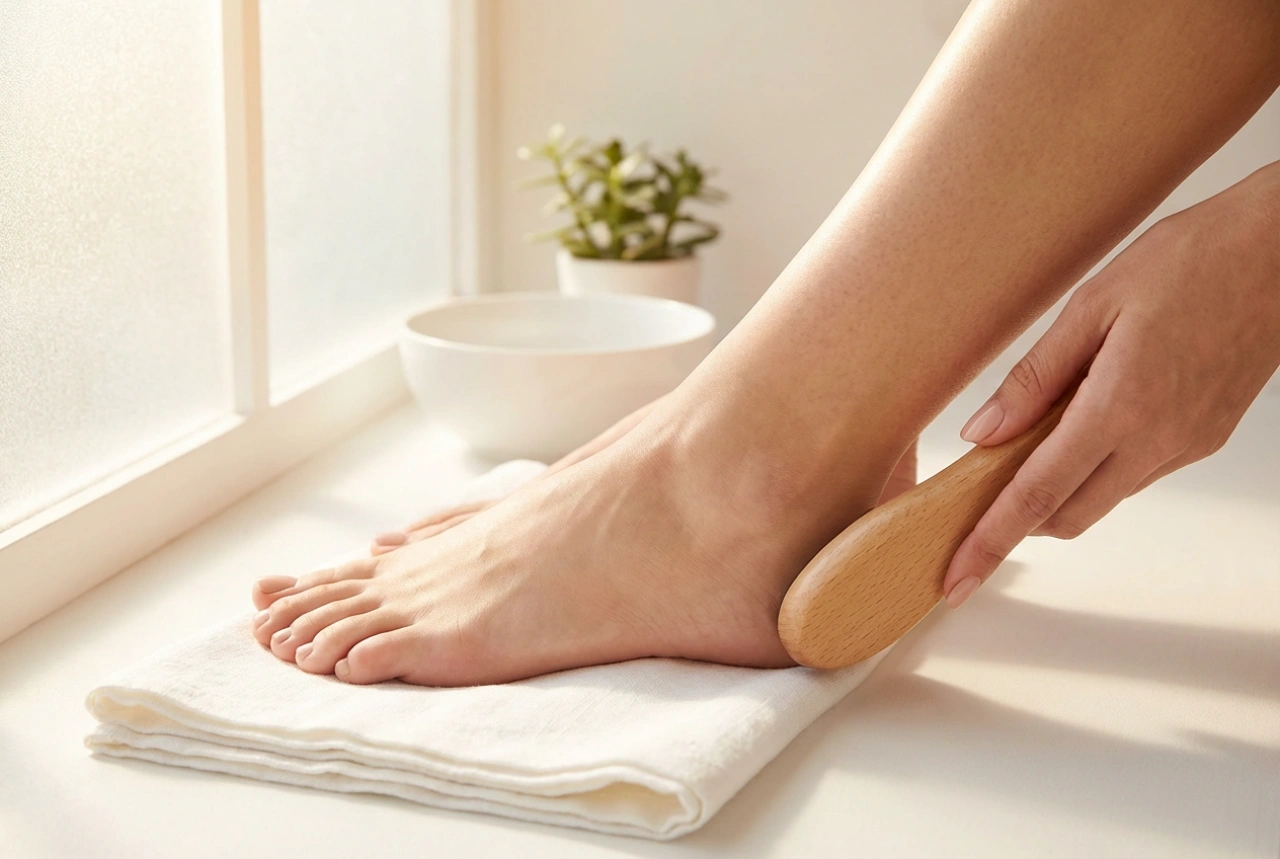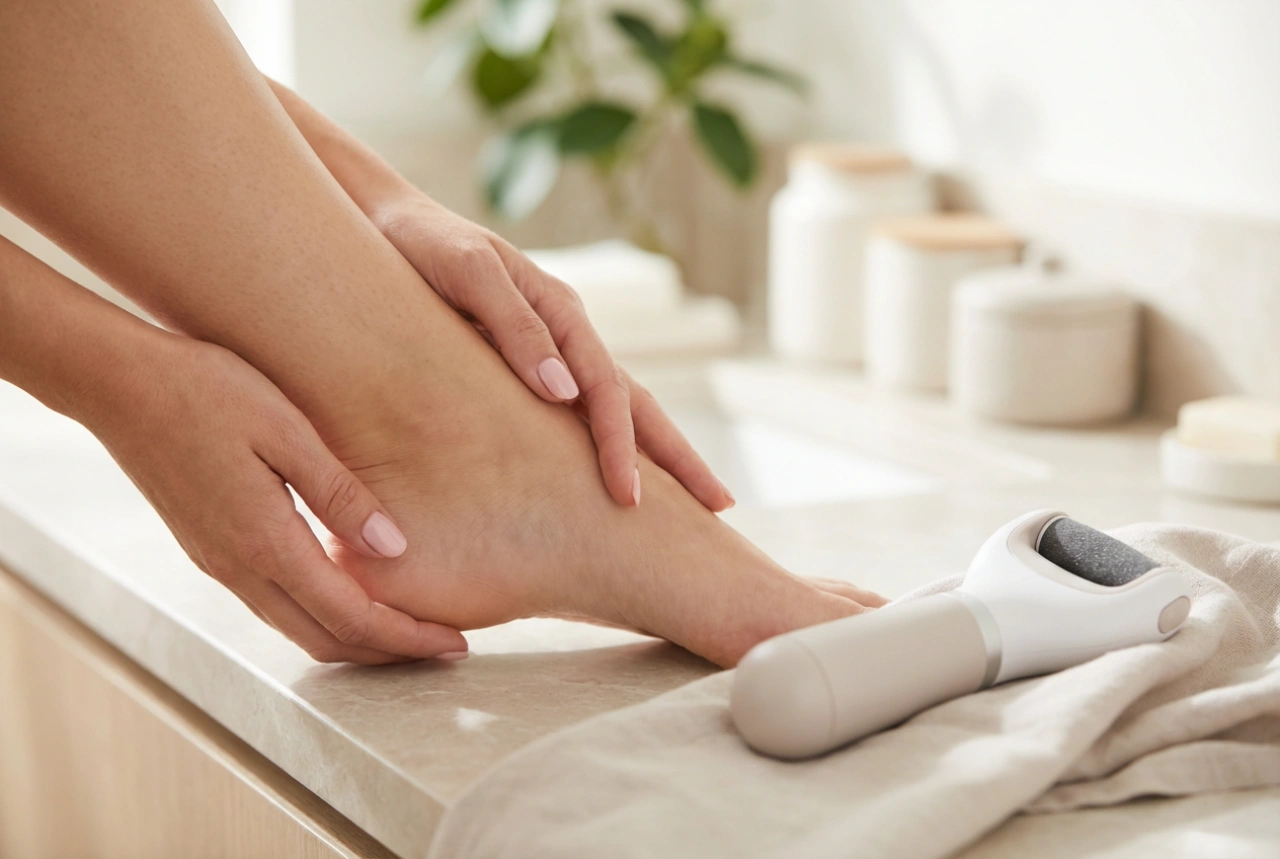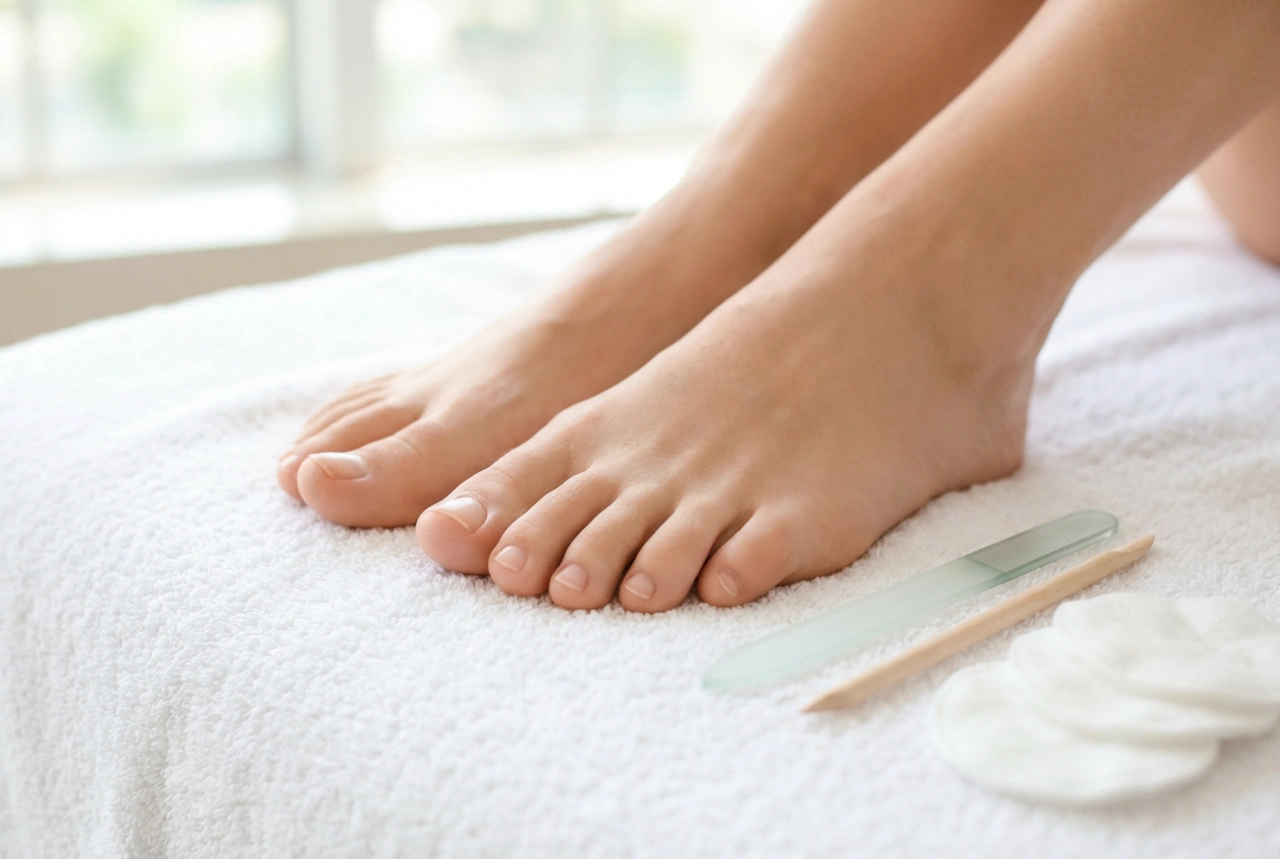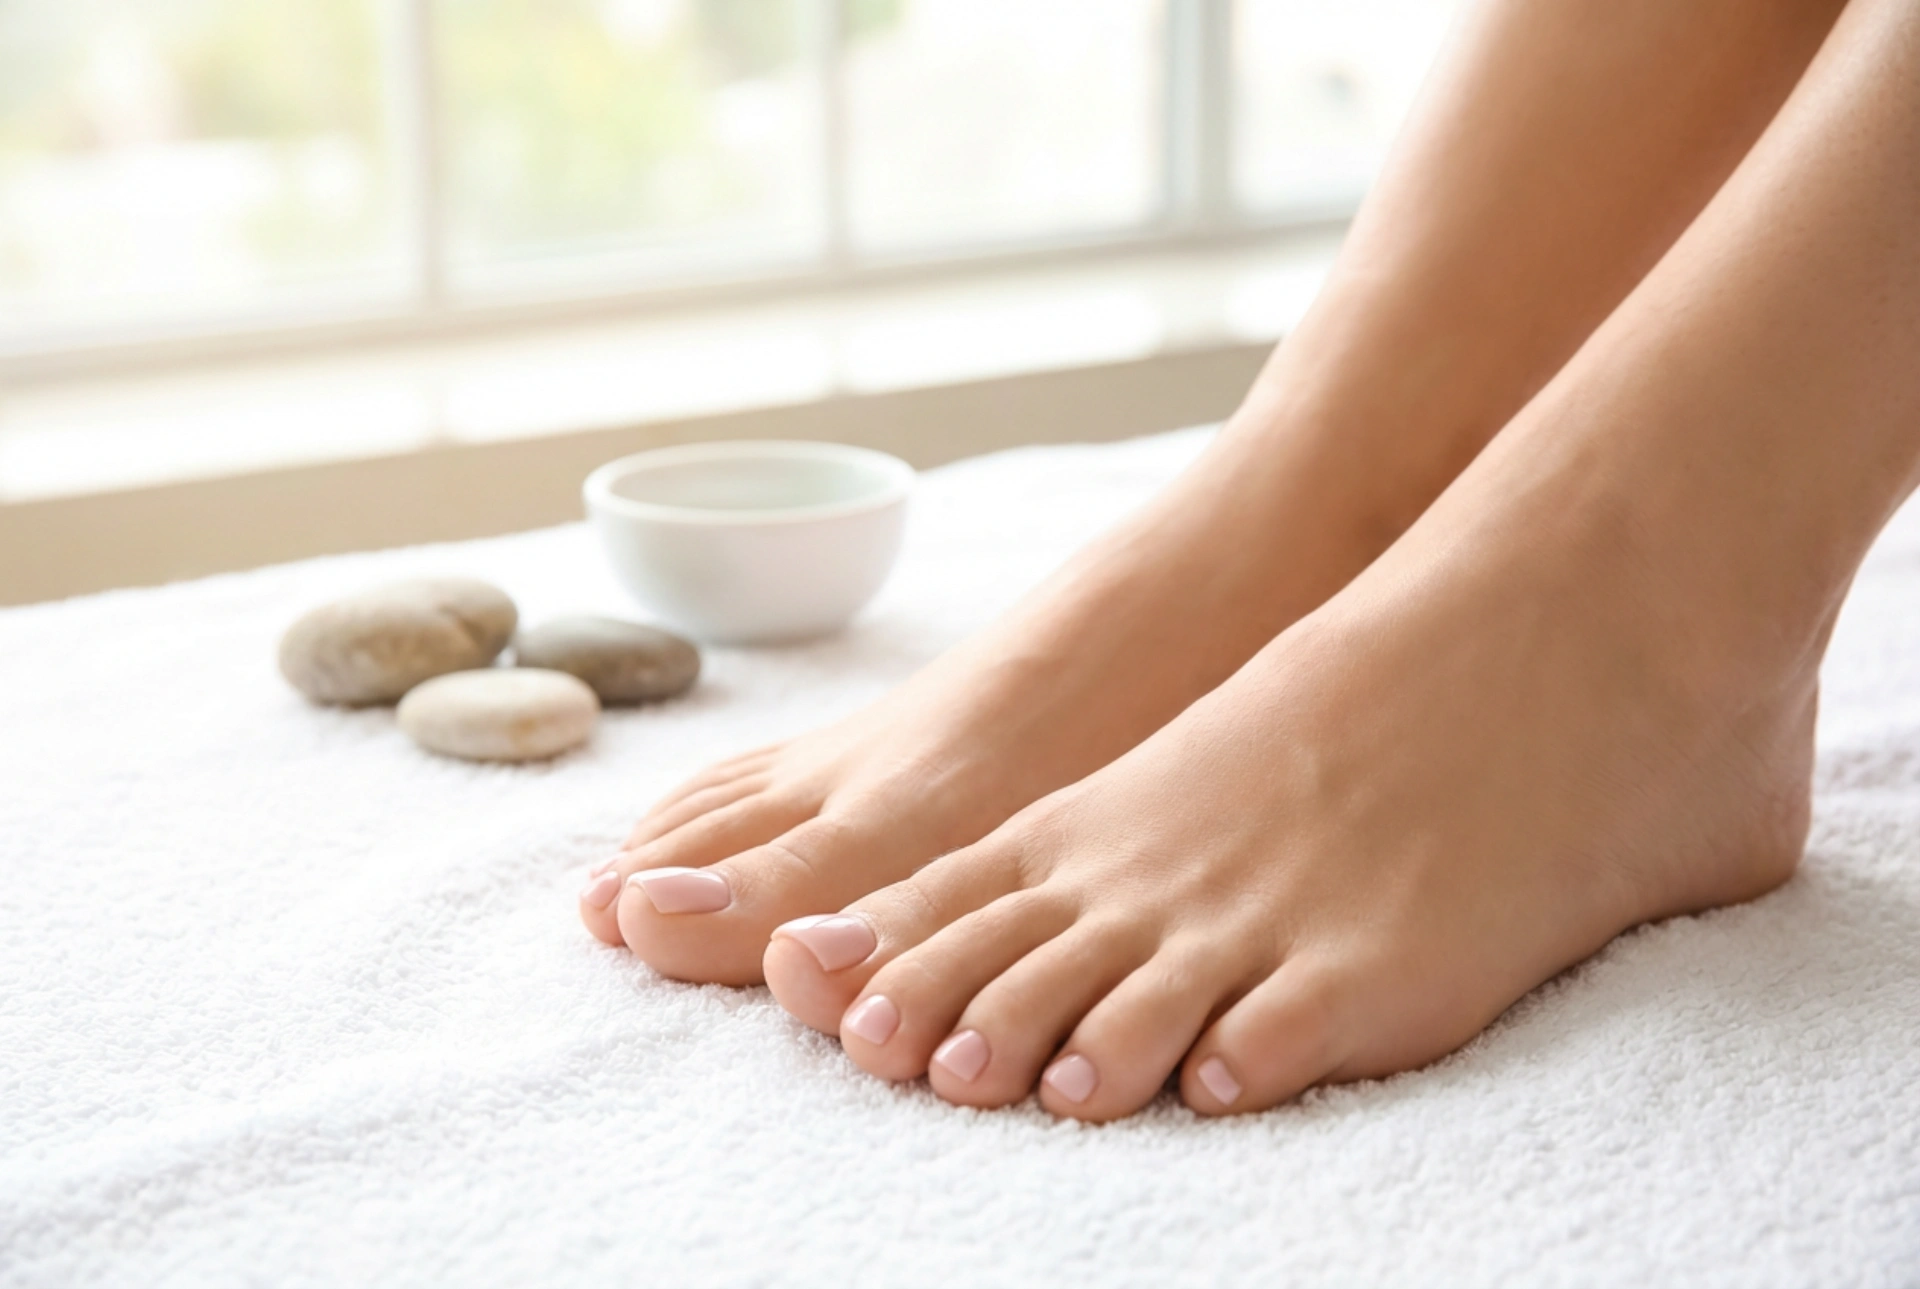


There is a unique sense of luxury and self-care in having impeccably groomed feet, with smooth skin and perfectly polished toenails shining under natural light. A professional-looking gel pedicure not only enhances the overall aesthetic of your feet but also offers long-lasting durability that standard nail polish simply cannot match. For those who want to maintain a neat, elegant appearance without frequent salon visits, learning how to perform a gel pedicure at home is an excellent solution. With the right tools and a careful, step-by-step approach, you can achieve a flawless finish that stays chip-free for weeks.
Essential Preparation for a Long-Lasting Finish
The secret to any successful gel pedicure lies in the preparation. Skipping or rushing through the preparatory stage is the most common reason why gel polish lifts or chips prematurely. To ensure maximum adhesion, your nails must be completely clean, shaped, and free of natural oils.
Step 1: Softening and Cleaning
Begin by soaking your feet in a warm, relaxing foot bath for about ten minutes. You can add simple ingredients like Epsom salts or a few drops of natural essential oil to enhance the experience. This process softens the skin and cuticles, making them much easier to work with. Once finished, dry your feet thoroughly, paying close attention to the areas between the toes, as excess moisture can affect how the products bond.
Step 2: Shaping and Cuticle Care
Use a high-quality nail clippers to trim your toenails straight across. This shape is highly recommended because cutting nails too far down into the corners can lead to discomfort as they grow back. Smooth the edges with a medium-grit nail file, working in one direction to prevent splitting. Next, gently push back the cuticles using a wooden stick or a cuticle pusher. Avoid cutting the cuticles aggressively, as they act as a natural barrier against dust and impurities.
Buffing and Dehydrating the Nail Plate
Once the nails are shaped, it is time to prepare the nail plate itself. This is a crucial step that directly impacts how well the gel base coat will adhere to the natural nail.
- Gently buff the surface: Use a fine-grit buffer block to lightly remove the natural shine from the nail plate. This creates a slightly textured surface that allows the gel to grip securely. Be careful not to over-buff, as this can thin and weaken the nail.
- Remove dust and oil: Wipe each nail thoroughly with a lint-free wipe soaked in a professional nail cleanser or dehydrator. This step removes any leftover dust, oils, or residue from the skin. Once cleansed, avoid touching your toenails with your fingers, as this can reintroduce natural oils to the surface.
The Gel Application Process Step-by-Step
Now that your nails are perfectly prepared, you can begin the application process. Precision and thin layers are the keys to a professional and durable result.
Applying the Base Coat
Apply a very thin layer of gel base coat to all toenails. It is vital to avoid getting any product on the skin or the cuticles. If the gel touches the skin, use a clean wooden stick to wipe it away before curing, otherwise, air pockets will form, leading to early lifting. Once applied, cure the base coat under your UV or LED lamp according to the manufacturer's recommended time, usually between thirty and sixty seconds.
Adding the Colour
Choose a soft, elegant shade that complements your personal style. Apply the gel colour in thin, even layers. Do not worry if the first coat looks slightly sheer or uneven; a second coat will build full, rich opacity. Always seal the free edge of each toenail by running the brush lightly along the tip. Cure each layer separately under the lamp to ensure a solid, durable finish.
The Final Touch: Top Coat
To lock in the beautiful colour and add a high-gloss shine, apply a layer of gel top coat. Ensure that you cover the entire coloured area and seal the edges once again. Cure this final layer under the lamp. If your top coat has a sticky residue, wipe it clean with a lint-free wipe soaked in nail cleanser. If you are using a non-wipe top coat, your pedicure is complete as soon as it emerges from the lamp.
Nurturing Your Feet for Lasting Beauty
A beautiful gel pedicure is only complete when paired with healthy, hydrated skin. Gel products and curing lamps can dry out the surrounding skin, so post-treatment care is highly recommended.
Apply a nourishing cuticle oil around each toenail and gently massage it in. This keeps the skin soft and prevents painful hangnails. Follow up with a rich, moisturising foot cream to hydrate the heels and soles of your feet. For the best results, make moisturising a daily habit. Well-hydrated skin and cuticles naturally frame your gorgeous gel pedicure, keeping your feet looking salon-fresh and elegant for a long time.