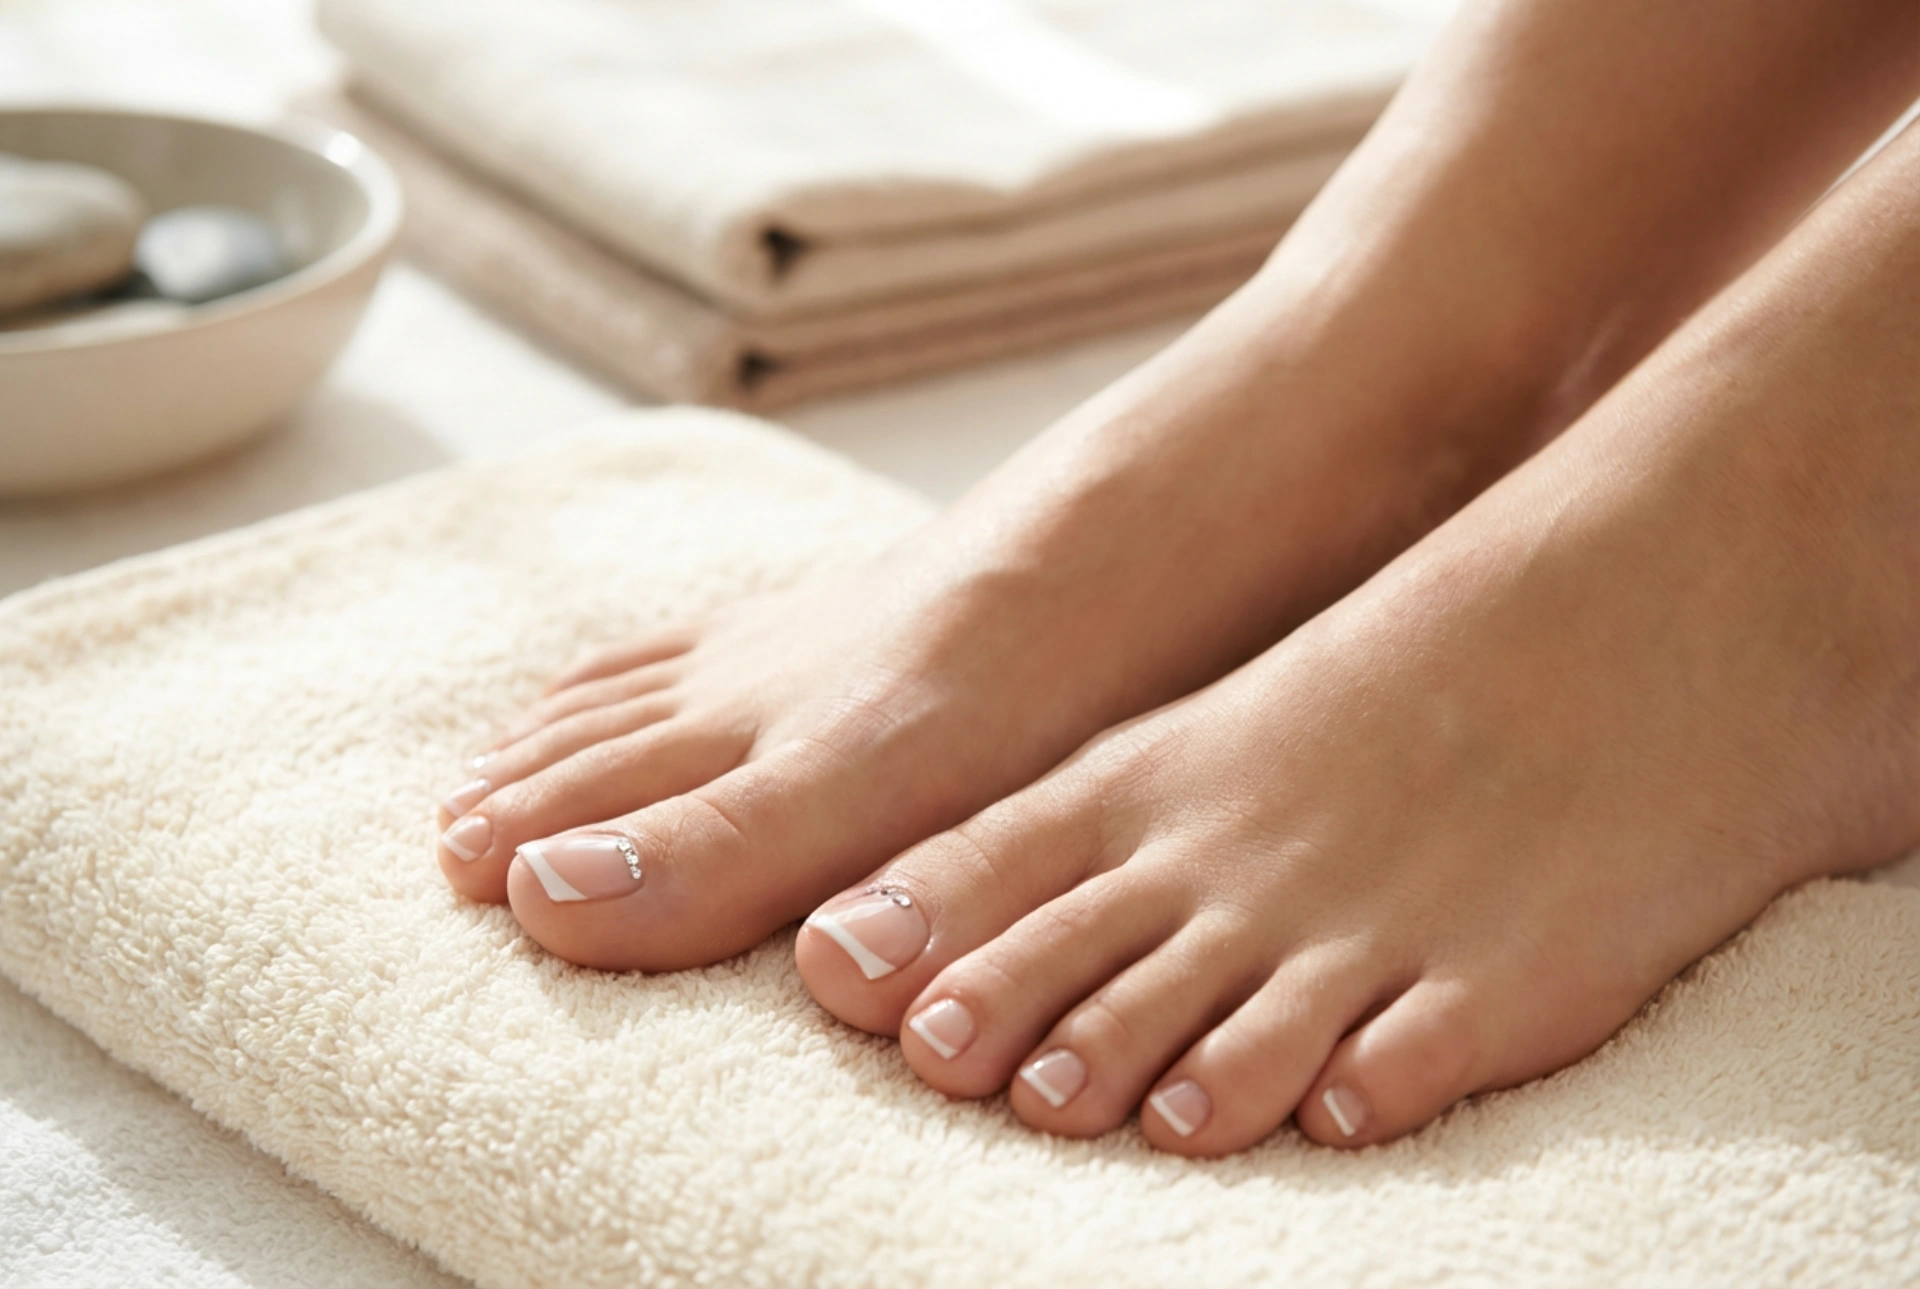


Beautifully styled feet can boost your confidence and add an elegant touch to any look. A classic French pedicure, characterised by its clean white tips and natural-looking base, has long been a favourite for its timeless appeal. When paired with subtle, delicate rhinestones placed artfully near the cuticle, this style takes on a fresh, luxurious aesthetic reminiscent of a relaxing day at a high-end spa. Achieving this flawless finish at home is entirely possible with the right approach to preparation, styling, and protection.
Essential Preparation for a Perfect Pedicure
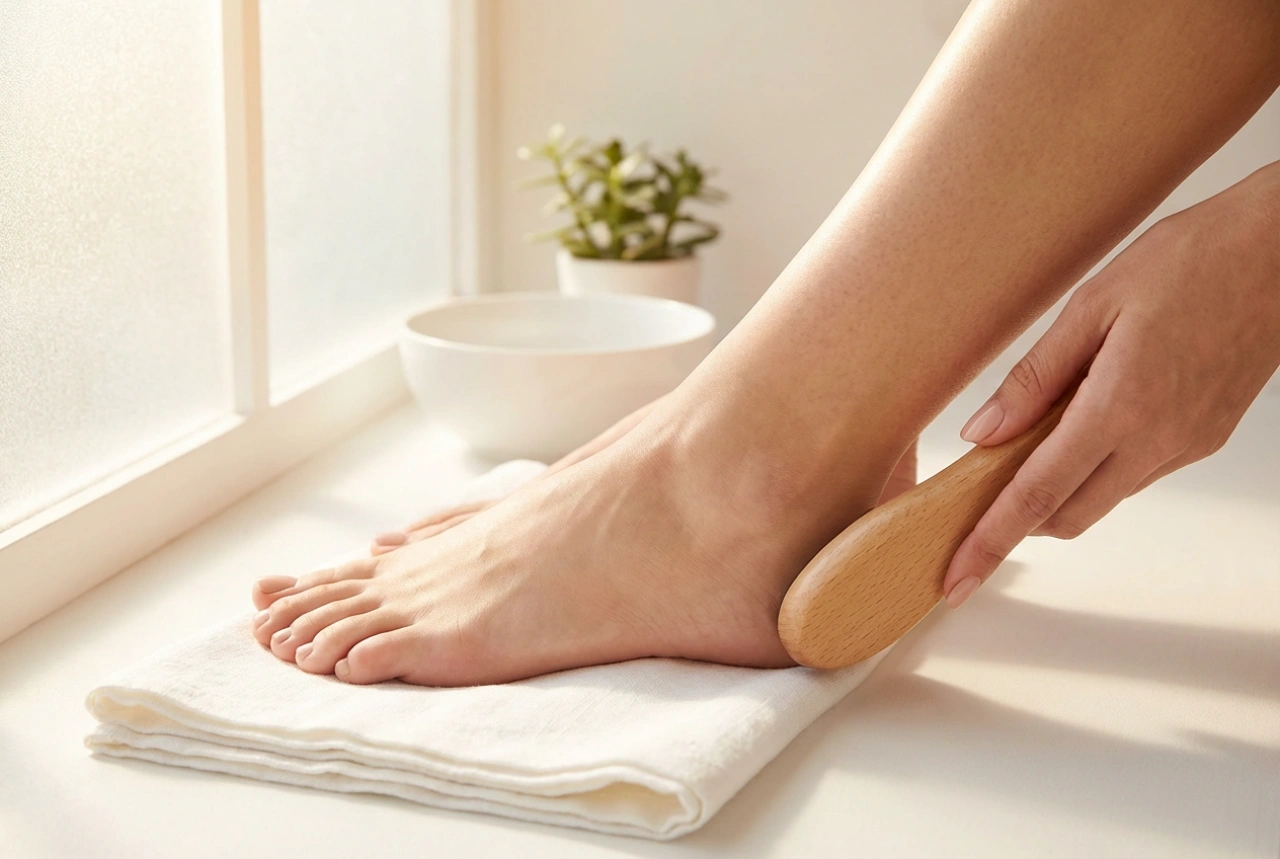
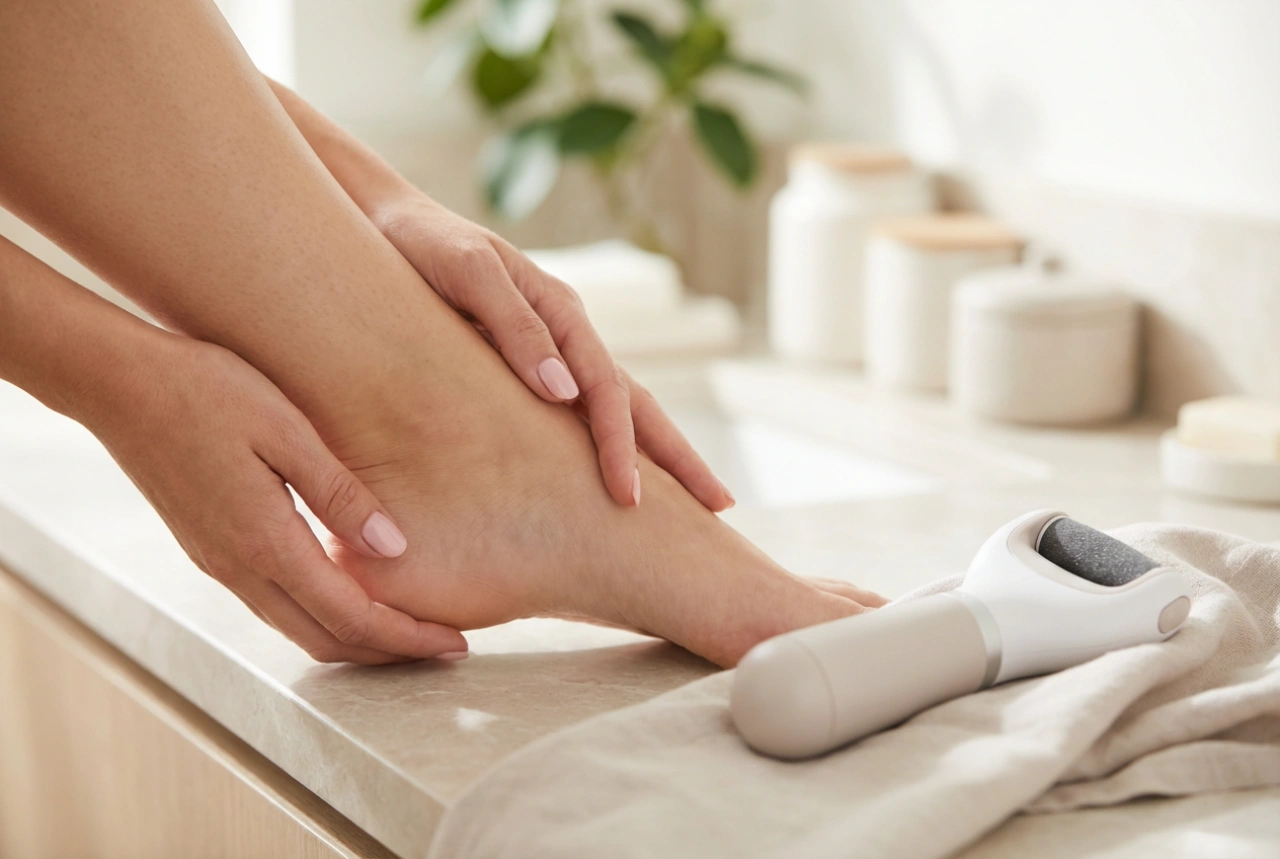
The foundation of any long-lasting nail styling lies in thorough preparation. Before reaching for any polish, it is important to ensure your toenails and surrounding skin are clean, smooth, and well-groomed. Start by soaking your feet in a warm, relaxing foot bath infused with cosmetic salts or a few drops of nourishing oil. This helps to soften the skin and cuticles, making the subsequent steps much easier and gentler.
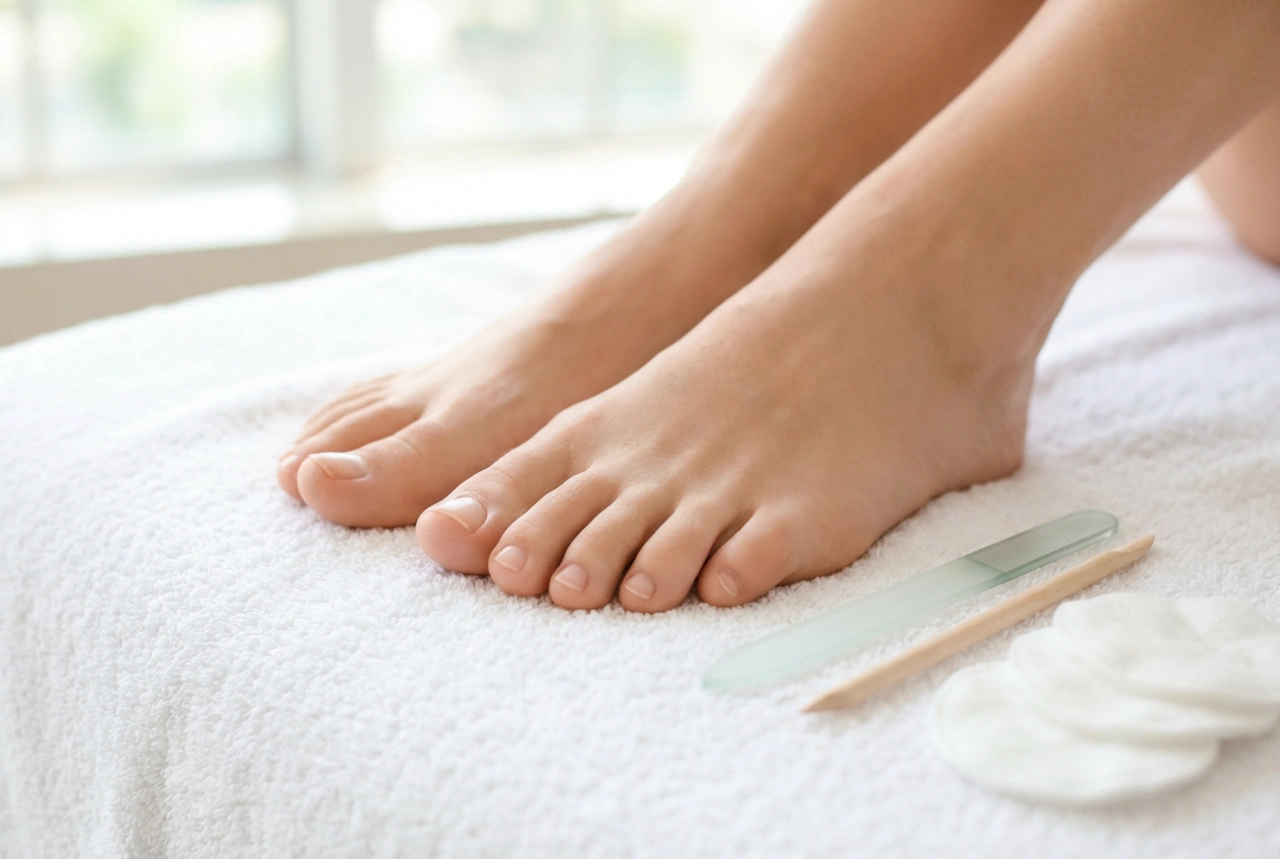
Once the skin is softened, gently dry your feet with a clean towel. Use a wooden cuticle stick to gently push back the cuticles. Avoid cutting them excessively, as cuticles serve as a natural barrier; instead, focus on creating a neat, clear nail plate. Next, shape your toenails using a fine-grit nail file. For toenails, it is generally recommended to file them straight across with slightly rounded edges to maintain a natural look and ensure comfortable wear in shoes. Finish the preparation phase by gently buffing the surface of the nail with a soft buffer to remove any natural oils and create a smooth canvas for the polish.
Perfecting the French Pedicure Technique
The classic French look relies on clean lines and a harmonious balance of colours. To start, apply a thin layer of base coat to protect the natural nail plate and improve the adhesion of the coloured polish. Once the base coat is dry, apply one or two coats of your chosen sheer polish. Soft pinks, milky whites, or delicate peach tones work beautifully to mimic the natural healthy colour of the nail bed.
Creating the white tip requires a steady hand, but there are simple methods to make it easier. You can use thin adhesive stencils designed for French manicures, or paint the line freehand using a fine nail art brush. The key is to keep the white tip proportional to the size of the toenail—a line that is too thick can overpower the design, while a line that is too thin might look uneven. Allow the white tips to dry completely before moving on to the decorative elements.
Applying Rhinestones with Precision
Adding rhinestones or zircons introduces a beautiful sparkle to your pedicure, especially when they catch the natural light. To keep the look elegant and sophisticated, opt for smaller, delicate crystals and place them strategically, such as a single stone at the base of the big toe or a subtle row of three tiny stones along the cuticle line.
- Select the right adhesive: You can use a small drop of clear top coat, a dedicated nail glue, or a drop of thick clear base gel if you are using gel polish.
- Use a precision tool: A wax pencil or a pair of fine tweezers is indispensable for picking up the tiny crystals without smudging your polish.
- Place with care: Gently press the rhinestone into the adhesive. Avoid pressing too hard, as this can cause the adhesive to seep out around the edges and dull the shine of the stone.
Sealing the Design with a Top Coat
The final step is crucial for ensuring your beautiful pedicure remains intact for weeks. A high-quality top coat not only adds a brilliant, glossy shine but also seals the edges of the French tip and secures the rhinestones in place. When applying the top coat, carefully paint around the base of the rhinestones rather than directly over them. Coating the top of a faceted crystal can mute its sparkle and reduce its light-reflecting properties.
Be sure to cap the free edge of each toenail with the top coat. This simple step wraps the polish around the tip of the nail, significantly reducing the chance of chipping. Allow ample time for the entire pedicure to dry completely before putting on closed-toe shoes, ensuring your elegant, spa-like feet remain flawless and sparkling.