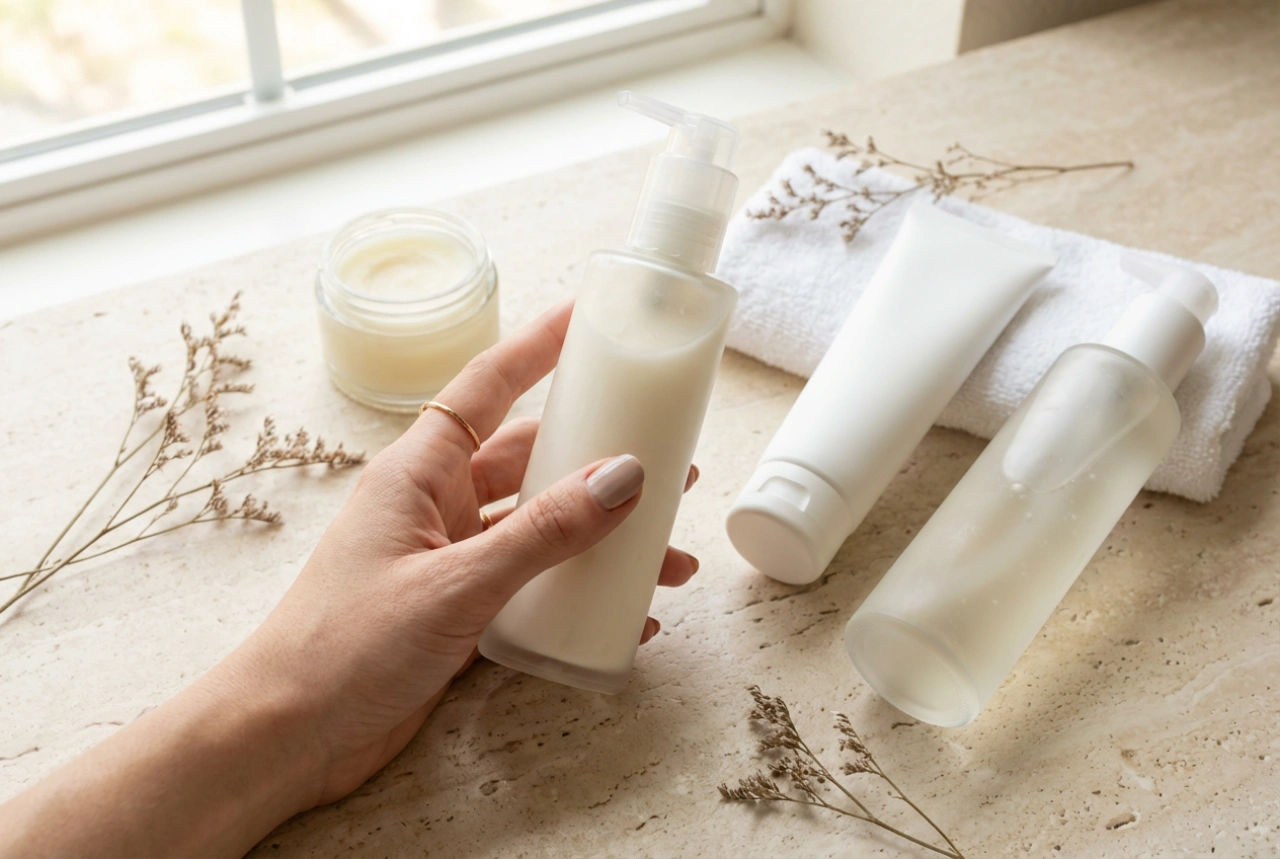


Effective facial cleansing is the cornerstone of any successful skincare routine. It's not just about removing makeup; it's a vital step that clears away the daily build-up of impurities, excess oil, and pollutants. For those with combination or oily skin, choosing the right cleanser and using the correct technique is particularly crucial. A well-executed cleanse can help maintain a clear, balanced complexion, while the wrong approach can lead to irritation, dryness, or even more blemishes. This guide will walk you through selecting the ideal face wash and mastering the art of the perfect cleanse.
Choosing Your Ideal Cleanser
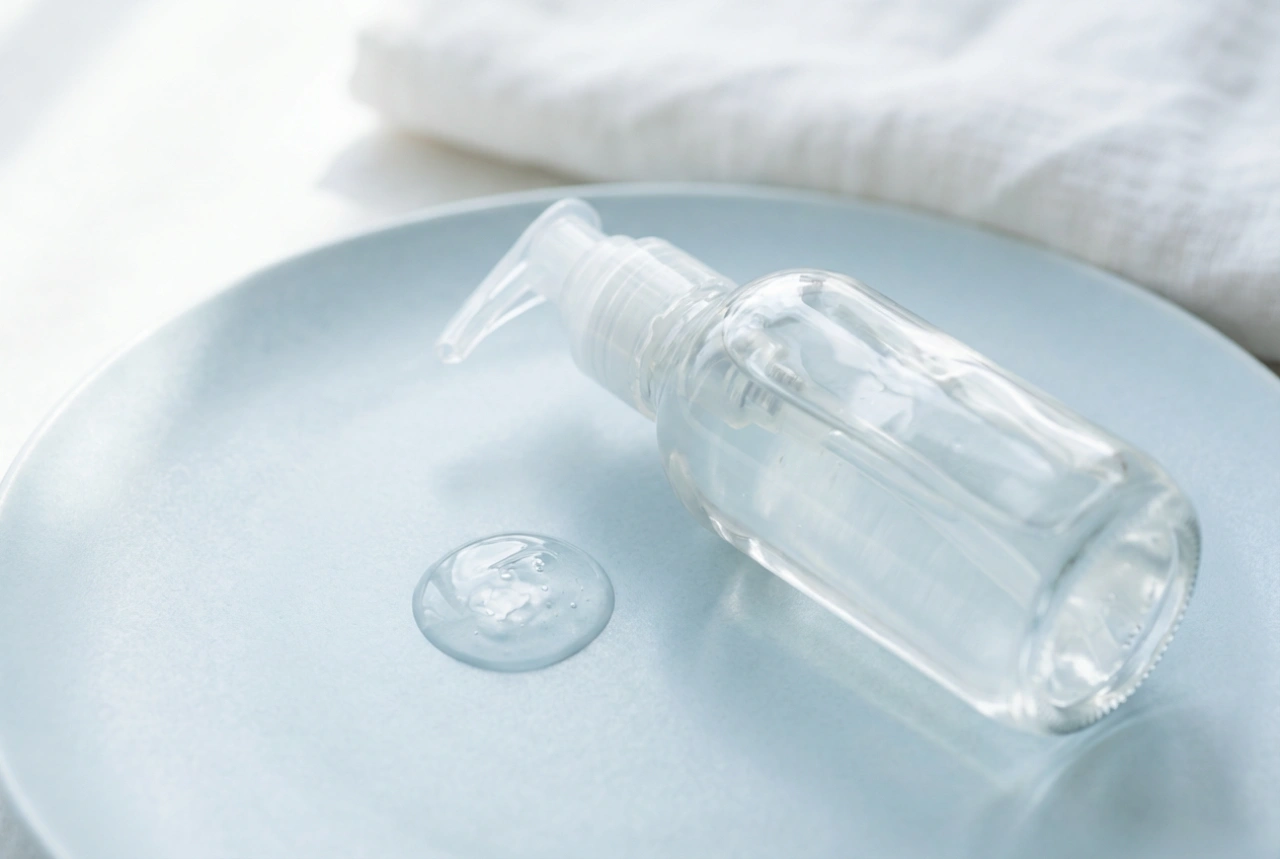
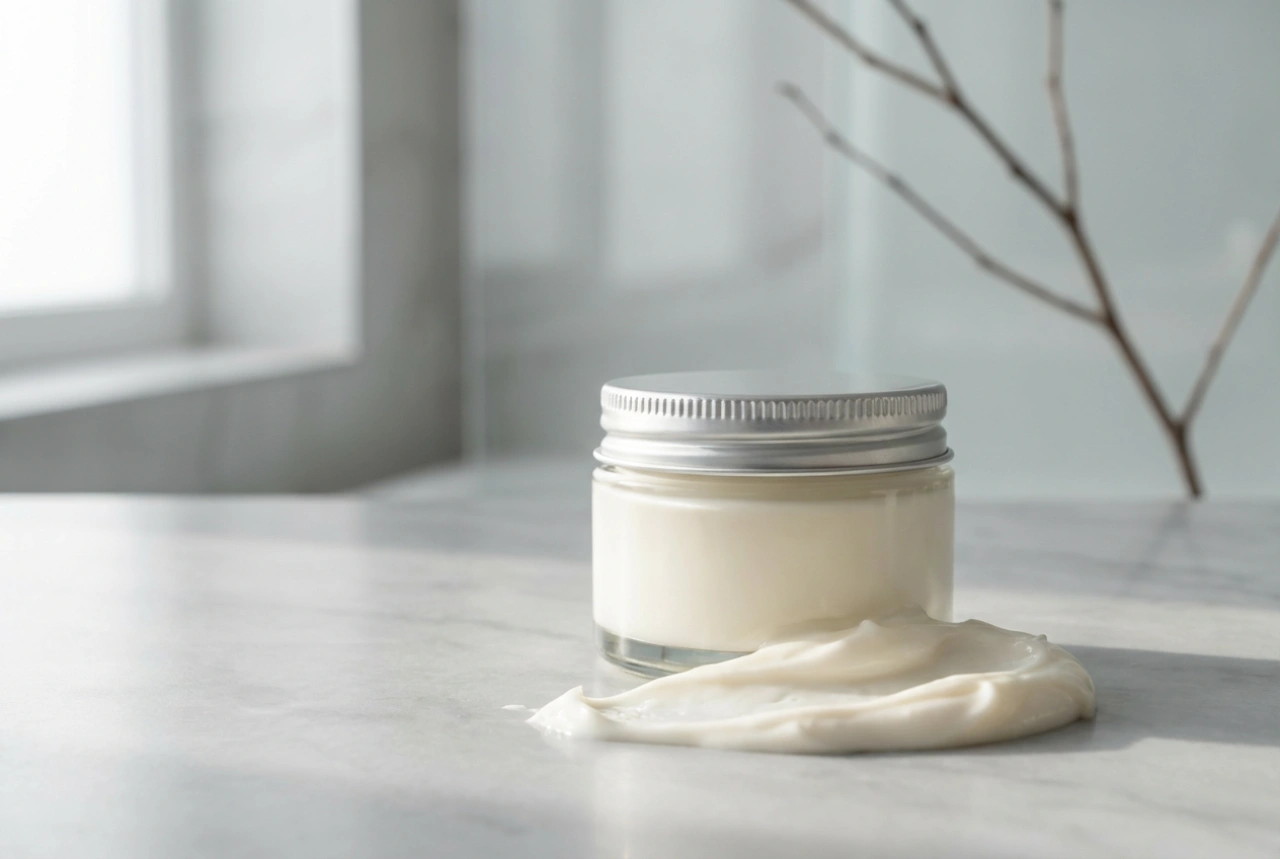
The primary goal when cleansing oily or combination skin is to thoroughly remove excess sebum and impurities without stripping the skin of its natural lipids. A harsh cleanser can damage the skin's protective barrier, leading to a feeling of tightness and ironically triggering the skin to produce even more oil to compensate. When browsing for a face wash, typically in a gel or light foam format, pay attention to the ingredient list to find a balanced formula.
Key Ingredients for a Gentle, Effective Cleanse
A good cleanser for this skin type will feature gentle cleansing agents, known as surfactants, that effectively dissolve oil without being overly aggressive. Look for formulas described as 'sulphate-free' or those that use milder alternatives derived from natural sources like coconuts or amino acids. Beyond the cleansing agents, several other ingredients can enhance the product's benefits:
- Soothing Agents: To counteract any potential for irritation, look for ingredients known for their calming properties. Botanical extracts from green tea, chamomile, or centella asiatica are excellent examples that help to soothe the skin during cleansing.
- Humectants: These ingredients attract and retain moisture. The presence of glycerin or hyaluronic acid in a cleanser helps ensure your skin remains hydrated and comfortable after washing, preventing that dreaded tight feeling.
- Balancing and Clarifying Ingredients: Certain ingredients are prized for their ability to help manage oiliness and keep pores clear. Niacinamide is a fantastic all-rounder known for supporting the skin barrier and helping to regulate sebum. Mild concentrations of salicylic acid (a beta-hydroxy acid or BHA) can gently exfoliate inside the pores, helping to prevent congestion. Zinc compounds are also often included for their mattifying and skin-balancing properties.
What to Avoid in Your Daily Cleanser
Just as important as what's in your cleanser is what's not. Some common ingredients can be too harsh for daily use on oily and combination skin. Be cautious of products containing high levels of denatured alcohol, which can be very drying and irritating over time. Similarly, avoid cleansers with aggressive physical exfoliants like large, jagged particles (e.g., crushed fruit pits), as these can cause micro-tears in the skin. While exfoliation is important, it is best done with a separate, dedicated product or a cleanser with very gentle, rounded beads used infrequently.
Mastering the Art of Application: A Step-by-Step Guide
The effectiveness of your cleanser is as much about your technique as it is about the formula. Following a consistent and gentle method will ensure you get the maximum benefit from your product without causing unnecessary stress to your skin. This ritual should take about one to two minutes in total.
Step 1: Preparation is Key
Always begin your skincare routine by washing your hands thoroughly with soap and water. This prevents you from transferring any dirt or bacteria from your hands onto your face. If you are wearing makeup, especially foundation or waterproof mascara, it is best to use a dedicated makeup remover first. An oil-based cleanser or micellar water on a soft cotton pad works well to dissolve makeup before your main cleanse.
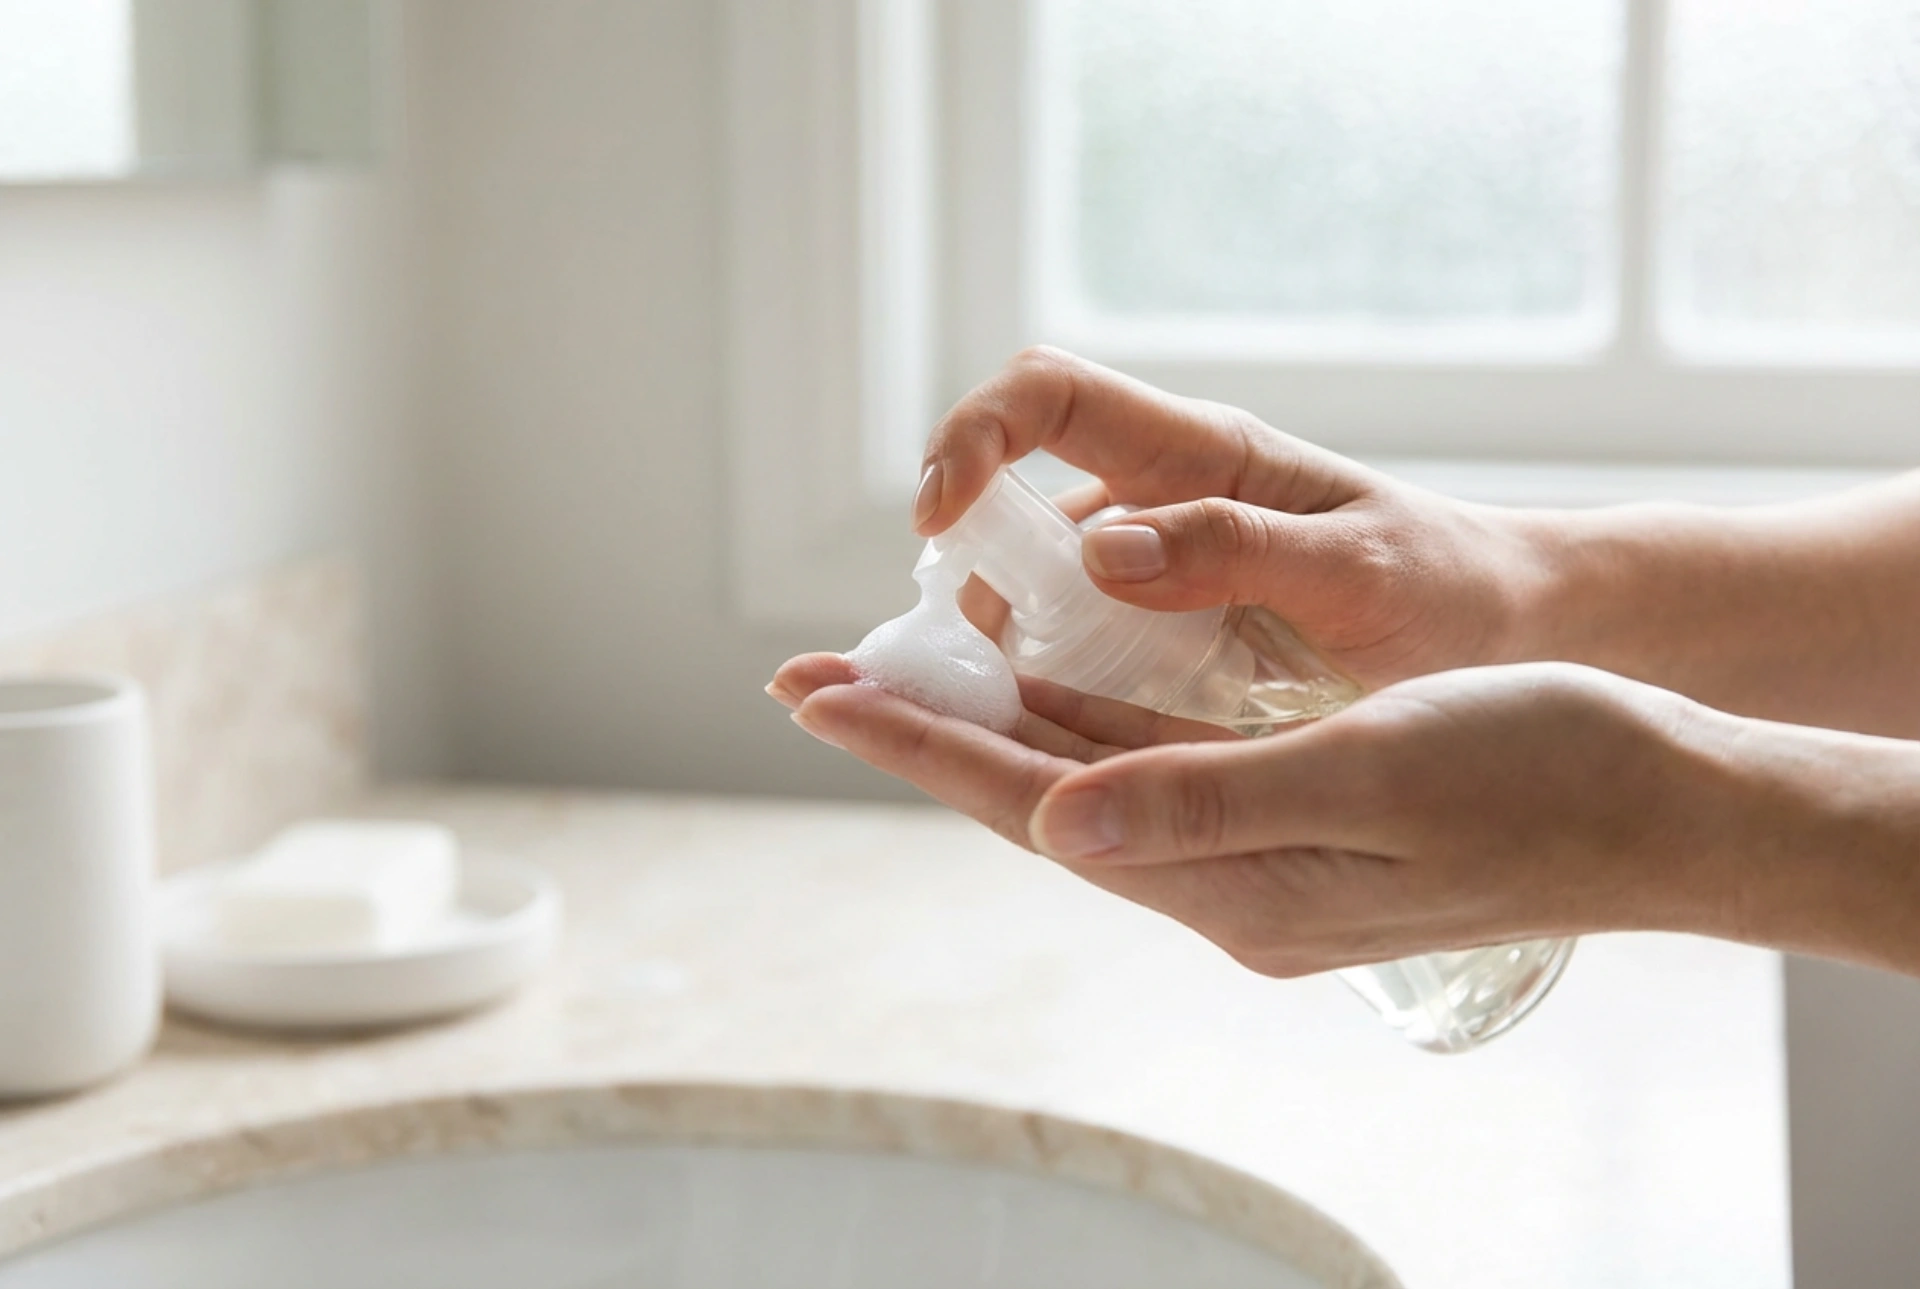
Step 2: Lather and Apply
Wet your face with lukewarm water. Water that is too hot can strip the skin’s natural oils and lead to irritation and redness, while very cold water is less effective at dissolving sebum. Squeeze a small, pea-sized amount of gel cleanser into your wet palms. Rub your hands together to create a light lather. Applying the product directly to your face without lathering first can lead to uneven distribution and unnecessary friction.
Step 3: The Gentle Massage
Once lathered, apply the cleanser to your face and begin to gently massage it into your skin using your fingertips. Use small, circular motions, working from the centre of your face outwards. Pay special attention to areas prone to oiliness and congestion, such as the forehead, nose, and chin (the T-zone), but be sure to cleanse the entire face, including along your hairline and jawline. The key word here is ‘gentle’. You do not need to scrub or apply firm pressure. Let the cleanser do the work. Aim to massage for at least 60 seconds to give the active ingredients time to work effectively.
Step 4: Rinse Thoroughly and Pat Dry
After your 60-second massage, rinse your face completely with lukewarm water. Splash your face multiple times to ensure all traces of the cleanser are removed, as any residue left behind can lead to clogged pores or irritation. Once rinsed, gently pat your skin dry with a clean, soft towel. Avoid rubbing your face with the towel, as this can tug at the skin and cause irritation. It's also a good hygiene practice to use a fresh towel for your face every day or two.
Are You Making These Cleansing Errors?
Even with the best product, simple mistakes in your routine can undermine your efforts. Here are some of the most common pitfalls to be aware of and how to correct them for a healthier, more balanced complexion.
- Over-washing your face: Cleansing more than twice a day (morning and evening) is usually unnecessary and can strip the skin barrier. This can cause dehydration and prompt your skin to produce even more oil. Stick to a twice-daily routine unless you've been sweating heavily.
- Using water at the wrong temperature: Extreme temperatures are your skin’s enemy. Hot water strips natural oils and can exacerbate redness, while ice-cold water isn't efficient at cleansing. Lukewarm is always the safest and most effective choice.
- Being too aggressive: Scrubbing your face vigorously with your hands, a washcloth, or a cleansing brush doesn't make it cleaner. It just causes irritation, inflammation, and potential damage to the skin barrier. Be gentle.
- Rushing the process: A quick 15-second wash is not enough time for the cleanser's ingredients to break down oil, dirt, and impurities. Aim for a full 60 seconds of gentle massage to ensure a thorough cleanse.
- Forgetting to rinse properly: Lingering cleanser residue is a common cause of dryness, tightness, and clogged pores. Take the extra time to rinse until your skin feels completely clean and smooth.
- Neglecting your neck and jawline: Skincare shouldn't stop at your chin. The neck and jawline also accumulate sweat and dirt and can be prone to breakouts. Extend your cleansing routine downwards to include these areas.
- Using an old, damp towel: Towels can harbour bacteria, which you then transfer back onto your freshly cleaned skin. Use a dedicated face towel and change it frequently.