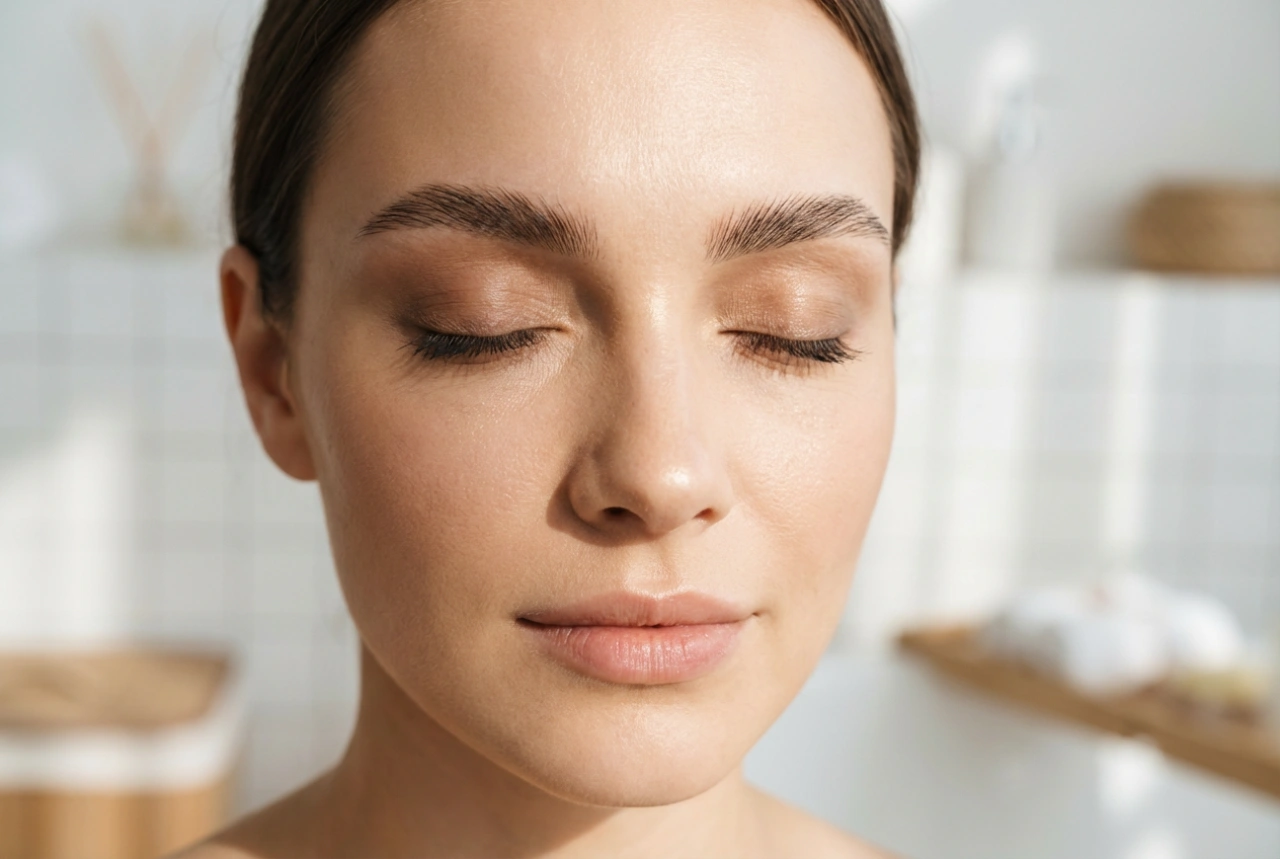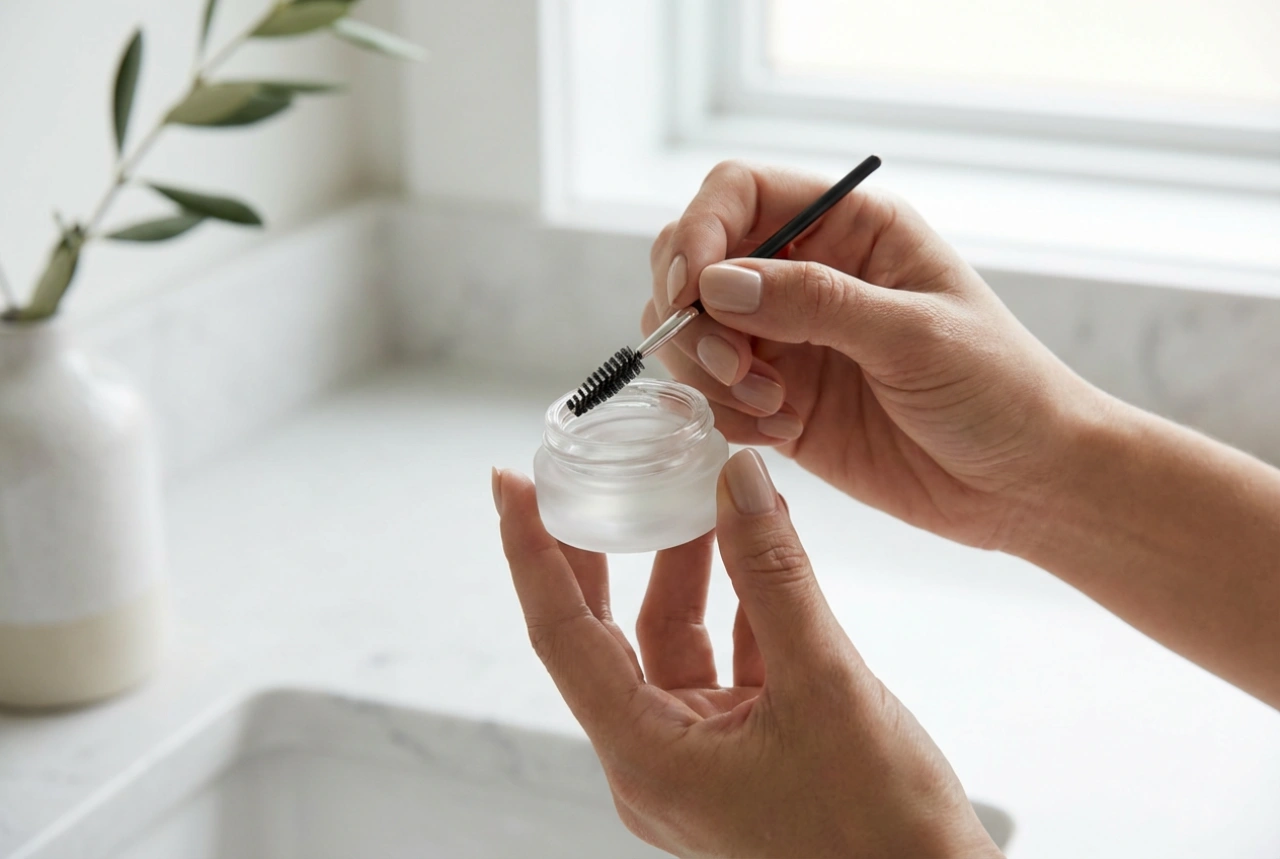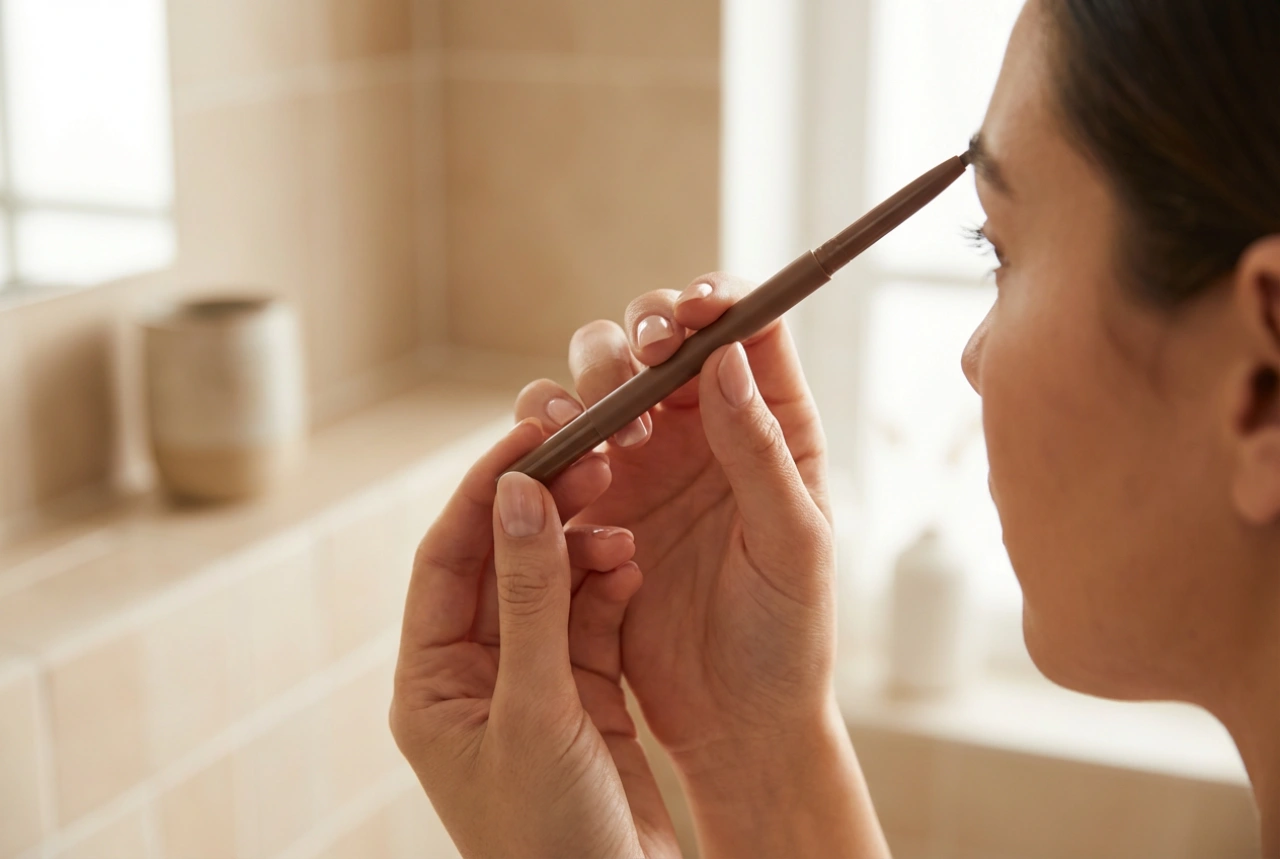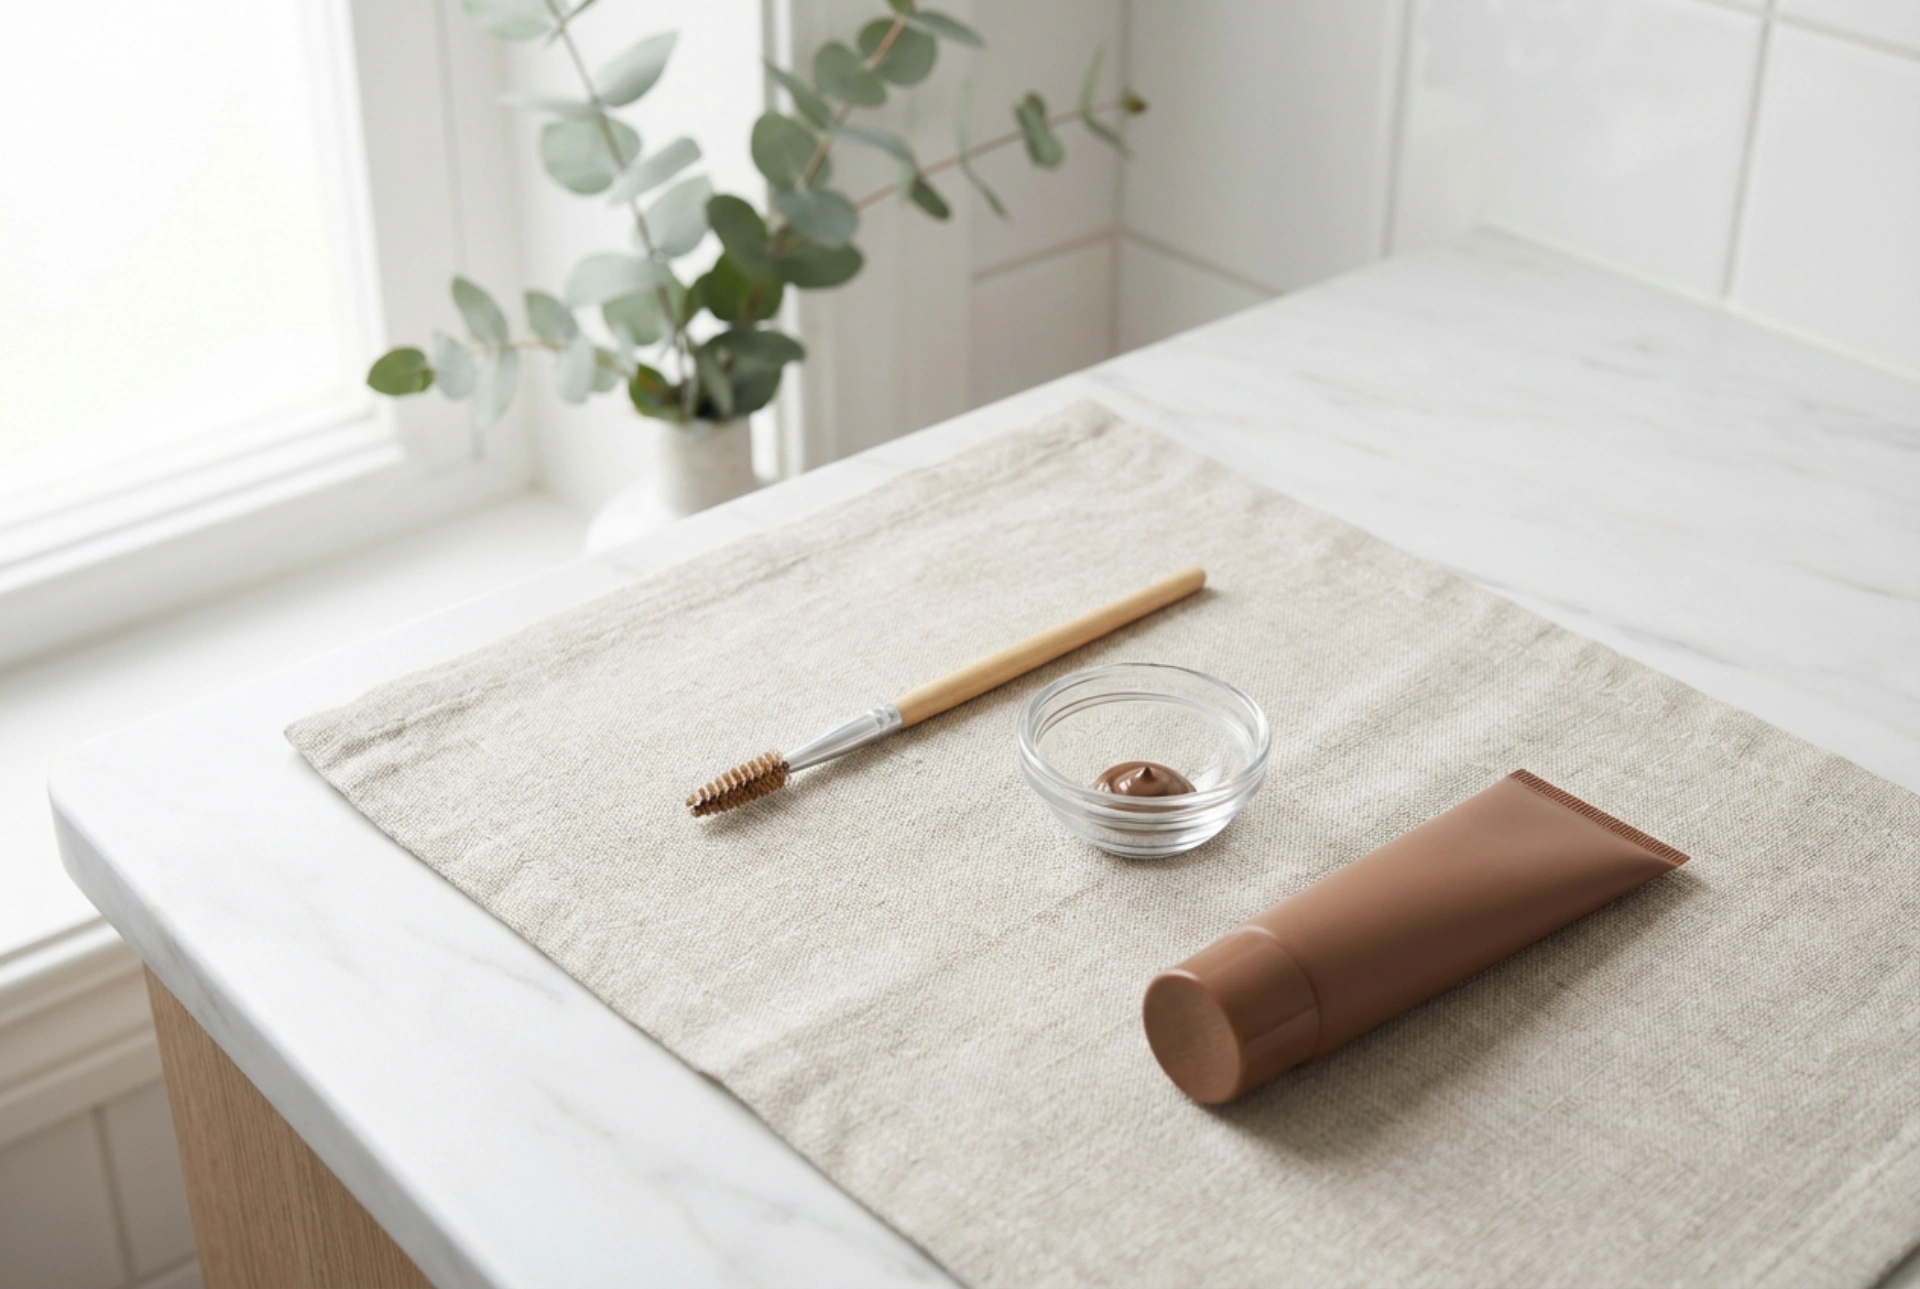


Achieving beautifully defined eyebrows can completely transform your face, framing your eyes and enhancing your natural features. When using minimalist brow tinting tools, such as a fine-tipped brush and a small glass mixing dish, precision and care are key to obtaining a flawless, professional-looking finish at home. Henna has become a highly popular method for brow styling because it not only tints the hairs but also subtly stains the skin beneath, creating a fuller and more structured look. To get the most out of your home treatment, understanding how to apply the mixture evenly and maintain the results is essential.
The Importance of Skin Preparation
The longevity of your brow henna depends heavily on how well you prepare the skin and hair before application. Since henna acts as a natural dye that binds to both the hair keratin and the top layer of the epidermis, any barrier on the skin will prevent even absorption. This often results in patchy spots or premature fading.
To ensure a uniform finish, begin by thoroughly cleansing the brow area to remove makeup, oils, and moisturiser. A gentle, oil-free cleanser is ideal for this step. Following cleansing, a light exfoliation of the eyebrow zone is highly recommended. Using a soft brow scrub or a damp cotton pad with a mild exfoliating lotion helps to shed dead skin cells. This creates a smooth, receptive canvas, allowing the henna paste to adhere evenly and prevent the dreaded smudging effect. Always ensure the brows are completely dry before you begin the application process.
Precision Application Techniques
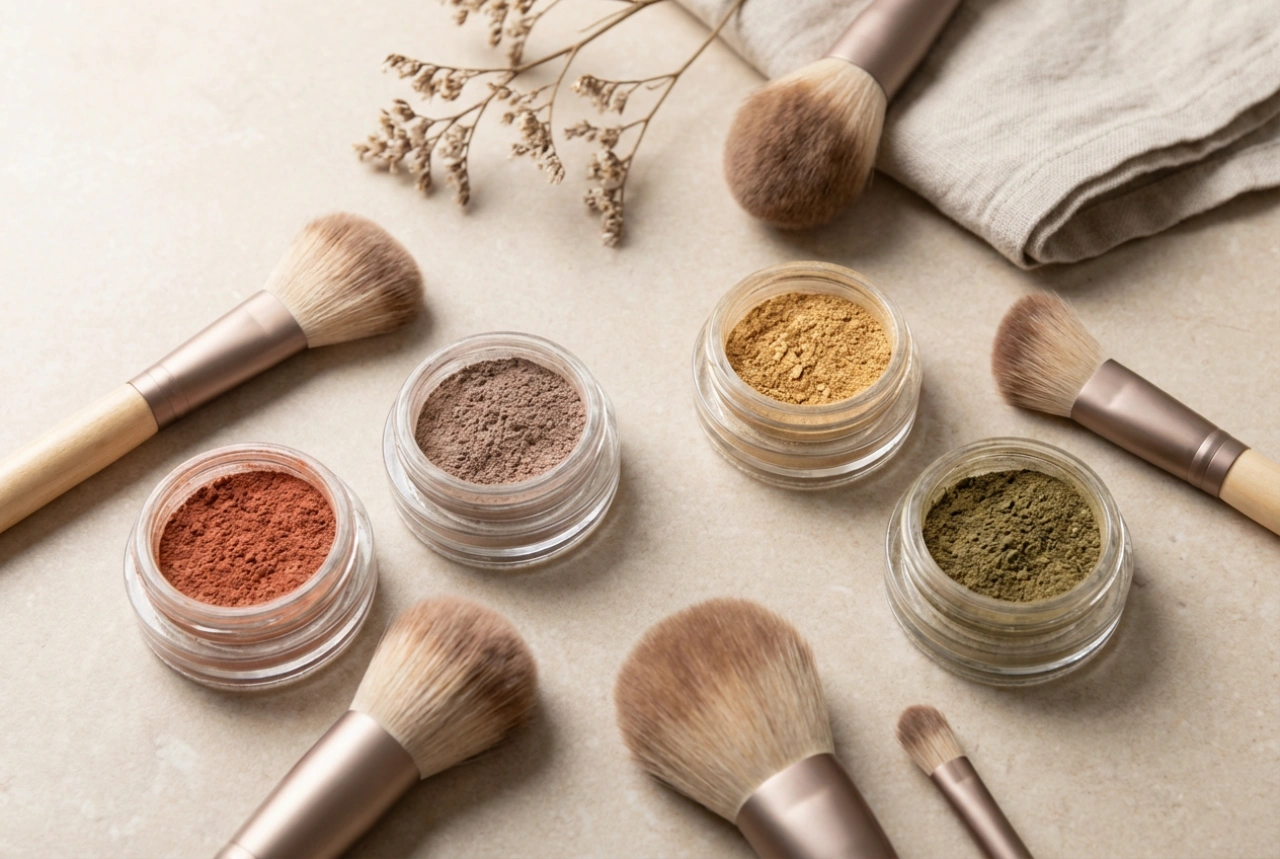
Applying brow henna requires a steady hand and the right tools. Mixing the powder with water or the recommended activator in a small glass dish allows you to monitor the consistency, which should resemble thick melted chocolate or a smooth paste. If the mixture is too runny, it may drip and cause unwanted stains; if it is too thick, it will be difficult to spread evenly.
Using a high-quality, angled brush with firm bristles is crucial for defining the edges. Start by outlining the lower border of the brow, working from the tail towards the inner corner. Once the outline is established, fill in the rest of the brow, pressing the paste gently onto the skin beneath the hairs. For a natural gradient effect, apply less product to the inner start of the brow and leave it on for a shorter duration. If you make a mistake or step outside your desired shape, immediately clean the area with a damp cotton bud to avoid permanent staining.
Post-Treatment Care for Long-Lasting Colour
Once you have achieved the perfect shape and intensity, the way you care for your brows in the subsequent days will dictate how long the effect lasts. The first 24 to 48 hours are the most critical period for the pigment to fully set.
During this initial window, it is highly advisable to keep your brows completely dry. Avoid splashing water directly onto your face, and take care when washing your hair. Steam from hot showers, saunas, and intense workouts that cause heavy sweating can also weaken the bond of the dye, leading to premature fading. Furthermore, when you resume your daily skincare routine, steer clear of oil-based cleansers, heavy creams, and serums around the brow area. Oils naturally dissolve the tint on both the skin and the hair, shortening the lifespan of your beautiful, defined brows.
How to Avoid Smudges and Patchiness
Smudges and uneven patches are common frustrations, but they can be easily avoided with a few simple precautions. First, consistency is key when applying the paste. Ensure that you apply an even layer across the entire brow shape, making sure the product reaches the skin surface rather than just sitting on top of the brow hairs.
Another common pitfall is removing the henna too early or using harsh techniques to wipe it off. Always use a damp, soft cotton pad to gently soften the dried paste before wiping it away. Never rub or scrub the area forcefully, as this can physically lift the tinted skin cells and create gaps in the colour. If you notice any slight unevenness immediately after removal, resist the urge to reapply the product straight away; instead, allow the colour to settle over the next few hours, as henna often oxidises and develops a more uniform tone.