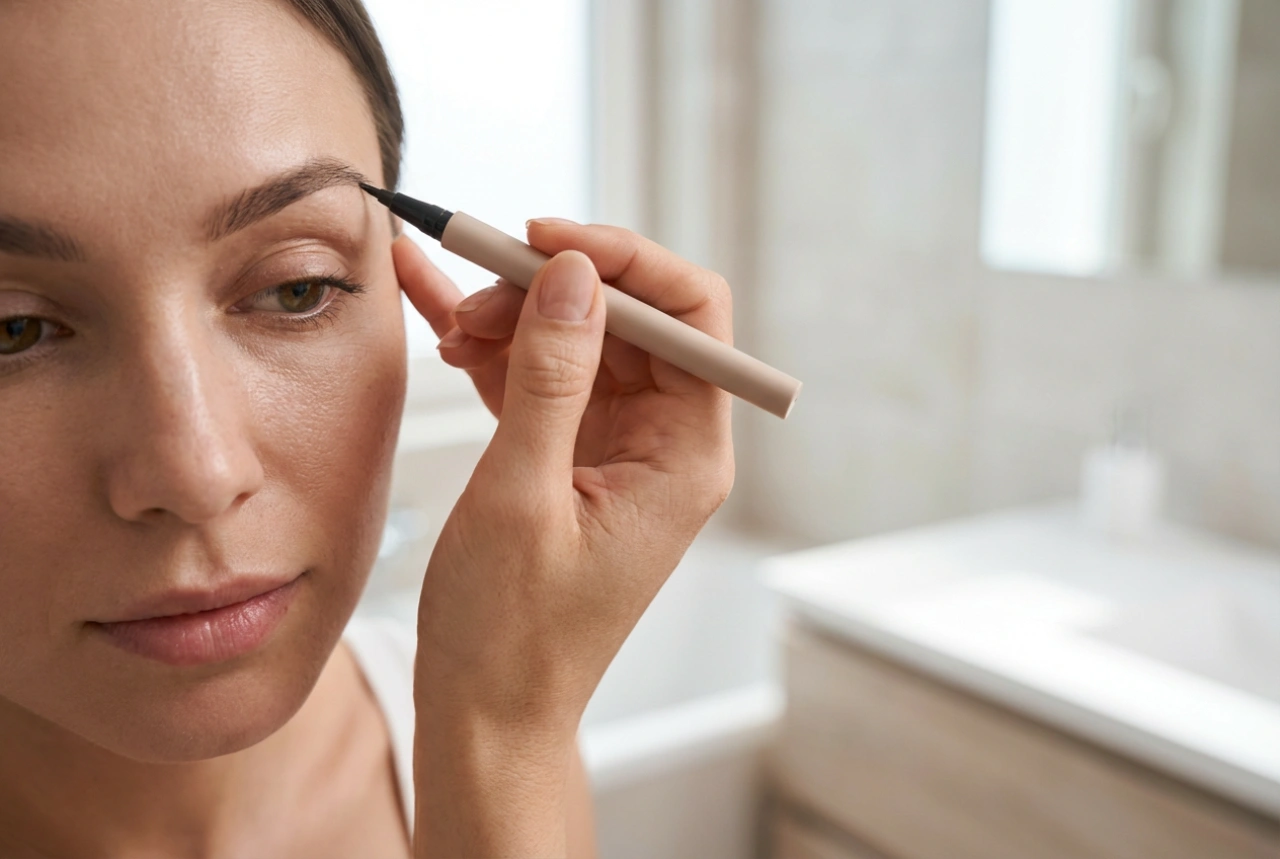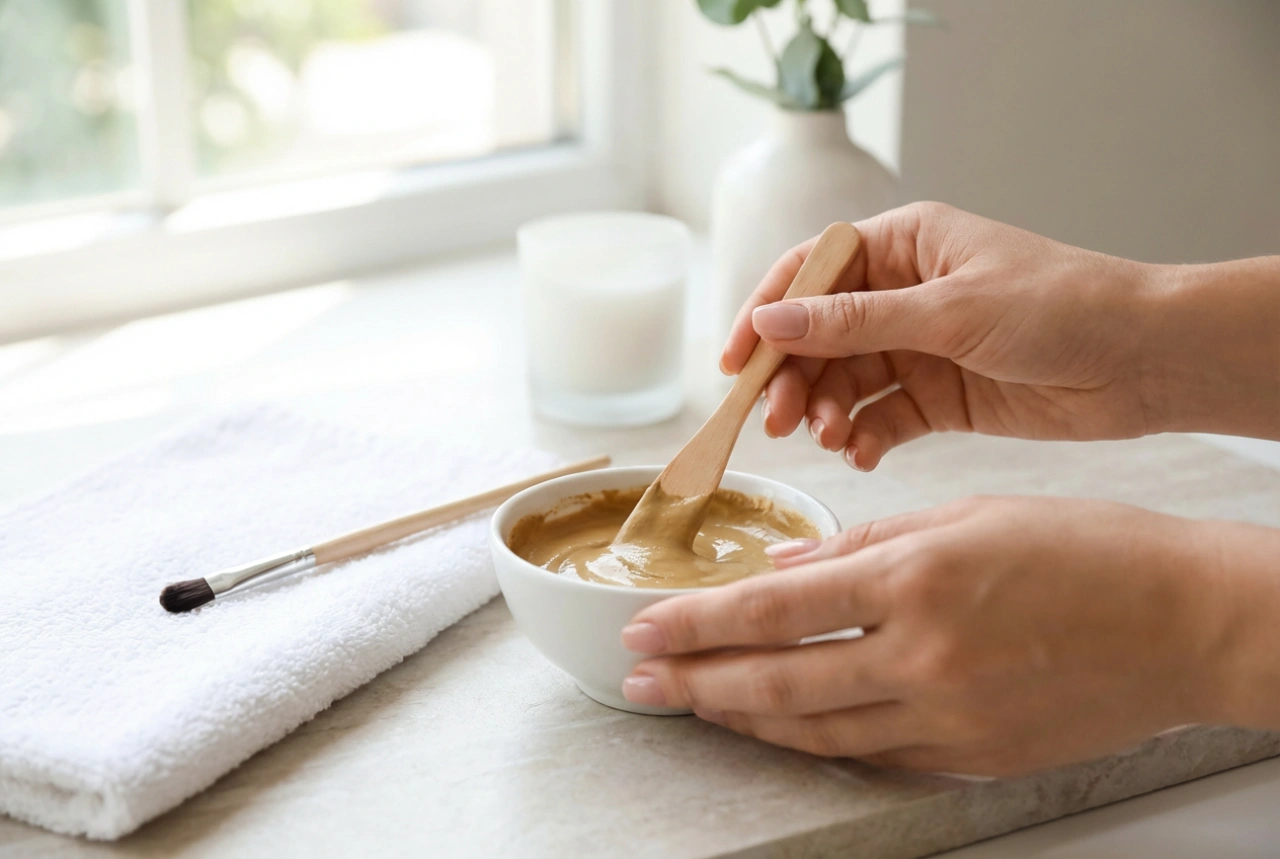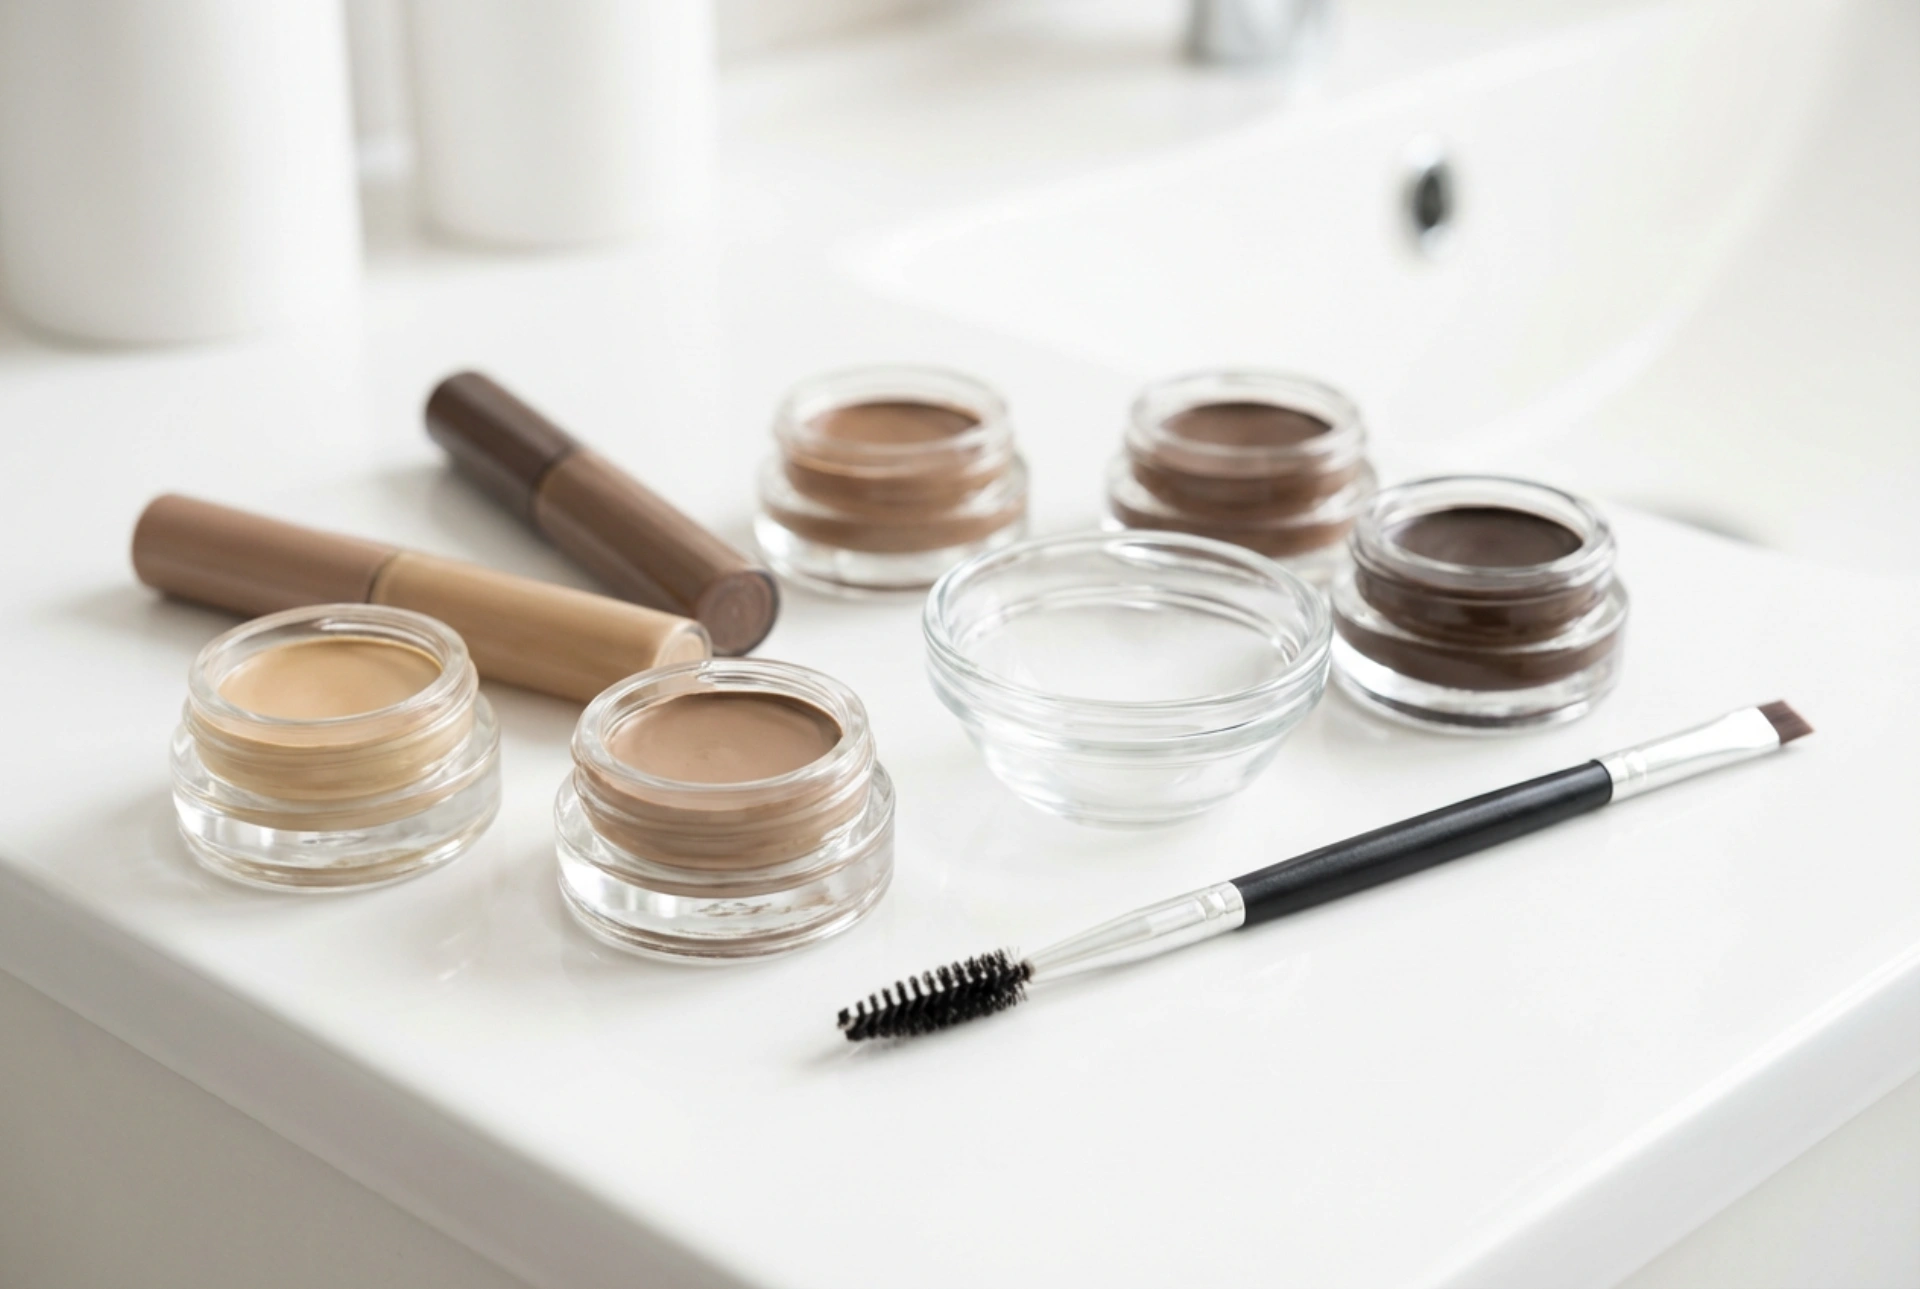


An elegant beauty setup with neutral packaging, a small mixing dish, and a precise applicator brush laid out on a clean white surface highlights how simple it can be to achieve professional-looking results in the comfort of your own home. Defining the eyebrows is one of the most effective ways to frame the face and enhance natural features. While salon visits are popular, learning how to select the correct shade and perform a long-lasting tint at home can save time and offer a rewarding addition to your self-care routine. With the right preparation and a steady hand, achieving beautiful, defined brows is highly accessible.
The Benefits of At-Home Eyebrow Tinting
Tinting your eyebrows at home offers a convenient way to maintain a polished look with minimal effort. A semi-permanent colour coats the fine hairs, making the brows appear fuller, more structured, and evenly coloured. This is particularly beneficial for those with sparse areas, lighter brow hairs, or individuals who want to streamline their daily makeup routine. By using gentle, consumer-grade products, you can enjoy defined brows that last for several weeks, meaning less time spent using pencils or gels each morning. The key to a successful experience lies in choosing high-quality, straightforward tools and understanding the colouring process.
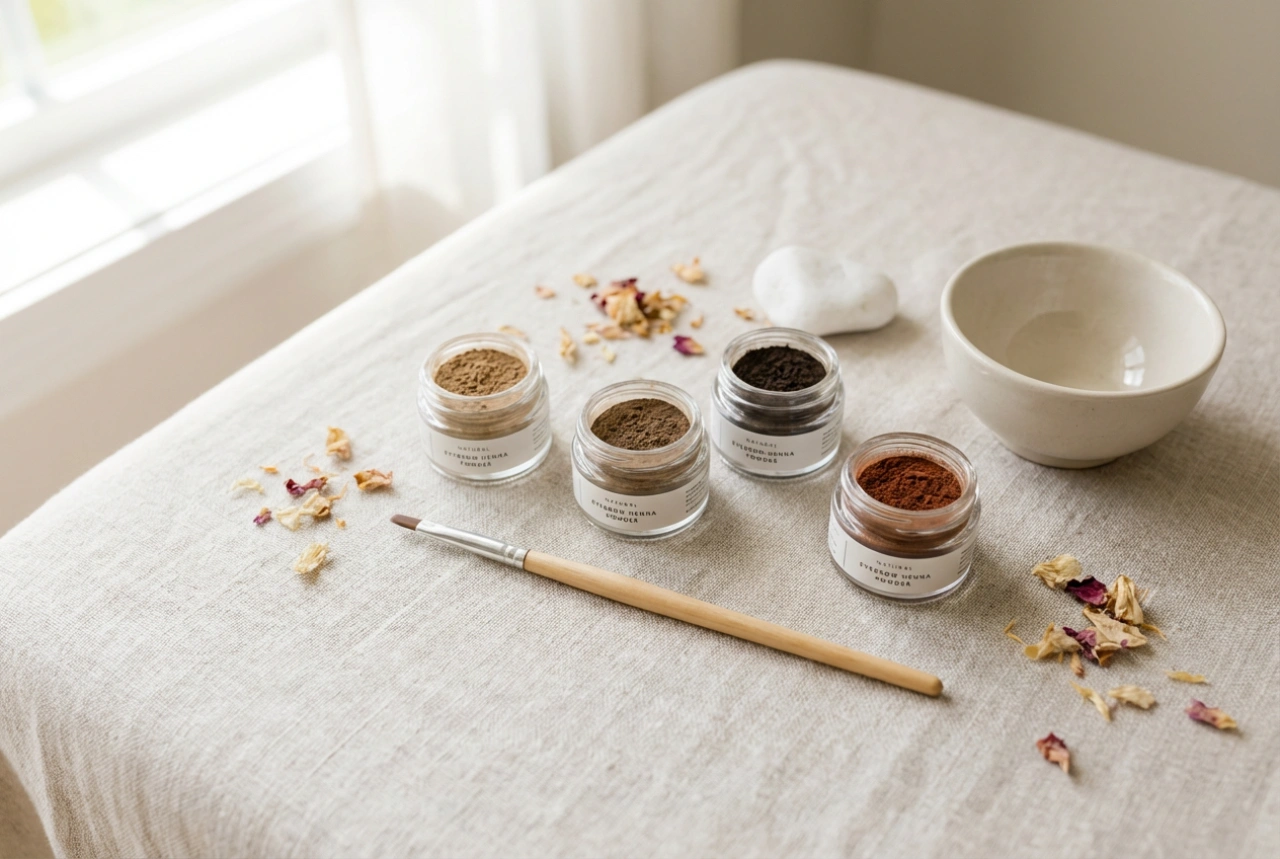
How to Choose the Perfect Shade
Selecting the correct tone is the most critical step in ensuring a natural and flattering result. A brow shade that is too dark can look harsh, while a shade that is too light will not provide the desired definition. As a general rule, the goal is to complement your natural hair colour and skin undertones.
Guidelines for Blonde and Light Hair
If you have blonde, light brown, or grey hair, aim for a tint that is one to two shades darker than your natural hair. Soft taupe, light brown, or ash-blonde tones work exceptionally well. These shades add subtle definition without creating a stark contrast. It is usually best to avoid very warm or golden-brown tints, as they can sometimes appear slightly orange on lighter hairs.
Options for Brunettes and Dark Hair
For those with medium to dark brown hair, look for a shade that matches the deepest tones in your hair or is slightly lighter to soften your facial features. Dark brown or medium brown shades with cool undertones are highly versatile. If you have jet-black hair, avoid using pure black tint, as this can look unnaturally heavy. Instead, opt for a dark brown or a soft black-brown shade, which provides a softer and more sophisticated framing effect.
Shades for Redheads and Warm Tones
If you have auburn, strawberry blonde, or rich copper hair, your brows will benefit from warm-toned tints. A light brown with warm undertones or a subtle auburn tint will complement your natural hair beautifully. If you prefer a more neutral look, a soft, warm-toned medium brown can also blend seamlessly without overpowering your complexion.
Essential Tools and Preparation
Before beginning the tinting process, gathering the right tools will ensure a smooth and precise application. You do not need professional-grade salon equipment; simple, practical items will suffice. Prepare a clean workspace with soft, natural lighting to help you see the details clearly.
- A gentle, oil-free cleanser to remove makeup and natural skin oils.
- A barrier cream, such as a rich moisturiser or petroleum jelly, to protect the skin surrounding your brows from unwanted staining.
- A small, non-metallic mixing dish and a spatula or spoolie for combining the product.
- An angled applicator brush with firm bristles for precise placement.
- Cotton pads and cotton buds for cleaning up any stray product immediately.
Start by thoroughly washing your face and ensuring your eyebrows are completely clean and dry. Any oil, makeup residue, or lotion left on the skin can prevent the tint from adhering properly, leading to uneven colour distribution.
The Step-by-Step Tinting Process
Once your brows are prepped, it is time to apply the tint. Follow the instructions provided with your chosen tint kit carefully, particularly regarding the mixing ratios and development times.
First, apply a thin layer of barrier cream around the outer edges of your eyebrows. Be careful not to get any cream on the brow hairs themselves, as this will block the tint. Mix the tint according to the product guidelines in your small dish until you achieve a smooth, creamy consistency.
Next, use your angled brush to apply the tint to your brows. Start at the arch and work towards the tail, as these areas can handle slightly deeper pigmentation. Gently brush the remaining tint through the inner corners of the brows, moving in the direction of hair growth. Ensure the hairs are evenly coated from root to tip. Use a damp cotton bud to immediately wipe away any excess tint that lands outside your desired brow shape.
Allow the tint to develop for the recommended time. It is always safer to leave the product on for a shorter duration during your first attempt; you can always repeat the process if you prefer a deeper shade. Once the time is up, gently wipe the tint away using a damp cotton pad, moving in outward strokes until no residue remains.
Post-Care Tips for Long-Lasting Brows
To keep your newly tinted eyebrows looking fresh and vibrant for as long as possible, simple post-care is essential. For the first twenty-four hours after tinting, try to keep your brows completely dry. Avoid washing your face with hot water, taking steamy baths, or engaging in intense workouts that cause heavy sweating.
Additionally, avoid applying strong exfoliating skincare products, such as retinol, glycolic acid, or physical scrubs, directly over the eyebrow area, as these can accelerate the fading process. When cleansing your face, gently wipe around the brows rather than scrubbing them directly. With proper care, your beautifully tinted brows can maintain their depth and structure for up to four to six weeks.