

Achieving perfectly defined yet incredibly natural-looking eyebrows is a key element of modern beauty routines. Unlike heavy, blocked brows of the past, the contemporary focus is on texture, dimension, and realism. An elegant, fine-tipped eyebrow pen is the ultimate tool for this purpose, allowing you to recreate the delicate appearance of individual hairs with absolute precision. With a soft, controlled hand, these pens can transform sparse arches into full, beautifully shaped brows that look entirely authentic under any light.
Why eyebrow pens are a game-changer for definition
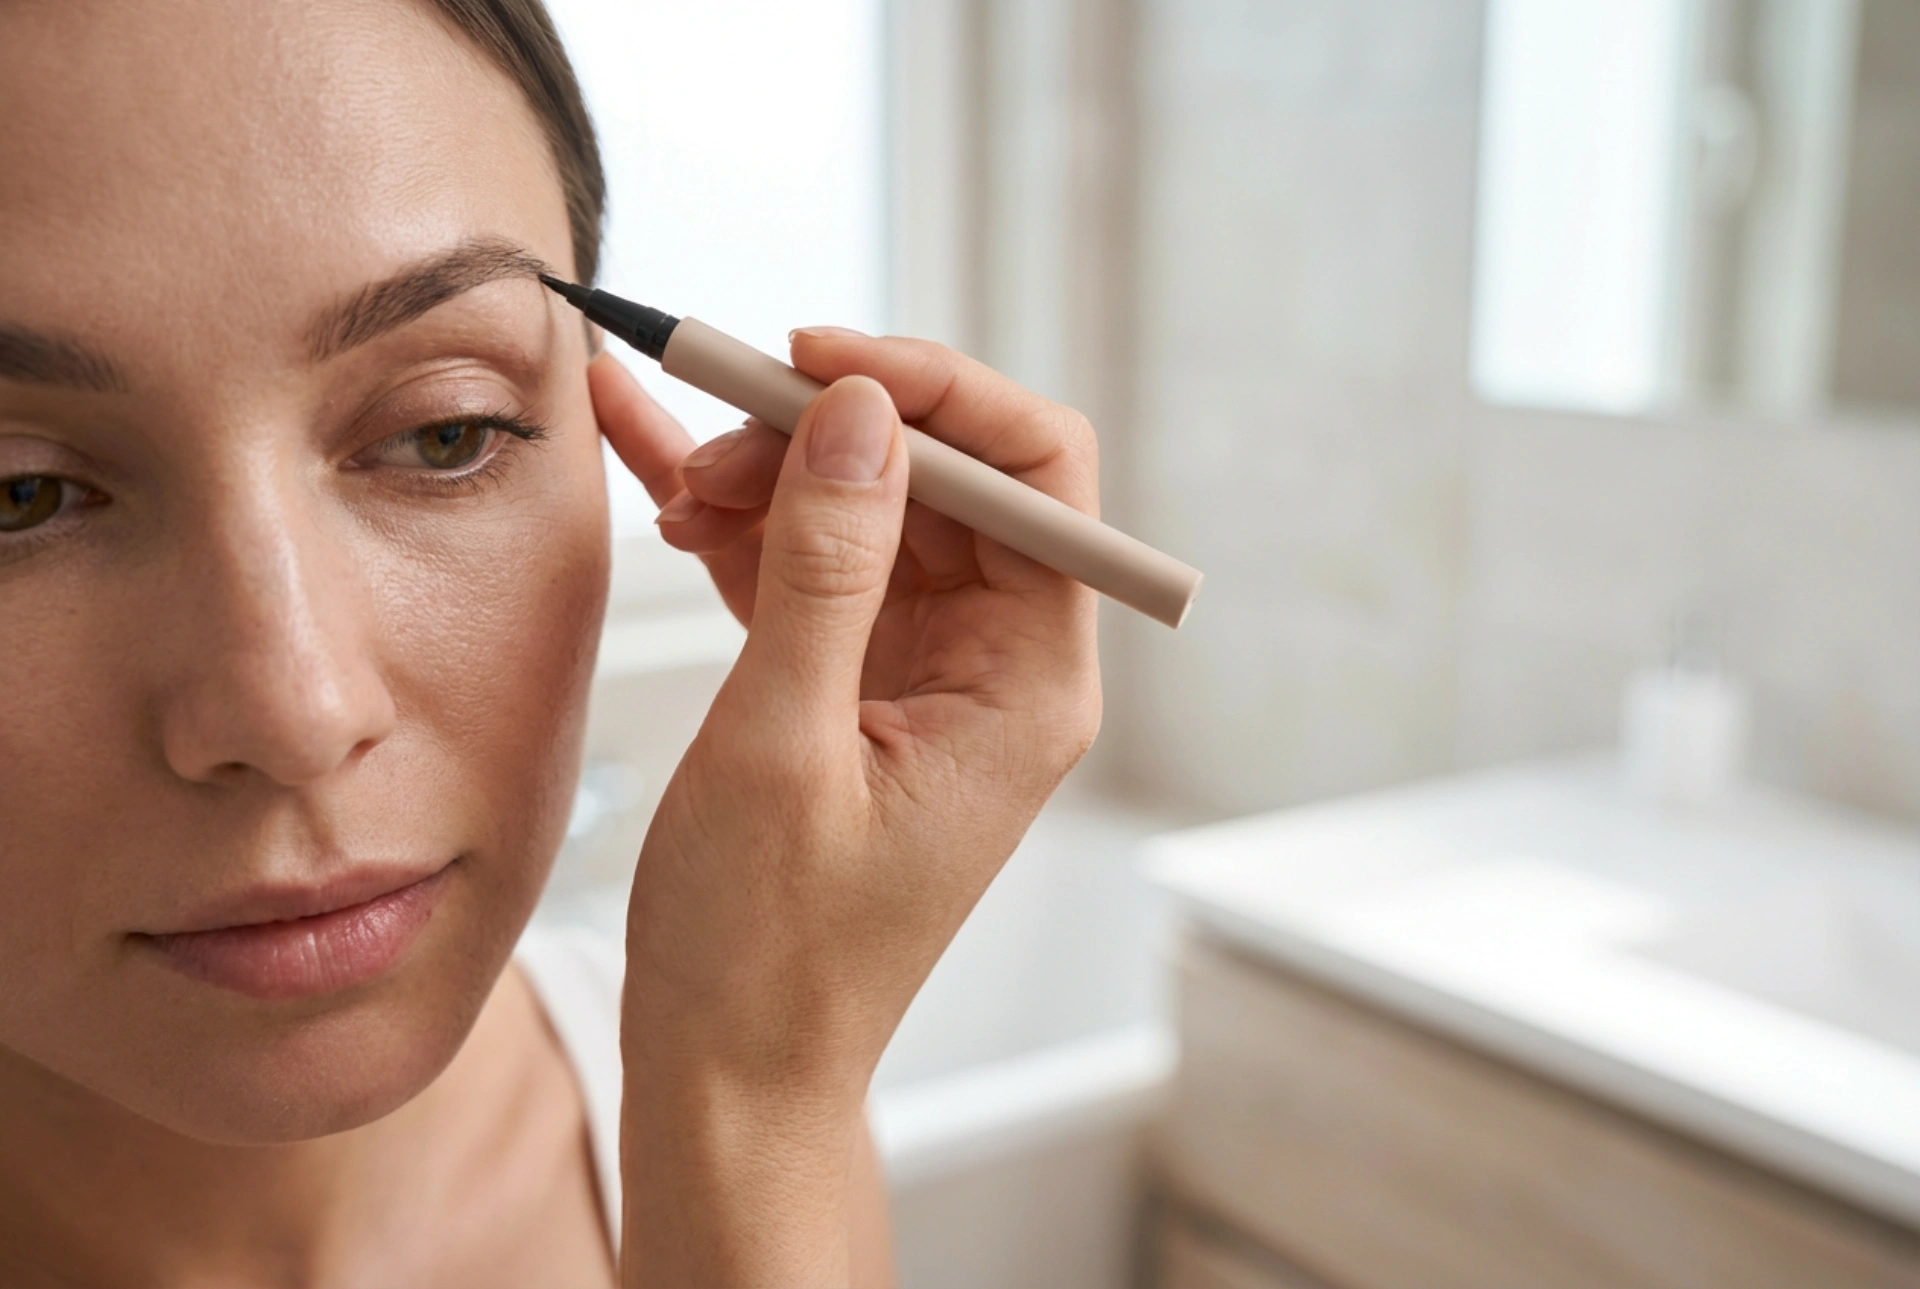
Traditional brow products like pencils, pomades, and powders are excellent for shading and filling in large areas, but they often lack the ability to create fine detail. Eyebrow pens feature ultra-fine, flexible brush tips or felt tips that mimic the actual thickness of natural brow hair. This unique design offers several benefits for your daily makeup routine:
- Micro-precision: The thin tip allows you to draw ultra-fine strokes that blend seamlessly with your existing brow hairs.
- Optic thickening: By adding individual lines in sparse patches, you create an optical illusion of density without a heavy, artificial build-up of product.
- Long-lasting formula: Most brow pens use lightweight, ink-like formulas that dry quickly and resist smudging throughout the day.
Preparing the skin for flawless application
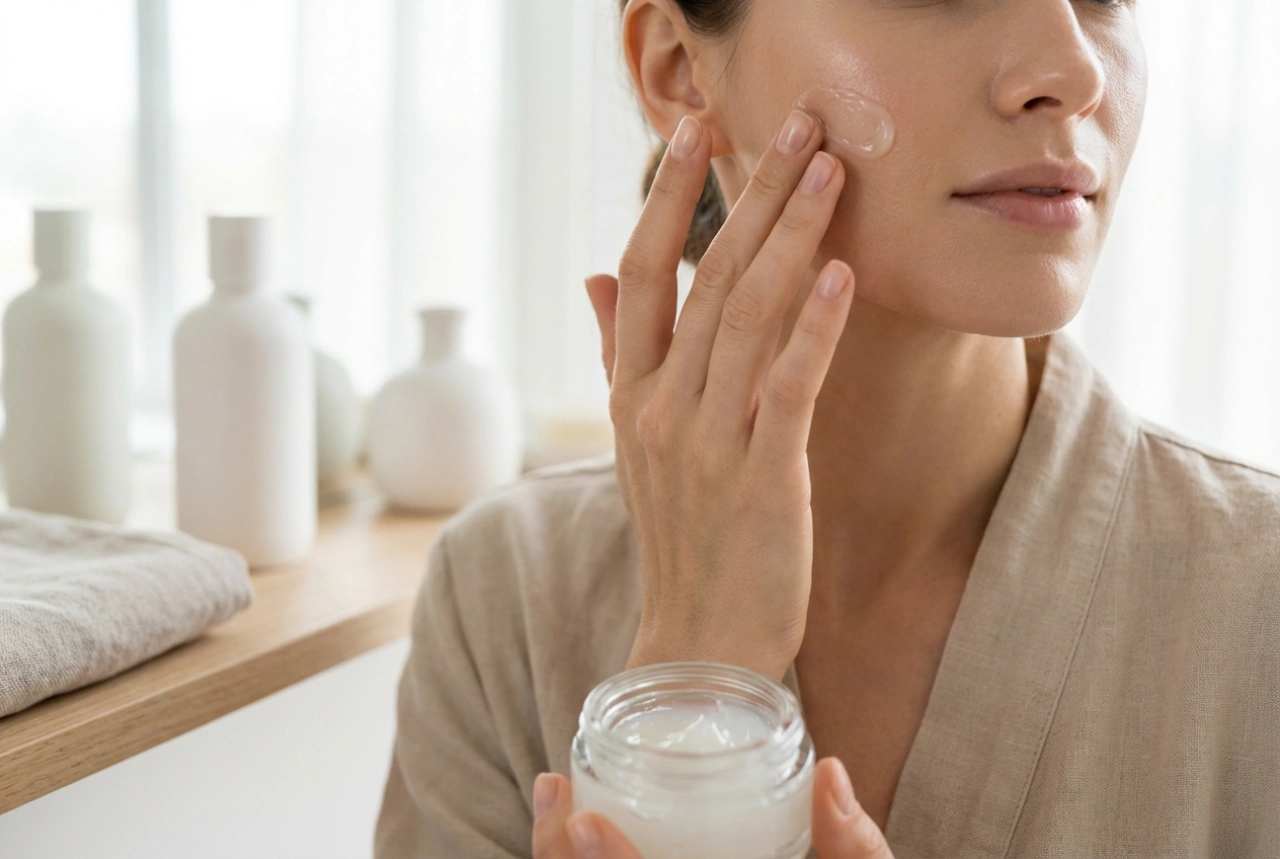
To ensure the fine lines drawn with a brow pen look sharp and stay in place, proper skin preparation is essential. Because these pens contain water-based or alcohol-based pigments, they require a clean, dry surface to adhere correctly. Any residual oils, heavy moisturisers, or liquid foundations can cause the ink to slip, fade, or change colour during application.
Start by cleansing your face and gently wiping the eyebrow area with a dry cotton pad or a touch of gentle toner to remove excess sebum. If you apply liquid foundation or concealer around your brows, try to avoid the actual brow hairs. For the best results, use the brow pen before applying any face powders, as powder can clog the delicate brush tip and restrict the flow of the product.
Step-by-step technique for drawing natural-looking hairs
Mastering the eyebrow pen requires a light hand and a bit of patience. The goal is to build up density gradually rather than drawing solid lines. Follow these simple steps to achieve a perfectly balanced look:
1. Find the natural direction of growth
Brush your brow hairs upward and outward using a clean spoolie. This reveals the natural structure of your arch and highlights the exact areas that need extra volume or filling.
2. Use a feather-light touch
Hold the pen at a slight angle rather than perpendicular to the skin. Hold it gently near the middle or end of the handle to minimise pressure. Touch the tip to the skin and flick upward in swift, light strokes. The stroke should be thickest at the base and taper off to a fine point at the top, just like a real hair.
3. Work from the centre to the tail
Start filling in sparse areas in the middle of the arch, where the hair is naturally denser. Move towards the outer tail, keeping the strokes aligned with the direction of your natural hair growth. Save the inner corner of the brow for last; this area requires the lightest touch and the fewest strokes to maintain a soft, welcoming look.
How to choose the perfect shade
Selecting the right colour is crucial for a believable finish. Since eyebrow pens deposit semi-translucent pigment, they interact with your skin tone. As a general rule, opt for a shade that matches the undertone of your natural brows. If you have cool-toned hair, look for ash-blonde or cool taupe tones. For warmer hair colours, soft brown or warm caramel shades work beautifully. When in doubt, choosing a shade slightly lighter than your natural hair colour will prevent the brows from looking too harsh or dramatic.
Once you have finished drawing the strokes, allow the ink to dry for a few moments. You can then lock the shape in place with a lightweight, clear brow gel to keep the actual hairs aligned with your beautifully drawn strokes.