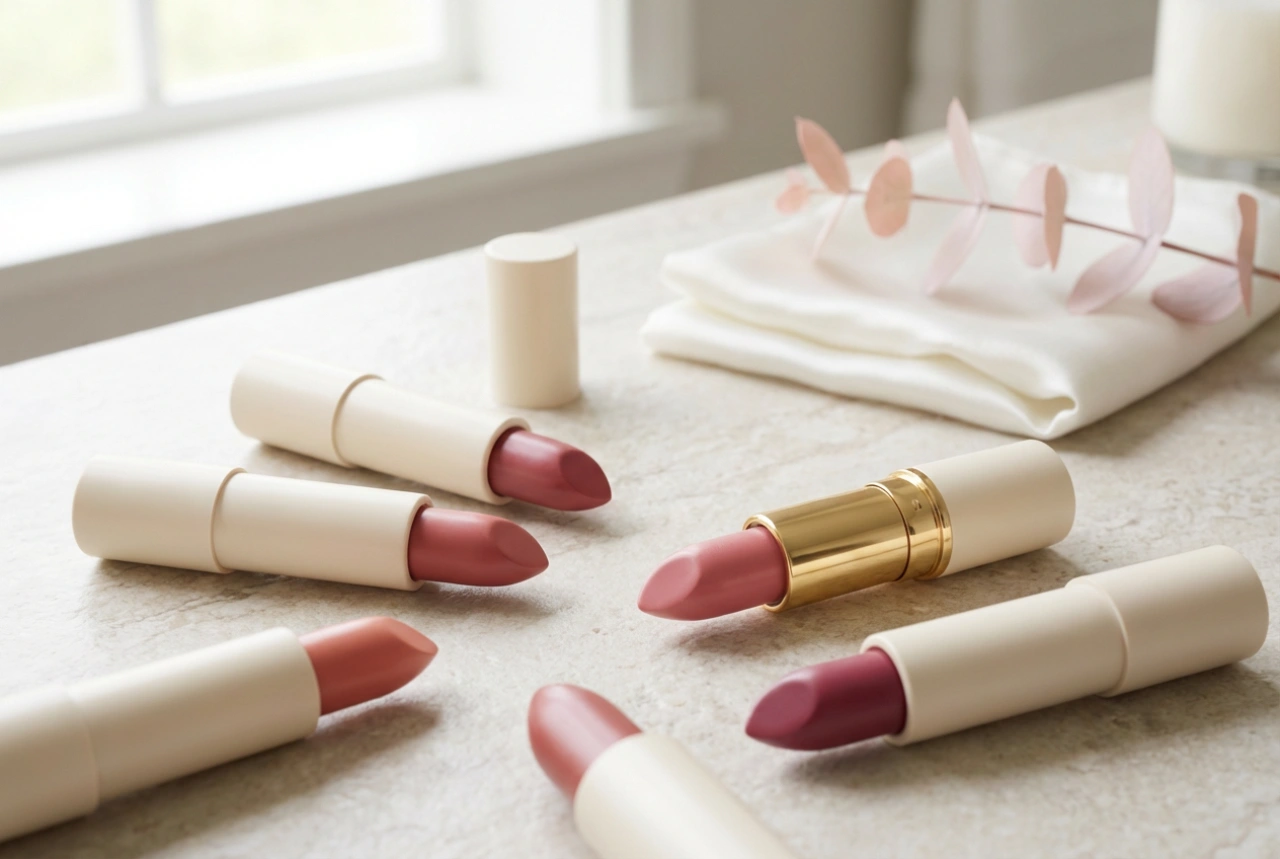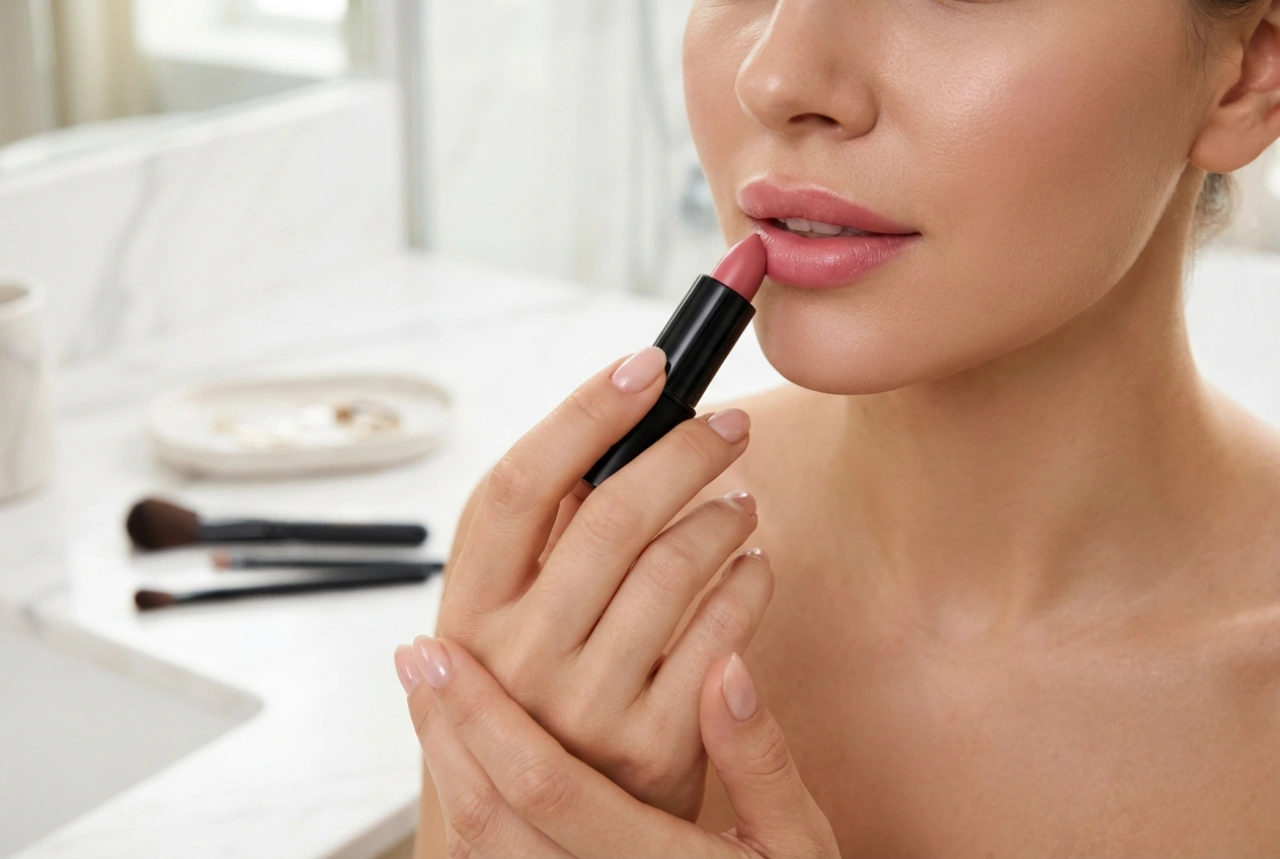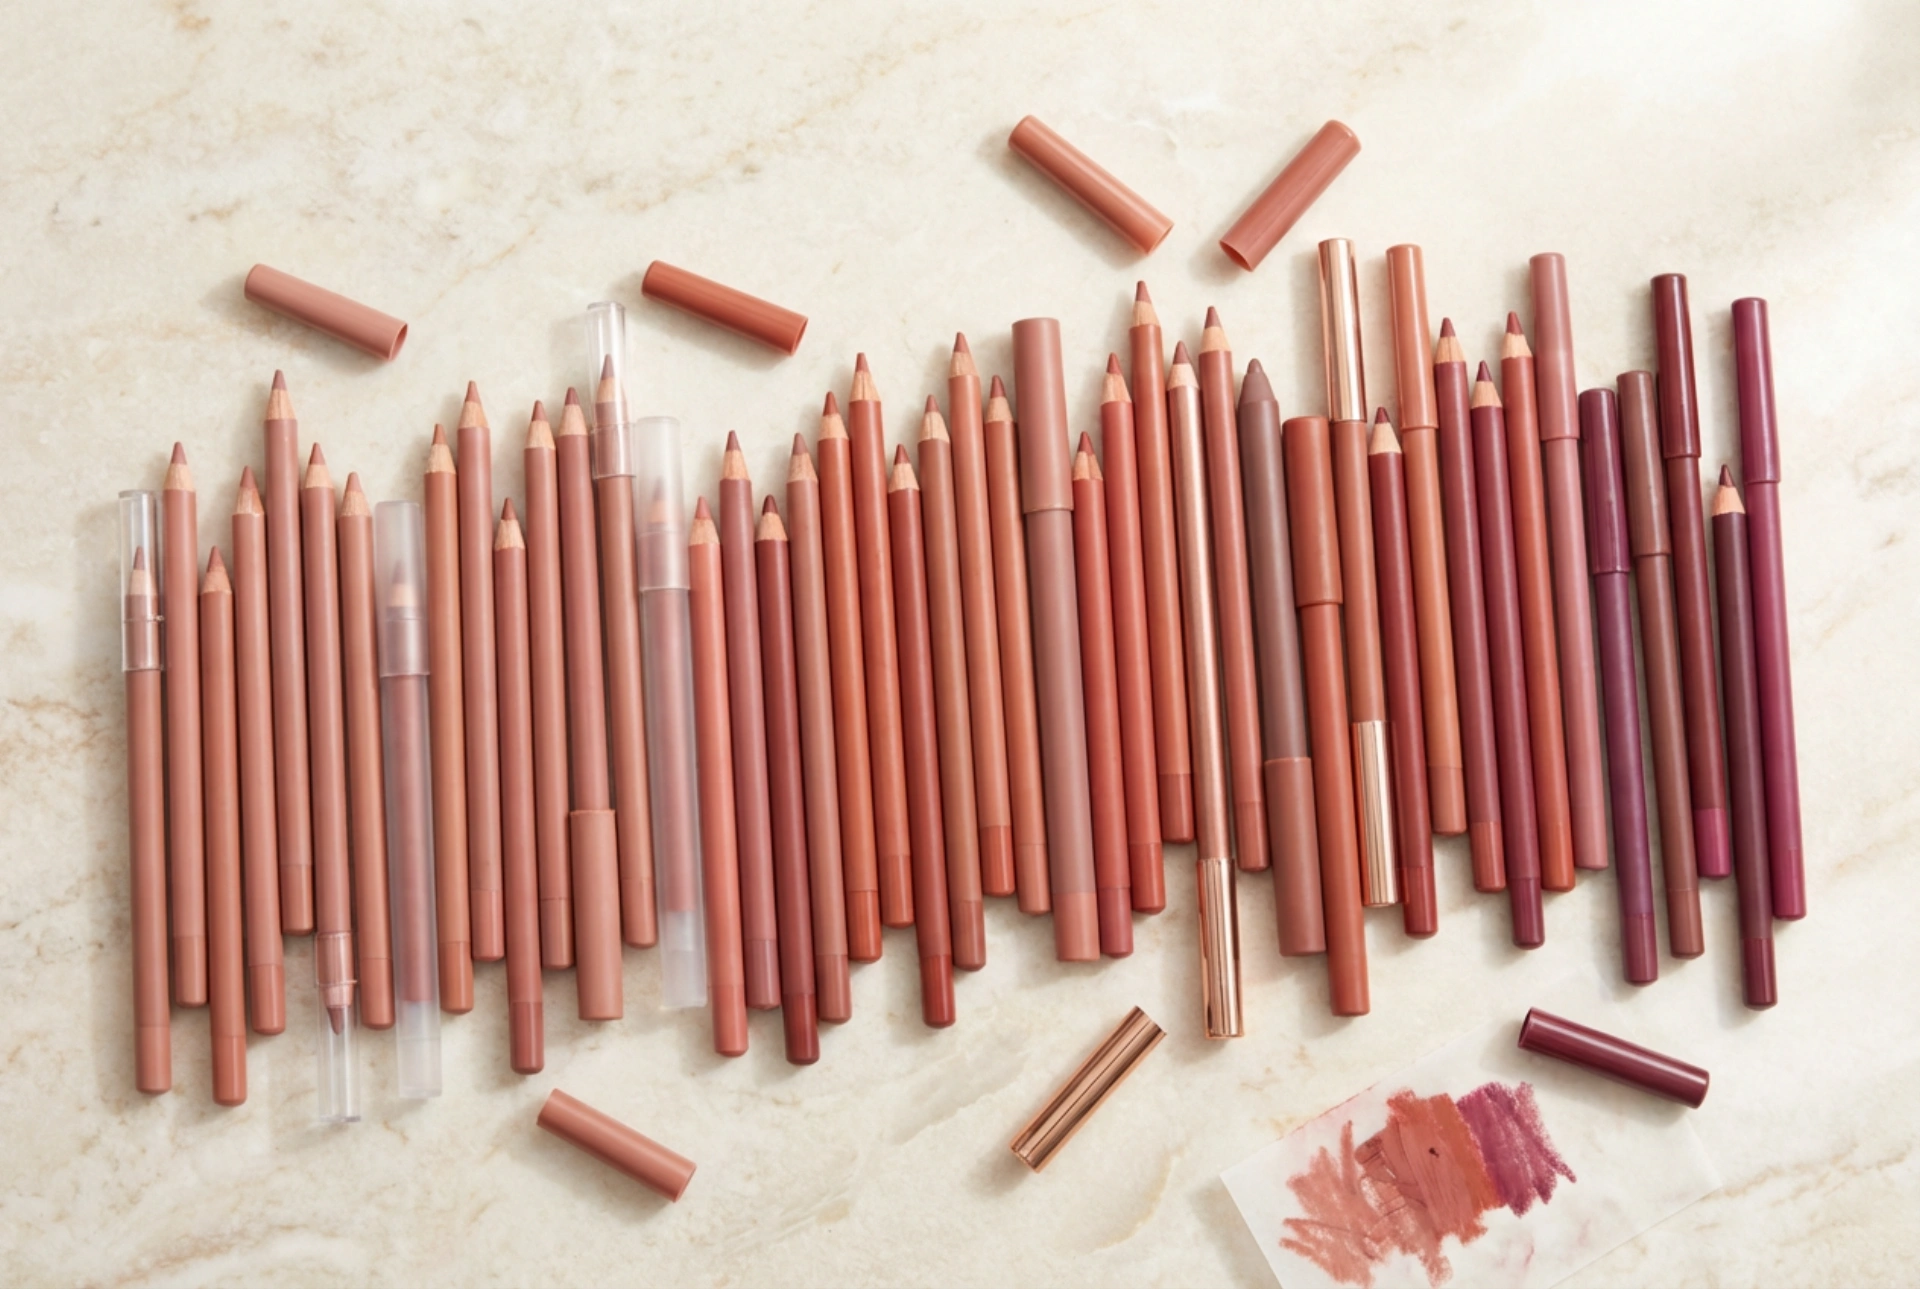


A beautiful flatlay of lip liners arranged on a clean, sunlit surface immediately reveals the sheer variety available to beauty enthusiasts. From ultra-precise wooden pencils to creamy, twist-up crayons, and from deep, cool plums to warm, terracotta nudes, these versatile tools are essential for defining and enhancing the lips. Lip liners do much more than simply outline; they prevent lipstick from feathering, increase the longevity of your lip products, and allow you to subtly adjust the shape and symmetry of your mouth. Finding the perfect match involves understanding different formulas, identifying the correct shade temperatures, and mastering precise application techniques.
Navigating Lip Liner Formulas: From Classic Pencils to Creamy Crayons
The formula of a lip liner dictates how it behaves on the skin, how easily it glides, and how long it lasts throughout the day. Choosing the right texture depends on your personal preferences and the specific look you want to achieve.
Traditional Wooden Pencils
Traditional wooden lip liners are the classic choice for precision. Because they can be sharpened to a very fine point, they are ideal for creating highly defined borders and crisp edges. These pencils typically contain a higher concentration of wax and pigment, which gives them a slightly firmer texture. This firmness is excellent for preventing lipstick from bleeding or feathering into fine lines around the mouth. However, because they are drier, they require well-moisturised lips to apply smoothly without dragging.
Automatic and Twist-Up Liners
Automatic lip liners offer a convenient, modern alternative. These retractable pencils do not require a sharpener, making them perfect for on-the-go touch-ups. They generally feature a creamier, softer formula enriched with nourishing oils or silicones. This allows the liner to glide effortlessly across the skin with minimal friction. While they are incredibly comfortable to wear and easy to blend, their softer tips may make achieving an ultra-sharp, thin line slightly more challenging compared to wooden pencils.
Silicone-Based vs. Wax-Based Formulas
When examining ingredients, wax-based liners are the industry standard for longevity, acting as a physical barrier that locks lip color in place. On the other hand, silicone-based liners offer a velvety, line-smoothing effect. They fill in the natural textures of the lips, creating a perfectly even canvas for glosses and satin lipsticks.
Decoding Shade Undertones: Finding Your Perfect Temperature
The undertone, or 'temperature,' of a lip liner is crucial for achieving a harmonious and flattering look. Just like foundations and concealers, lip liners fall into three main temperature categories: warm, cool, and neutral.
- Warm Undertones: These shades feature yellow, peach, golden, or orange bases. Common examples include terracotta, warm beige, peach-nude, and brick red. They look beautiful on warm, golden, or olive skin tones and pair excellently with warm-toned lipsticks.
- Cool Undertones: These liners have pink, blue, purple, or grey bases. Think berry shades, mauve, dusty pink, plum, and cool-toned reds. They complement fair, rosy, or deep skin tones with cool undertones, helping to brighten the overall complexion.
- Neutral Undertones: A neutral liner has a balanced mix of warm and cool tones, often resembling natural lip colours. Shades like taupe, soft brown, and universal nudes fall into this category. Neutral liners are incredibly versatile, as they can be paired with almost any lipstick shade to create a soft, natural contour.
When choosing a shade, consider the effect you want to create. For a classic, invisible outline, match the liner exactly to your natural lip shade or the lipstick you plan to wear. For a trendy, contoured look, opt for a neutral-to-cool shade that is one or two tones darker than your natural lips to mimic a natural shadow.
Step-by-Step Application for a Flawless Finish
Applying lip liner with precision requires a steady hand and a structured approach. Following a simple step-by-step routine ensures a balanced, long-lasting result.
Step 1: Preparation is Key
Lip liner applies best to smooth, hydrated lips. Start by gently exfoliating the lips to remove any dry patches, then apply a hydrating balm. Let the balm absorb fully for a few minutes, then blot away any excess product with a tissue. This ensures the liner adheres properly to the skin without slipping.
Step 2: Define the Cupid's Bow
Begin by marking the highest points of your Cupid's bow at the top lip. Draw an 'X' shape from the peaks down to the center of the lip. This establishes symmetry from the very start and gives the illusion of a fuller, more lifted upper lip.
Step 3: Map the Outer Corners
Next, move to the outer corners of your mouth. Lightly mark the corners and draw short, gentle strokes moving inward toward the center. Drawing from the corners inward, rather than from the center outward, helps maintain a natural, rounded shape and prevents drooping corners.
Step 4: Define the Bottom Lip
For the bottom lip, start by defining the very center of the lip line with a short, horizontal stroke. Then, connect this central line to the outer corners using soft, feathering motions. Keep your mouth slightly open during application to ensure the lines remain natural and fluid.
Pro Tips for Lip Contouring and Longevity
Once you have mastered the basic application, you can use advanced techniques to enhance your lip shape and ensure your look stays put all day.
Subtle Overlining
If you wish to create the appearance of fuller lips, you can carefully overline. To keep this looking natural, only overline in the very center of the upper and lower lips—specifically, the Cupid's bow and the center of the bottom lip. Avoid overlining the sides and corners of the mouth, as this can look unnatural in profile views.
Creating a Base Coat
Instead of just outlining the borders, use the side of your lip pencil to gently shade and fill in the entire lip area. This creates a uniform base coat of color. When your lipstick or gloss naturally wears off during the day, the matching liner underneath will prevent patchy fading, keeping your lips looking beautifully tinted.
Softening the Edges
To avoid a harsh, dated look, use your ring finger, a small lip brush, or a cotton bud to gently smudge and diffuse the inner edge of the line. The outer border should remain sharp, while the inner border blends seamlessly into your natural lip color or lipstick.