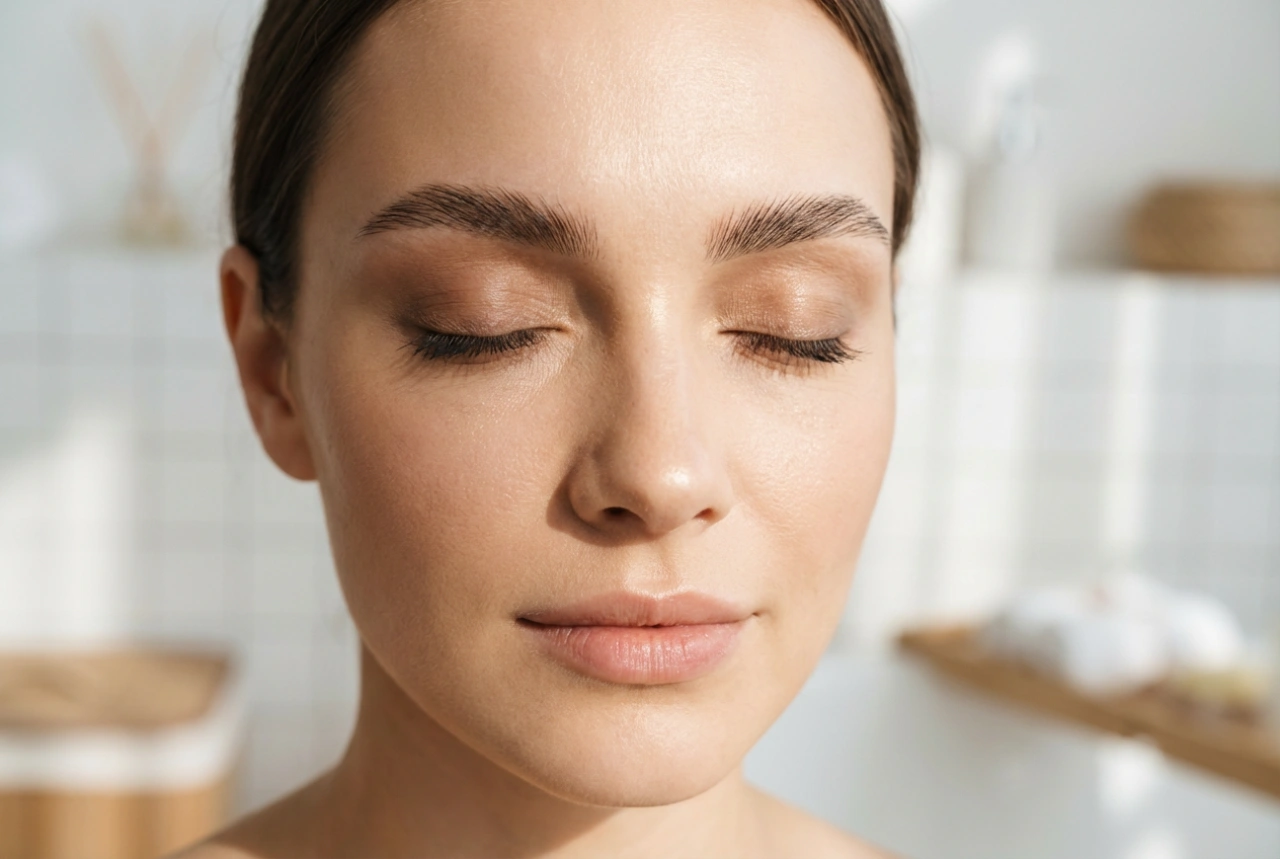


Beautifully defined eyebrows can completely transform the face, adding structure and highlighting one's natural features. Achieving a natural look does not require complicated professional procedures or permanent treatments. With a classic eyebrow pencil, anyone can master the art of brow definition at home. The key lies in selecting the right product, mastering a light-handed technique, and understanding the natural shape of your brows. This guide will walk you through the process of creating a subtle, elegant finish that enhances your eyes without looking overly dramatic.
Selecting the Perfect Eyebrow Pencil
Before beginning the application process, it is essential to find a pencil that complements your natural hair colour and skin tone. When choosing a shade, a general rule of thumb is to opt for a colour that is one to two shades lighter than your hair if you have dark hair, or one to two shades darker if you have very fair hair. This prevents the brows from appearing too harsh or heavy.
- Formula and Texture: Harder pencils are generally better for drawing precise, hair-like strokes, whilst softer formulas are excellent for shading and filling in larger sparse areas.
- Under-tones: Pay close attention to the undertone of the pencil. Cool-toned ash brown shades often look more natural than warm, reddish-brown tones, which can look unnatural in daylight.
- Tools: Look for a dual-ended pencil that features a spoolie brush on one side, which is vital for blending and softening any harsh lines.
Preparing Your Brows for Definition
Proper preparation ensures that the makeup adheres well to the skin and stays in place throughout the day. Start by thoroughly cleansing your face, ensuring that the brow area is free from any heavy moisturisers, oils, or foundation residue. Excess oil can cause the pencil to slip, resulting in a patchy or uneven application.
Once the area is clean and dry, use a clean spoolie brush to comb your brow hairs upwards and outwards. This simple step reveals the natural shape of your brow arch and clearly highlights the sparse areas that require filling. It also allows you to see the baseline of the brow, which serves as a guide for your pencil strokes.
Step-by-Step Application Technique
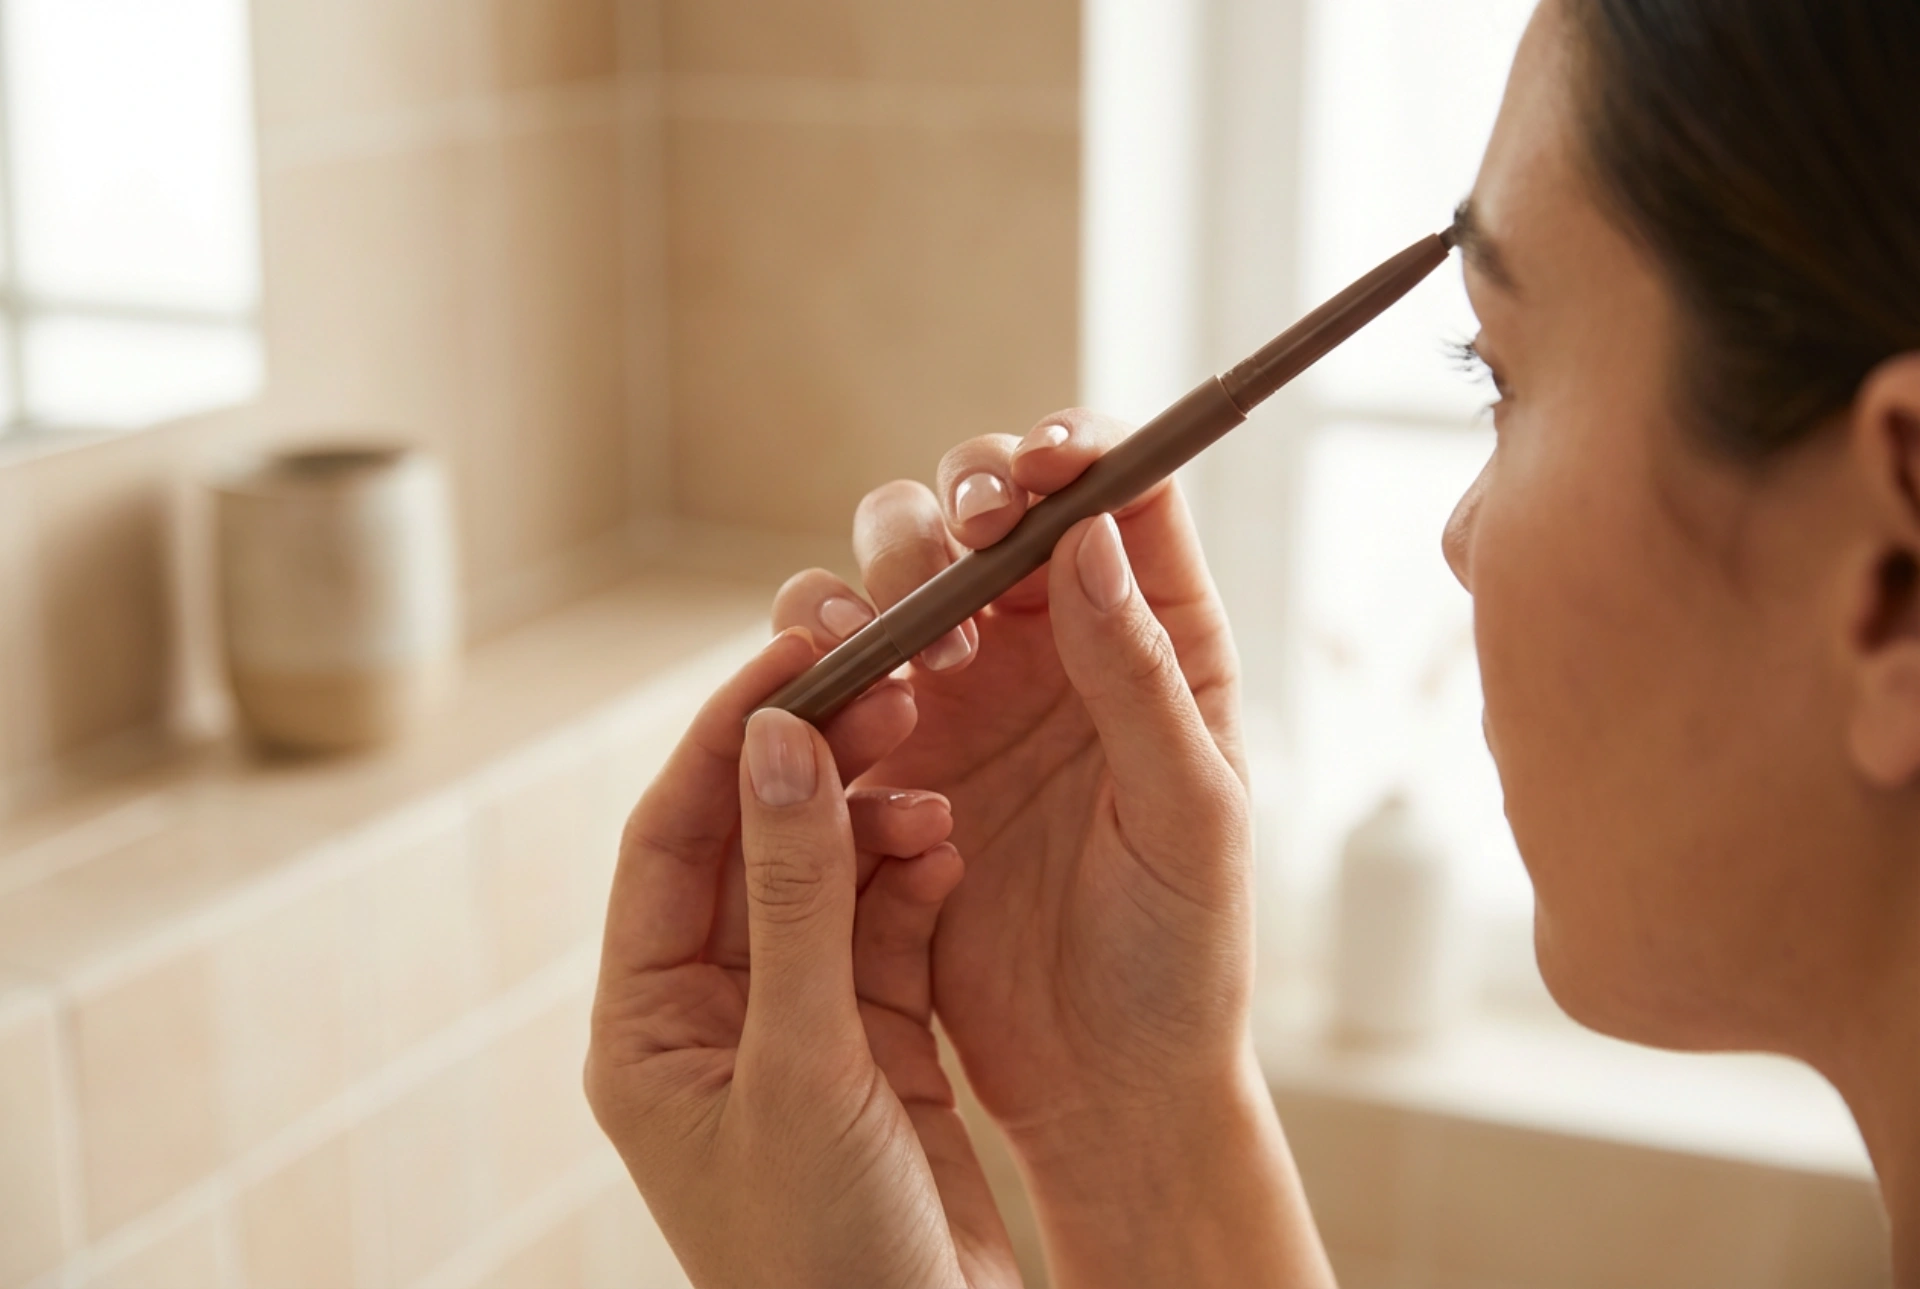
The secret to a realistic finish is mimicking the appearance of natural brow hairs. Rather than drawing solid, heavy lines, focus on soft, feather-light strokes. Here is how to apply the pencil step-by-step:
- Define the Base: Start by gently defining the lower boundary of your eyebrow, starting from the middle and working towards the tail. Use very light pressure to create a soft, guiding line.
- Fill in the Arch and Tail: The tail of the brow should be the most defined part. Use short, upward, and diagonal strokes to fill in any gaps in the arch and the tail, following the natural direction of hair growth.
- Soften the Inner Corners: The front of the eyebrow (closest to the nose) should always look soft and diffused. Avoid drawing heavy lines here. Instead, hold the pencil lightly and make a few vertical, flicking motions to mimic fine hairs.
Blending and Setting for a Long-Lasting Finish
Even with a precise application, the pencil marks may initially look slightly too defined. Blending is the magic step that transforms your brows into a seamless, natural frame. Take the spoolie brush and gently comb through the brows in the direction of hair growth. This action softens the pencil pigments, distributes the colour evenly, and removes any excess product.
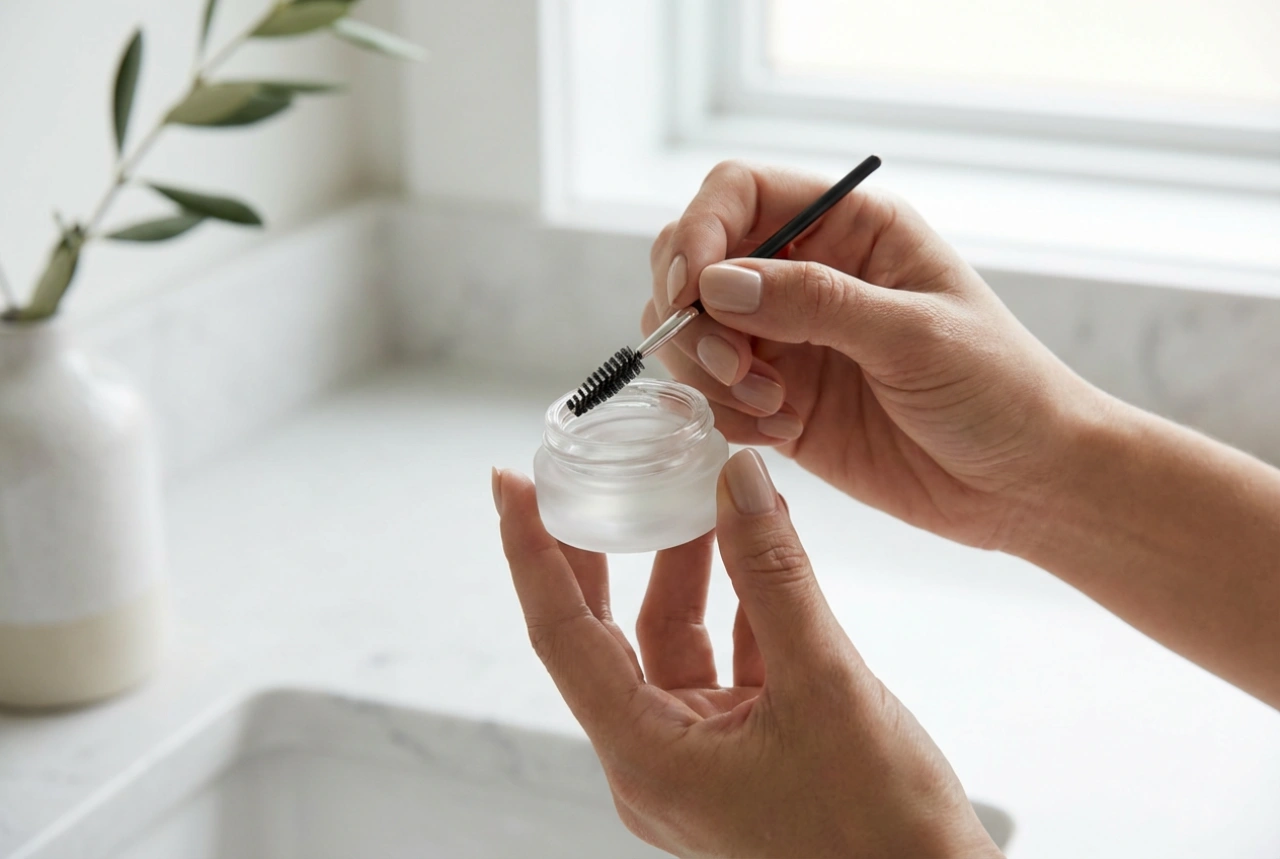
To ensure your beautifully shaped brows stay in place all day, you can apply a tiny amount of clear brow gel or a brow wax. Gently brush the hairs upwards to lock them in position. This final touch adds a subtle sheen that mimics the natural texture of healthy hair, keeping your brows looking polished and elegant from morning till night.