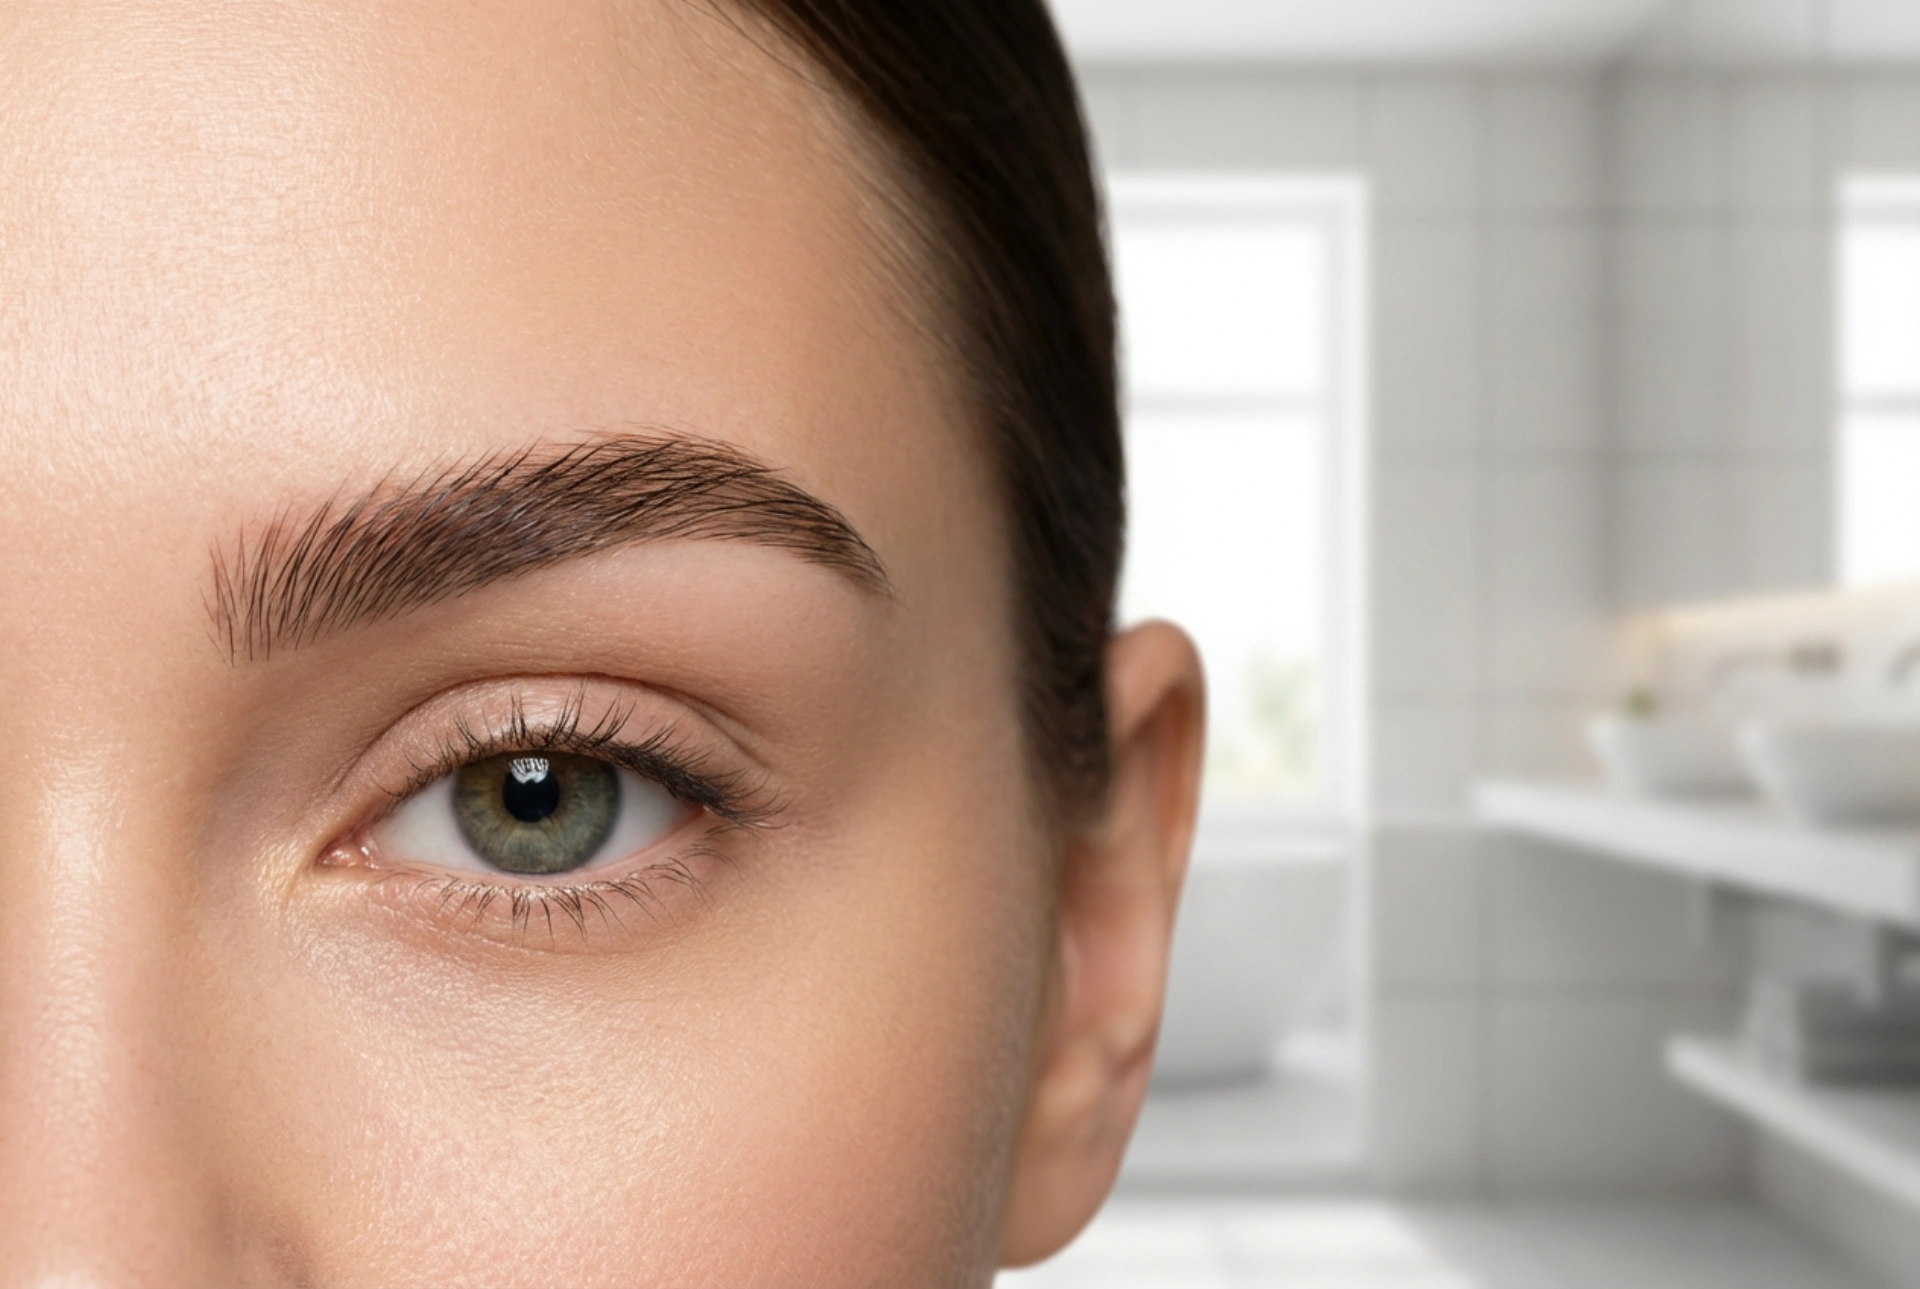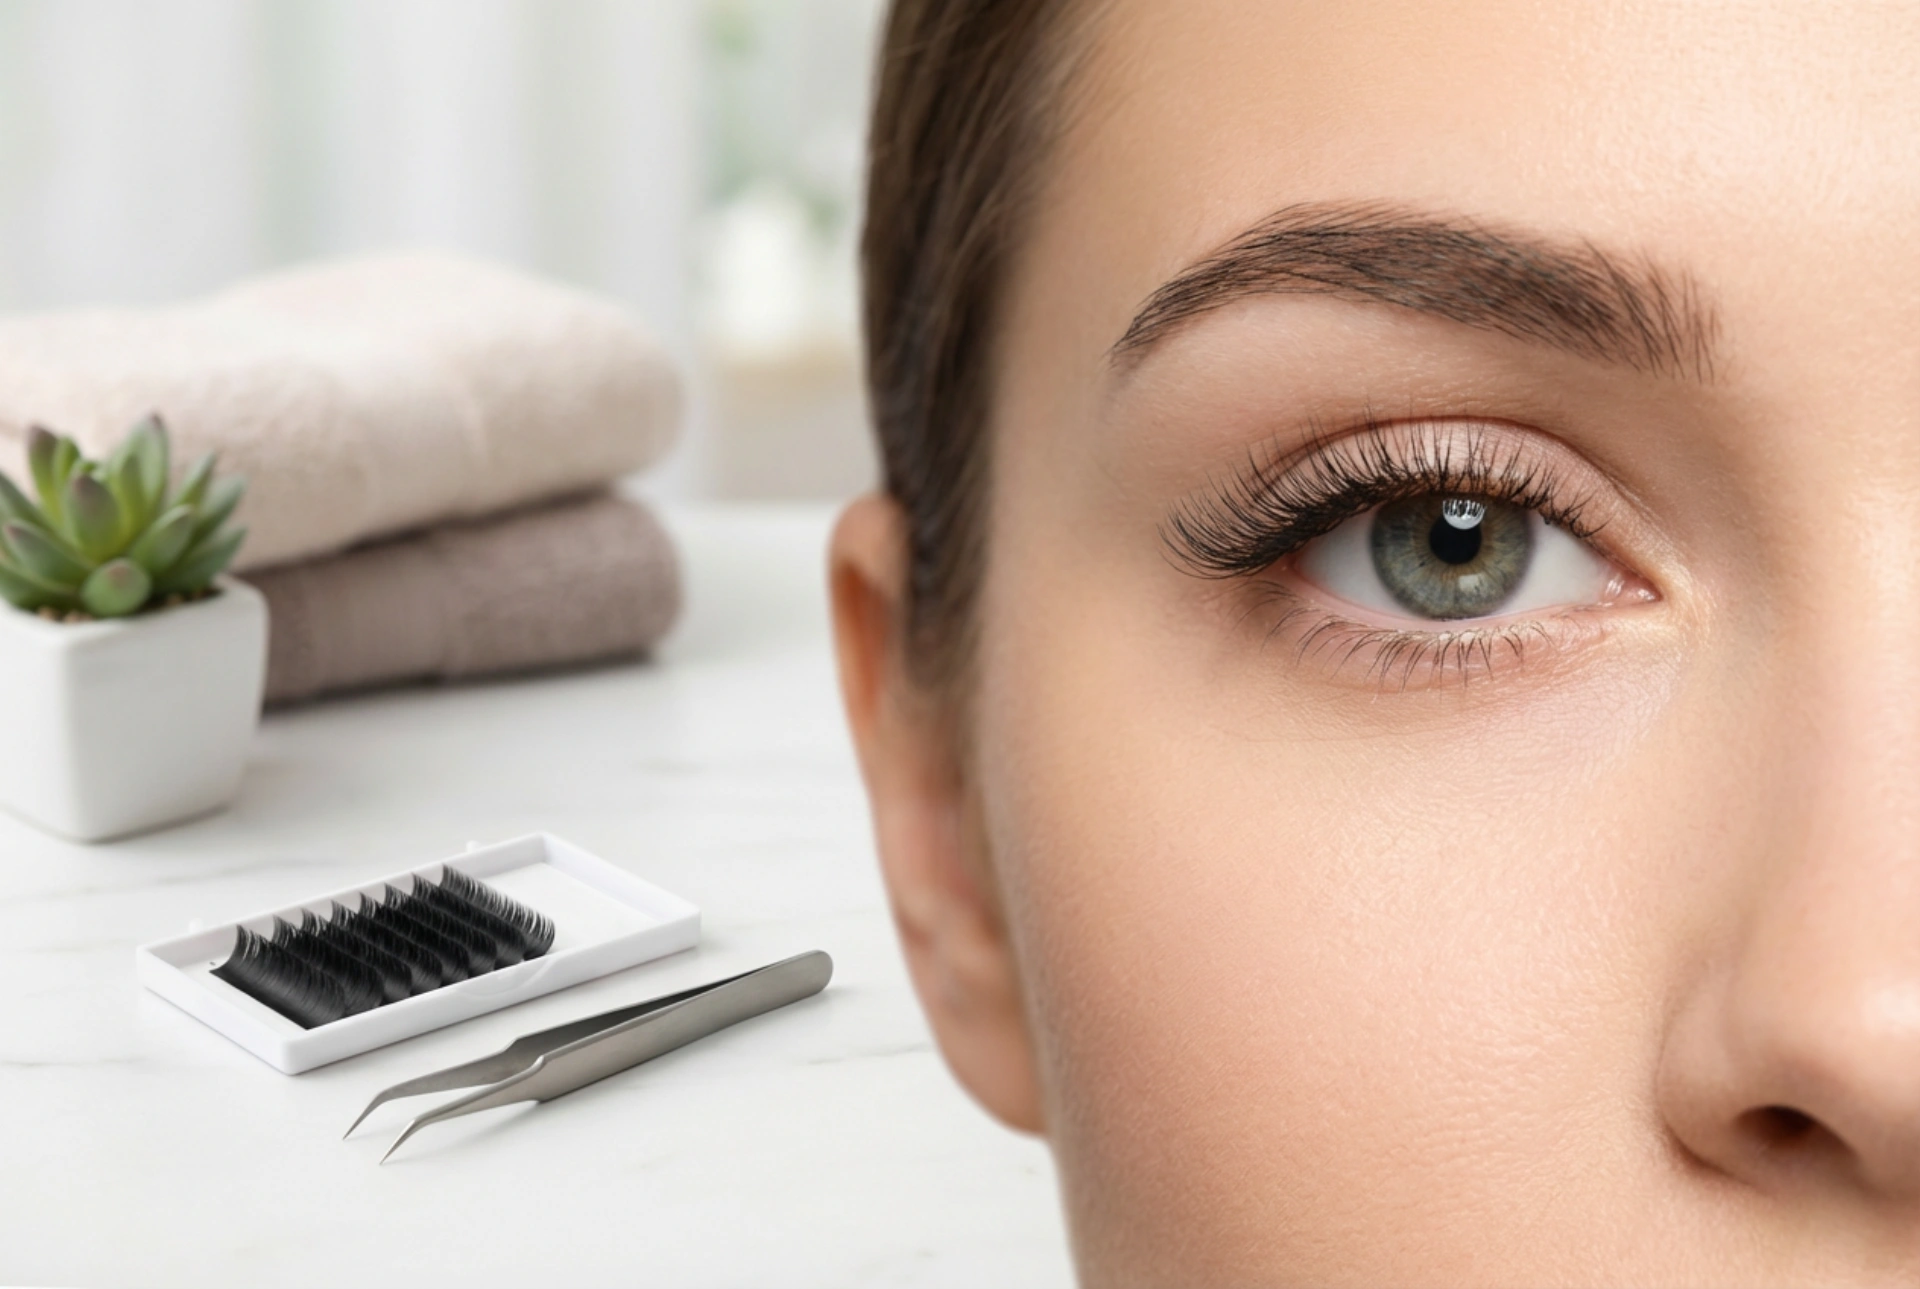


Achieving a bright, awake, and naturally lifted eye look has never been simpler, thanks to the subtle elegance of half lashes. Unlike full strip lashes, which can sometimes weigh down the eyes or feel uncomfortable during long wear, half lashes are designed to enhance the outer corners of your eyes seamlessly. When applied precisely, they catch the soft, natural light, highlighting the delicate texture of your natural lashes against smooth skin. Using minimalist tools such as a simple pair of tweezers, you can easily create a professional, sophisticated finish in the comfort of your own home, making this technique a staple for modern beauty enthusiasts.
Understanding the appeal of half lashes
Half lashes, also known as accent lashes, are pre-cut strip lashes designed specifically to cover only the outer half or third of the lash line. This minimalist approach to eye makeup offers several distinct advantages over traditional full-length false eyelashes. Firstly, they are incredibly comfortable to wear. Because they do not extend to the inner corner of the eye, there is no risk of the band poking or irritating the sensitive tear duct area. Secondly, they blend far more naturally with your existing lashes, creating a soft transition that mimics natural lash growth.
Another significant benefit of using accent lashes is their versatility. They can subtly alter the shape of your eyes, creating an illusion of elongation and lift. For individuals with downturned, round, or hooded eyes, half lashes provide a gentle upward pull at the outer corners, instantly creating a more youthful and refreshed appearance. By focusing the volume and length solely on the outer edge, you achieve a beautifully balanced cat-eye or foxy-eye effect without the need for heavy makeup application.
Essential tools and preparation
To ensure a flawless and long-lasting application, proper preparation is key. You do not need a vast collection of cosmetics, but a few minimalist tools will make the process smooth and effortless:
- Accent lashes: Choose a pair that tapers from short to long to ensure a seamless blend with your natural lash line.
- Tweezers or an applicator: A clean pair of tweezers is essential for holding the lash band securely and placing it precisely onto the skin.
- Lash adhesive: Opt for a high-quality, clear-drying adhesive that holds well throughout the day.
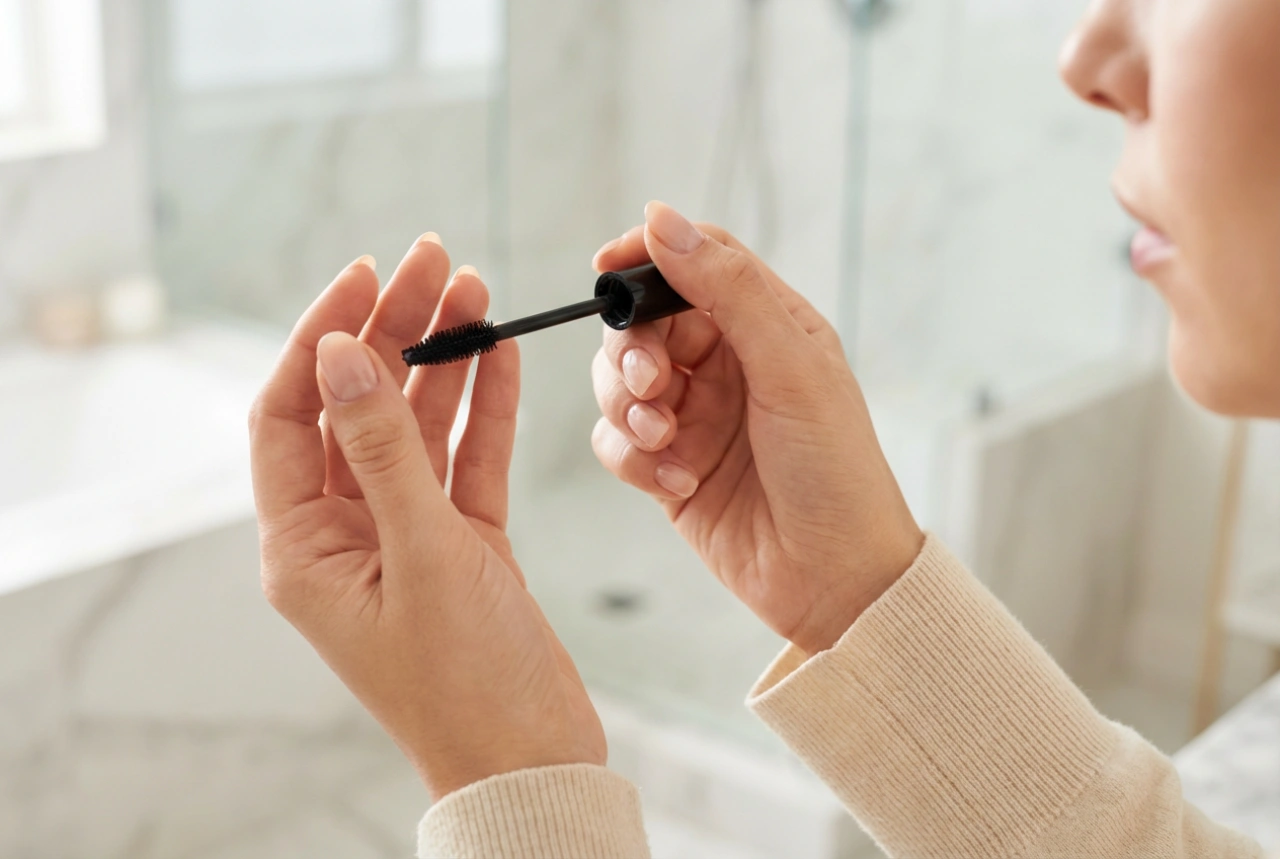
- Mascara and eyelash curler: Gently curling your natural lashes beforehand helps them merge perfectly with the false ones.
Before you begin the application, ensure your eyelids are clean and free from excess oils. If you choose to wear eyeshadow or eyeliner, apply them beforehand. Curling your natural lashes and applying a light coat of mascara creates a sturdy foundation for the half lashes to rest upon, ensuring they do not droop or slip during the day.
Step-by-step: exact placement for an elegant lift
The secret to achieving an elegant lift lies entirely in the placement of the lash band. Follow these precise steps to master the technique:
1. Measure and trim
Even though half lashes are shorter than full strips, you should still hold them against your outer eye corner to check the fit. Ideally, the lash should start where your pupil ends when looking straight ahead, and terminate exactly at the outer corner. If the band is too long, trim a small section from the outer edge to prevent it from drooping downward.
2. Apply the adhesive
Apply a very thin, even layer of lash adhesive along the delicate band. Pay extra attention to the two ends, as these are the areas most prone to lifting. Wait approximately thirty seconds for the glue to become tacky; applying the lashes when the glue is too wet will cause them to slide around and ruin your placement.
3. Position and press
Tilt your head back slightly and look down into a mirror. Using your tweezers, hold the lash from the centre of the fibres. Place the band as close to your natural lash line as possible, starting from the outer corner and working inwards. To maximise the lifting effect, angle the outer end of the lash band slightly upwards, just a fraction of a millimetre above your natural lash line, rather than following a downward slope.
4. Seamless blending
Once the adhesive has dried completely, use your fingertips or a clean spoolie brush to gently pinch your natural lashes and the half lashes together. This integrates the two textures, making the transition completely invisible. A final, very light touch of mascara on the outer corner can help lock the look in place.
Pro tips for a flawless, natural finish
To elevate your technique and ensure your half lashes remain secure and undetectable, consider the following beauty tips:
- Customise your strips: If you cannot find pre-made half lashes, you can easily create your own by cutting a standard pair of natural full strip lashes in half. Always cut from the outer end if you want a softer look, or from the inner end to retain the dramatic length.
- Mind the angle: Placing the lash too far down the outer corner can actually pull the eye downwards, creating a tired appearance. Always aim slightly higher at the very outer edge to lift the eye.
- Keep glue minimal: Excess adhesive can clonk your lashes together and look messy. A minimalist approach to glue ensures a clean, seamless application.
Caring for your half lashes
With proper care, a single pair of accent lashes can be reused multiple times. After carefully peeling them off from the outer corner inward, use a cotton swab dipped in warm water or a gentle makeup remover to clean any adhesive residue from the band. Store them in their original packaging to maintain their delicate curved shape. Keeping your beauty tools clean ensures safe, hygienic, and stunning results every time you style your eyes.