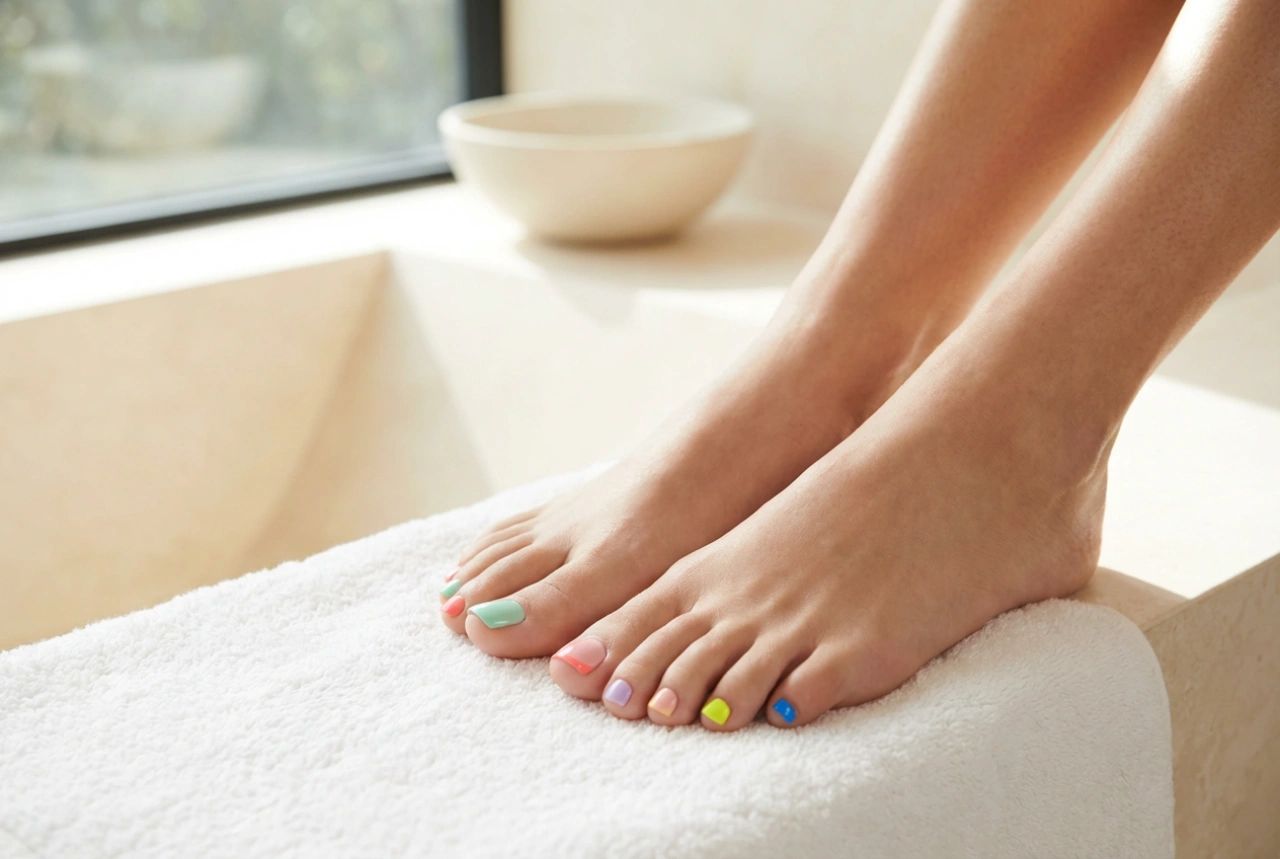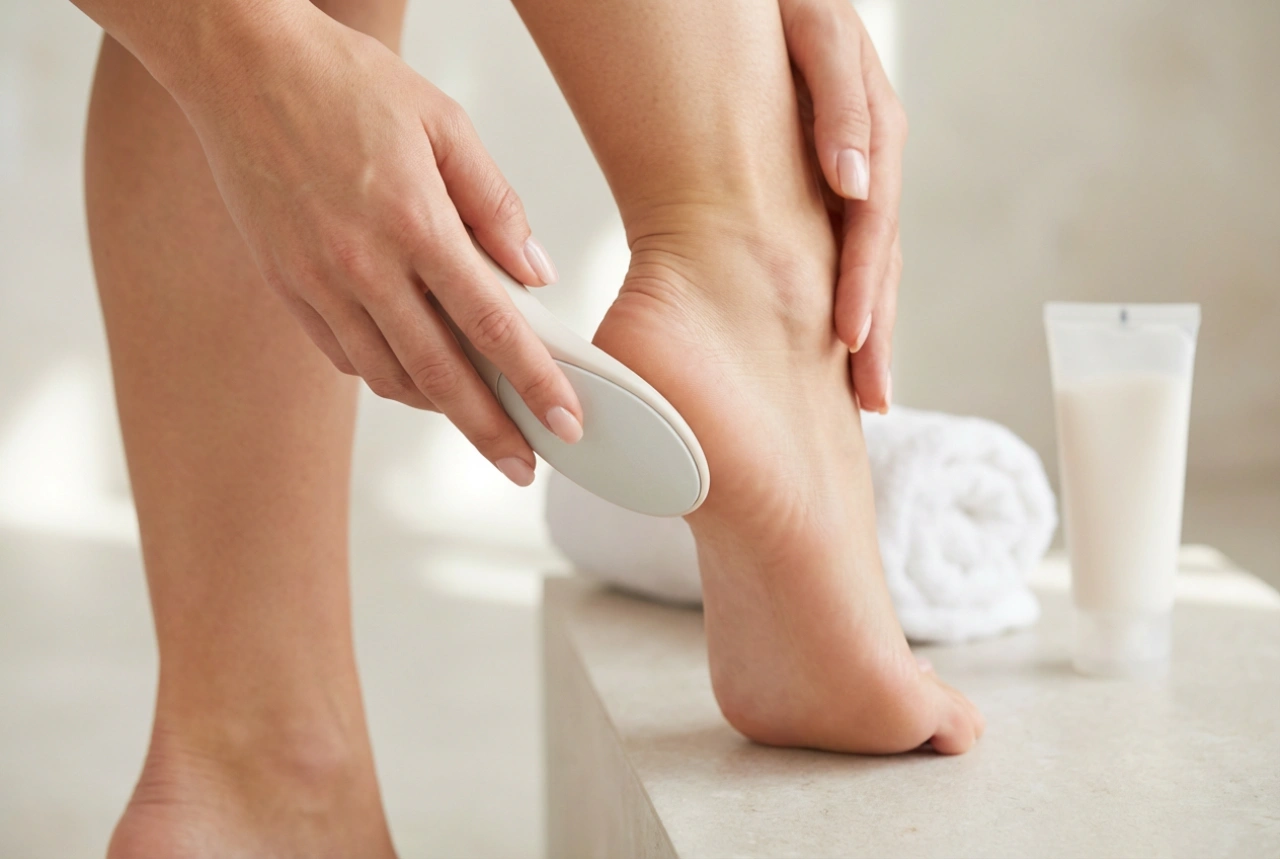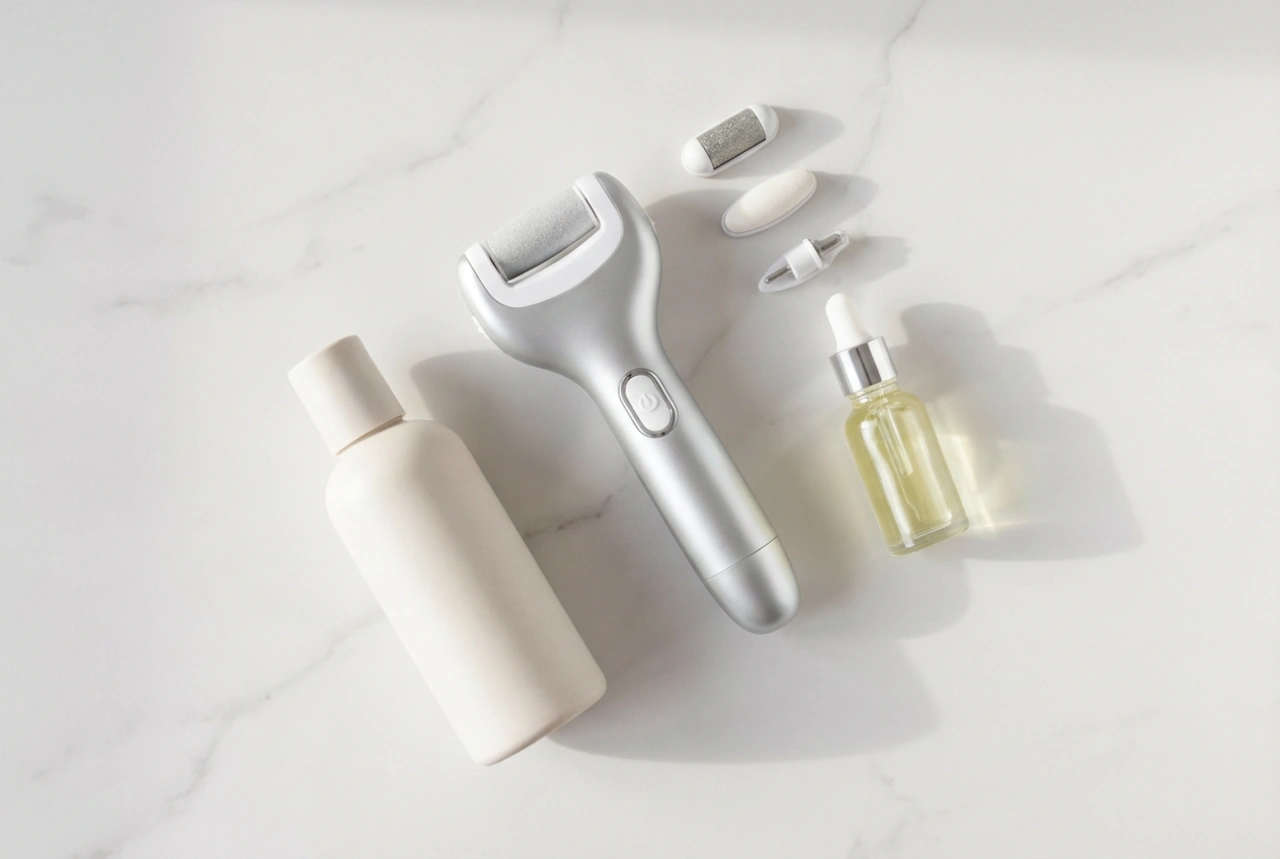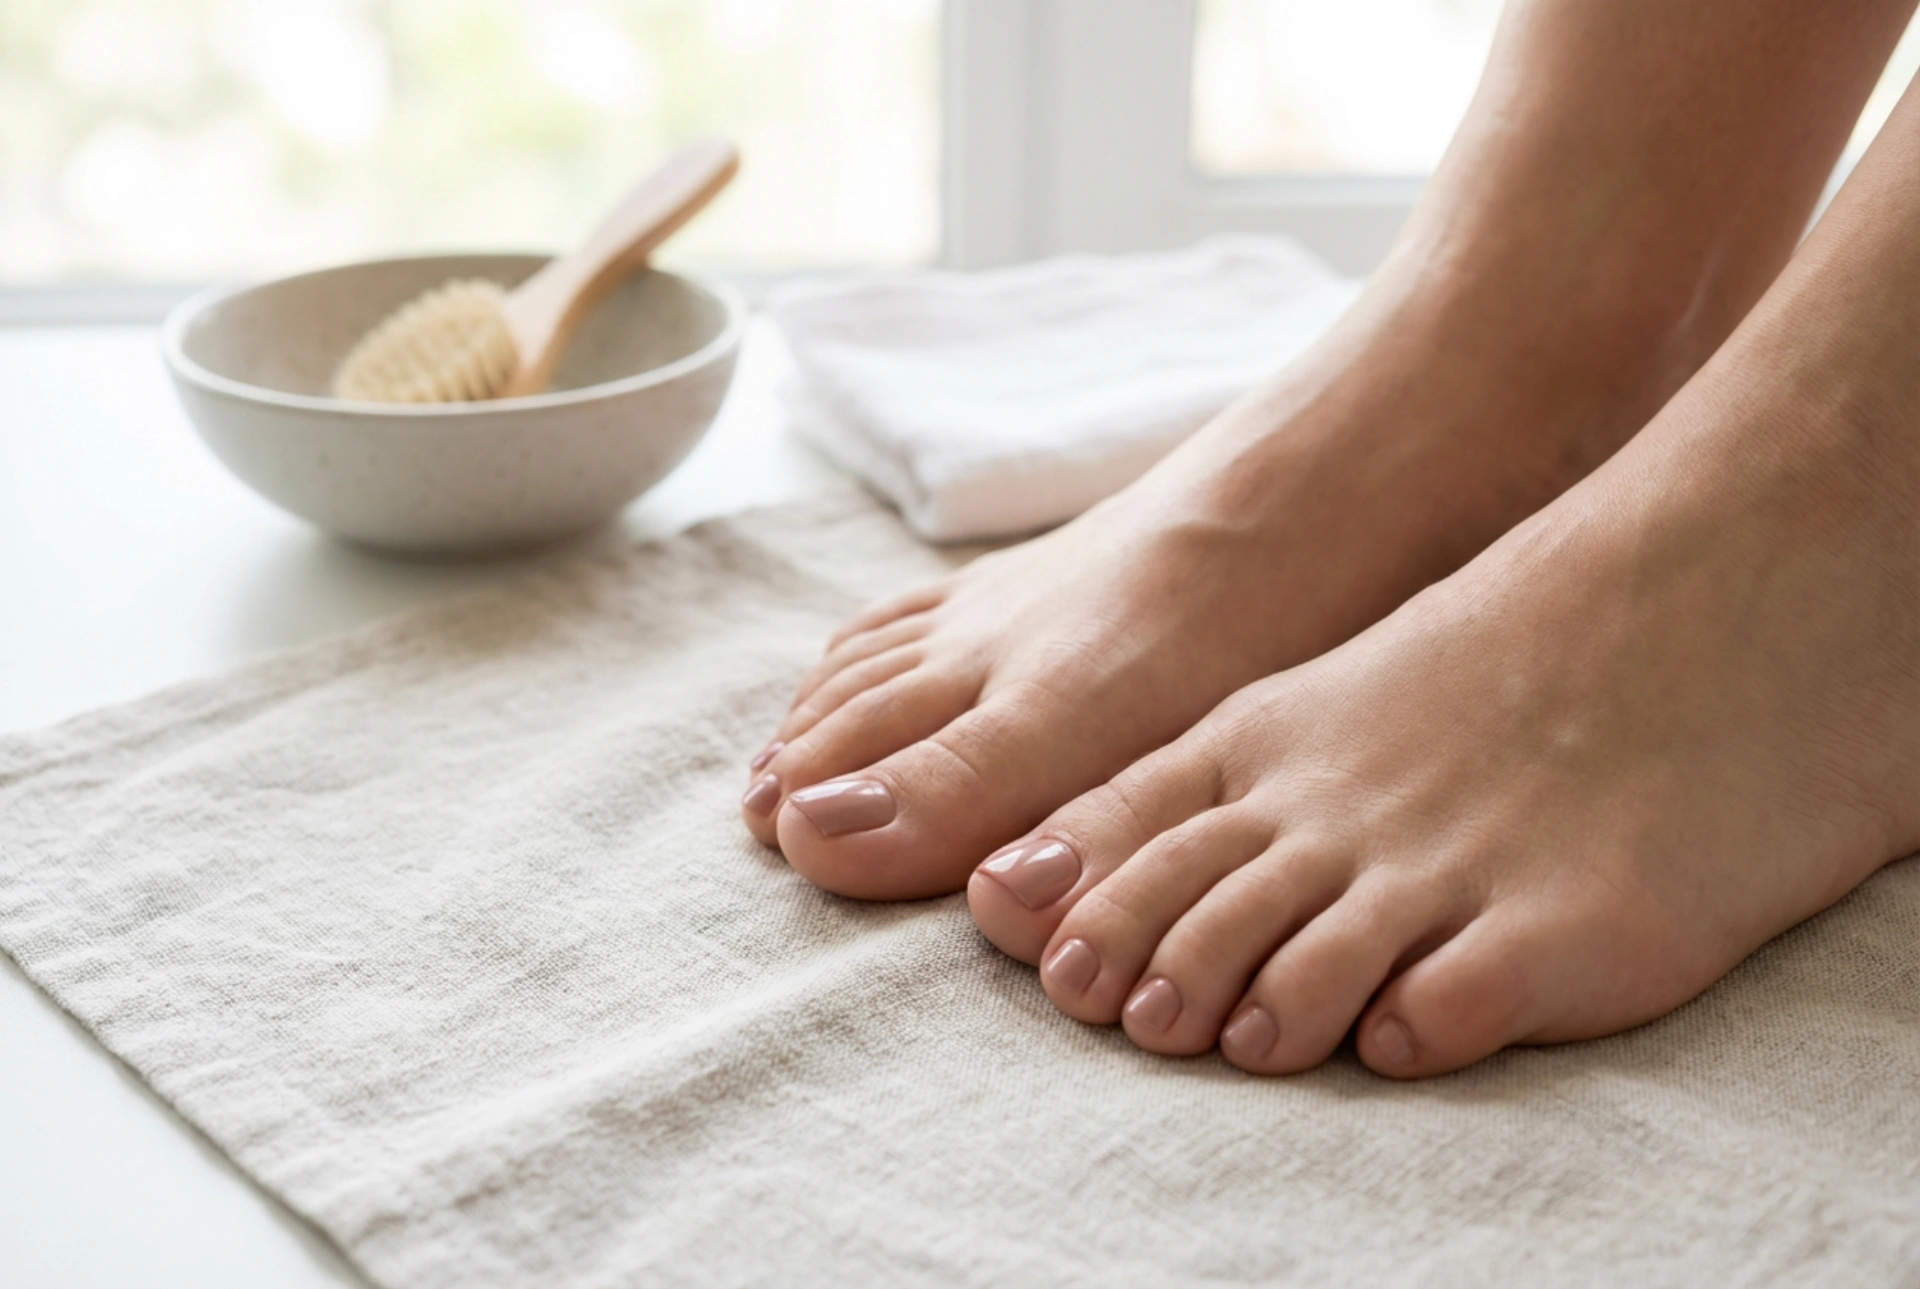


A pristine close-up of manicured feet, showcasing perfectly applied, smooth hybrid nail polish in a delicate, muted tone, represents the pinnacle of home grooming. Soft, natural light illuminates the flawless, streak-free finish on the toenails, resting on a clean, subtly textured surface, conveying refined, effortless beauty. Achieving this salon-quality result at home is entirely possible when you understand the practical steps of applying gel polish to toenails. Unlike manicures, pedicures present unique physical angles and smaller nail surfaces, which require a specific approach to ensure an even, smudge-free application.
Proper Preparation: The Foundation of an Even Finish
Before any polish bottle is opened, the secret to a long-lasting and smooth pedicure lies in meticulous preparation. Toenails have a natural layer of oils and invisible cuticle growth that can prevent gel products from adhering properly, leading to lifting or uneven texture.
Shaping and Buffing the Nail Plate
Begin by trimming the nails straight across to maintain healthy growth patterns, then gently round the corners with a fine-grit file. Once the shape is achieved, use a soft buffer to gently remove the natural shine from the surface of each nail. This step is crucial because it creates a microscopic texture that helps the base coat grip securely. Avoid aggressive buffing, as the goal is merely to degloss, not to thin the nail plate.
Removing Cuticles and Dehydrating
Push back the cuticles gently using a wooden stick or a dedicated cuticle pusher. Clear away any dead skin adhering to the nail plate, particularly around the side walls, as gel polish will run and pool in these areas if they are not clear. After grooming, thoroughly clean the nails with a lint-free wipe soaked in a professional nail dehydrator or high-percentage isopropyl alcohol. This removes any residual dust, oil, and moisture, leaving a perfectly clean canvas.
The Technique of Layering: Why Thin is Always Superior
The most common mistake when applying gel polish to toenails is using too much product. Thick layers do not cure properly under the lamp, resulting in a wrinkled surface, bubbles, or premature peeling.
The Golden Rule of Thin Coats
Always wipe the excess polish off the brush against the neck of the bottle before bringing it to the nail. The brush should hold just enough product to cover one small toenail. For the big toe, you may need a slightly larger bead, but it should still be applied sparingly. It is far better to apply three extremely thin coats to achieve full opacity than to try and cover the nail in one or two thick layers.
Controlling Brush Pressure and Angle
Hold the brush at a 45-degree angle to the nail. Place the brush near the centre of the nail, a fraction of a millimetre away from the cuticle line, and gently push it backward towards the cuticle before sliding it down to the free edge. Apply light, even pressure so the bristles fan out naturally, distributing the polish smoothly without creating brush strokes.
Preventing Smudges and Flooded Cuticles
Toenails are smaller and flatter than fingernails, which makes flooding the cuticles and sidewalls a frequent challenge during home pedicures.
Maintaining a Safe Distance
When applying the base coat, colour coat, and top coat, always leave a hairline gap between the product and the surrounding skin. This prevents the gel from touching the skin, which would cause the polish to lift as the nail grows. It also ensures a clean, professional aesthetic.
The Quick Cleanup Method
Keep a clean, flat nail art brush or a wooden stick dipped in a small amount of isopropyl alcohol close at hand. If any polish accidentally touches the skin or pools in the lateral folds, clean it up immediately before placing your foot under the curing lamp. Once cured, misplaced gel polish becomes incredibly difficult to remove without damaging the entire application.
Curing and Sealing for Long-Lasting Beauty
The curing process is what solidifies the gel polish, turning it into a durable, glossy shield. Proper positioning and sealing are essential to lock in your hard work.
Positioning under the Lamp
Ensure that your foot is placed flat and directly under the light source of your curing lamp. Because toenails face slightly upwards and outwards, you may need to tilt your foot slightly to ensure the small toes receive equal light exposure. Follow the recommended curing times strictly, as under-cured gel remains soft and susceptible to smudging.
Sealing the Free Edge
For every layer applied—base coat, colour, and top coat—always swipe the brush lightly across the very tip of the nail. This is known as capping or sealing the free edge. It locks the layers together, preventing water and friction from lifting the polish from the edge of the toe.
Post-Pedicure Nourishment
Once the top coat is fully cured, remove any sticky inhibition layer with a clean wipe and alcohol. To finish the pedicure and restore hydration, apply a drop of nourishing oil to the cuticles and gently massage it in. This not only hydrates the skin but also gives the pedicure a professional, deeply conditioned appearance, echoing the flawless finish seen in high-end beauty photography.