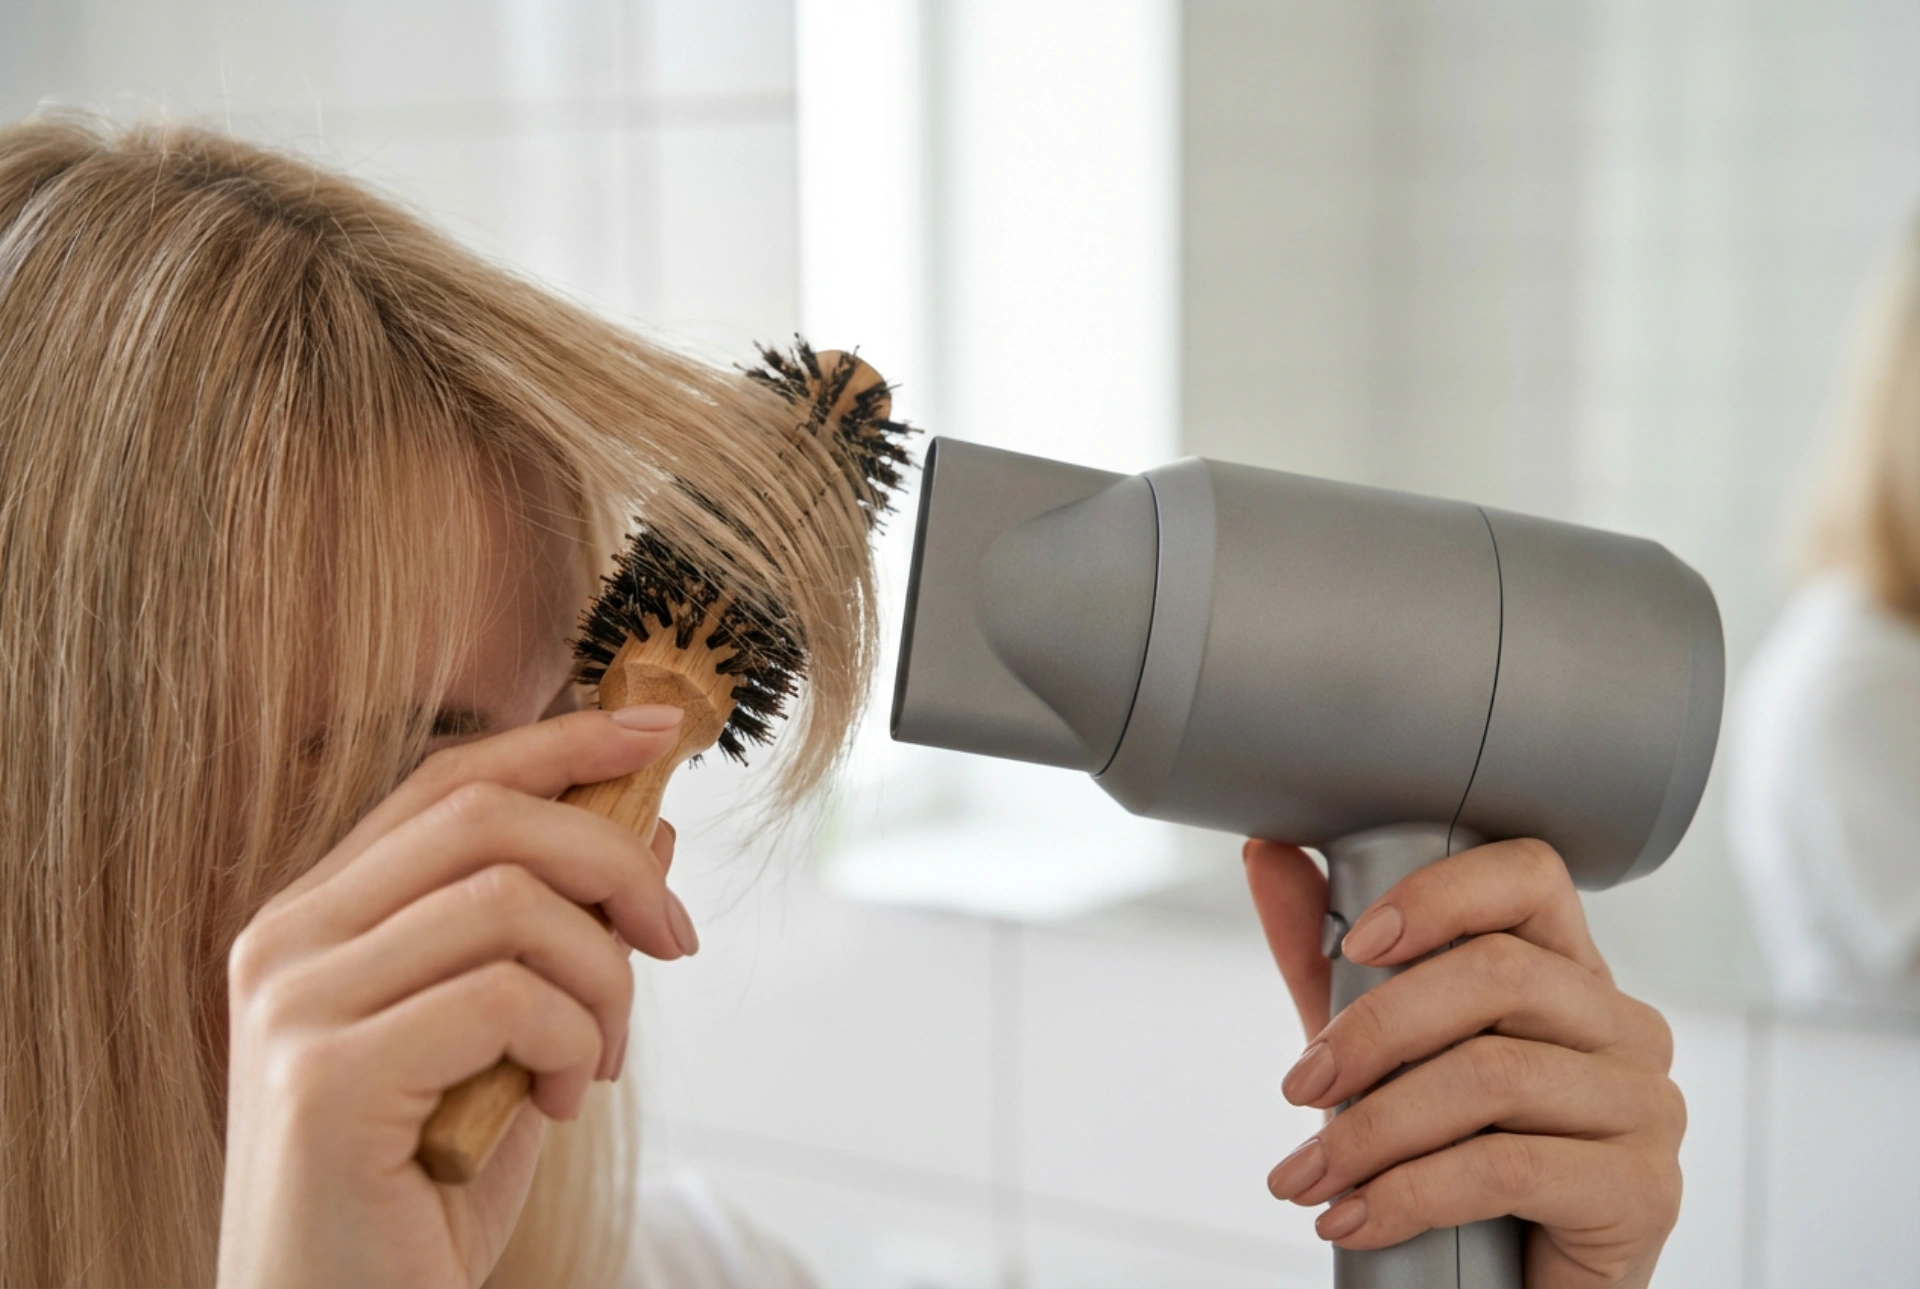


A beautifully styled side-swept fringe has the power to instantly transform your appearance, framing the face with a soft, elegant touch. Achieving that perfect, salon-worthy sweep at home is entirely possible with the right technique and a little patience. By gently guiding the strands with a classic round brush and a hairdryer under soft, natural light, you can create a refined routine that brings out the natural texture and movement of your hair, resulting in a polished look that complements your personal style.
Choosing the Ideal Side Fringe for Your Face Shape
Before picking up the scissors or styling tools, it is essential to understand which type of side fringe will enhance your unique facial features. A well-chosen shape acts as a frame, drawing attention to your eyes and balancing your proportions.
The Oval Face
Virtually any style of side-swept fringe works beautifully on an oval face. You can experiment with a deep, dramatic sweep or a lighter, wispy finish that gently grazes the cheekbones. The key is to maintain a balance that does not overwhelm your natural symmetry.
The Round Face
To create a slimming effect and add structure, opt for a longer, angled side fringe. Starting the sweep slightly above the brow and tapering it down towards the jawline helps to elongate the face, creating a flattering, angular contrast to softer features.
The Square Face
If you have a strong, defined jawline, a soft, layered side-swept fringe is the perfect option. Avoid sharp, blunt cuts. Instead, choose textured ends that gently diffuse the angles of your forehead and cheekbones, adding a touch of softness to your overall look.
The Heart-Shaped Face
For those with a broader forehead and a delicate, pointed chin, a side fringe helps to balance the proportions. A textured, feathered sweep that shifts attention away from the forehead towards the eyes and cheeks works wonders.
Step-by-Step Blow-Drying Guide for a Flawless Sweep
The secret to a long-lasting, elegant side-swept fringe lies in the drying technique. Styling should always begin when the hair is damp, as dry hair is much harder to reshape and train.
- Prep the hair: Gently pat your fringe with a soft towel after washing. Apply a lightweight heat protectant to shield the strands from thermal damage without weighing them down.
- Position the brush: Take a medium-sized round brush and place it underneath the damp fringe, close to the roots. Ensure you have a firm but gentle grip on the hair.
- Direct the airflow: Hold your hairdryer with the nozzle pointing downwards. This smooths the hair cuticle, reducing frizz and boosting natural shine. Always work with medium heat to protect the delicate strands.
- The criss-cross technique: To avoid a stiff look and to help the fringe fall naturally, blow-dry the hair in the opposite direction of where it will eventually lie. Brush it to the left while blowing air to the left, then sweep it to the right. This builds natural volume at the roots.
- The final sweep: For the final touch, wrap the fringe around the round brush, roll it away from your face, and blast it with cool air. This sets the shape and adds a beautiful, bouncy curve.
Defining and Finishing Your Look
Once your fringe is dry, the finishing touches will ensure it stays in place throughout the day while maintaining a natural, touchable texture. Heavy products should be avoided, as they can cause the fringe to look greasy or flat within hours.
A tiny amount of lightweight hair cream or a drop of nourishing oil can be smoothed over the tips to tame flyaways and add a subtle polish. If you prefer a bit of hold, spray a light-mist hairspray onto a clean comb or your fingertips and gently run it through the fringe. This technique distributes the product evenly, avoiding clumpiness and keeping the hair feeling soft and dynamic.
Common Mistakes to Avoid When Styling a Side Fringe
While styling a side-swept fringe can quickly become a seamless part of your morning beauty routine, there are a few common pitfalls that can disrupt your desired look. Avoiding these simple mistakes will save you time and keep your hair looking effortlessly elegant.
- Using too much product: The forehead area is naturally prone to producing sebum. Applying heavy leave-in conditioners, oils, or strong-hold gels directly to your fringe will weigh it down, making it appear piecey and flat. Stick to minimal amounts of light formulas applied primarily to the mid-lengths and ends.
- Drying too late: Hair begins to dry naturally very quickly, especially thinner strands around the hairline. If you wait too long after washing to style your fringe, it may set in its natural pattern, leading to stubborn cowlicks that are difficult to smooth out. Always style your fringe first.
- Incorrect brush size: Using a round brush that is too small can create tight, outdated curls rather than a soft, modern sweep. Opt for a medium-to-large barrel brush to achieve a gentle, flowing curve.
Daily Care and Quick Refreshes
A side fringe tends to absorb oils from the forehead more quickly than the rest of your hair. To keep it looking fresh between washes, you do not need to wash your entire head. Simply section off your fringe, wash it quickly in the sink, and blow-dry it using your round brush routine. Alternatively, a quick spray of a lightweight dry shampoo at the roots can instantly absorb excess oil, restore lost volume, and give your fringe a clean, matte finish in seconds.