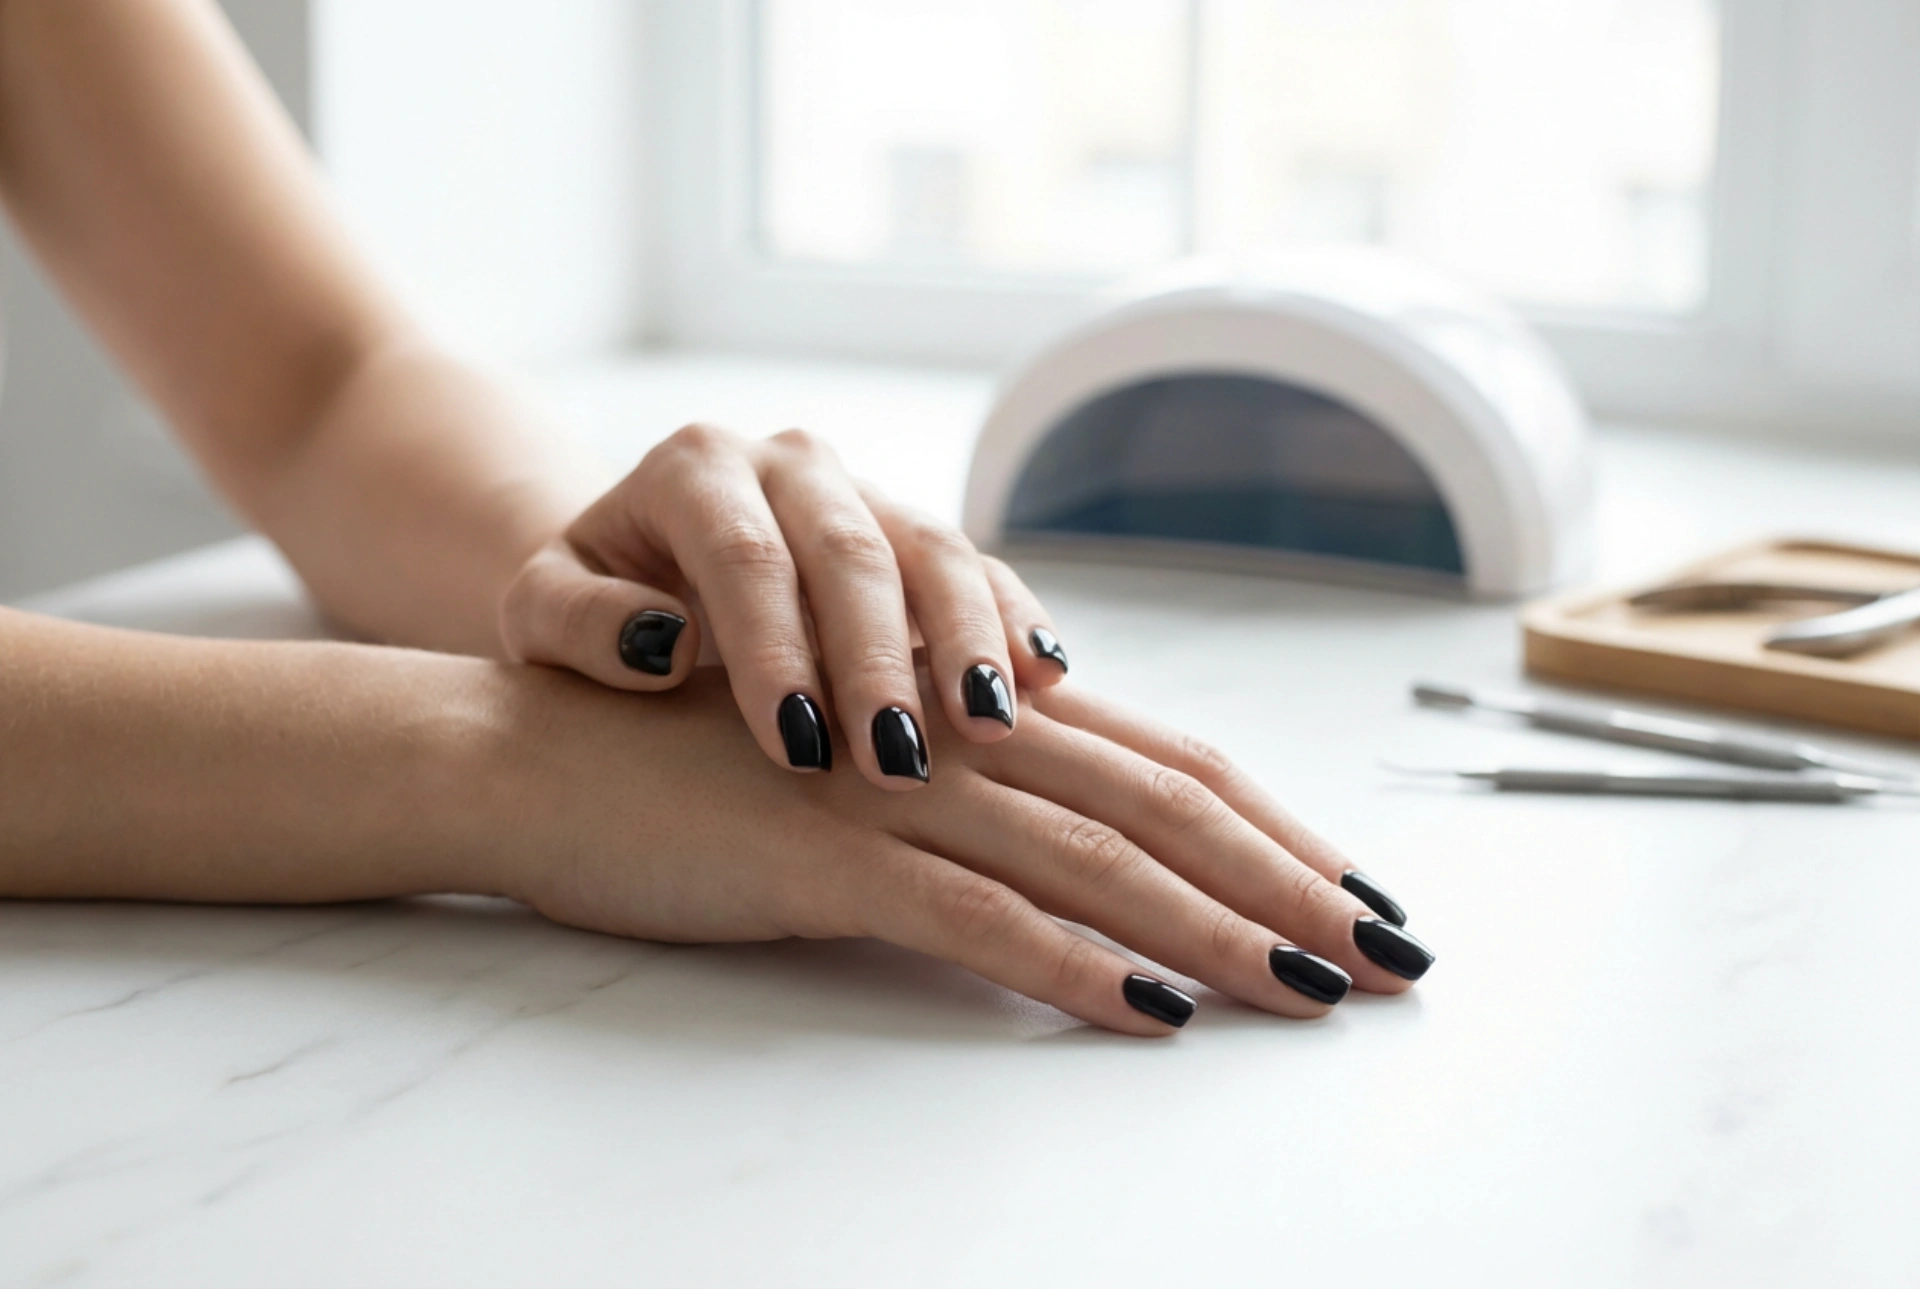


Elegant, deep glossy black gel nails represent the height of modern, minimalist refinement. Perfecting this classic aesthetic at home requires a blend of careful preparation, precise application, and correct curing. When performed with care on a tidy, well-lit workspace, the process of creating flawless black gel nails becomes a relaxing, rewarding beauty ritual that results in a striking, high-shine finish that lasts for weeks.
Preparing the Nail Plate for a Dark Manicure
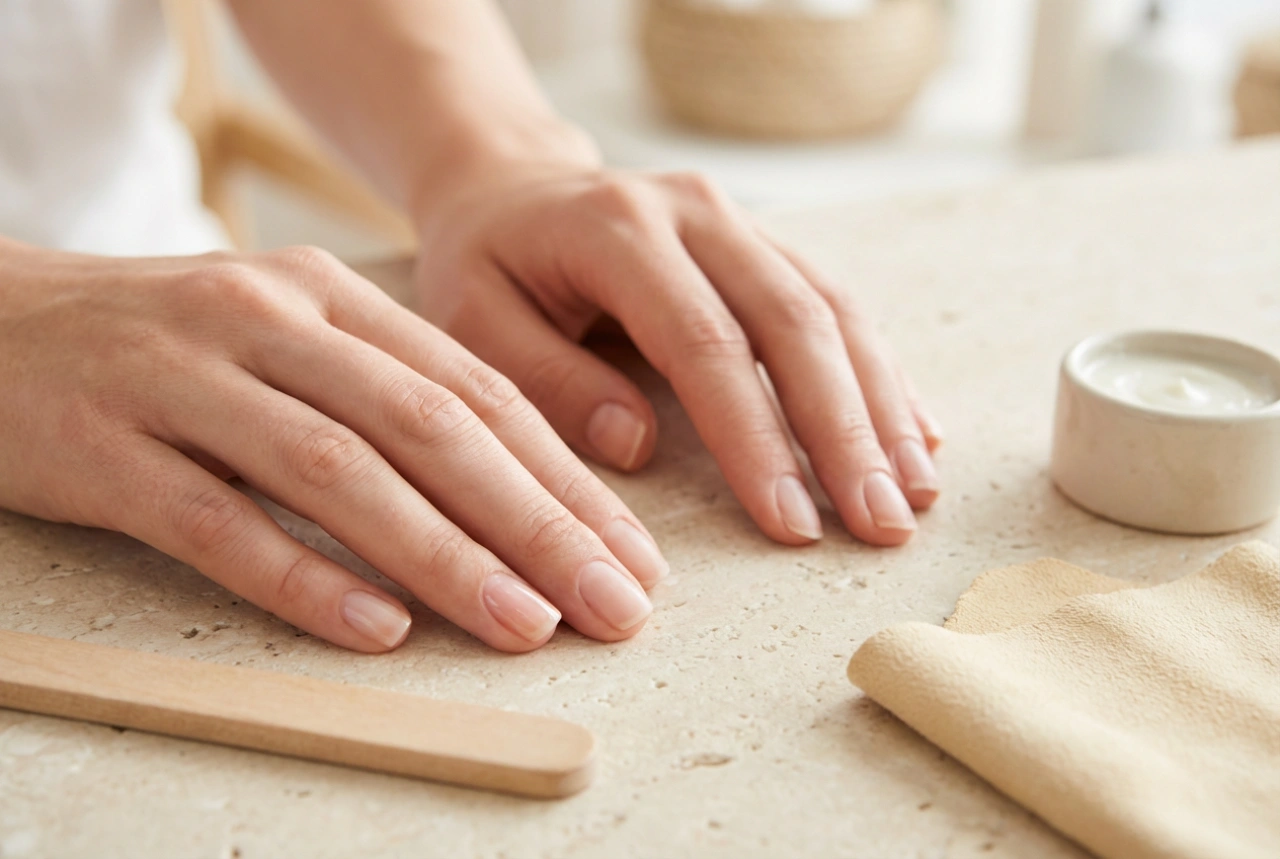
Working with highly pigmented dark shades like deep black demands meticulous preparation of the natural nail plate. Because dark colours highlight any irregularities, a smooth surface is essential for achieving a professional finish. Start by shaping the nails using a fine-grit nail file, working in one direction to prevent splitting. Square or rounded-oval shapes look particularly sophisticated with black polish.
Next, gently push back the cuticles using a wooden stick or a dedicated tool. Ensuring the cuticle area is completely clear is crucial, as any polish overlapping onto the skin will cause the gel to lift prematurely. Once the cuticles are tidy, lightly buff the surface of each nail with a buffer block to remove the natural shine. This creates a subtle texture that helps the gel base coat adhere securely.
To conclude the preparation phase, wipe the nails thoroughly with a lint-free wipe soaked in a professional prep solution or cleanser. This step removes any residual dust, oils, and moisture, establishing a pristine canvas for the subsequent gel layers.
Mastering the Application of Highly Pigmented Black Gel
Applying black gel polish requires patience and precision. Since black is a highly concentrated pigment, applying thick layers is a common mistake that leads to wrinkling during curing. The key to a flawless, smooth finish lies in applying incredibly thin, even coats.
- The Base Coat: Begin with a thin layer of high-quality base coat. Make sure to cover the entire nail plate without touching the surrounding skin or cuticles. Cap the free edge of the nail to seal the tip, then cure according to the lamp instructions.
- First Colour Coat: Apply the first layer of black gel polish. Use light, sweeping strokes and keep the layer as thin as possible. Do not worry if the first coat appears slightly sheer or uneven; the second coat will build complete opacity. Cap the free edge to ensure longevity.
- Second Colour Coat: After curing the first layer, apply a second thin coat of black gel. This layer will provide that deep, solid, and luxurious black hue. If necessary, a third ultra-thin layer can be applied, but two are generally sufficient when using a well-pigmented polish.
The Importance of Correct Curing
Curing is the scientific process that transforms liquid gel into a durable, glossy polymer. Black gel polish contains a dense concentration of pigments, which means UV or LED light struggles to penetrate the layer as easily as it does with pastel or sheer shades. Consequently, correct curing is vital to prevent the polish from remaining wet underneath, which causes peeling and bubbling.
Always use a modern, reliable curing lamp and adhere strictly to the recommended curing times. Typically, LED lamps require 30 to 60 seconds per layer, while traditional UV lamps may require up to two minutes. It is far better to cure black gel slightly longer than to under-cure it. Keep your fingers flat and centered inside the lamp to ensure the light reaches all angles of the nails evenly, especially the thumbs.
Achieving and Securing the Mirror-Like Gloss
The hallmark of an elegant black manicure is its reflective, glass-like finish. To achieve this, a high-quality gloss top coat is indispensable. The top coat not only protects the dark pigment from scratching and fading but also adds a stunning depth to the colour.
Apply the top coat evenly over the cured black layers, taking extra care to seal the free edge. Once cured under the lamp, if you are using a traditional top coat, you will need to remove the sticky inhibition layer. Use a clean, lint-free wipe saturated with a professional finishing cleanser to reveal the brilliant, smooth shine. If you are using a non-wipe top coat, simply allow the nails to cool for a minute after curing before touching them.
Caring for Your Glossy Black Manicure
To keep your deep black nails looking fresh and pristine for as long as possible, incorporate a few simple maintenance habits into your daily routine:
- Moisturise regularly: Apply a nourishing cuticle oil and a rich hand cream daily to keep the skin around your nails hydrated and healthy, which beautifully frames the dark manicure.
- Wear protective gloves: When performing household chores, washing dishes, or cleaning, always wear protective gloves to shield the glossy finish from harsh chemicals and physical abrasion.
- Avoid using nails as tools: Refrain from picking or prying open objects with your nails to prevent chipping or lifting of the gel polish.
By following these systematic steps and dedicating time to careful preparation and curing, you can enjoy a flawless, sophisticated black gel manicure that embodies elegance and professional quality from the comfort of your home.