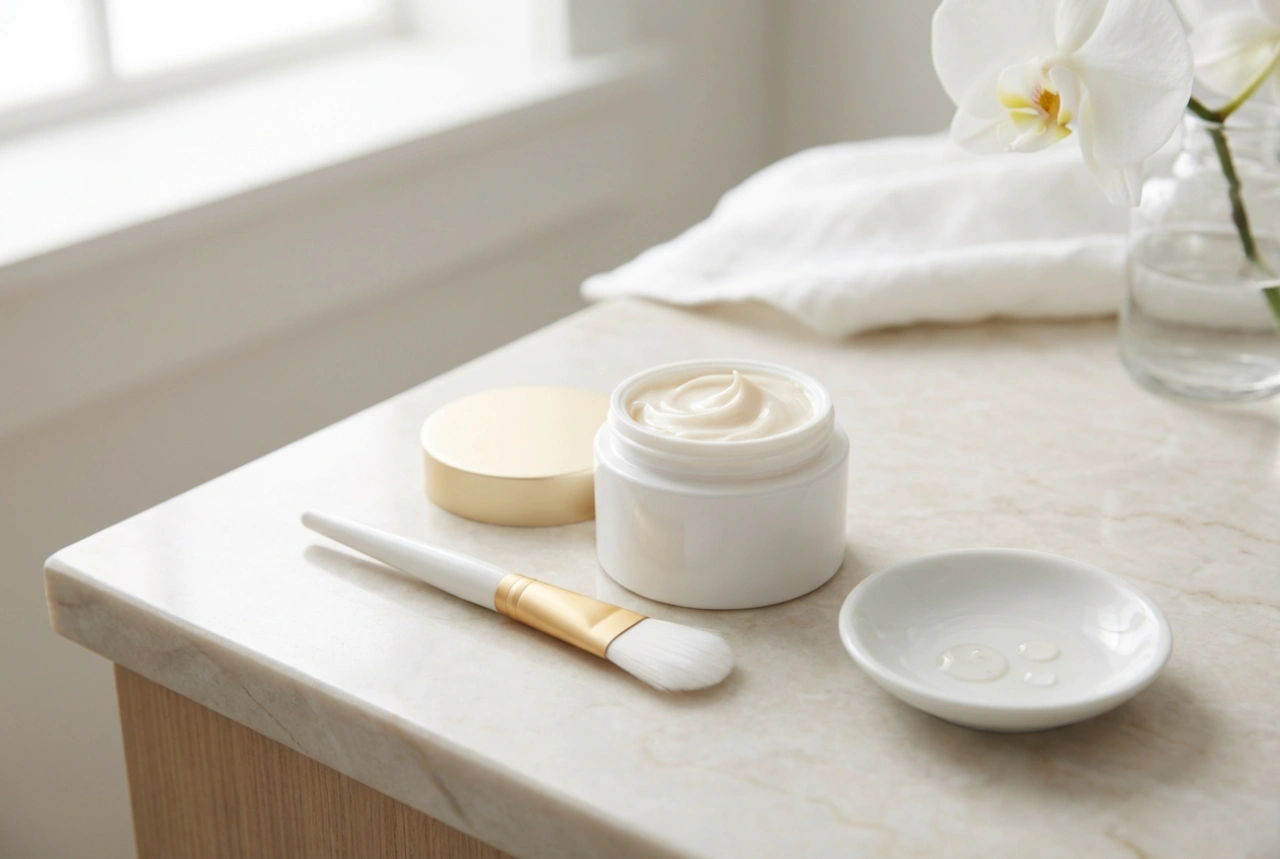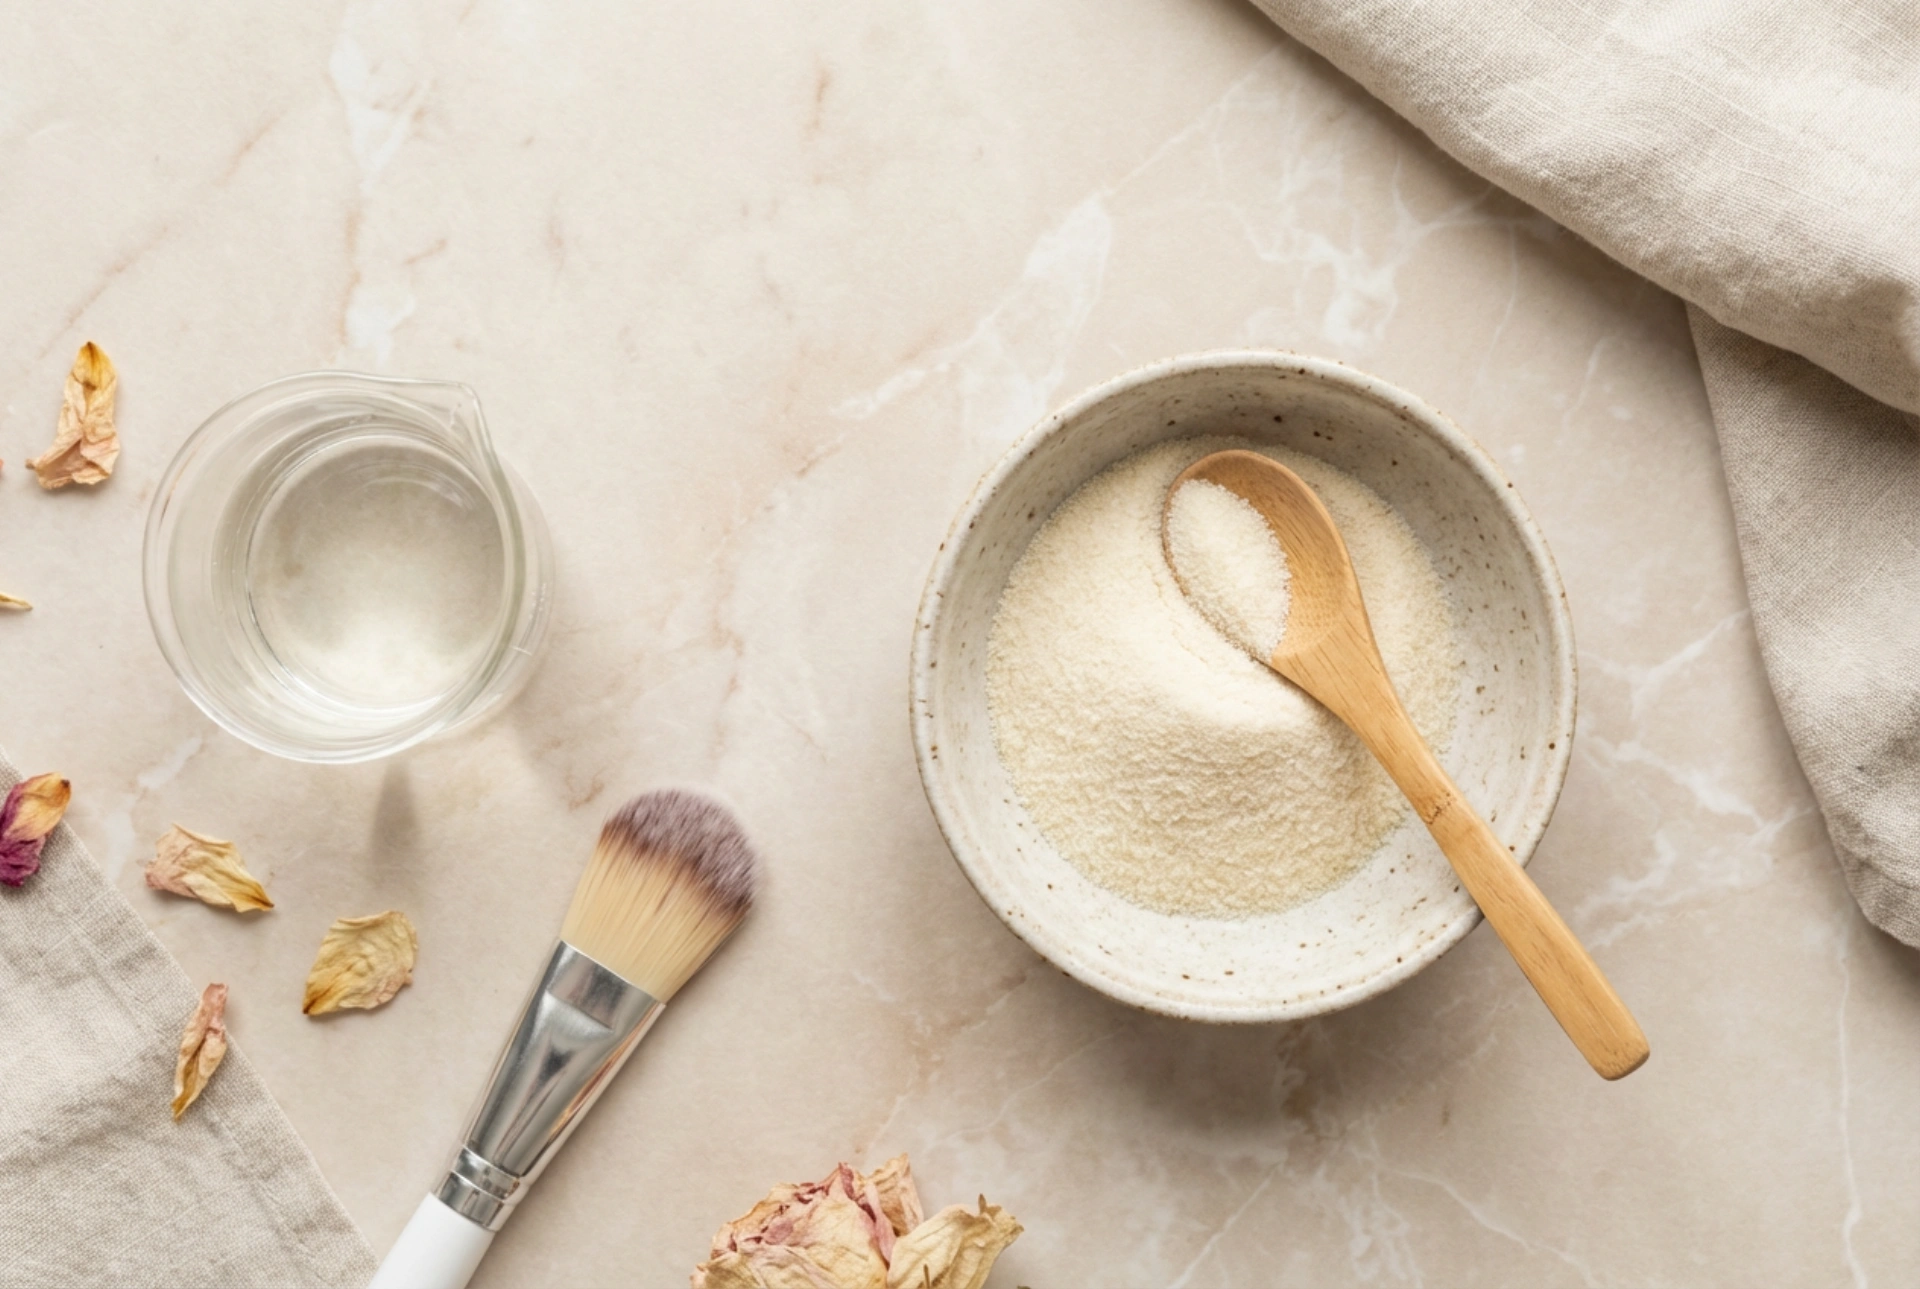


A quiet afternoon, a clean, light surface, and a small ceramic bowl filled with fine gelatin powder next to a soft application brush—this serene picture represents the growing trend of natural, home-based beauty rituals. Preparing your own skincare treatments allows you to control the ingredients and enjoy a mindful moment of self-care. Among the various DIY treatments, the gelatin face mask is highly valued for its exceptional ability to smooth the skin, lift away impurities, and leave the complexion looking refreshed and radiant.
The Benefits of Gelatin in Home Skincare
Gelatin is a natural ingredient rich in proteins and amino acids, which are derived from collagen. When applied to the skin, it forms a cohesive, flexible layer that mimics the effects of professional peel-off masks. This makes it an excellent option for those seeking an affordable and effective way to revitalise their skin at home.
The primary benefit of a gelatin mask is its physical exfoliating action. As the mask dries, it binds gently to the very top layer of the epidermis. Upon removal, it helps to sweep away dead skin cells, excess sebum, and surface debris that can make the complexion appear dull. Furthermore, the protein content in gelatin provides a temporary firming sensation, leaving the skin feeling tight, smooth, and remarkably soft to the touch.
How to Prepare a Classic Gelatin Mask
Creating this mask at home requires only a few basic kitchen essentials. The key is to achieve a smooth, lump-free consistency that is comfortable to apply. Here is a simple and safe method to prepare a basic gelatin mask:
- Ingredients: Take one tablespoon of unflavoured, high-quality gelatin powder and two tablespoons of warm liquid. You can use pure water, milk for a more nourishing effect, or a mild herbal infusion such as chamomile tea.
- Mixing: Combine the ingredients in a small heatproof ceramic bowl. Stir gently using a delicate mixing spoon until the powder starts to dissolve.
- Heating: To ensure the gelatin fully dissolves, place the bowl over a pan of hot water (a double boiler method) or heat it in a microwave for a few seconds. The mixture should be warm and liquid, but never hot. Always test the temperature on your wrist before applying it to your face to prevent any discomfort.
Step-by-Step Application Guide
Proper application is essential to ensure the mask is easy to remove and delivers the best results. Follow these practical steps for a comfortable experience:
1. Cleanse Your Skin
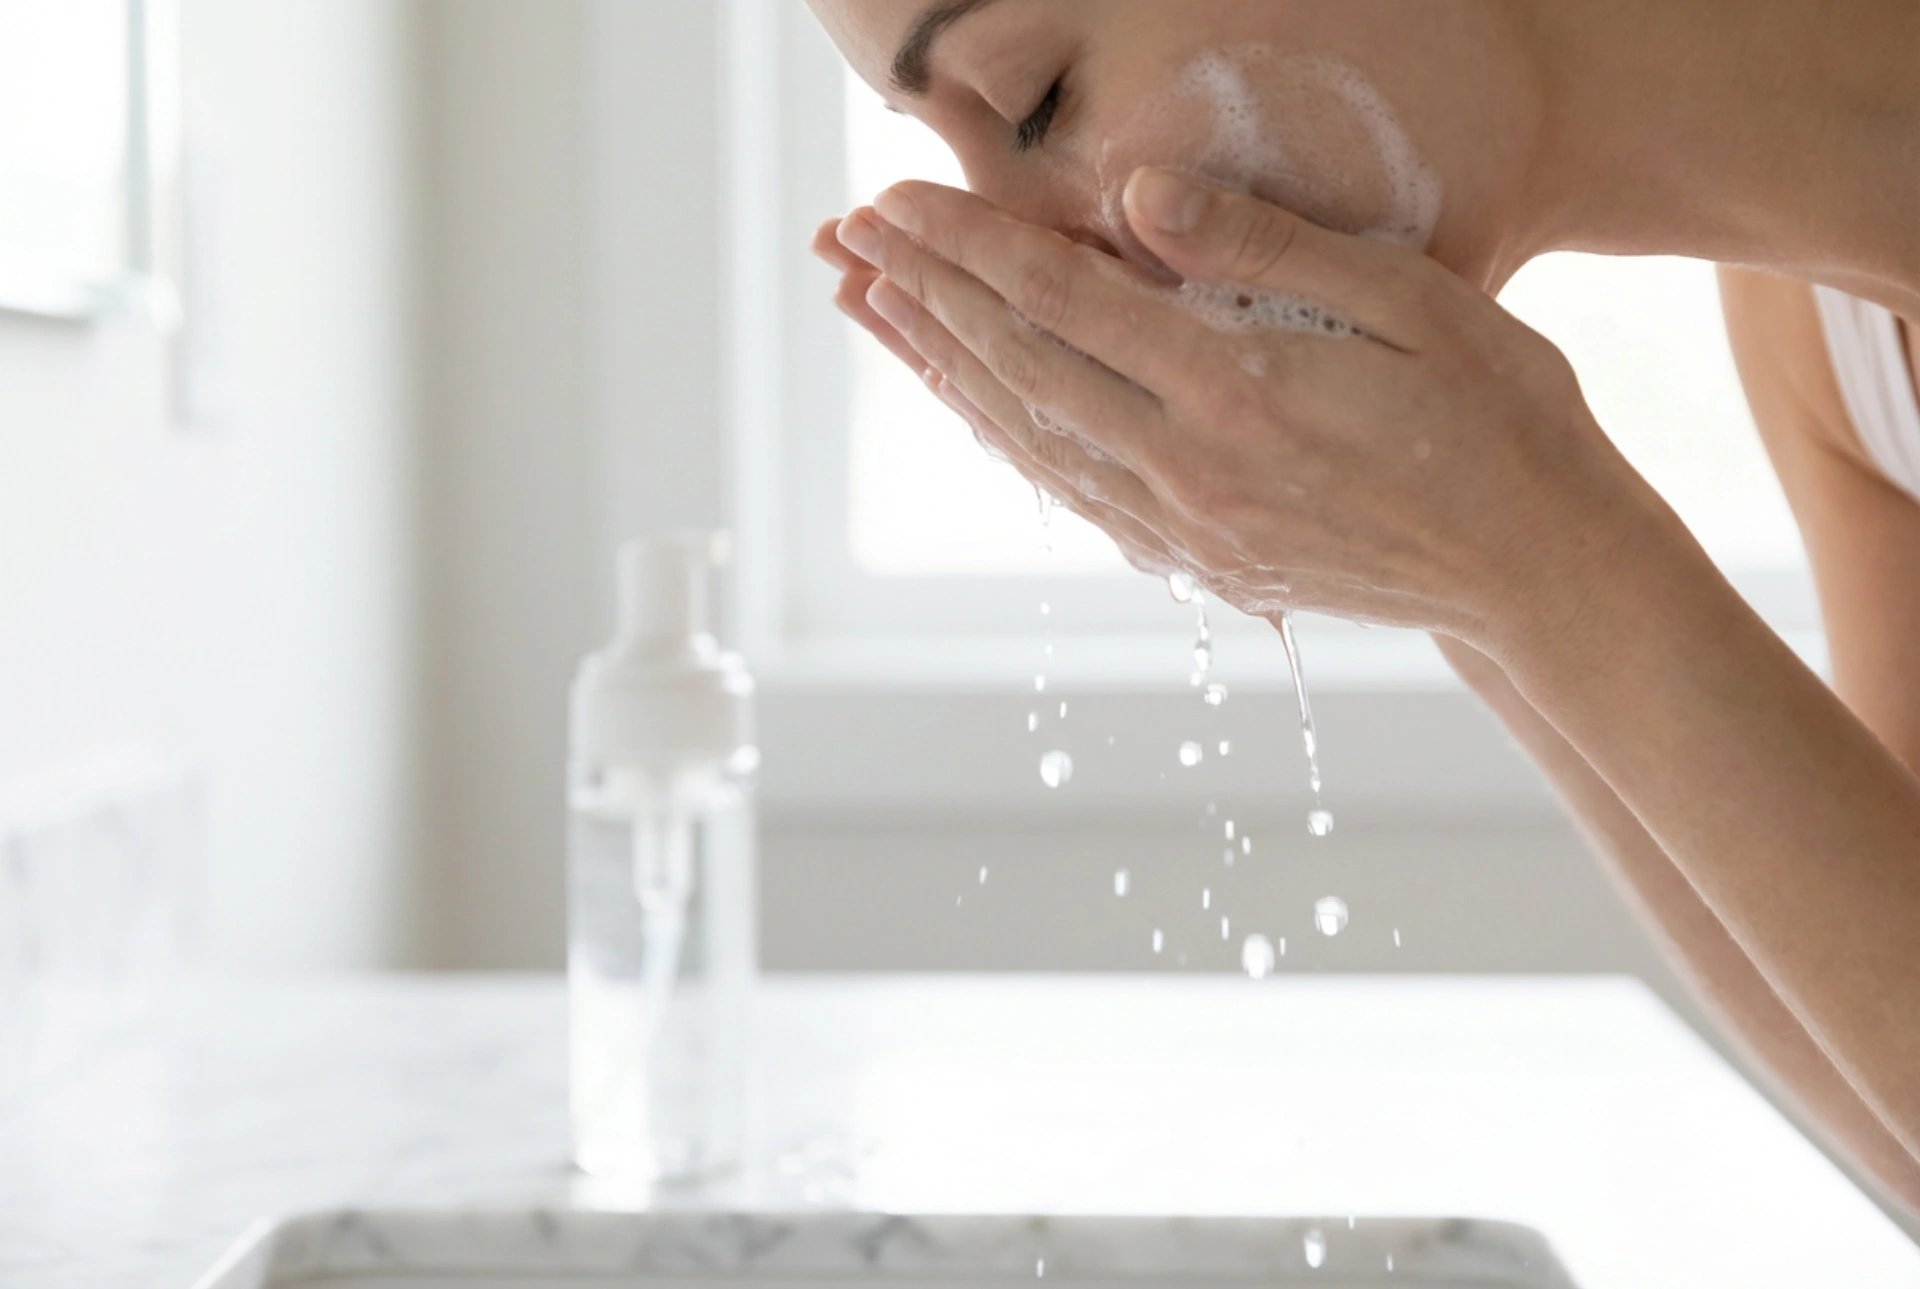
Always start with a clean canvas. Wash your face with a gentle cleanser to remove makeup, dirt, and oils. This allows the mask to adhere properly to the skin's surface.
2. Protect Sensitive Areas
Gelatin acts as a strong adhesive once dry. It is crucial to avoid applying it to the delicate skin around the eyes, the lips, the eyebrows, and your hairline. Applying a tiny amount of natural oil or moisturiser to your eyebrows beforehand can prevent the mask from sticking to the hairs.
3. Apply the Mixture
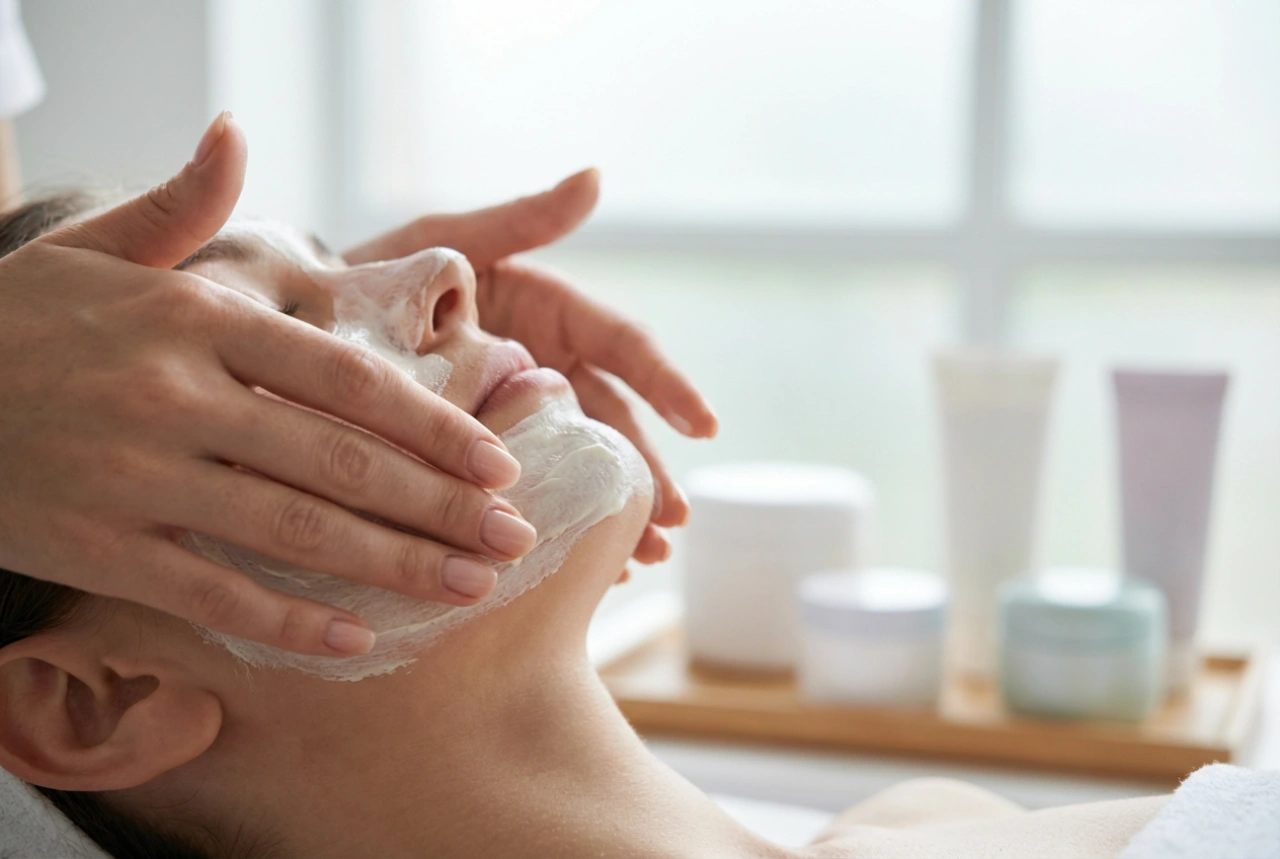
Using a soft cosmetic brush, apply an even, medium layer of the warm gelatin mixture to your face. Focus on areas that tend to require extra smoothing, such as the forehead, nose, and chin. Avoid making the layer too thin, as this will make it difficult to peel off in one piece.
Safe Removal and Aftercare
Allow the mask to dry completely, which usually takes about fifteen to twenty minutes. You will feel a distinct tightening sensation as the gelatin hardens. Once it is fully dry to the touch, it is time for removal.
Gently peel the mask away starting from the outer edges, moving slowly upwards. If the mask feels too tight or hurts to peel, do not force it. Instead, simply rinse it off with warm water. The gelatin will quickly dissolve when exposed to warmth, making wash-off safe and completely painless.
After removing the mask, rinse your face with cool water to soothe the skin and remove any remaining residue. Immediately follow up with your favourite hydrating serum and a rich moisturiser to lock in hydration and keep your freshly exfoliated skin soft and nourished.