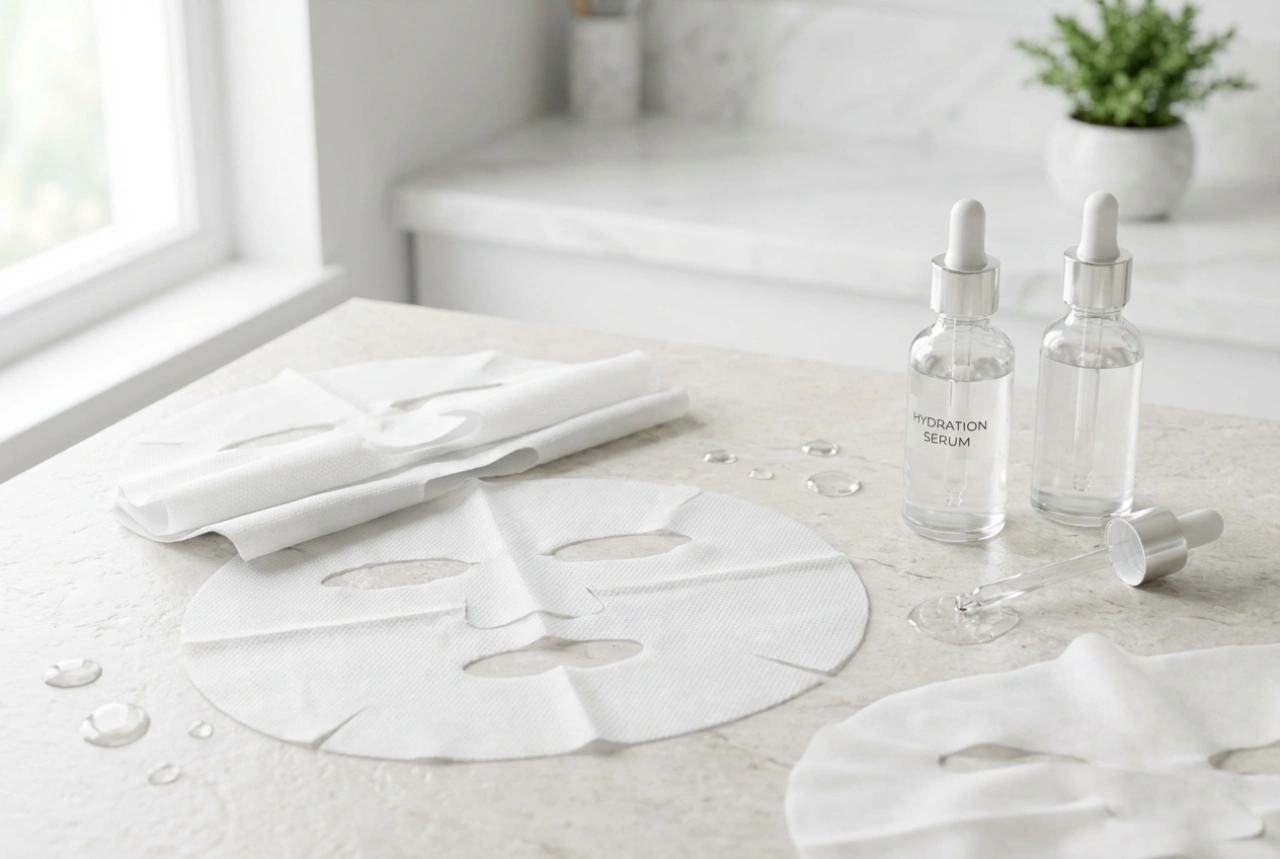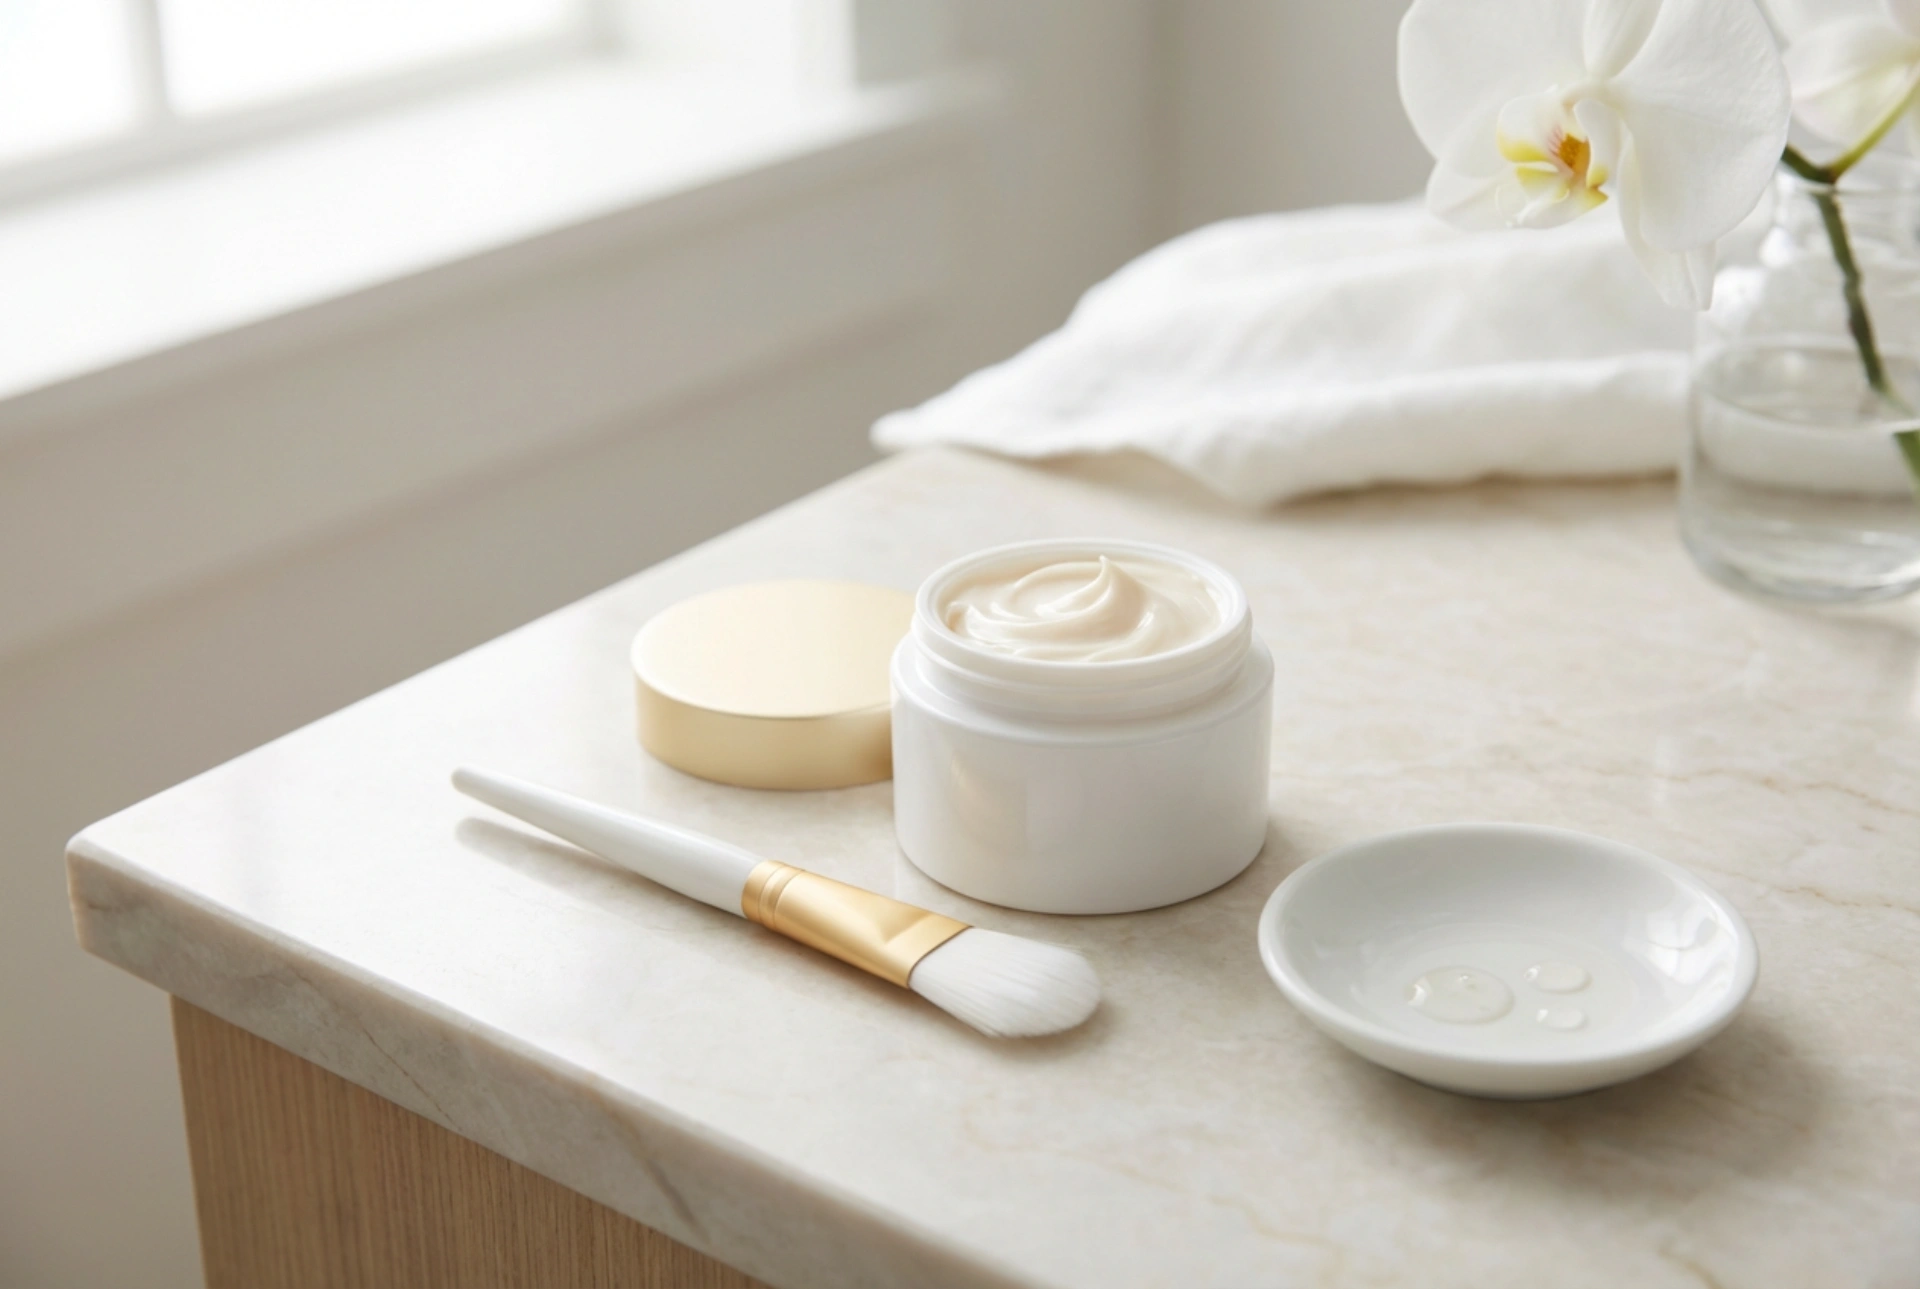


A serene, step-by-step beauty ritual is one of the most rewarding ways to care for your skin at home. Imagine setting aside a quiet moment in the soft, diffused natural light of your room, surrounded by elegant, pale gold and white skincare items. Placing a luxurious pot of creamy collagen mask on a pristine ceramic dish, alongside a delicate application brush and a few drops of hydrating essence, transforms a simple routine into a mindful sanctuary. Collagen-infused face masks are highly celebrated for their ability to deliver intense hydration, improve skin elasticity, and impart a luminous, youthful glow. To truly maximise these benefits, understanding how to apply, wear, and seal the treatment is essential.
Preparing the Skin: Creating the Perfect Canvas
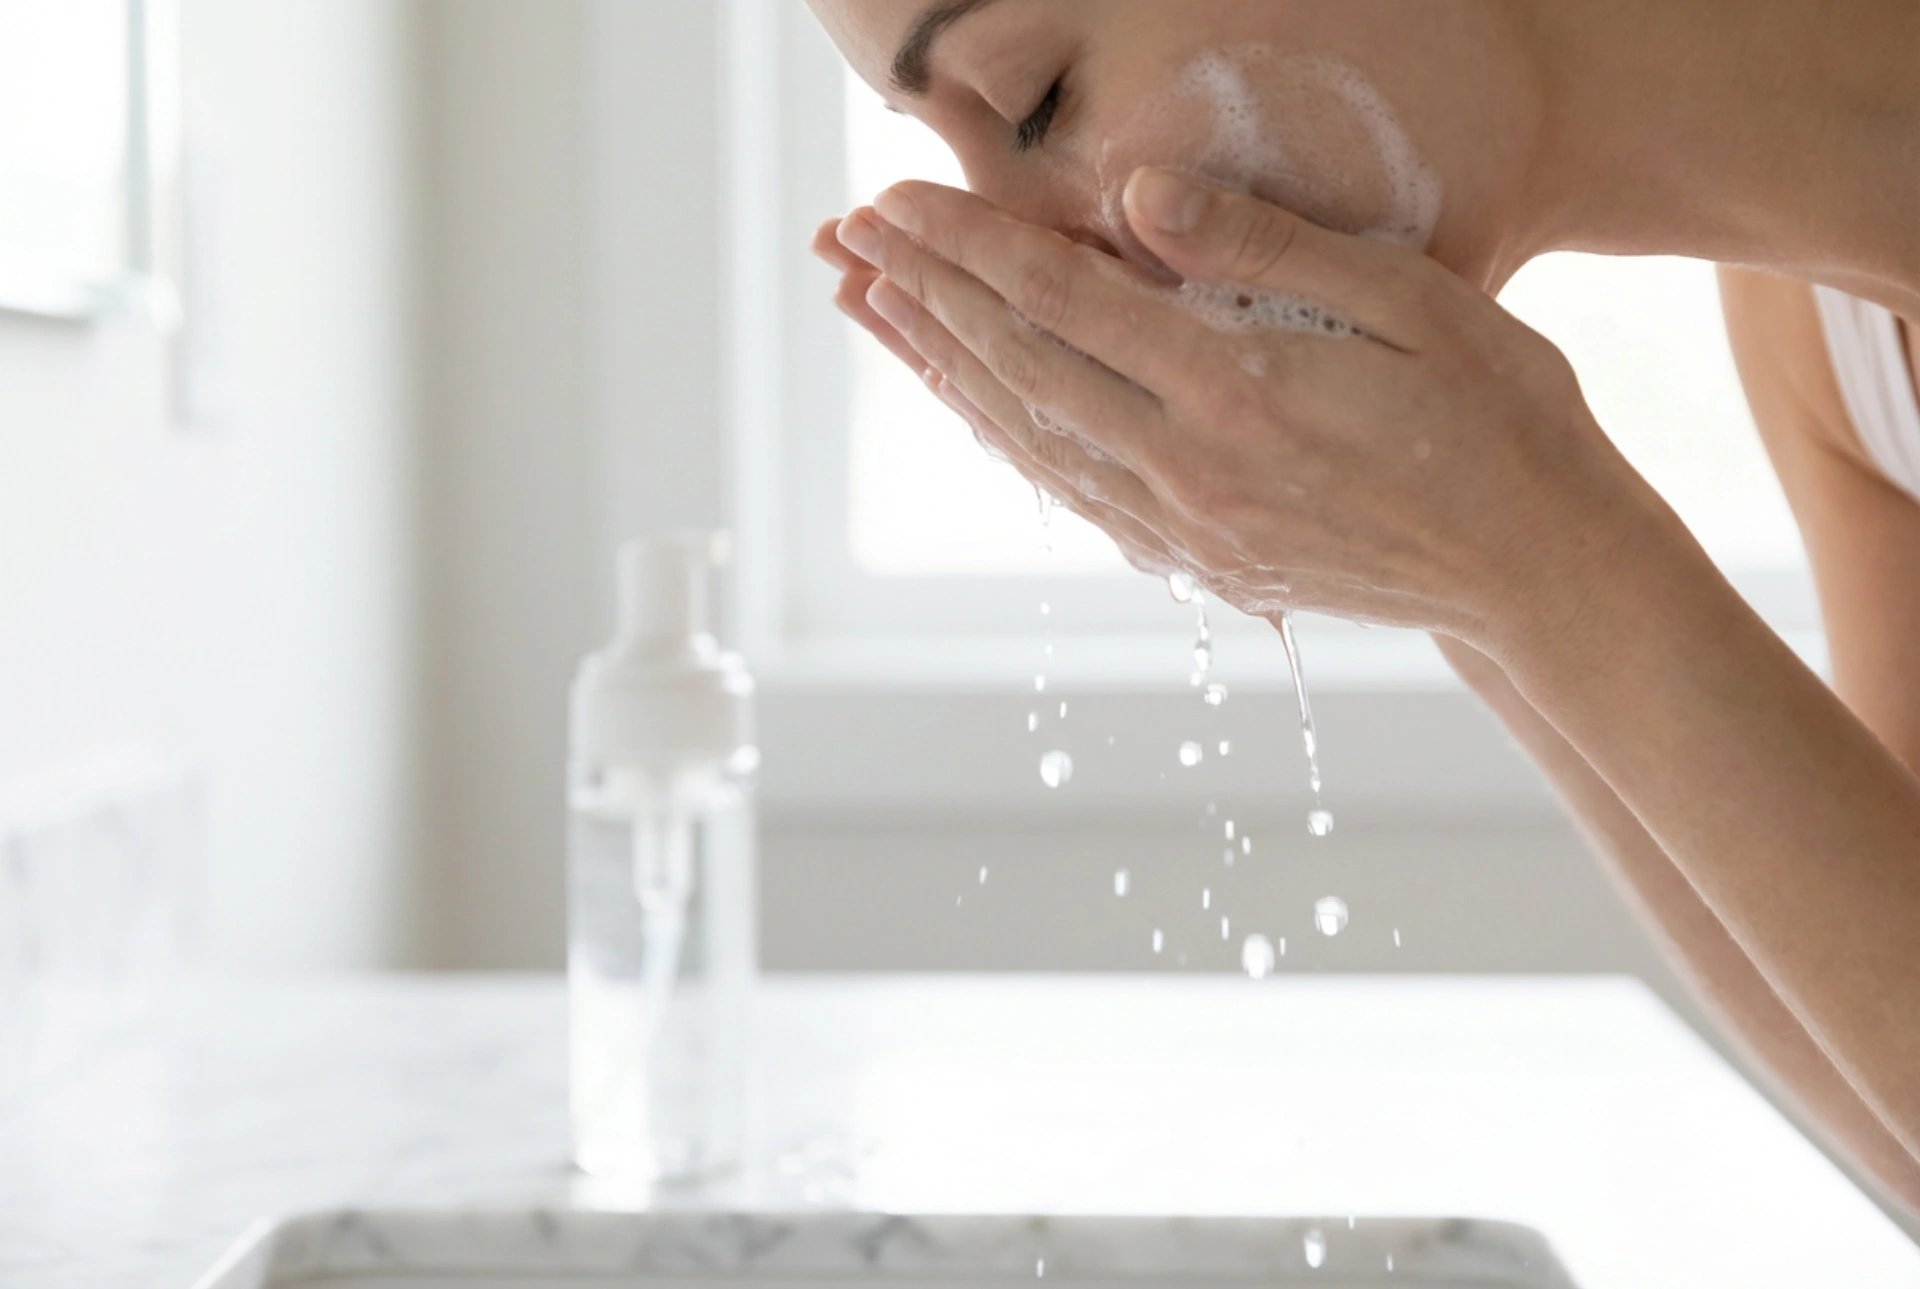
Before any active ingredients from your creamy collagen mask can penetrate the outer layers of the skin, a thorough cleansing routine is required. Applying a mask onto skin that has not been properly prepared can lead to diminished results, as impurities, excess sebum, and dead skin cells act as barriers. To optimise the absorption of the nourishing ingredients, begin with a gentle double-cleansing method. First, use a mild, oil-based cleanser to dissolve makeup and sunscreen, followed by a water-based foaming or cream cleanser to wash away any remaining residue.
After cleansing, a very mild exfoliation can be highly beneficial. Opt for a gentle enzyme peeling or a soft scrub once or twice a week to polish the skin surface without causing irritation. This step ensures that the collagen mask sits directly on fresh, receptive skin cells. Once exfoliated, pat the face dry with a clean, soft towel. Avoid rubbing the skin, as this can cause unnecessary redness and sensitivity before your treatment begins. Finishing the prep stage with a light sweep of a hydrating toner or a few drops of essence helps to balance the skin's pH and lock in initial moisture, making it ready for the mask.
The Art of Application: A Step-by-Step Guide
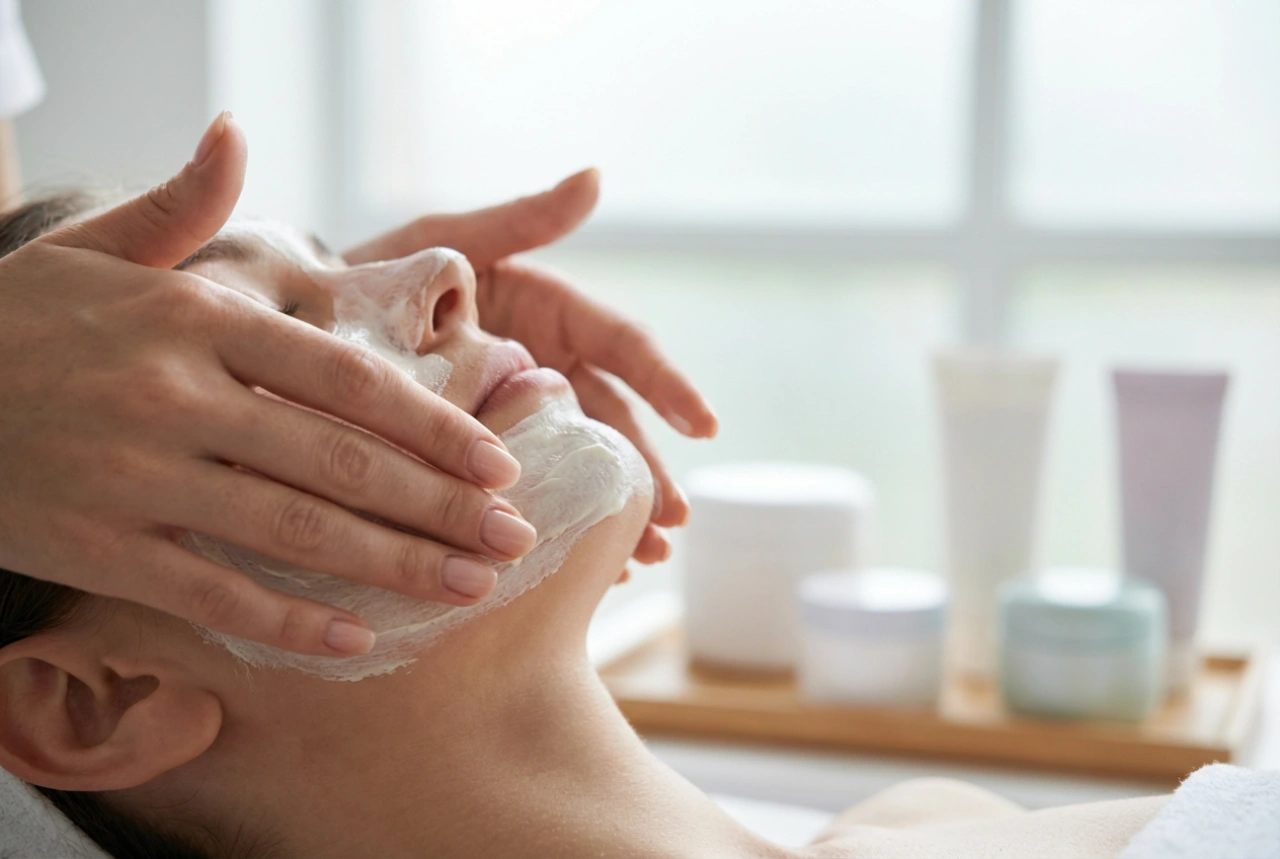
Using a dedicated application brush not only elevates the sensory experience of your beauty ritual, but it also ensures an even, hygienic distribution of the creamy collagen mask. Dip the clean brush into the pot of mask, or dispense a small amount onto a clean ceramic dish to avoid contaminating the main product. Start applying the mask from the centre of the face, sweeping outwards and upwards. This technique aligns with the natural flow of the facial muscles and lymphatic system, providing a gentle lifting sensation during application.
- Forehead: Brush upwards from the eyebrows towards the hairline in gentle, vertical strokes.
- Cheeks and Jawline: Apply in sweeping diagonal strokes, starting from the nose and moving outwards towards the ears and temples.
- Nose and Chin: Use short, downward strokes on the bridge of the nose and outward strokes across the chin.
- Neck and Decolletage: Do not forget these delicate areas; brush upwards from the collarbone to the jawline to maintain hydration and firmness.
Be sure to leave a clear border around the sensitive eye area and the lips, as these regions require specialised care. The layer of the creamy mask should be uniform—not too thin that it dries out instantly, and not too thick that it fails to interact with the skin efficiently. Aim for an even, opaque layer that allows the skin to absorb the moisture steadily over the recommended duration.
The Power of Rest: Allowing the Mask to Work
How Long Should You Leave a Collagen Mask On?
Generally, a creamy collagen mask should remain on the skin for fifteen to twenty minutes. This timeframe allows the hydrating agents and emollients to thoroughly saturate the stratum corneum, the outermost layer of the skin. Leaving the mask on for longer than recommended is not beneficial; once the mask begins to dry, it can actually start drawing moisture out of the skin, leading to a reverse effect.
Creating a Calming Atmosphere
To truly enhance the efficacy of your skincare, combine the physical application with mental relaxation. Lie down in a comfortable position, perhaps with your eyes closed, and allow the facial muscles to completely relax. This physical stillness prevents the mask from shifting or cracking, allowing for an even delivery of nutrients. Minimising facial expressions during this time ensures that the formula remains in close contact with every fine line and contour, boosting the overall smoothing effect.
Removal and Sealing: The Crucial Final Steps
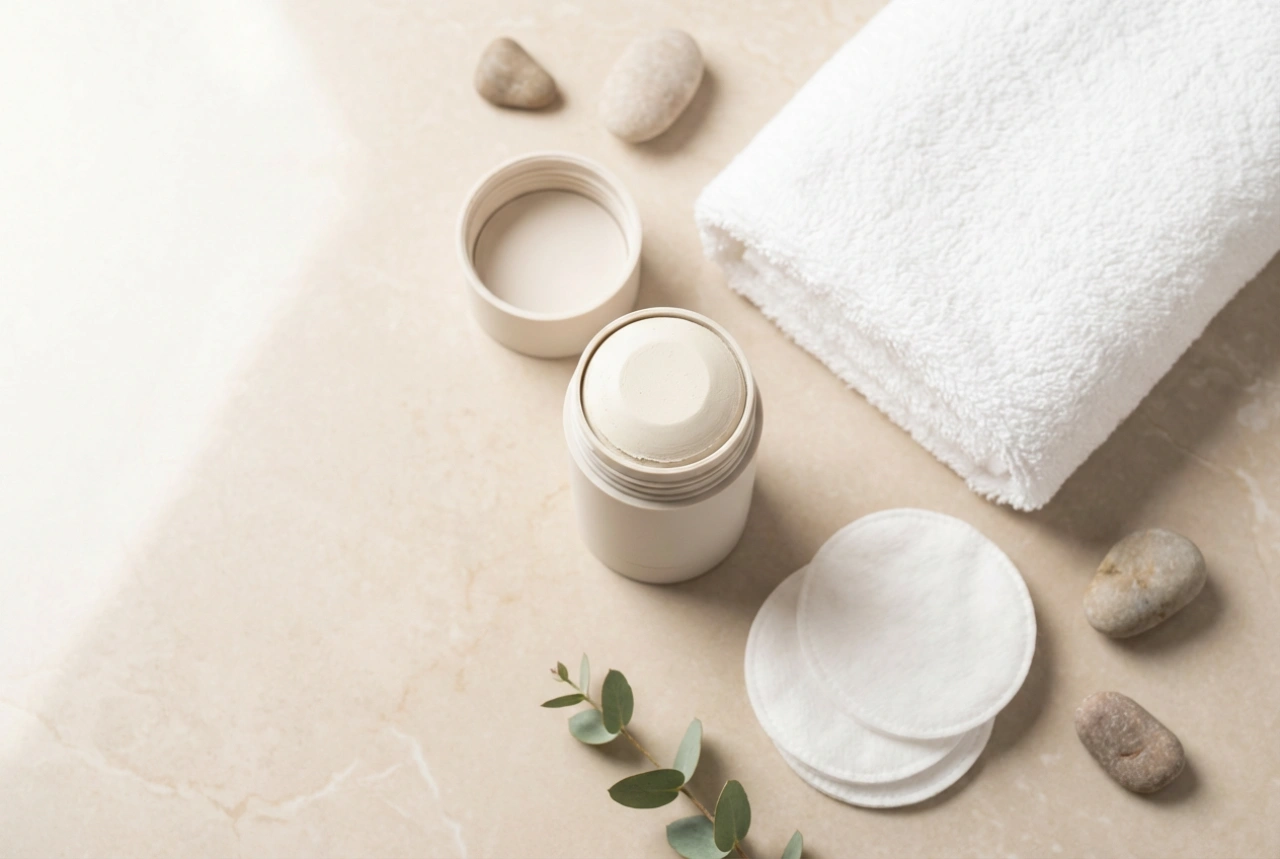
Once the designated time has passed, removing the mask gently is vital to avoid irritating the skin. Avoid using harsh washcloths or rubbing vigorously. Instead, splash lukewarm water over your face to loosen the creamy formula. Use your fingertips to massage the face in circular motions, rinsing thoroughly until no residue remains. If necessary, a soft, damp reusable cosmetic pad can assist in wiping away any stubborn areas around the hairline or jawline.
Immediately after rinsing, your skin will feel incredibly soft, plump, and deeply hydrated. However, this moisture is highly volatile and will quickly evaporate into the air if not properly sealed. To lock in the benefits of your collagen treatment, follow these essential post-mask steps:
- Hydrating Serum: Apply a lightweight, moisture-binding serum while the skin is still damp to boost hydration.
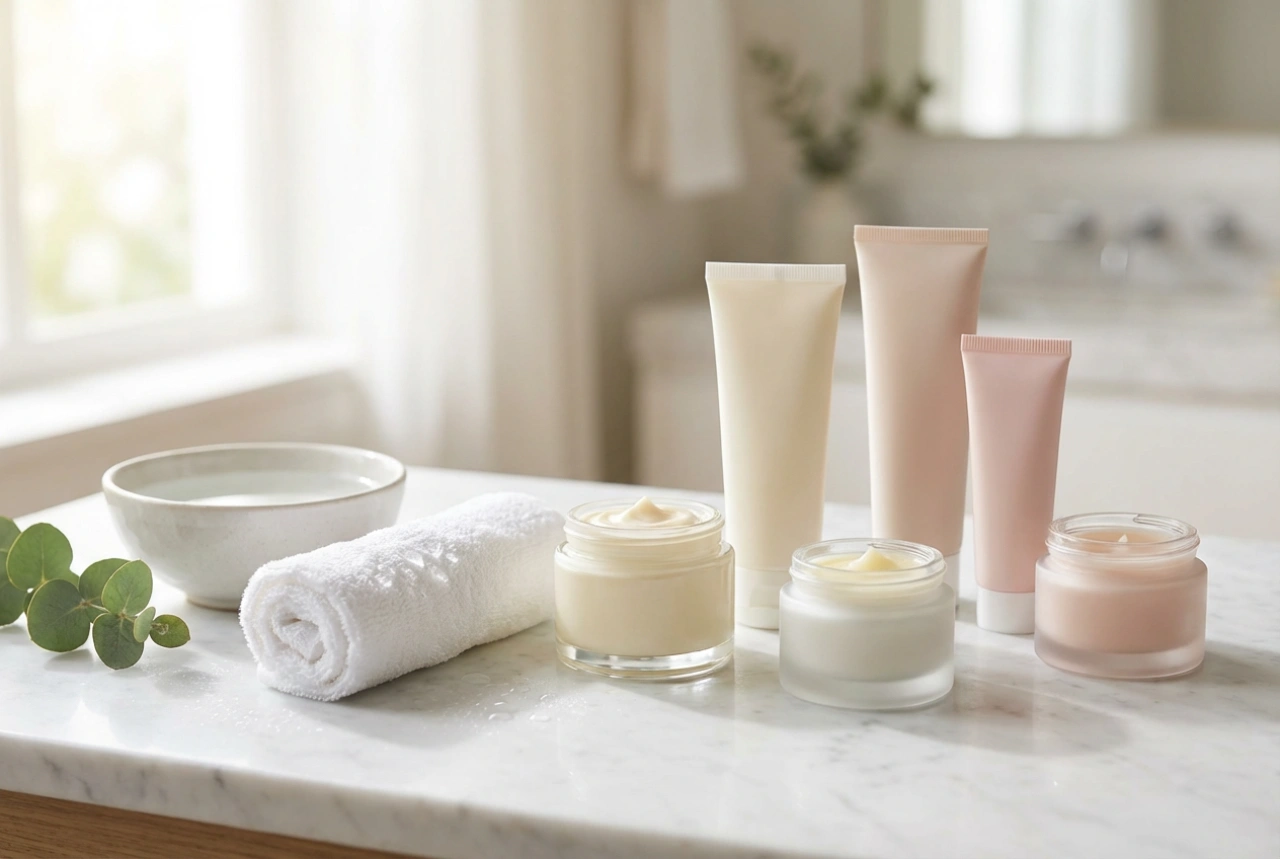
- Moisturiser: Massage a nourishing cream or moisturiser over the face and neck. This acts as a protective barrier, trapping the active ingredients underneath.
- Facial Oil: For dry or mature skin types, pressing two to three drops of a gentle facial oil over your moisturiser can provide an extra layer of nourishment and a beautifully radiant finish.