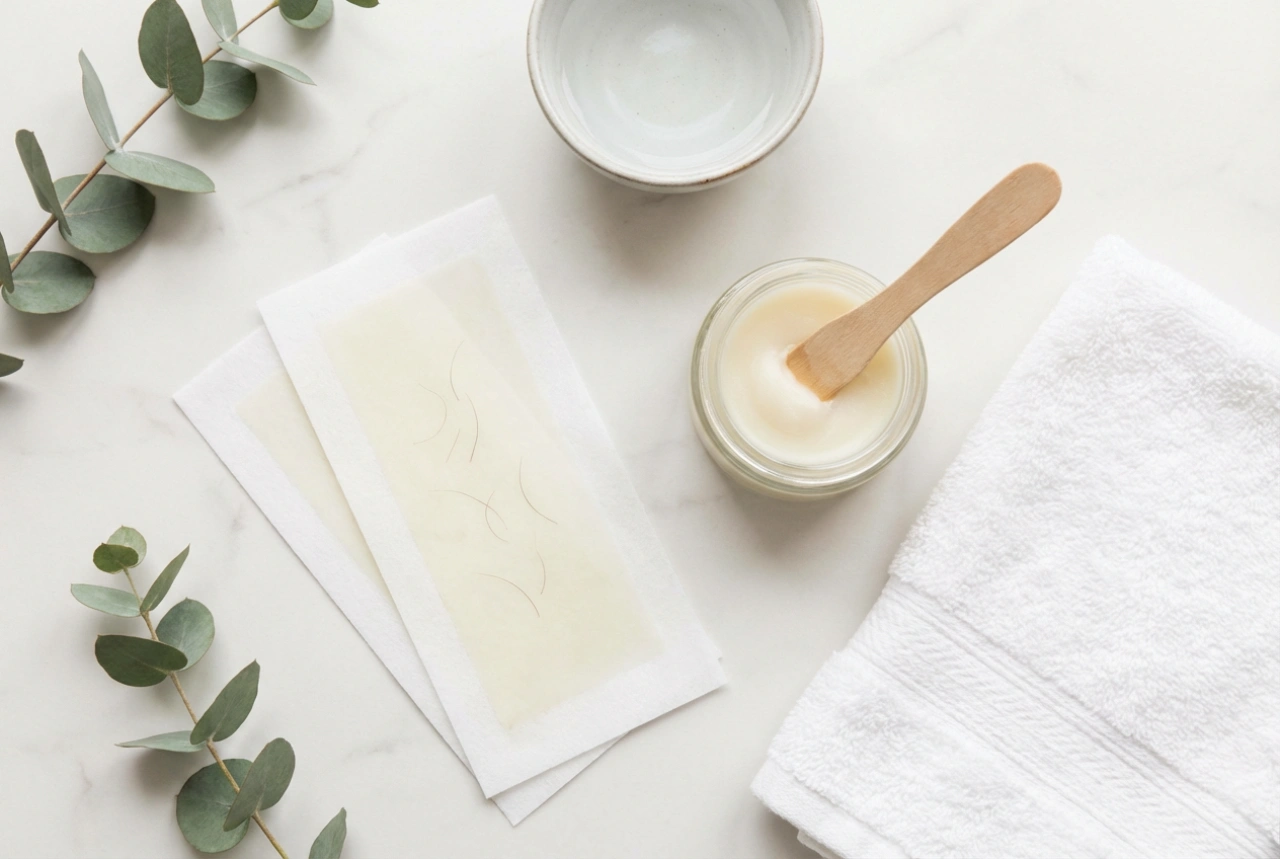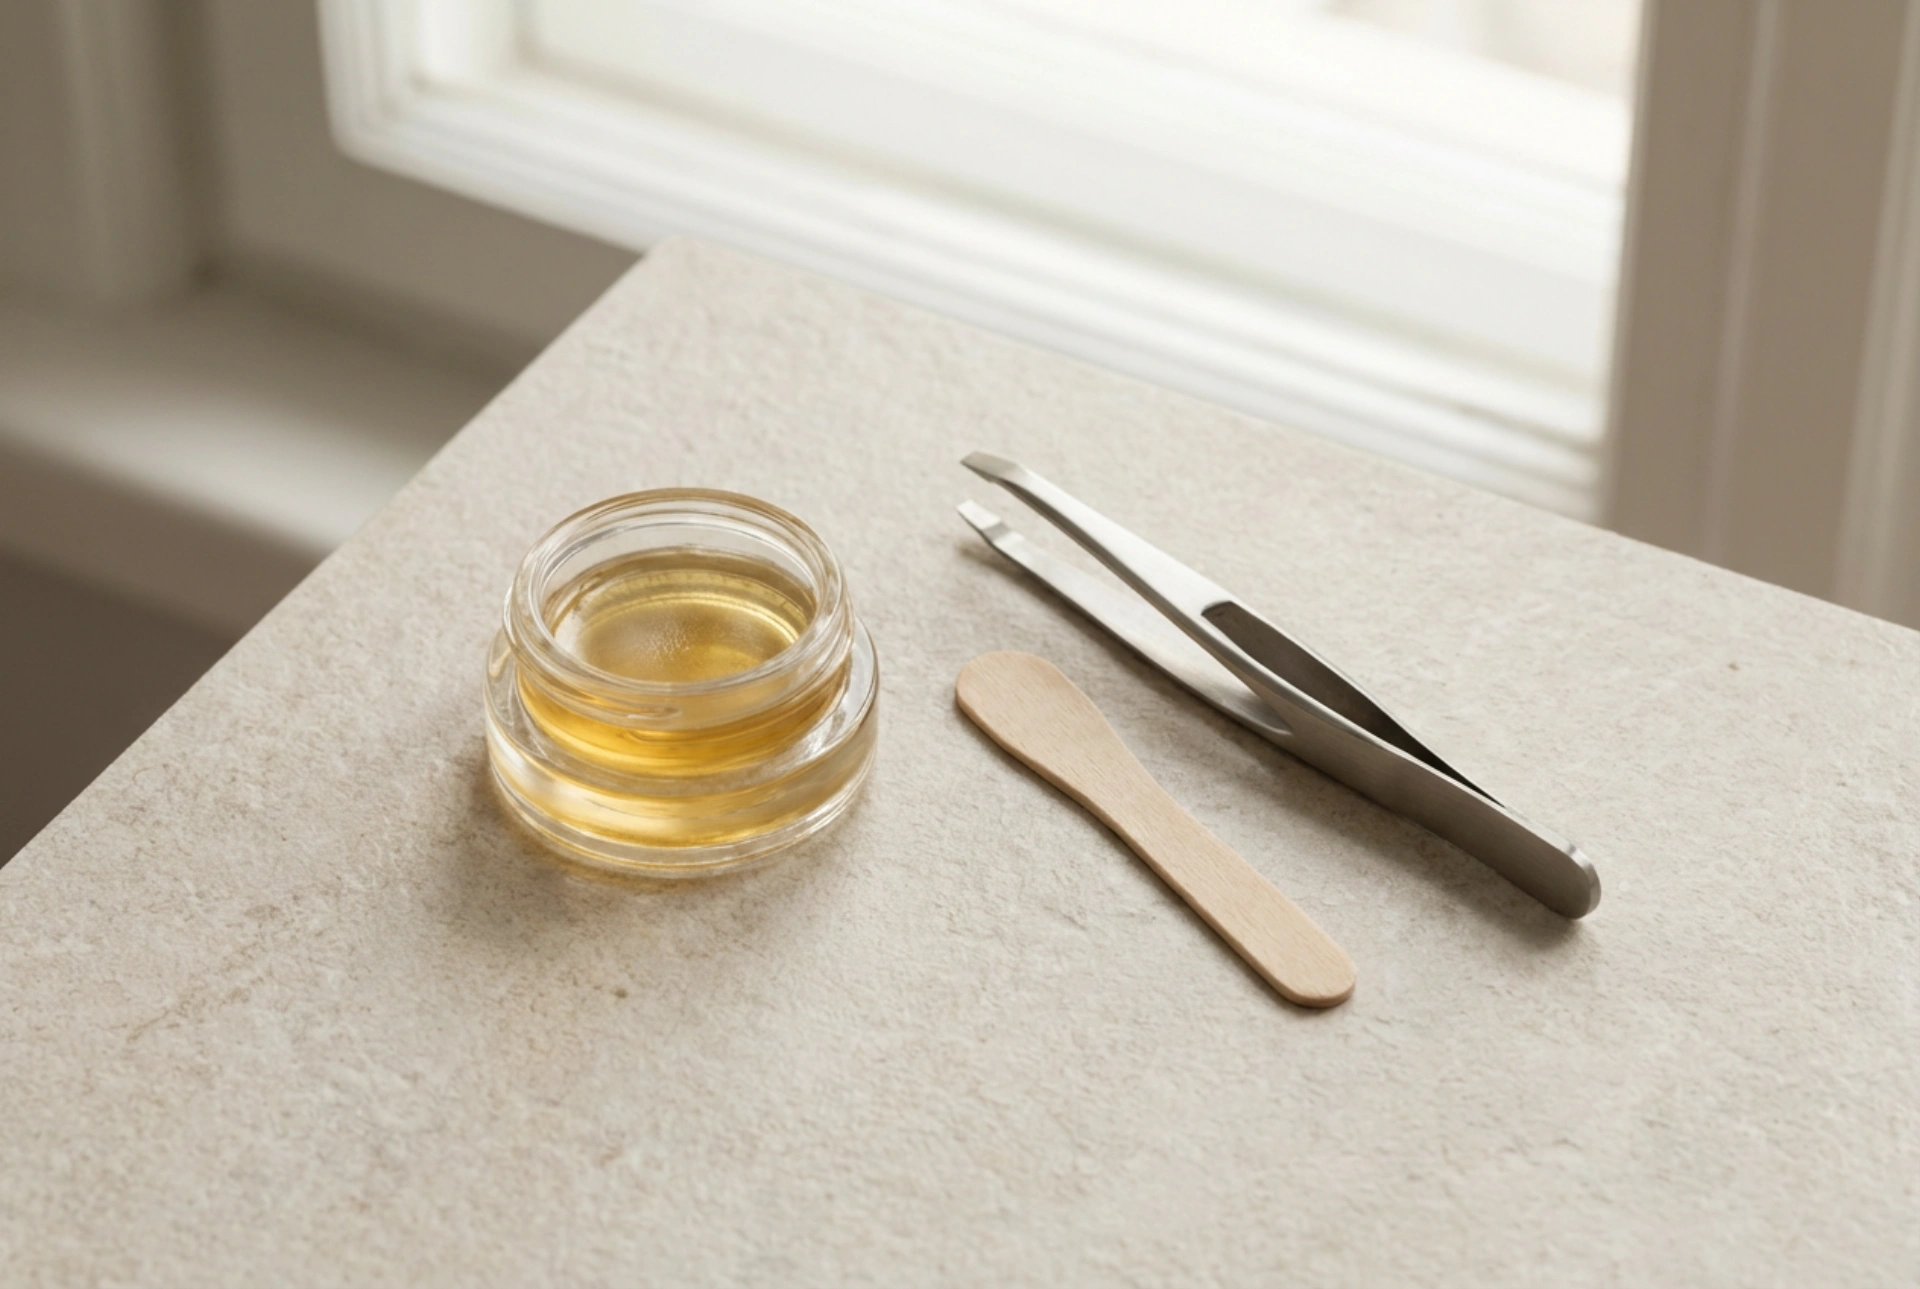


Achieving perfectly sculpted eyebrows is a core element of a modern grooming routine, framing the face and highlighting natural features. The use of a dedicated eyebrow styling kit—complete with warm, golden wax, precision wooden applicators, and fine tweezers—offers an efficient way to achieve clean, defined lines from the comfort of home. Eyebrow waxing has become one of the most popular methods for maintaining tidy brows, offering a smooth finish that lasts much longer than traditional shaving or constant plucking. By understanding the techniques of precise application and proper skin preparation, anyone can master the art of eyebrow shaping safely and effectively.
The Advantages of Waxing for Eyebrow Shaping
When compared to other hair removal methods, waxing stands out for its efficiency and the quality of the finish it provides. Instead of removing hairs individually, which can be time-consuming and uncomfortable, waxing allows for the swift removal of multiple hairs at once. This is particularly beneficial for clearing the fine, fair hairs that often grow above and below the main brow arch, which can be difficult to catch with standard tweezers.
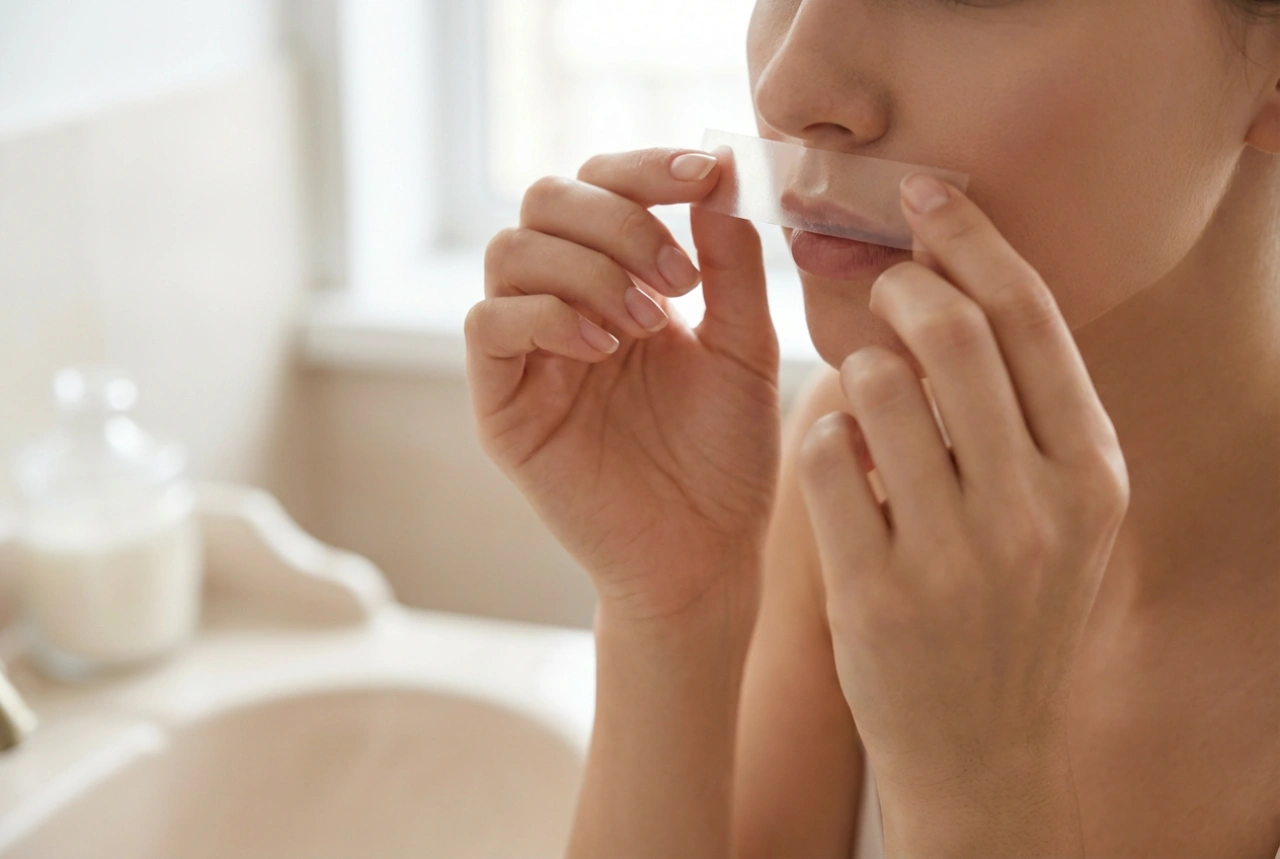
Another significant benefit of waxing is the longevity of the results. Because the wax grips the hair from the root, the regrowth cycle is considerably slower, typically taking anywhere from three to six weeks. Over time, consistent waxing can lead to finer and softer hair regrowth, making subsequent shaping sessions even easier. Furthermore, the clean line created by a single wax strip offers a crisp, defined border that instantly lifts the appearance of the eye area, creating a polished and well-groomed look.
Selecting the Ideal Wax and Equipment
To achieve professional-style results, it is essential to use the correct tools and products. The market offers various types of wax, but they generally fall into two main categories: hard wax and soft wax.
- Hard Wax: This type is highly recommended for delicate facial areas, including the eyebrows. Hard wax is applied warm and hardens as it cools, shrinking around the hair shafts. Because it adheres only to the hair and not to the skin, it is much gentler, reducing the risk of irritation and redness.
- Soft Wax: Applied in a thin layer and removed using paper or fabric strips, soft wax is excellent for covering larger areas. While effective, it requires a precise hand on the face to ensure it does not stick to the sensitive skin surrounding the eyes.
In addition to the wax itself, a complete styling kit should include narrow wooden spatulas or applicators, which allow for the precise placement of the wax along the brow line. A pair of high-quality, slanted tweezers is also indispensable for removing any stray, stubborn hairs that the wax might have missed, ensuring a flawless finish.
A Step-by-Step Guide to Shaping Your Brows
Before applying any product, proper preparation is key to ensuring a safe and successful treatment. Follow these essential steps to achieve beautifully shaped eyebrows:
1. Cleaning and Preparation
Begin by thoroughly cleaning the skin around your eyebrows. Remove all makeup, oils, and moisturisers, as any residue can prevent the wax from adhering correctly to the hair. Pat the skin completely dry. Applying a very light dusting of unscented powder can help absorb excess moisture and protect the skin barrier.
2. Defining the Shape
Use a cosmetic pencil to map out the desired shape of your brows. Mark the starting point, the arch, and the tail. This acts as a visual guide, preventing you from accidentally removing too much hair and helping to maintain symmetry between both brows.
3. Application and Removal
Heat the wax according to the instructions until it reaches a warm, honey-like consistency. Test the temperature on the inside of your wrist to ensure it is comfortable. Using the edge of a wooden spatula, apply a thin, even layer of wax in the direction of hair growth, staying strictly within the mapped-out safety zone. Hold the skin taut with one hand, and with the other, quickly pull the wax off in the opposite direction of hair growth, keeping the motion parallel to the skin rather than pulling upwards.
Common Mistakes to Avoid for Safe Brow Styling
While waxing at home is highly convenient, certain pitfalls can compromise the results or lead to unnecessary skin irritation. One of the most common errors is applying wax that is too hot. This can cause discomfort or minor burns on the delicate skin of the eyelids. Always perform a patch test on your wrist before applying the wax to your face.
Another mistake is attempting to wax too close to the main body of the brow in one single strip. It is far safer to work in small, controlled sections. Removing hair gradually allows for greater precision and reduces the risk of creating uneven patches or thinning the brows too much. Lastly, avoid waxing over the same area multiple times in a single session. If a few hairs remain, it is much gentler to remove them individually using tweezers rather than re-applying hot wax to already sensitised skin.
Soothing the Skin After Waxing
Because the skin around the eyes is exceptionally delicate, temporary redness is a completely normal reaction after hair removal. Proper post-wax care is essential to calm the area and prevent irritation. Immediately after waxing, apply a soothing, non-comedogenic oil or lotion to remove any remaining wax residue and comfort the skin.
Look for gentle formulas containing natural botanical extracts such as aloe vera, chamomile, or calendula, which are known for their calming properties. Avoid using harsh chemical exfoliants, retinoids, or highly perfumed face creams on the waxed area for at least twenty-four to forty-eight hours. It is also wise to avoid direct sun exposure, hot baths, and heavy makeup immediately after the session, giving the hair follicles ample time to close and heal naturally.