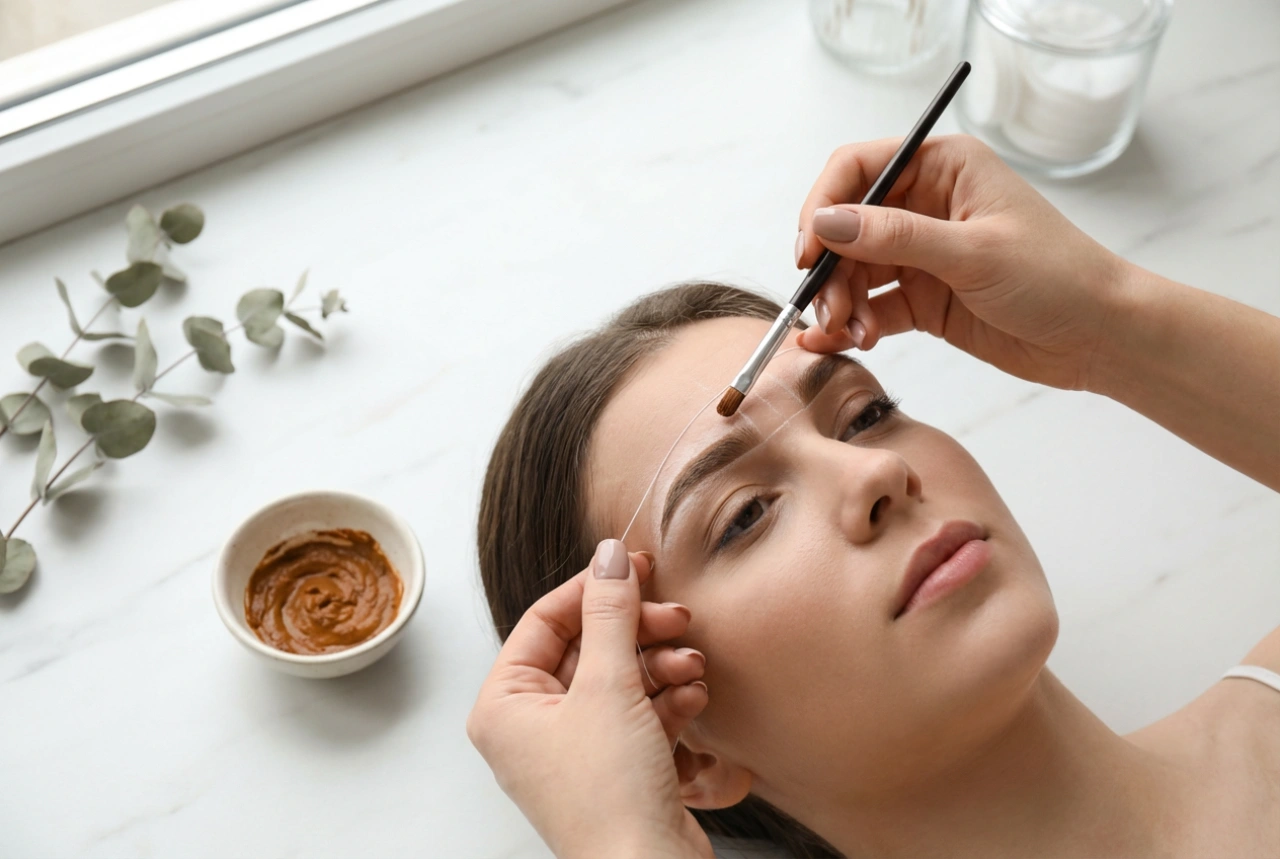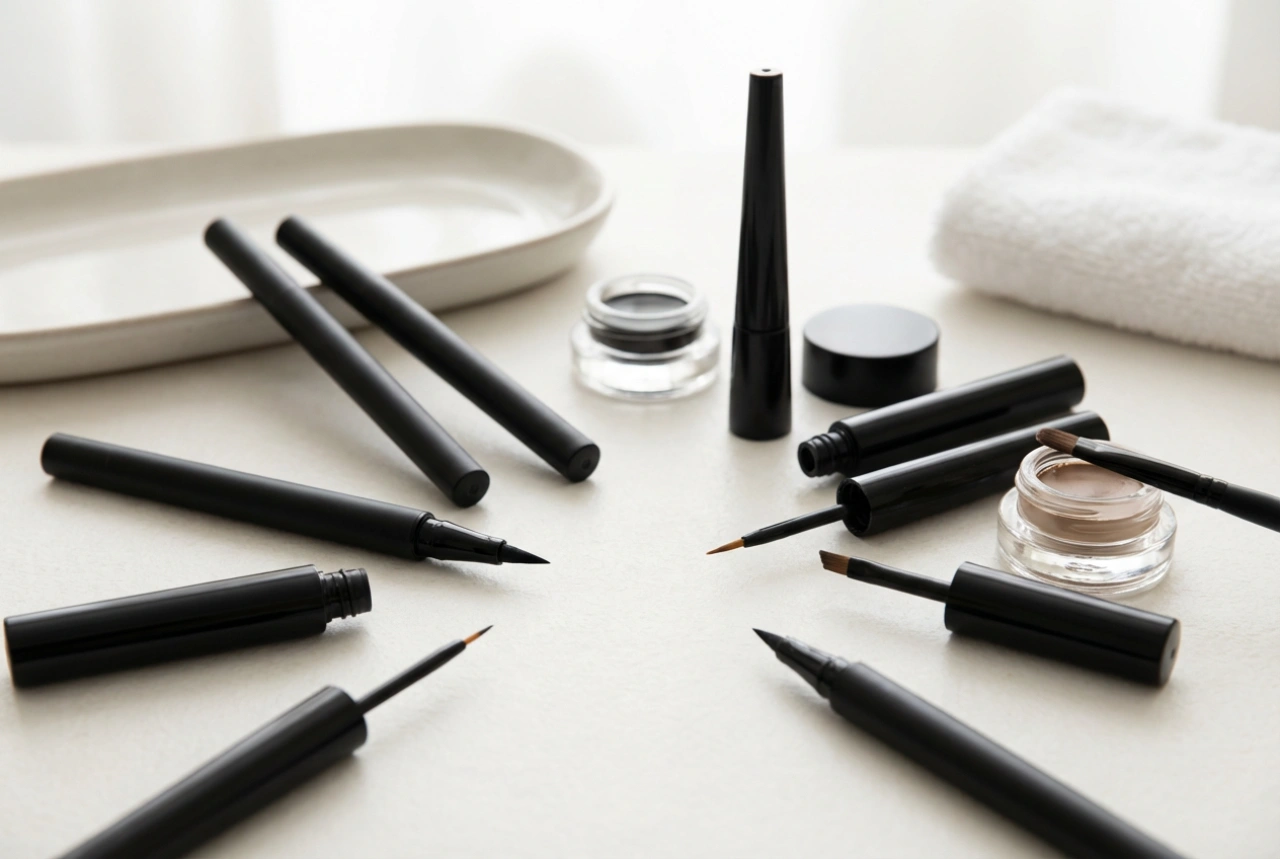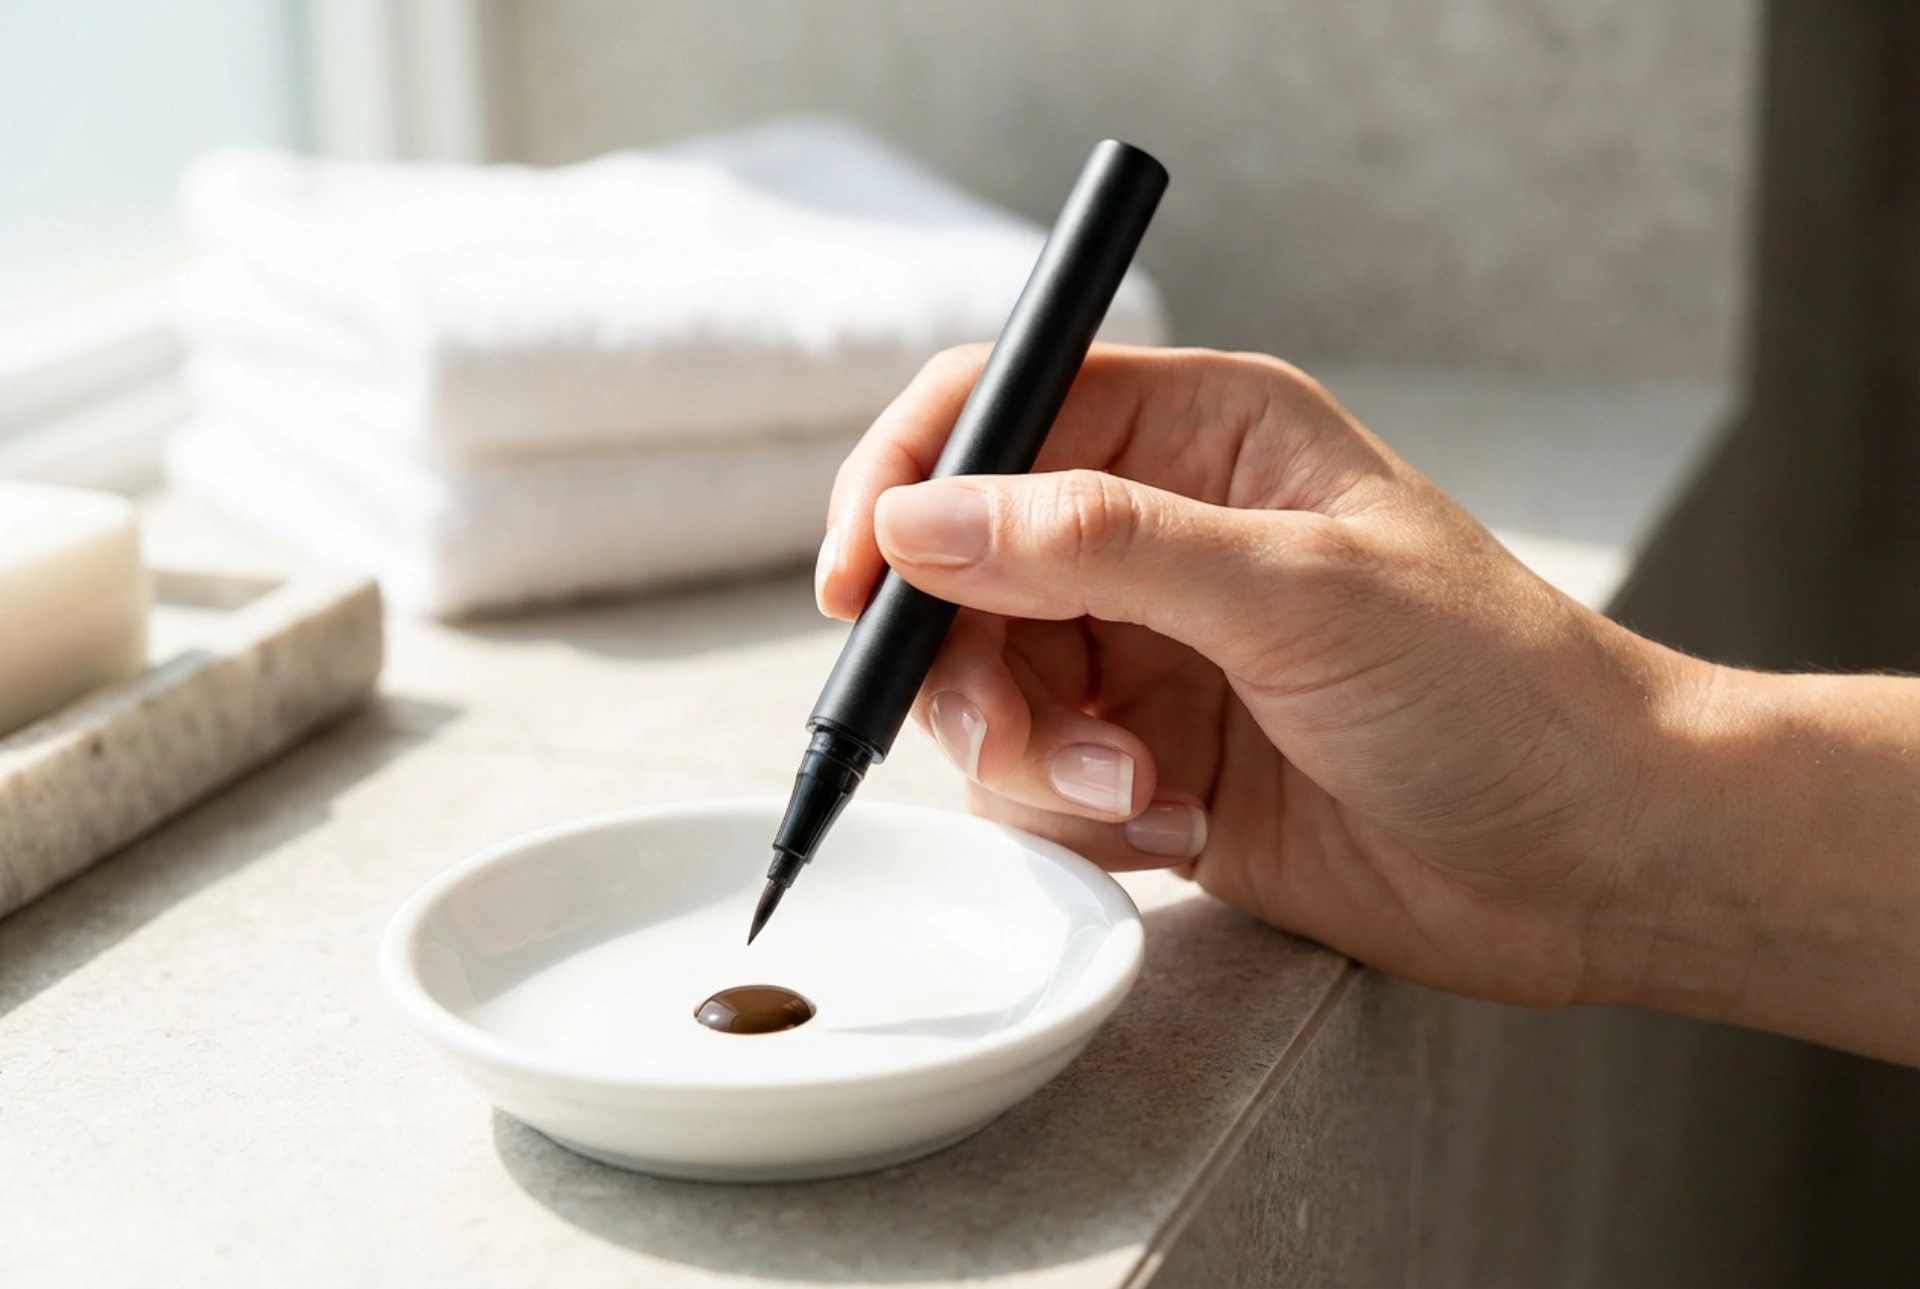


Achieving beautifully defined eyebrows no longer requires regular visits to a professional salon. With the introduction of modern, precise beauty tools, styling your brows at home has become both simple and therapeutic. A sleek brow henna pen offers a clean, controlled method to enhance your natural brow shape. This modern approach to eyebrow tinting allows you to create defined, fuller-looking arches in the comfort of your own home, using a fine-tip applicator designed for absolute precision.
The Advantages of Using a Brow Henna Pen
Traditional eyebrow tinting often involves mixing pastes and using bulky brushes, which can lead to messy application and uneven results. A brow henna pen simplifies this entire process by combining the tinting formula with a precise delivery system. The fine applicator tip allows you to mimic the appearance of natural hair strokes, making it incredibly easy to fill in sparse areas without over-tinting the surrounding skin.
Furthermore, these pens provide a buildable formula. You can opt for a soft, subtle enhancement or build up the intensity for a bolder look. Because the henna tint gently stains the upper layer of the skin as well as the brow hairs, it creates a shadow effect that gives the illusion of thicker, fuller brows that last for several days.
Essential Preparation for Flawless Results
Before you begin applying the product, proper preparation of the brow area is essential to ensure the tint adheres evenly and lasts as long as possible. Oil, makeup residue, and dead skin cells can act as a barrier, preventing the henna tint from staining the skin and hair correctly.
- Cleanse the area thoroughly: Use a gentle, oil-free cleanser to remove all traces of makeup and sebum from your eyebrows.
- Exfoliate gently: A light exfoliation around the brow area can help remove dead skin cells, ensuring a smoother surface for the pen to glide over.
- Dry completely: Ensure your brows are completely dry before application, as any moisture can dilute the formula and affect its staying power.
A Step-by-Step Application Guide
Using a brow henna pen requires a steady hand and a methodical approach. By following these steps, you can achieve a symmetrical, natural-looking finish that frames your face perfectly.
Step 1: Map the Shape
Begin by identifying the key points of your brow structure: the start, the arch, and the tail. You can use the pen to lightly mark these points. This serves as a template to ensure both eyebrows are symmetrical and proportioned correctly to your face shape.
Step 2: Create Fine, Hair-Like Strokes
Shake the pen gently to distribute the formula. Starting at the inner corner of the brow, use light, upward flicking motions to draw fine lines that mimic natural hairs. Work your way towards the arch, maintaining a light touch to keep the application subtle.
Step 3: Define the Arch and Tail
As you move towards the outer tail of your eyebrow, you can apply slightly more pressure to define the shape. The tail of the brow generally benefits from a sharper, more defined line to create a lifting effect. If you make a mistake, quickly wipe it away with a damp cotton bud before the tint sets.
Step 4: Blend and Set
Once you have filled in both brows, use a clean spoolie brush to gently brush through the hairs. This helps distribute any excess product and softens the edges, ensuring there are no harsh lines for a seamless, natural transition.
How to Maintain Your Tinted Brows
To enjoy your defined brows for as long as possible, a few simple aftercare steps are recommended. Since henna stains the top layer of the skin, keeping the area hydrated without using heavy oils is key.
Avoid washing your face with hot water or using harsh scrubs directly on your brows for the first twenty-four hours after application. When cleansing your face in the following days, try to steer clear of oil-based makeup removers around the brow area, as oil can break down the tint more quickly. Instead, opt for gentle micellar water to keep the skin clean without stripping away the colour.