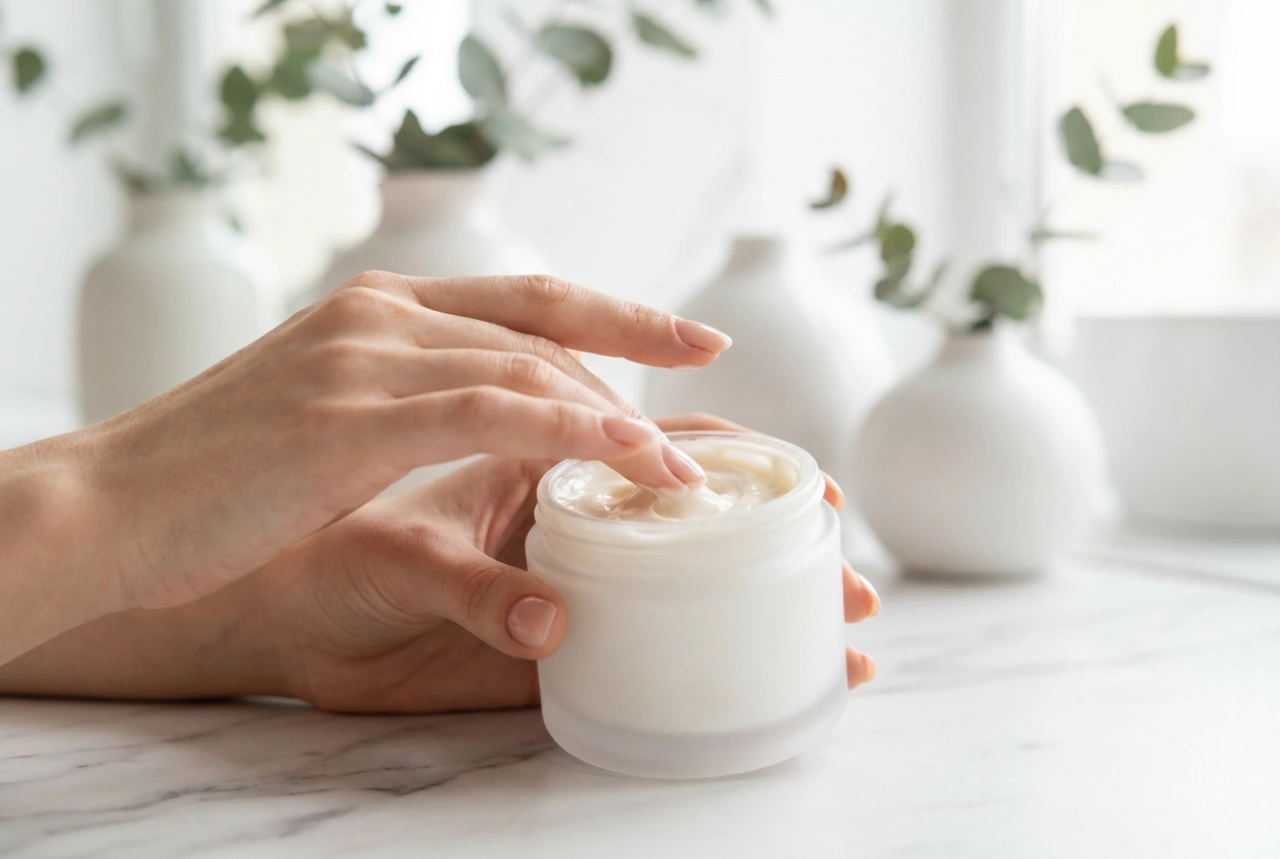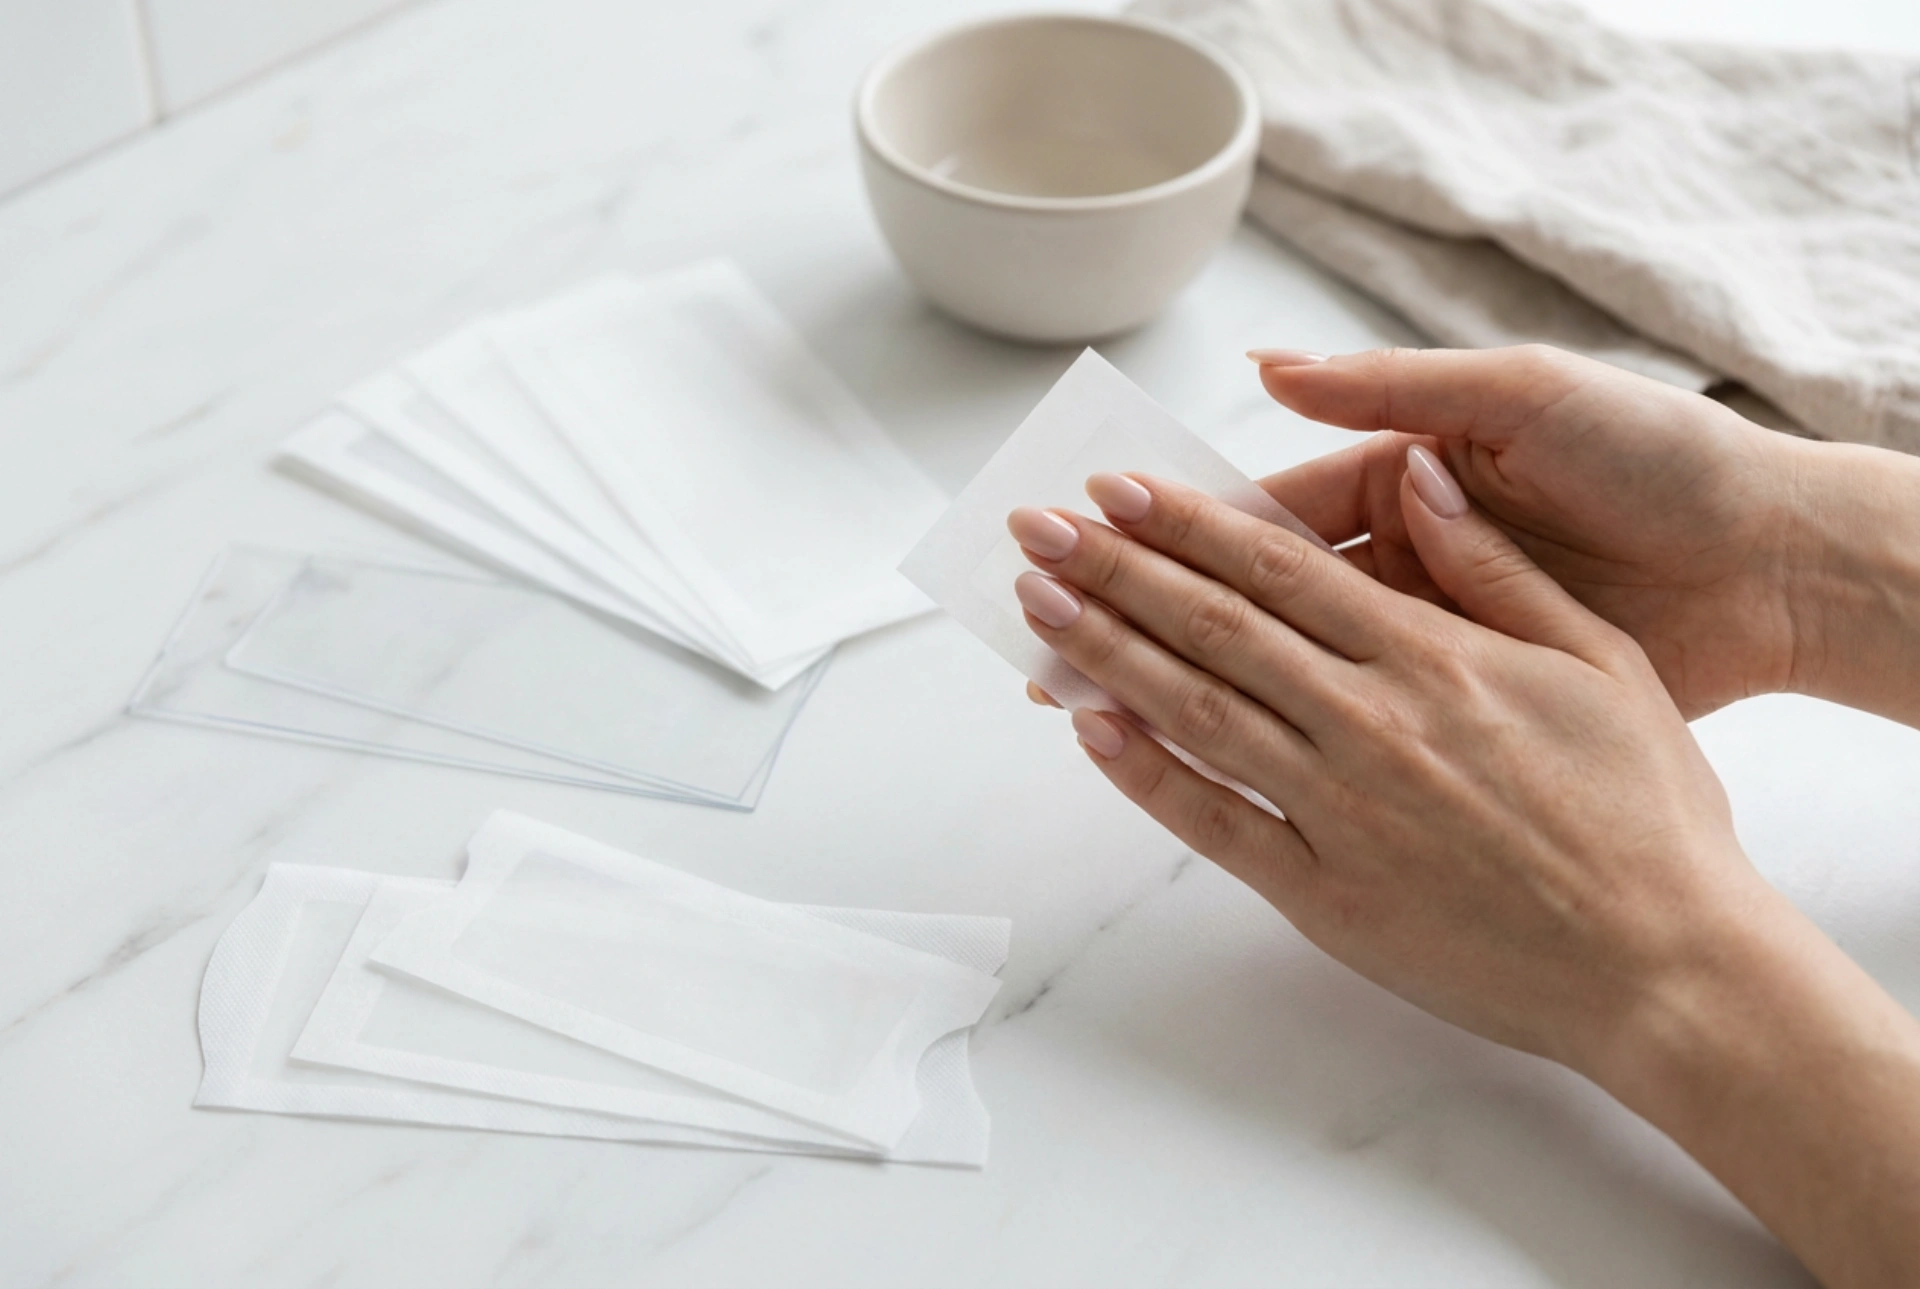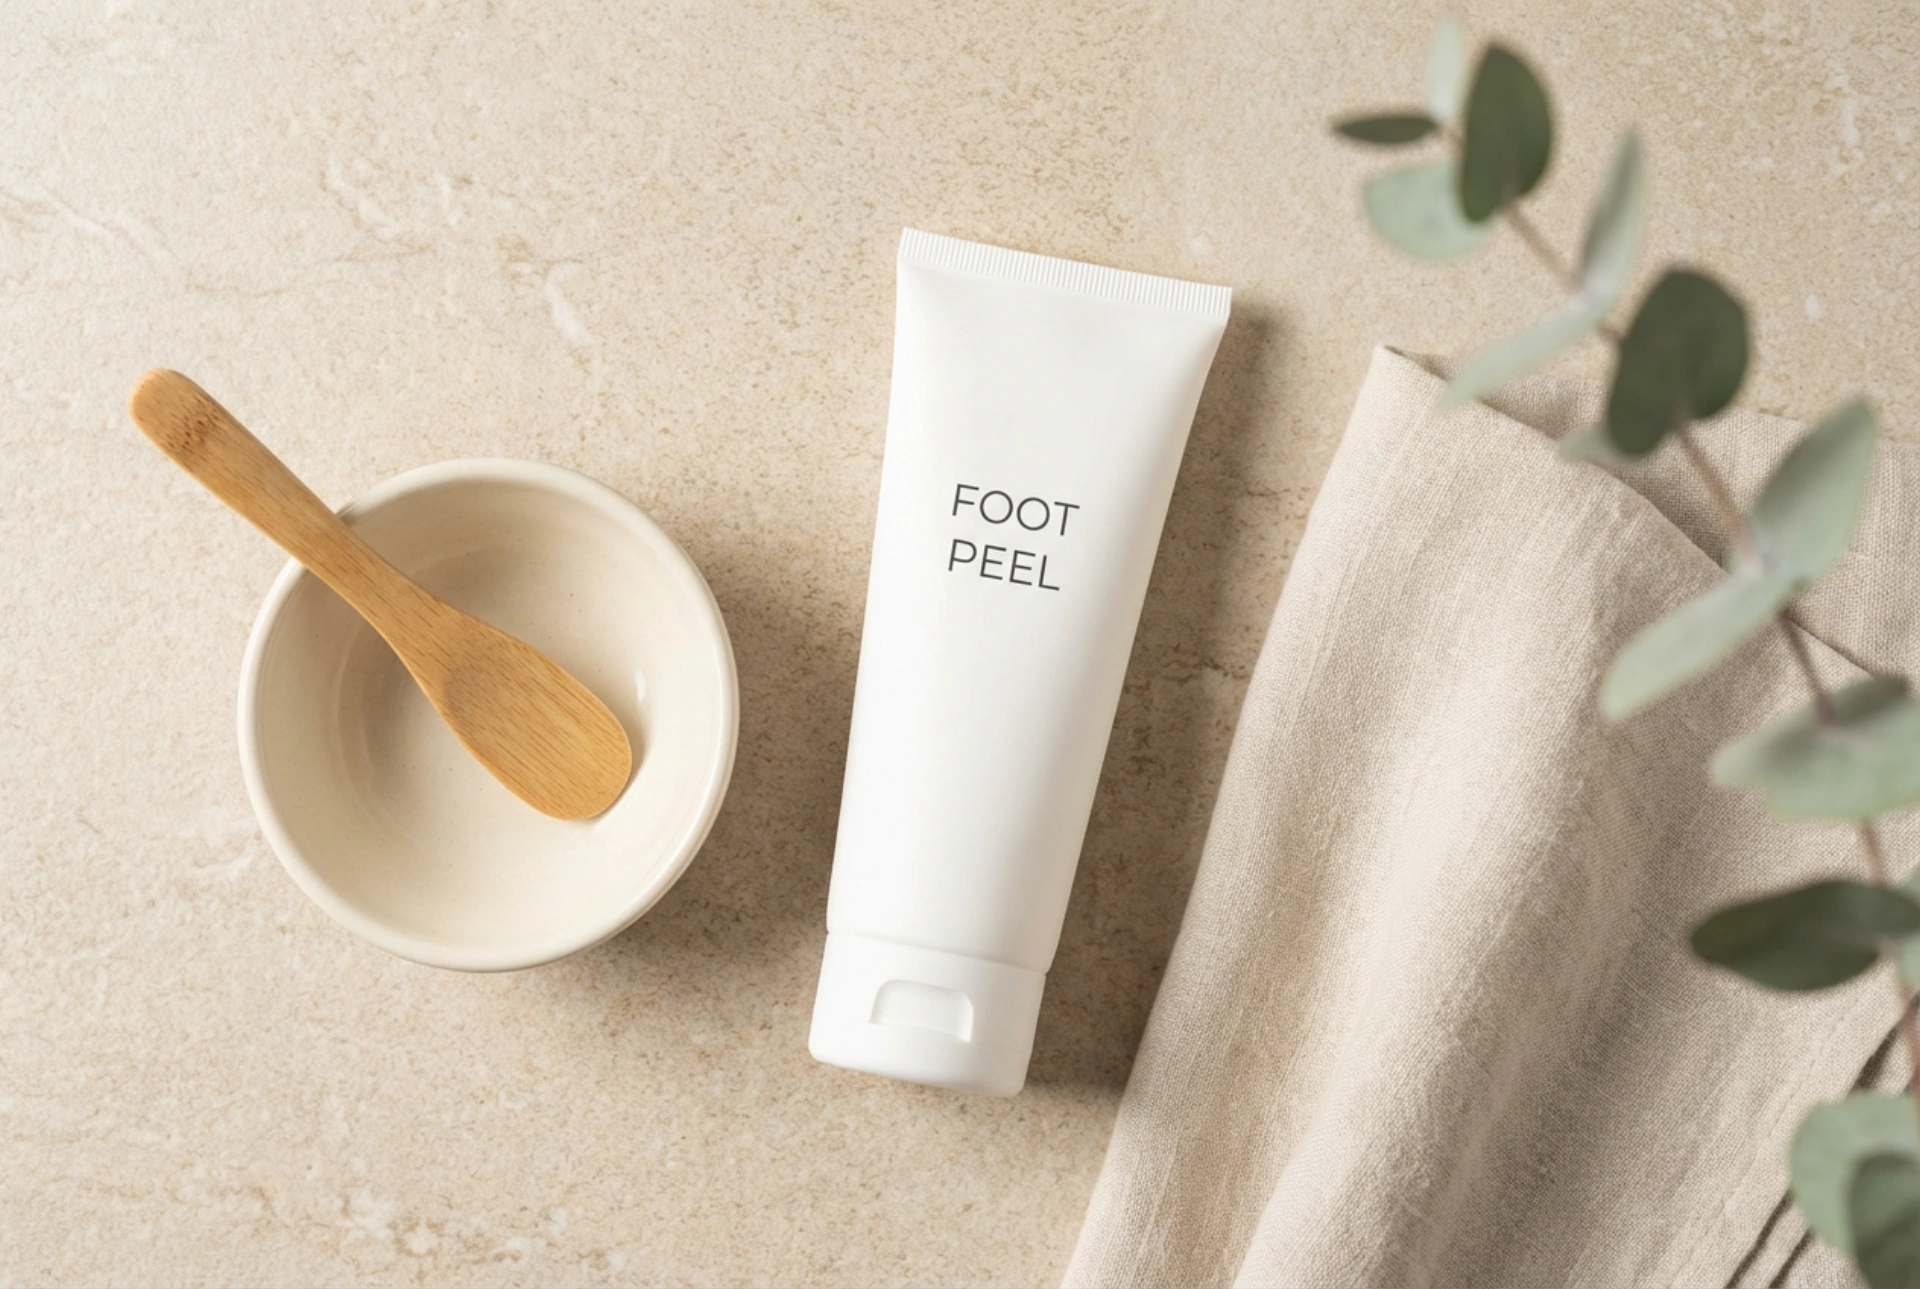


Proper foot care is a cornerstone of overall well-being and an essential part of any self-care routine. Often hidden away, our feet endure daily pressure, which can lead to dry, rough skin and the build-up of calluses. While mechanical scrubs and files are common solutions, they can sometimes be too harsh. An enzymatic peel offers a wonderfully gentle yet effective alternative, transforming foot care into a tranquil ritual that leaves your feet feeling soft, smooth, and revitalised. This method relies on the power of natural enzymes to delicately dissolve dead skin cells, revealing healthier skin underneath without any abrasive action.
What Is an Enzymatic Foot Peel?
An enzymatic peel is a type of chemical exfoliant that uses enzymes, often derived from fruits like papaya (papain) or pineapple (bromelain), to break down the protein bonds holding dead skin cells together on the surface of the skin. Unlike physical exfoliants, such as scrubs with grains or pumice stones, which manually scrape away dead skin, an enzymatic peel works on a microscopic level. This makes it an exceptionally gentle option, ideal for all skin types, including those that may be more sensitive. The key benefit is effective exfoliation without the risk of creating micro-tears or causing irritation, which can sometimes occur with vigorous scrubbing.
Preparing for Your At-Home Foot Treatment
To get the most out of your enzymatic foot peel, proper preparation is key. This not only enhances the product's effectiveness but also turns the process into a relaxing, spa-like experience. Follow these simple preparatory steps:
- Cleanse your feet: Start by washing your feet thoroughly with a mild soap and water to remove any surface dirt or oils.
- Soak to soften: Fill a basin with warm water and soak your feet for 10-15 minutes. This step is crucial as it softens the tough, outer layers of skin, allowing the enzymes in the peel to penetrate more effectively. You can add a few drops of a soothing essential oil for an aromatic touch.
- Dry completely: After soaking, pat your feet completely dry with a clean, soft towel. Ensure the areas between your toes are also dry before you proceed with the peel application.
A Step-by-Step Guide to Application
Applying an enzymatic foot peel is a straightforward process. Always read the specific instructions on your chosen product, but the general method is as follows:
Step 1: Apply the Peel
Squeeze a generous amount of the peel onto your hands and apply an even, thick layer all over your feet. Pay special attention to areas prone to roughness and calluses, such as the heels, the balls of your feet, and the sides of your big toes. Avoid applying it to any open cuts or irritated skin.
Step 2: Allow It to Work
Let the peel sit on your skin for the time recommended in the product's directions, which is typically between 15 and 30 minutes. During this time, the enzymes are actively working to break down dead skin. To enhance the effect and prevent the product from drying out too quickly, you can wrap your feet in cling film or put on a pair of old cotton socks.
Step 3: Rinse and Reveal
Once the time is up, rinse the peel off thoroughly with lukewarm water. As you rinse, you may notice the loosened dead skin sloughing away. If desired, you can use a soft washcloth or your hands to gently rub in circular motions to help remove the softened skin. Avoid using any harsh tools at this stage.
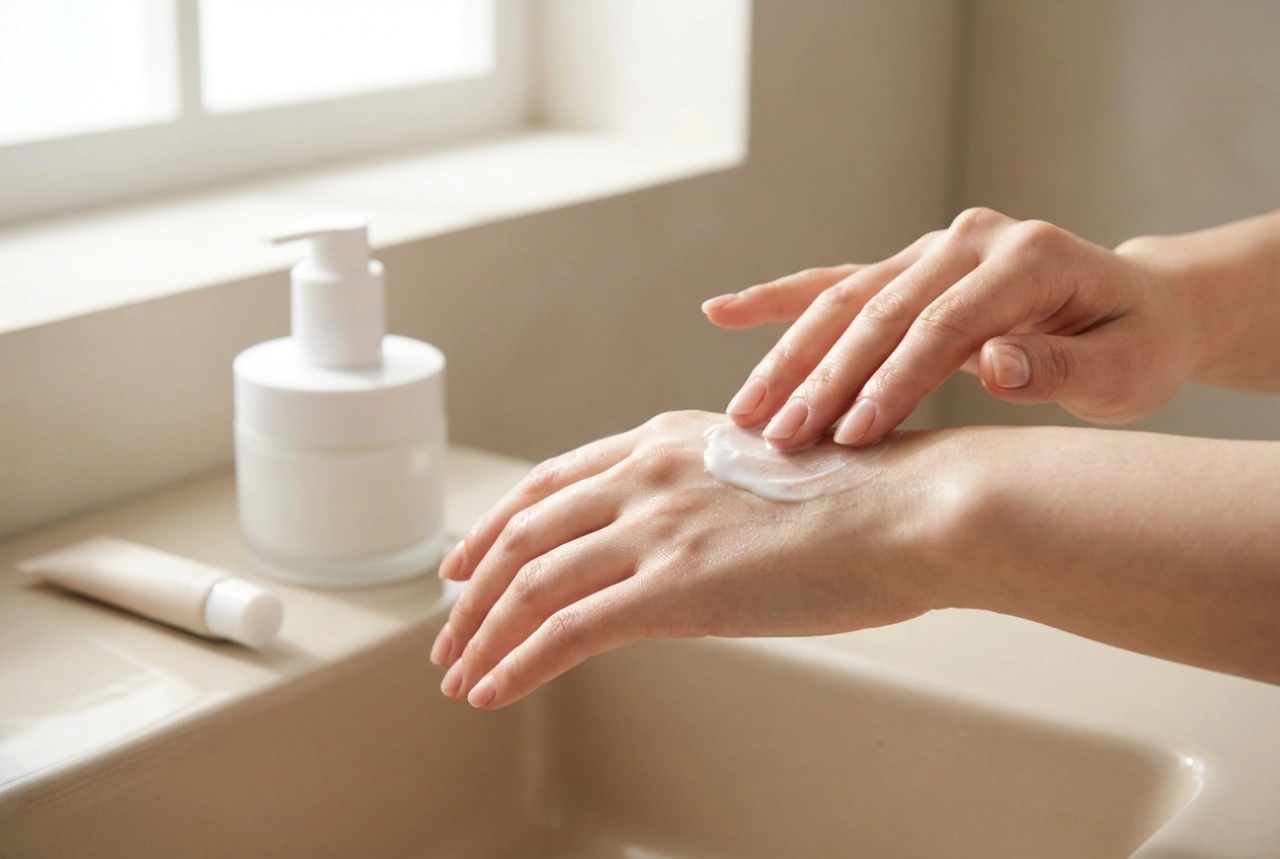
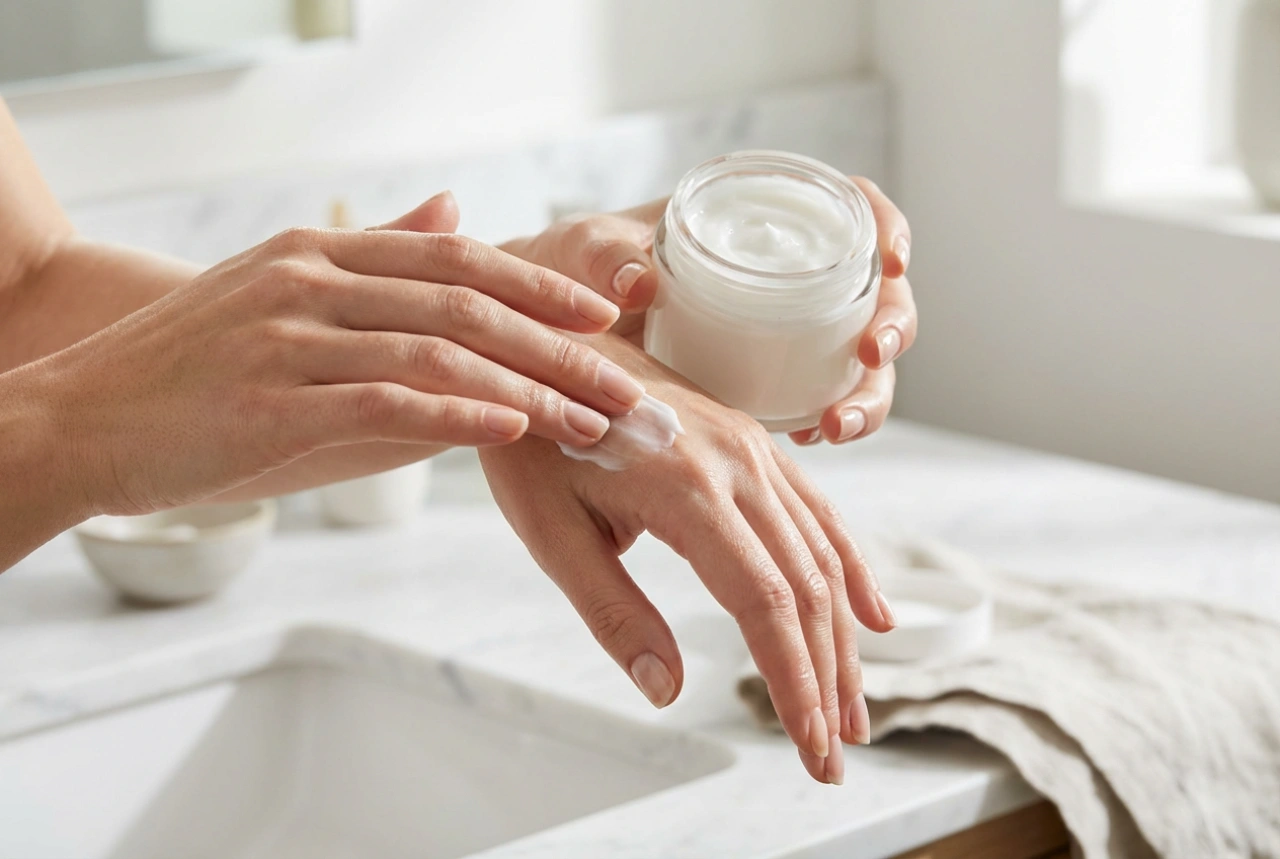
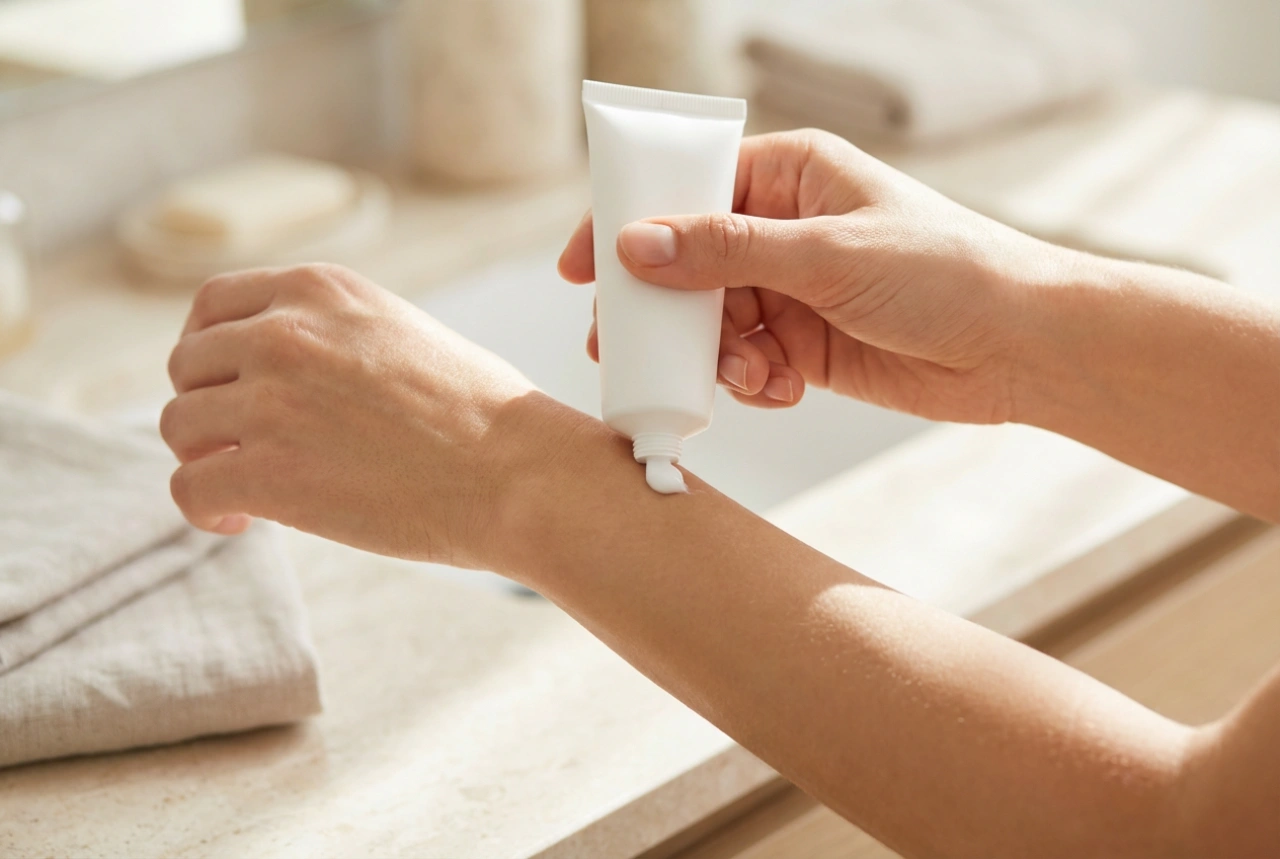
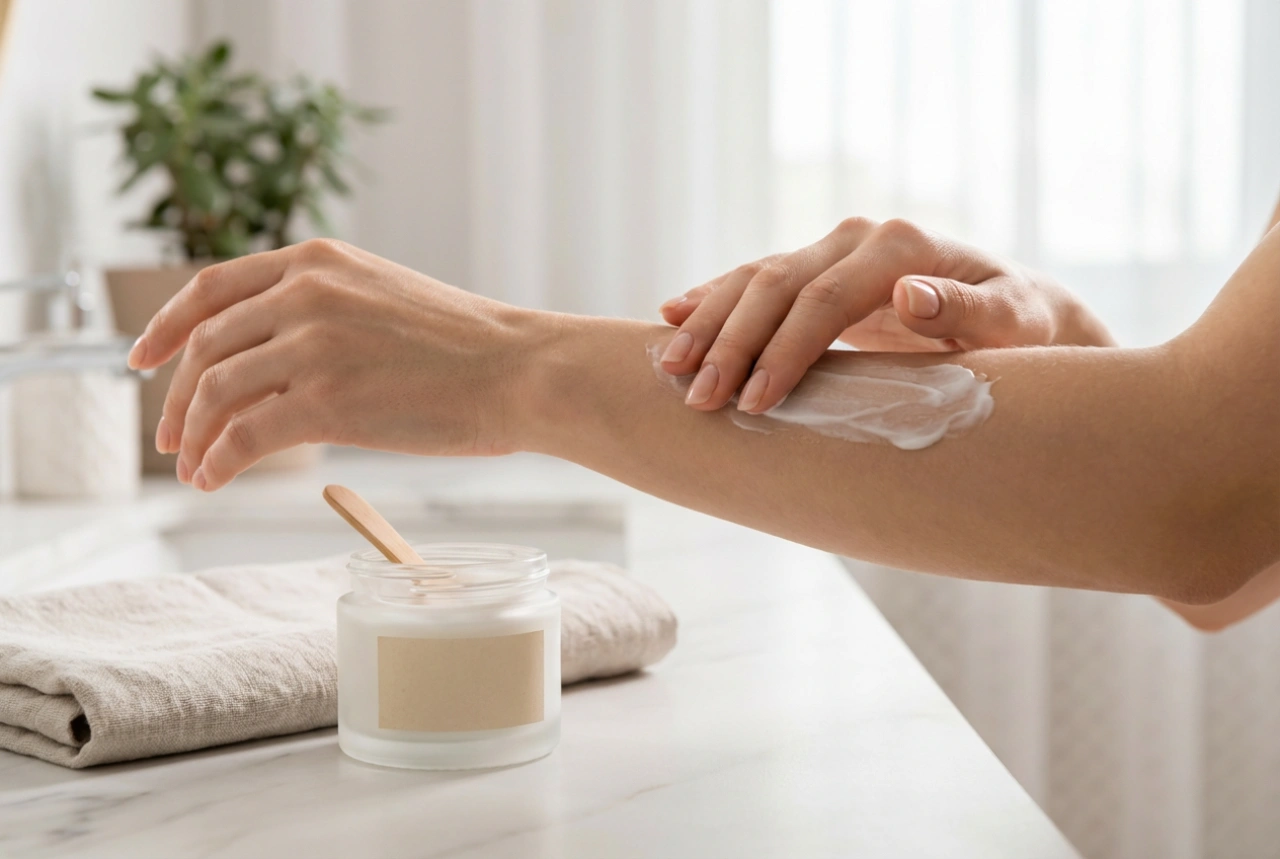
Post-Peel Care for Lasting Softness
Aftercare is just as important as the peel itself to ensure your feet remain soft and healthy. Immediately after rinsing and patting your feet dry, apply a rich, nourishing foot cream or balm. This will rehydrate the new skin and lock in moisture. Look for moisturisers containing ingredients like shea butter, urea, or ceramides for deep hydration. To maintain the results, perform an enzymatic peel regularly, perhaps once a week or every fortnight, depending on your skin's needs. Consistently moisturising your feet daily will prolong the smoothness and prevent the rapid return of hard skin.